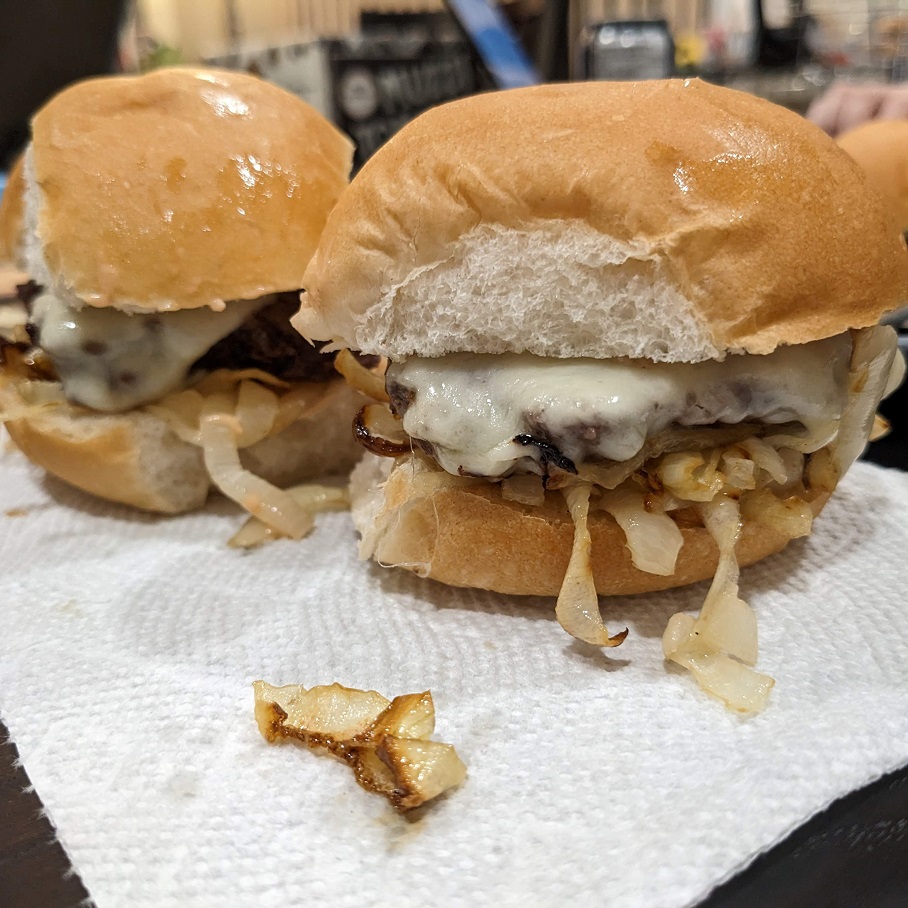
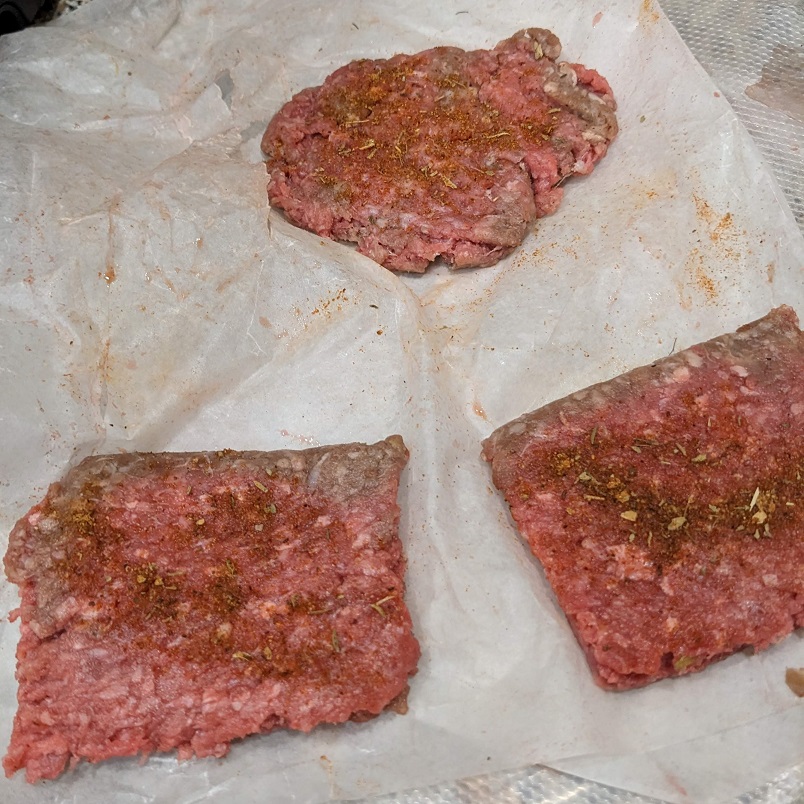
A few weeks back, I made some cute mini smash burgers at home that, although tasty enough, were a huge pain the butt to make on the stovetop. They had too much clean up time attached after the onions invariably burned while the thin meat patties resting over them steam cooked, and the cheese on top of them finally melted and the bun warmed up. Ugh.
I vowed never to make them that way again. They make a cute pub grub meal, but honestly, I wasn’t into making them the Alton Brown way again. What he does, he does well. But, I’m not Alton. I’m me. And me is really good at figuring out ways to streamline production and assembly methods at work, and at home. Work smarter, not harder!

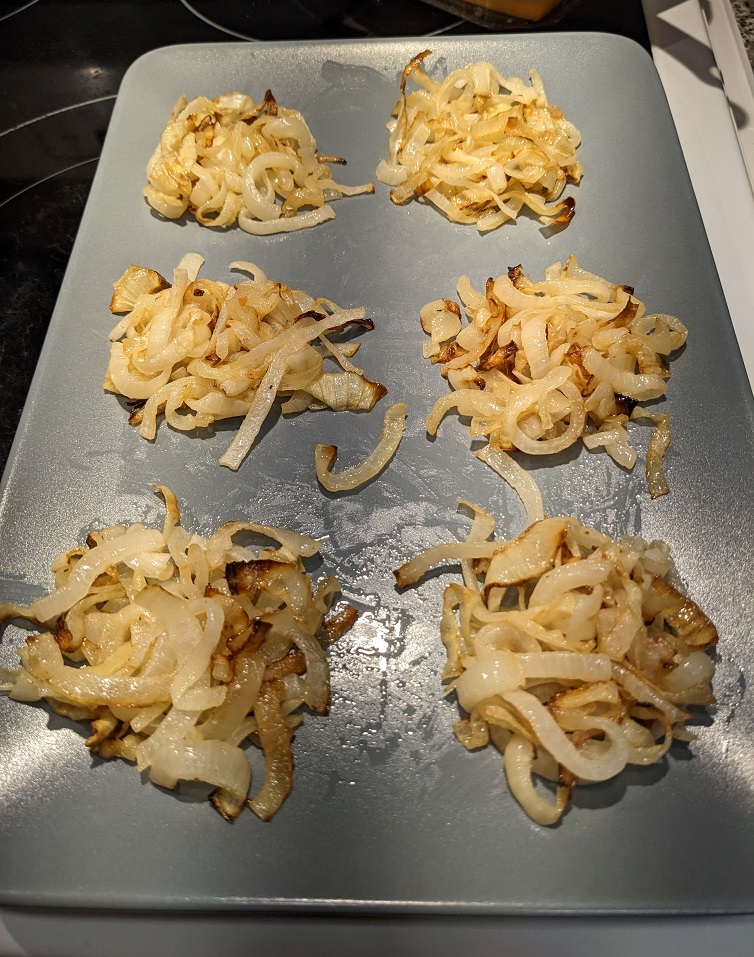
So with that, I turned to my air fryer. In the back of my head, I was only going to cook down the onions in it (so they didn’t burn) while I pan fried the patties on one side before flipping them and adding the cheese on the second side as the meat finished up.
I ended up poo-pooing the idea of using the stovetop all together when I remembered how fast cooking onions in the air fryer is at 350*F for about 10-12 mins. I could just wait ten minutes and add the patties after removing the onions. From there, 4 mins on the first side, flip, add cheese and cook another 4 minutes while I prepped the buns.
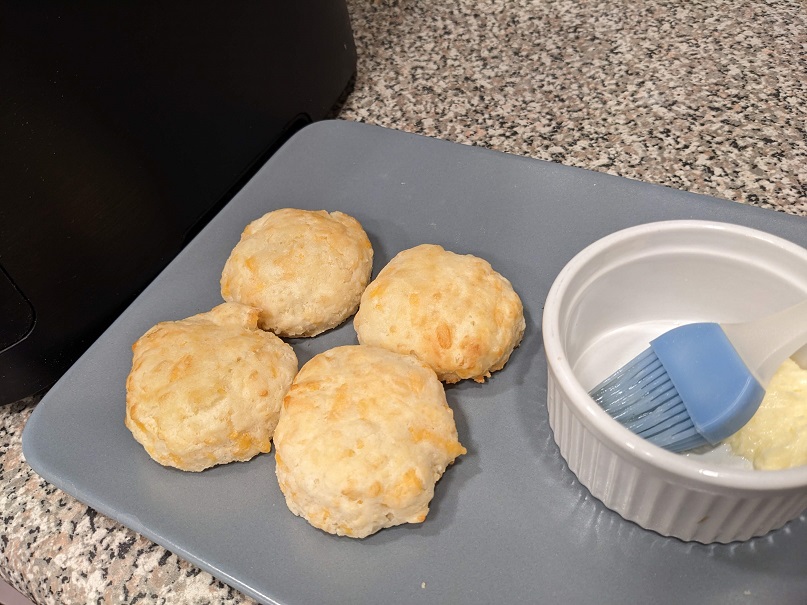
I chose a small dinner roll pack because the grocery store stopped getting the slider buns I was going to buy during the pandemic. I assume the bread maker axed this from their streamlined product line for supply chain issues. Oh, well. The dinner buns were the perfect size in the end.
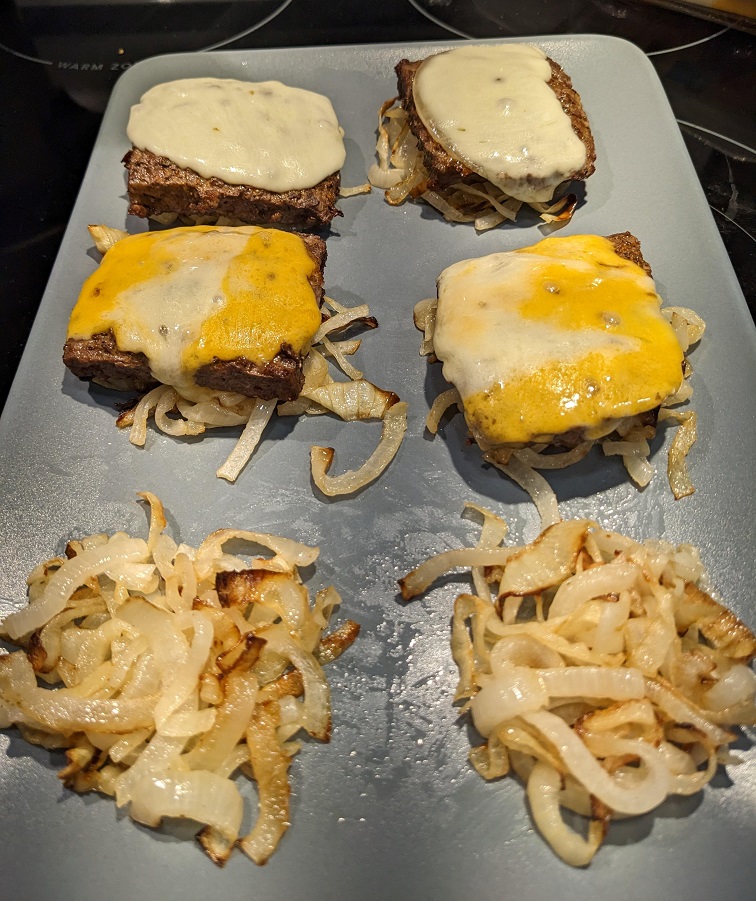
I laid the onions on a platter in small nests so I could drop a cheesy patty on each when they came out of the air fryer. I placed the tops on each patty so they melded together. On the bottoms, I laid down some somewhat spicy burger/dip sauce I had in the fridge.
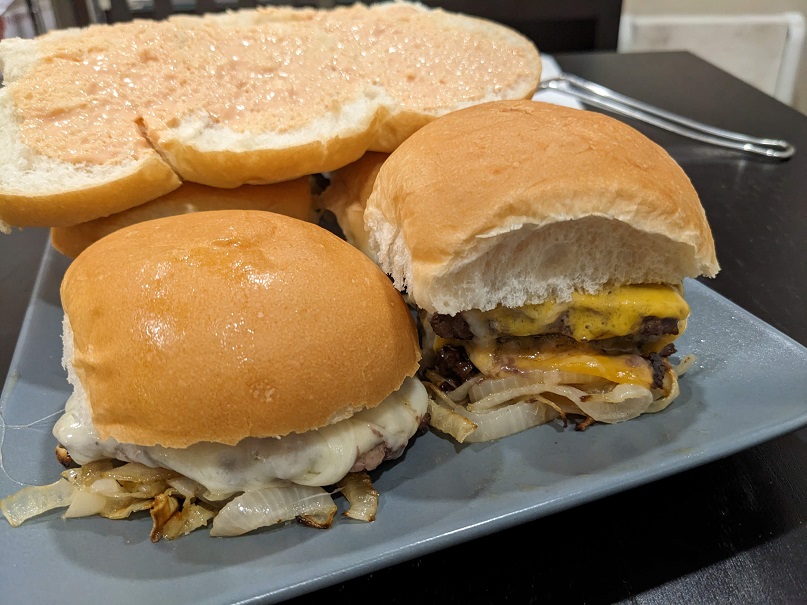
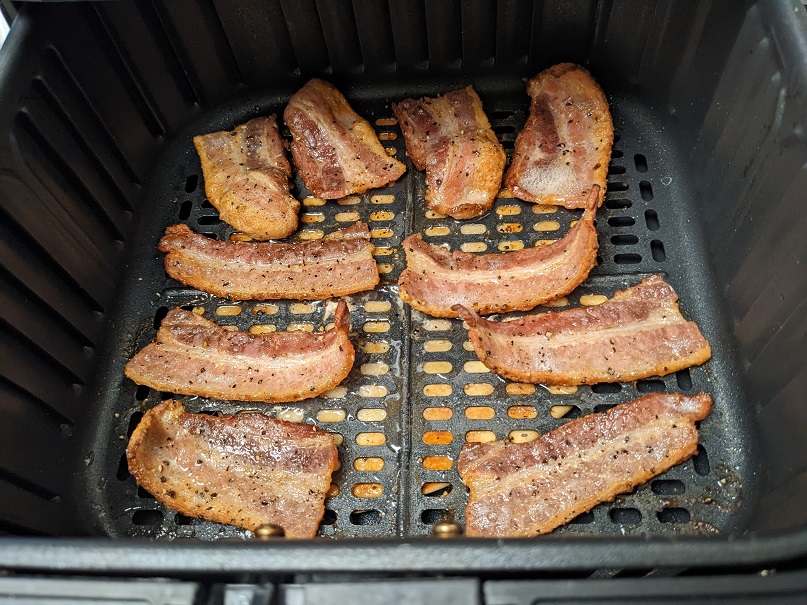
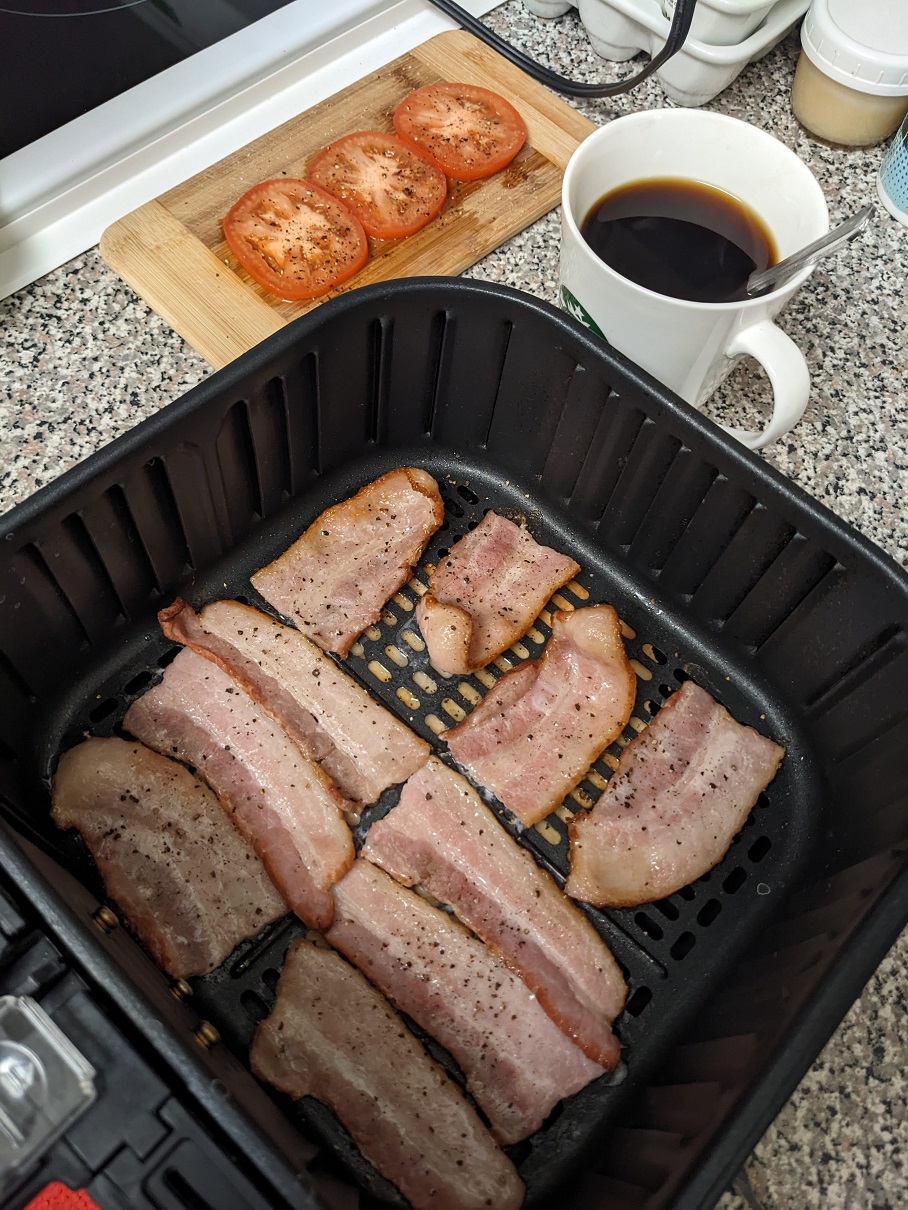
We then scraped up each pile off the platter and laid them down onto each bottom, and viola! Done. I really like how these turned out, and how fast they came together. And it was about as much clean up as cooking bacon strips in the air fryer. And none of it irritated me like doing these smash sliders on the stovetop did.
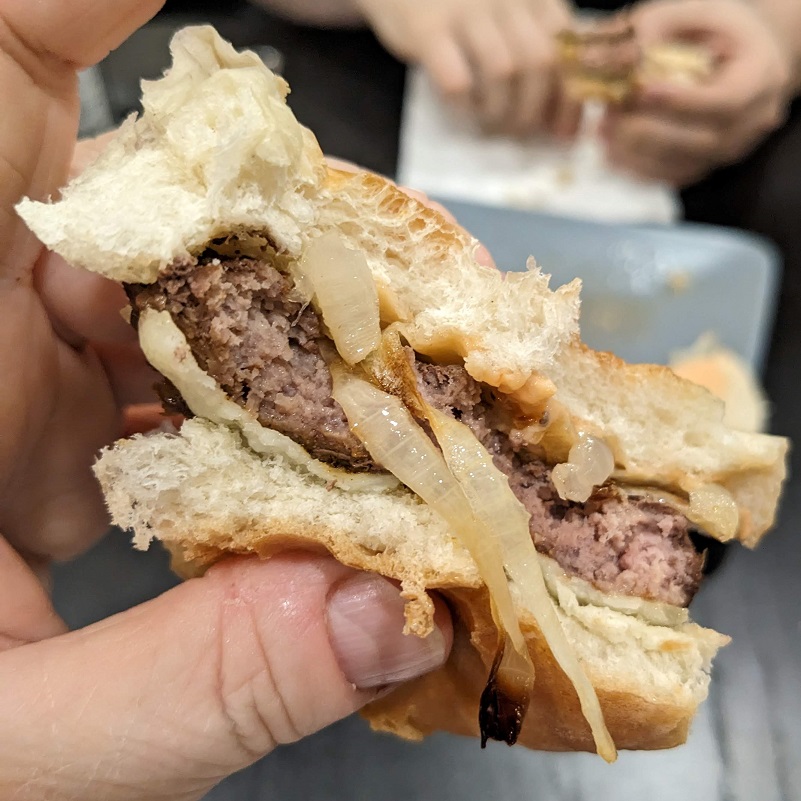
I’m calling this one as a win! Will do smash sliders this way from now on. Recommend.
Like this:
Like Loading...

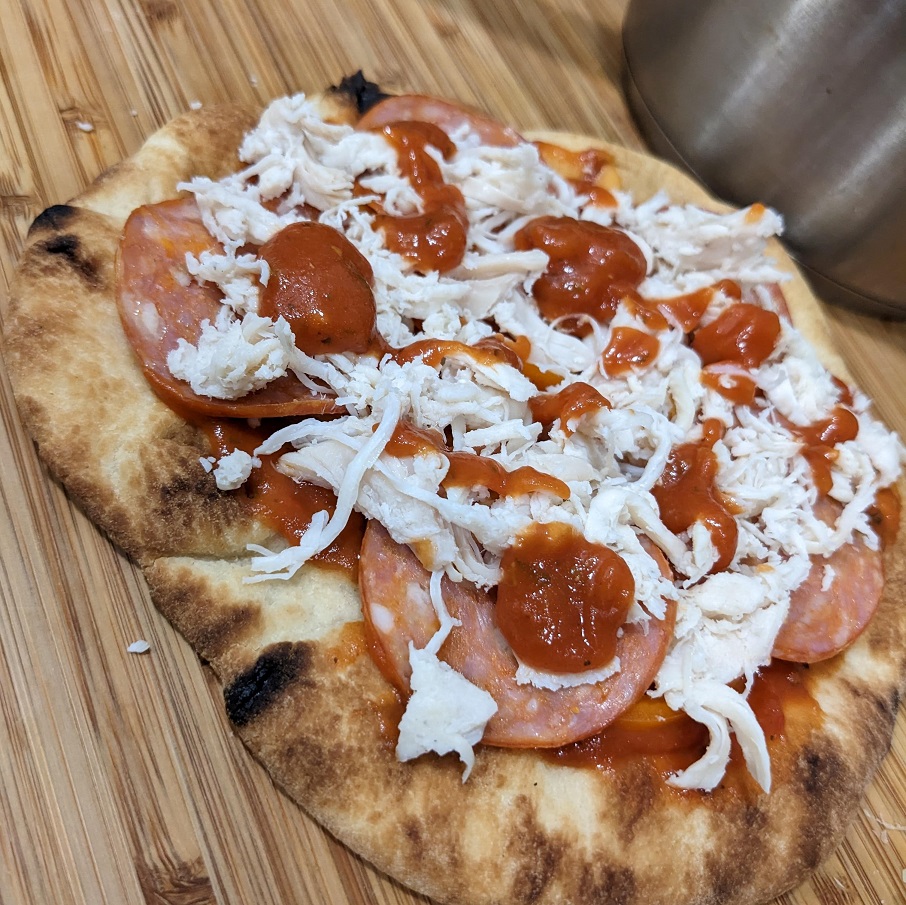
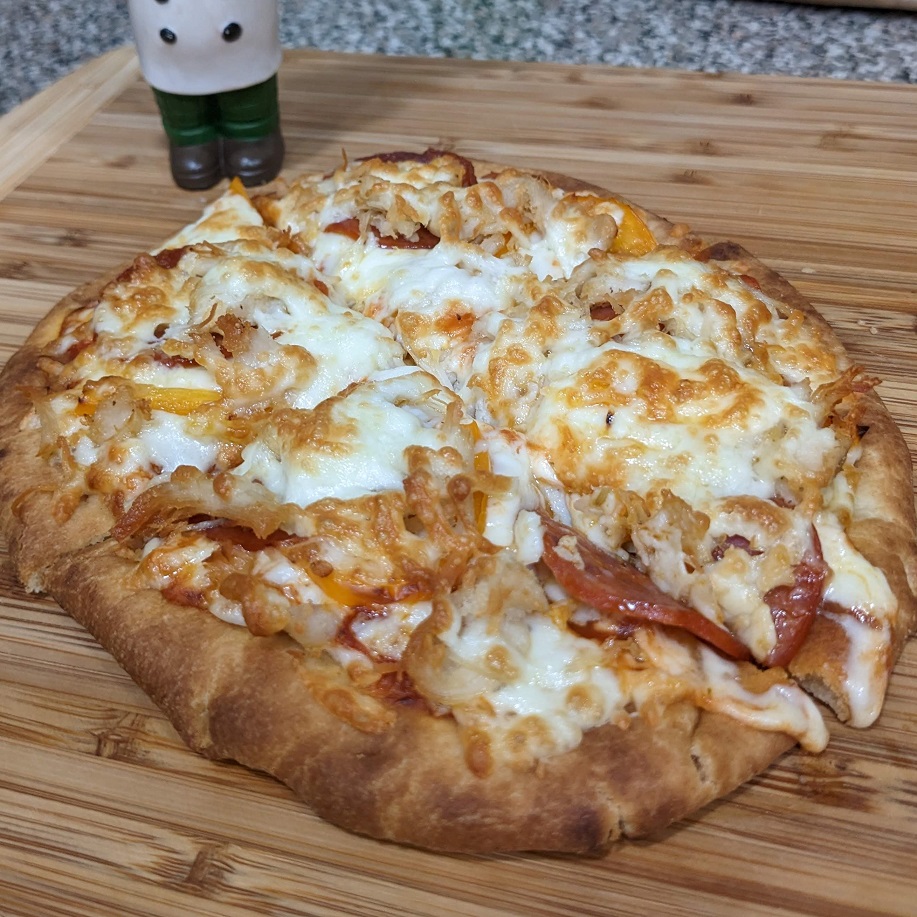
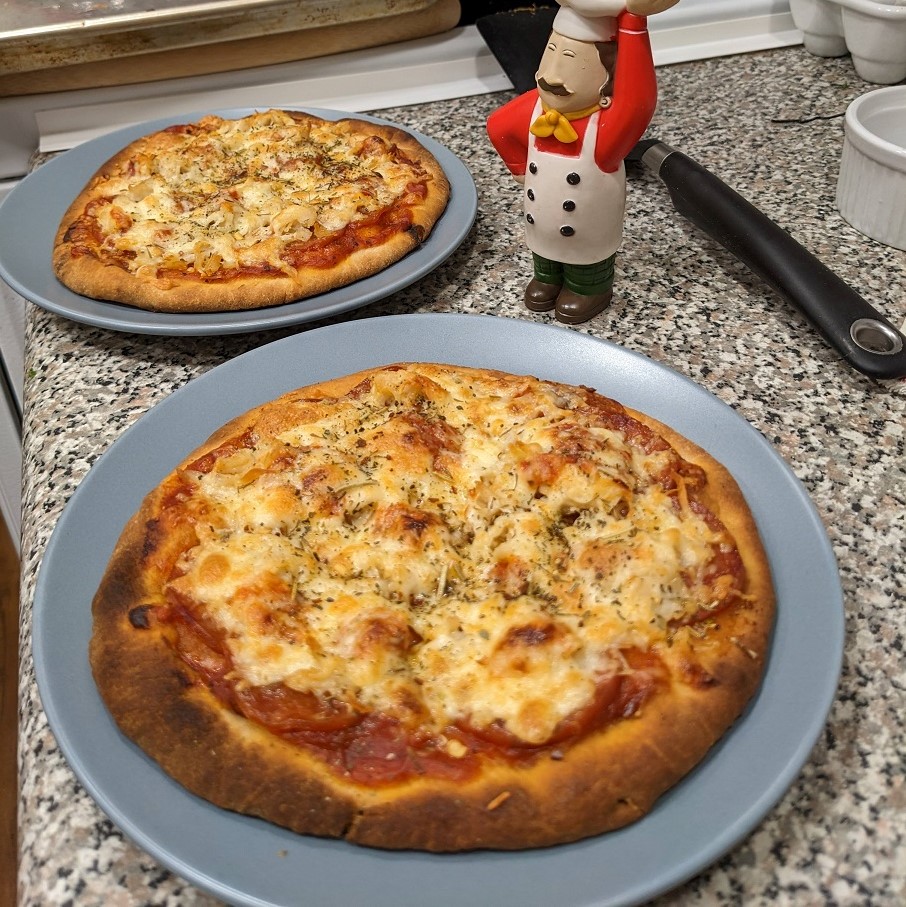 This is a spin on the Subway Pizziola we used to make back in the day. I love the idea of chicken and pepperoni in the same sandwich, so it seems like it would translate nicely to an actual pizza version. And I was right. This might be the husband’s new favourite.