I am really into making various dairy products from one carton of dairy. Given the rising prices (two increases this year alone!) of dairy across the board, it made sense to me to start making my own butter, cream cheese, and soft mozza cheese. All of these are staples in our fridge.
First up, buttah! Made in my KitchenAid mixer. Just like the pioneers did. Ahem. 🙂
The process of making butter is simply whisking (or churning) the cream long enough with enough force to separate the cream’s fat solids from the whey liquid.
And before you ask, yes I lightly salted the butter. Tastes so good. Can’t wait it use it. *swoon*
In a nutshell, this is what I did:
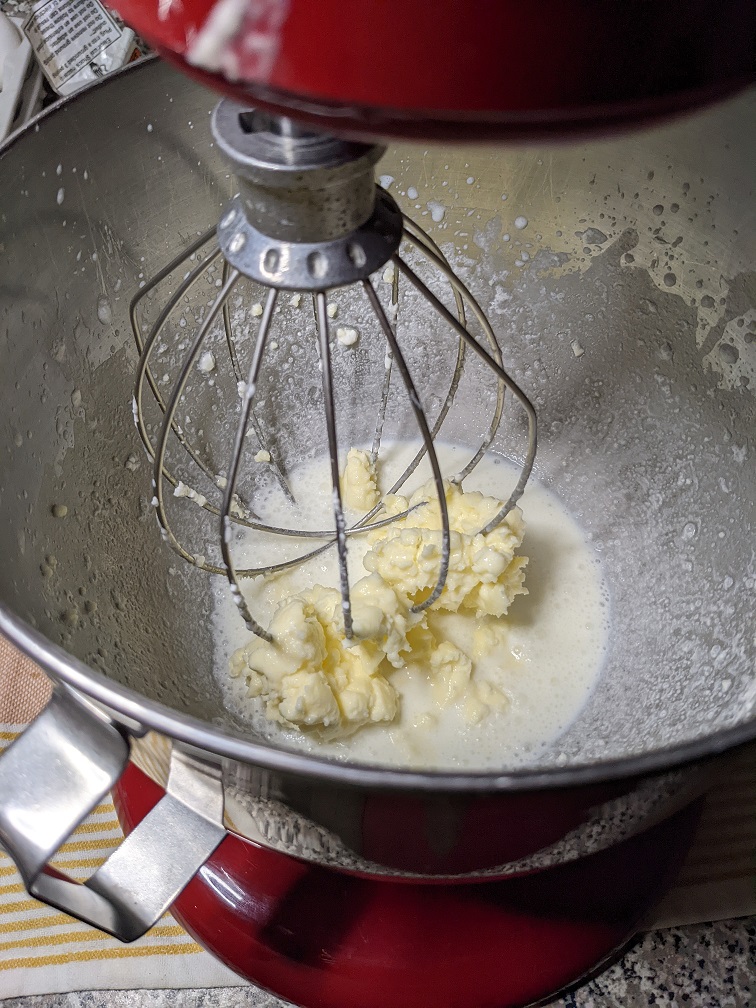
1. Ran 1 cup of 35% whipping cream in my mixer machine with the whisk attachment on a very high speed for about 8 mins. I scrapped the bowl down once before finishing up.
2. I dumped the butter mix into a mesh strainer over a bowl. I pushed the butter down into the mesh but quickly realised I should have put a cheese cloth between the butter and the strainer, so I gloved up and started squeezing it in my hands.
3. While still holding the butter lump in my hand, I moved it around in a bowl of cold filtered water to clean out that last of the whey liquids before squeezing it dry again. I had to be gentle because the butter was so soft at this stage. It kept trying to ooze out between my fingers, so I wrapped the lump of gold up in some Bounty. That helped.
4. While holding the butter in my gloved hand, I shook some salt on the blob and on my glove, and then proceeded to massage/knead the two together. I did a quick taste test, and then wrapped it in plastic film.
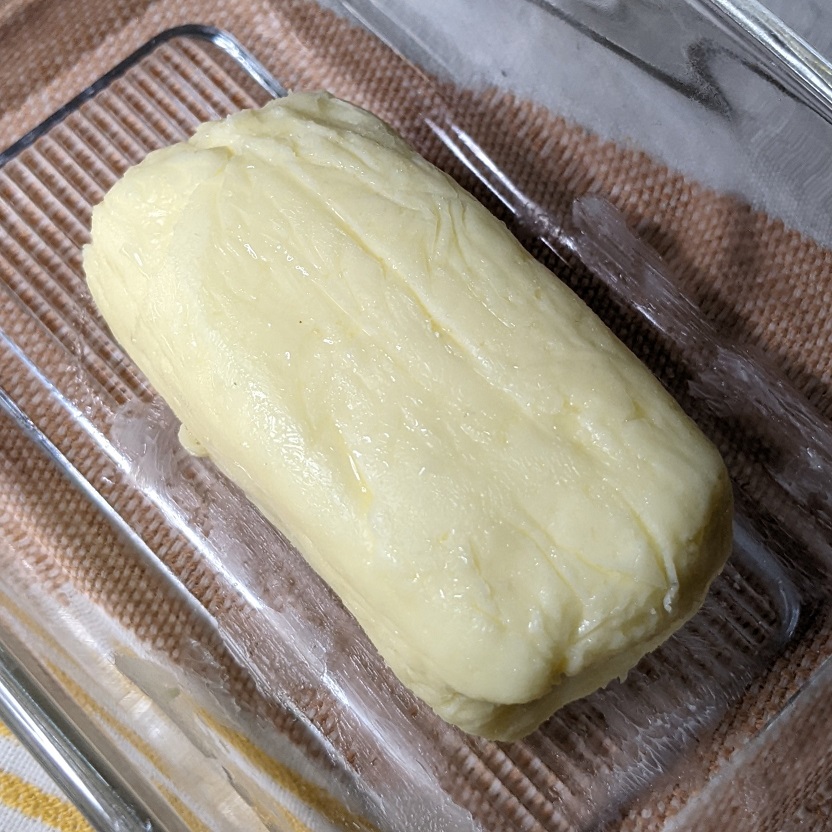
5. I formed it into a small brick and tucked it in the fridge so it can firm up.
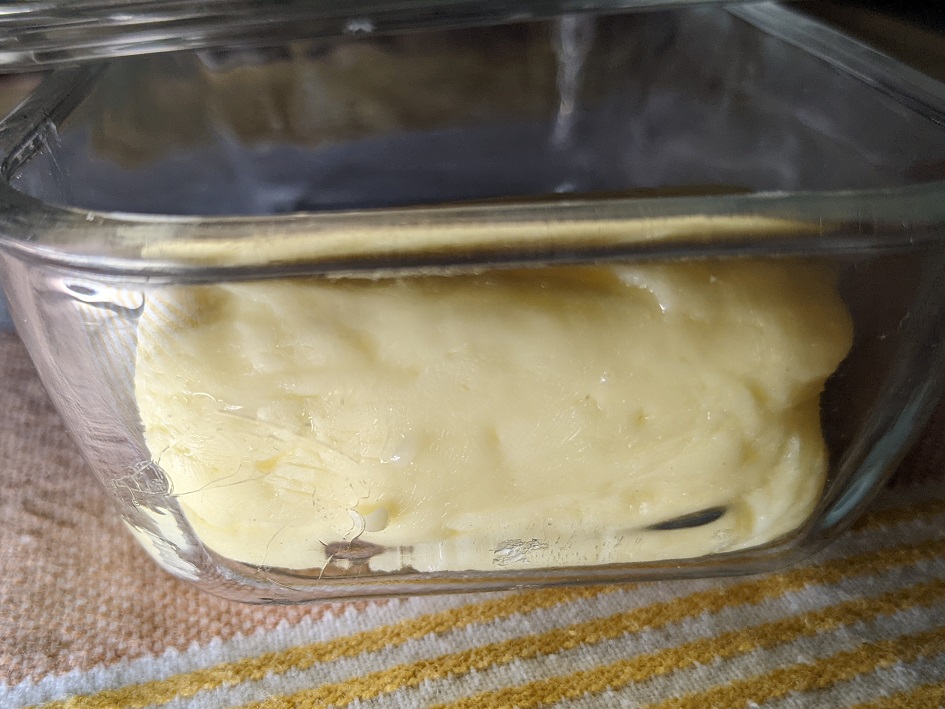
In the end, this is what I was left with:
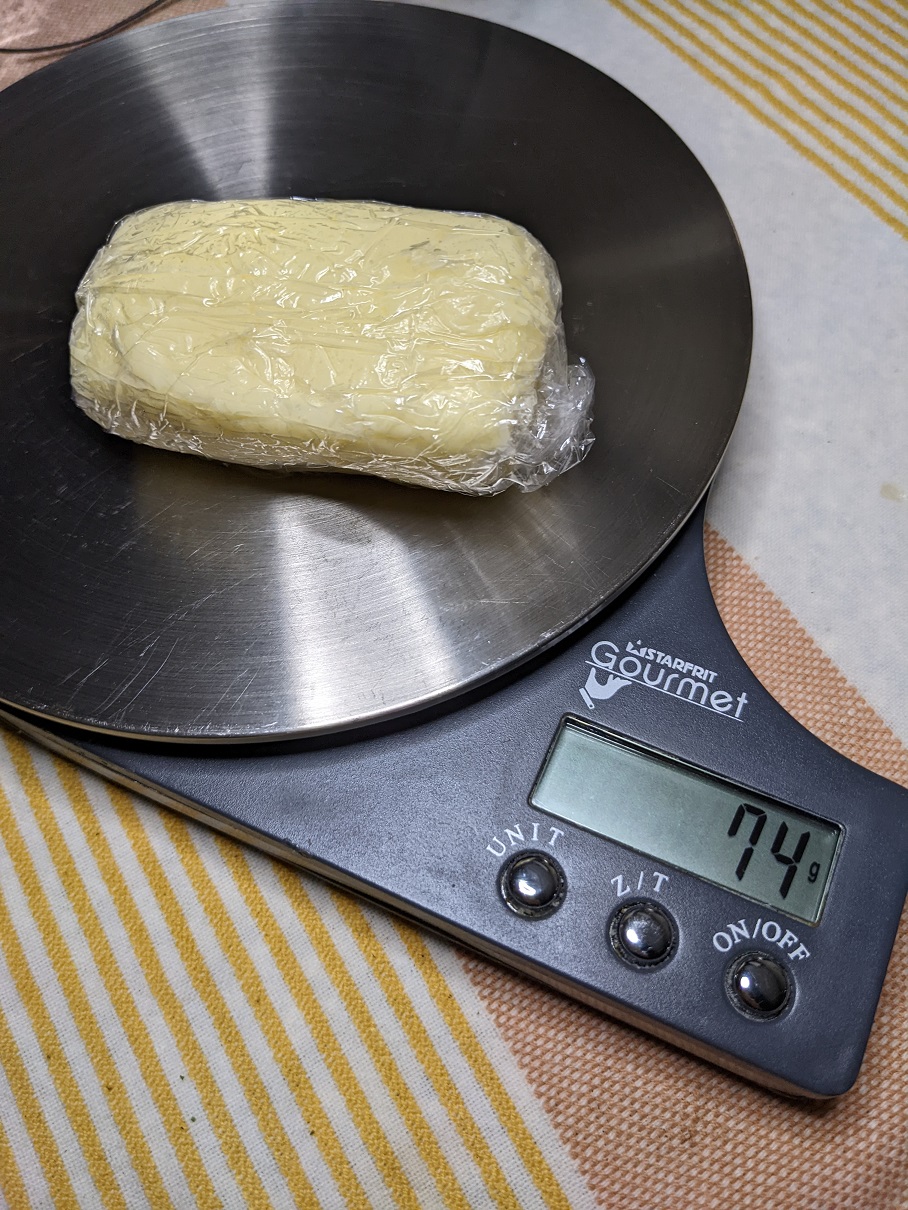
It weights 74g, and it measures out to 5″ x 3 1/4″ x 1 1/4″. All from 1 cup of cream and a bit of salt + time. This is good. I will do this more in future.
We don’t normally use a lot of butter day to day, so there is always the worry that our butter would go rancid in the fridge before we get around to using it up since I don’t do a lot of baking anymore. This will be a good money saver (hella expensive even for the low-end store butters) and a very real time saver (I typically wait for butter to go on sale, buy a few bricks, and store it in the freezer. I would then have to wait for it to thaw in the fridge over night, and then again on the counter as it comes up to room temp to use it.)
I can make a small batch in about 10 mins, and have it ready to use in a few more mins should I need it to be soft, or butter in 30 mins should it need to be firm. I hate that I didn’t try this years ago. Grr.
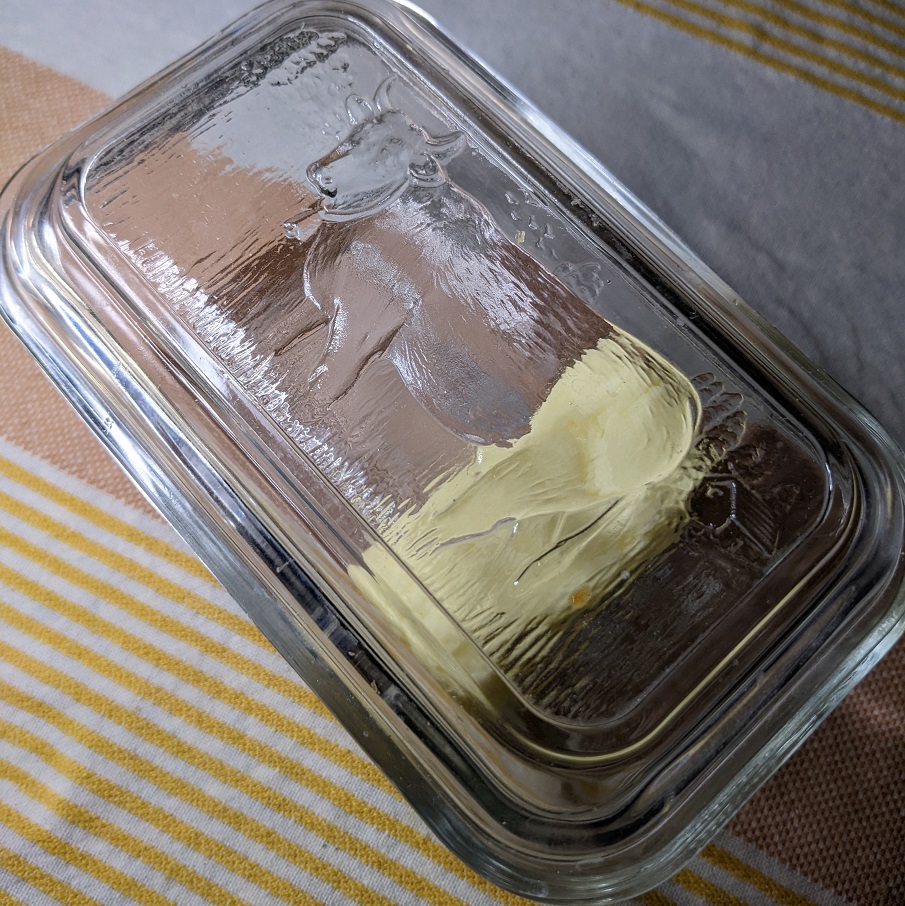
And now I finally have some pretty handmade butter to put in my late MIL’s cute glass butter dish with this cute cow embedded in the design.