The new retail cookie craze is Crumbl. There are a few other companies selling their own version from store fronts as well. But honestly, if I am going to spend $6.50 for a single cookie, it better blow my mind while it blows my budget and bank account! I can also just as easily buy the ingredients to make this knock-off cookie (minus the icing topper) for that much money. And so can you.
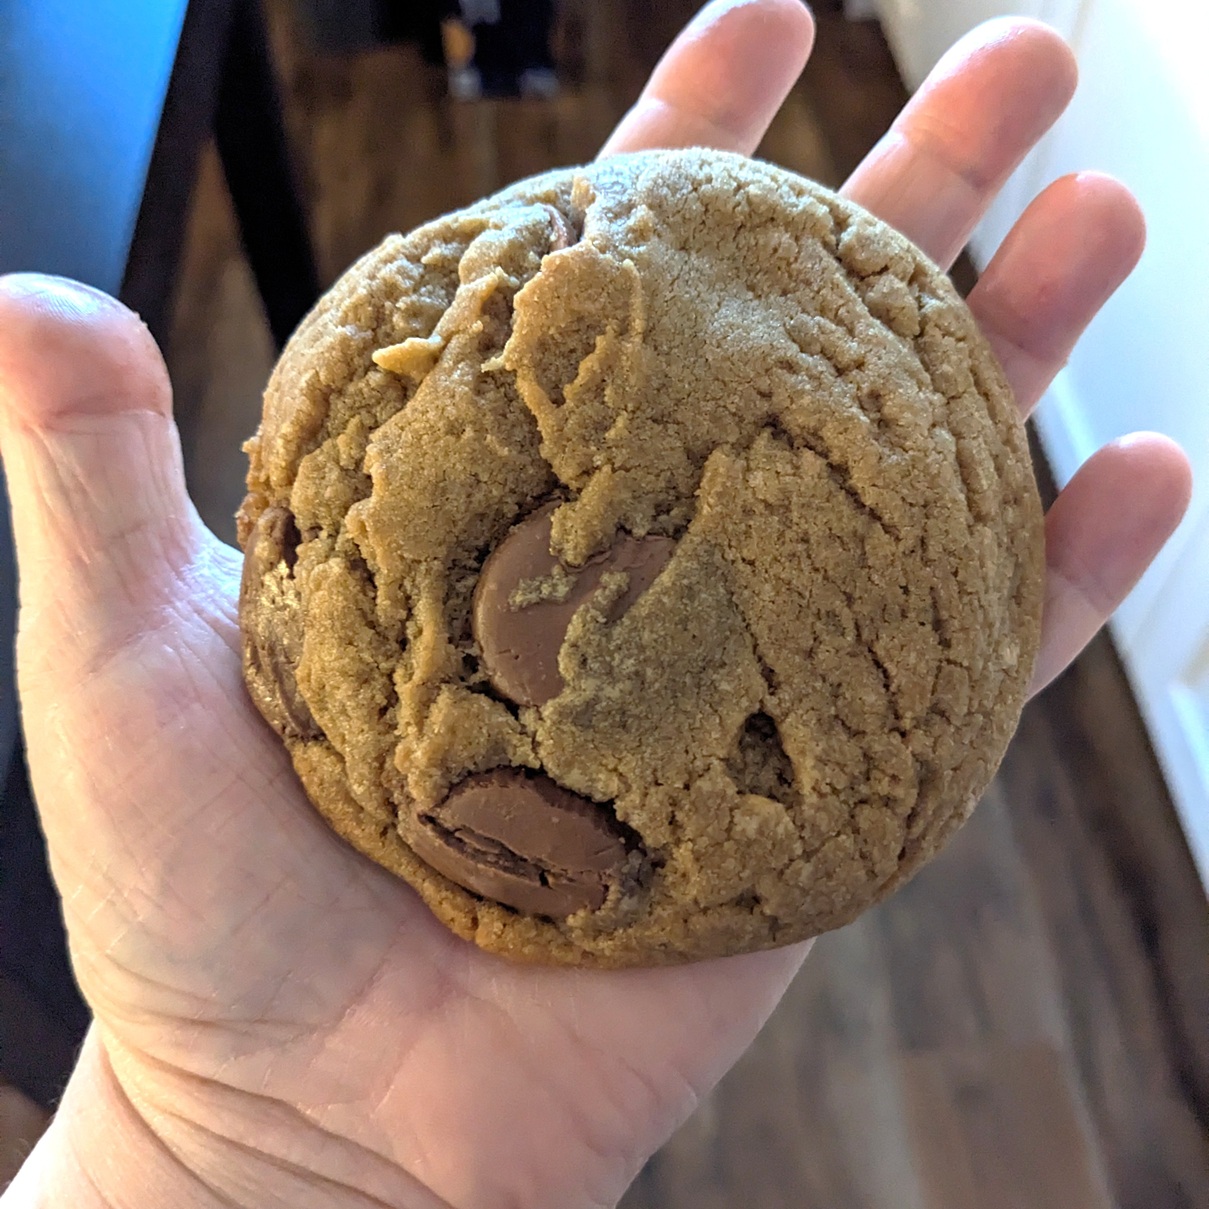
I really like a crispy exterior with a softer chewy centre. If you like the same cookie texture, you will love this recipe. Give it a test drive by halving all of the ingredients.
Thick Soft Chocolate Chip Cookies:
1 C Bread Flour + 3/4 C AP Flour *
2 Tea Salt
1 Tea Baking Soda
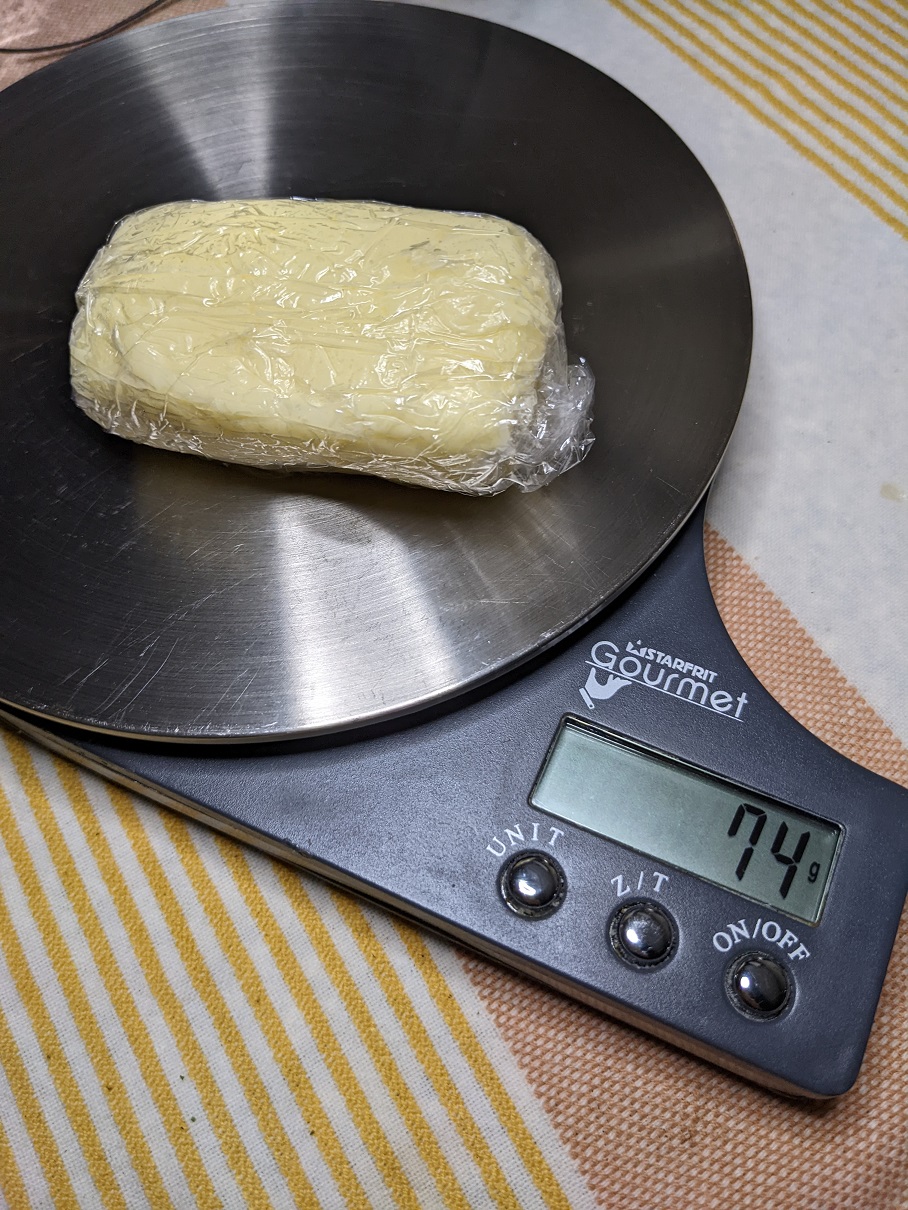
1 C Butter, melted
1 C Dark Sugar + 1/2 C White Sugar
2 Tbsp Vanilla
1 Tbsp Instant Espresso Powder
1 Egg, room temp
1/2 C Chocolate Chips (or 4 oz Chunks)
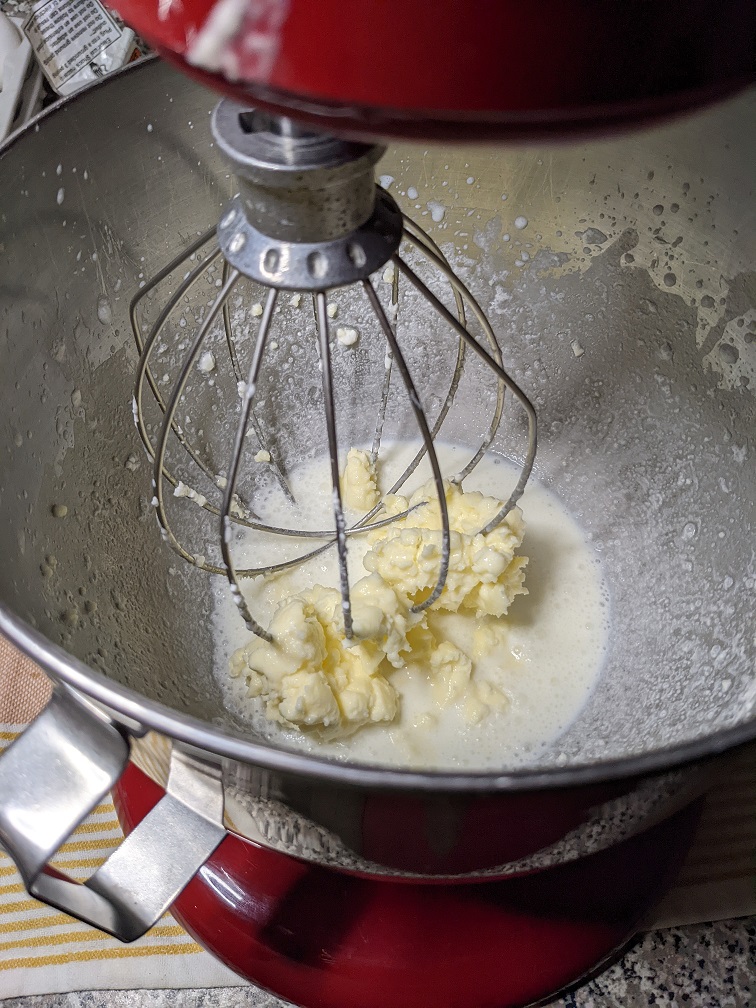
Melt the butter and let it sit on the counter about ten mins before stirring all of the wet ingredients together in the same bowl. Whisk up the dry ingredients in another bowl.
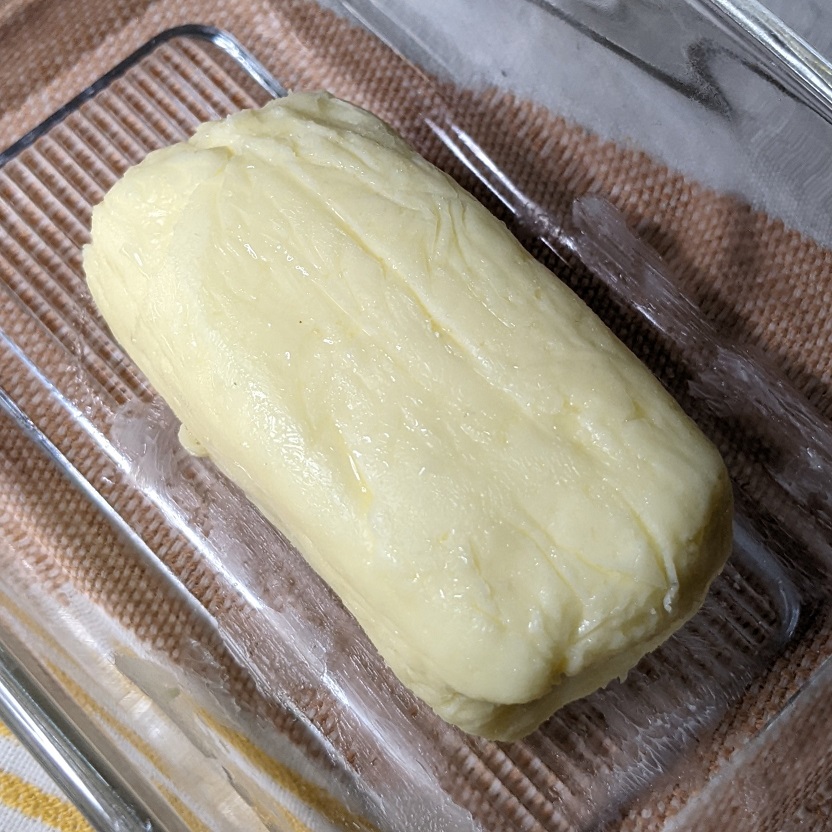
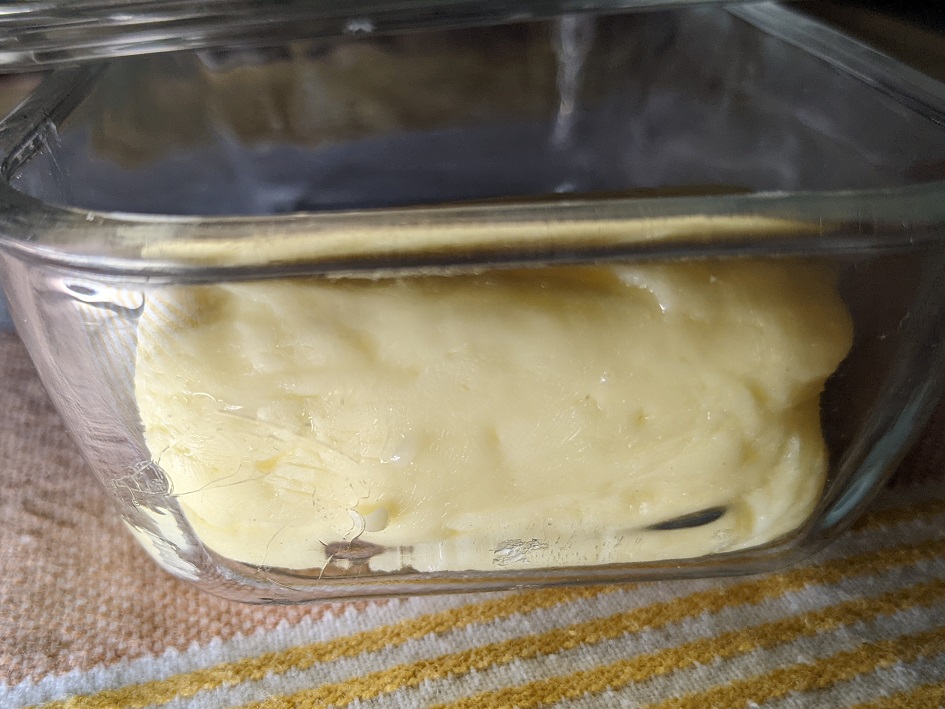
Add them together with a spatula to form the dough. Fold in the chocolate chips last. Scoop the dough out into balls onto a lined sheet tray to chill for at least 24 hours. This is a key step. Don’t skip it!
Bake at 355*F for 20 mins. Rest the cookies on a wire rack after a ten min rest out of the oven. Cool completely before topping with an icing if using.
* Bread flour is too expensive and takes up too much room in my pantry, so here’s how I do make my own at home: I mix 1 cup AP flour (minus 1 tbsp) + 1 tbsp Wheat Gluten. *
Awhile back I bought a bag of Bob Mills Vital wheat gluten when it went on sale for making my own bread flour so I can bake proper loaves of bread. Each batch requires so little that I have been storing it in my freezer all year since. It barely takes up space.
I made these 5 cookie test batch a week ago using my biggest 3 oz disher but I found by the time I got well past the halfway point, I started to feel gross in the gut. I figure one half size cookie should be the ideal size for me.
 Going forward, I will be using my half-ish size 2 oz disher from now on for more reasonable sized cookies. I also have a smaller 1 oz disher for a mini cookie version.
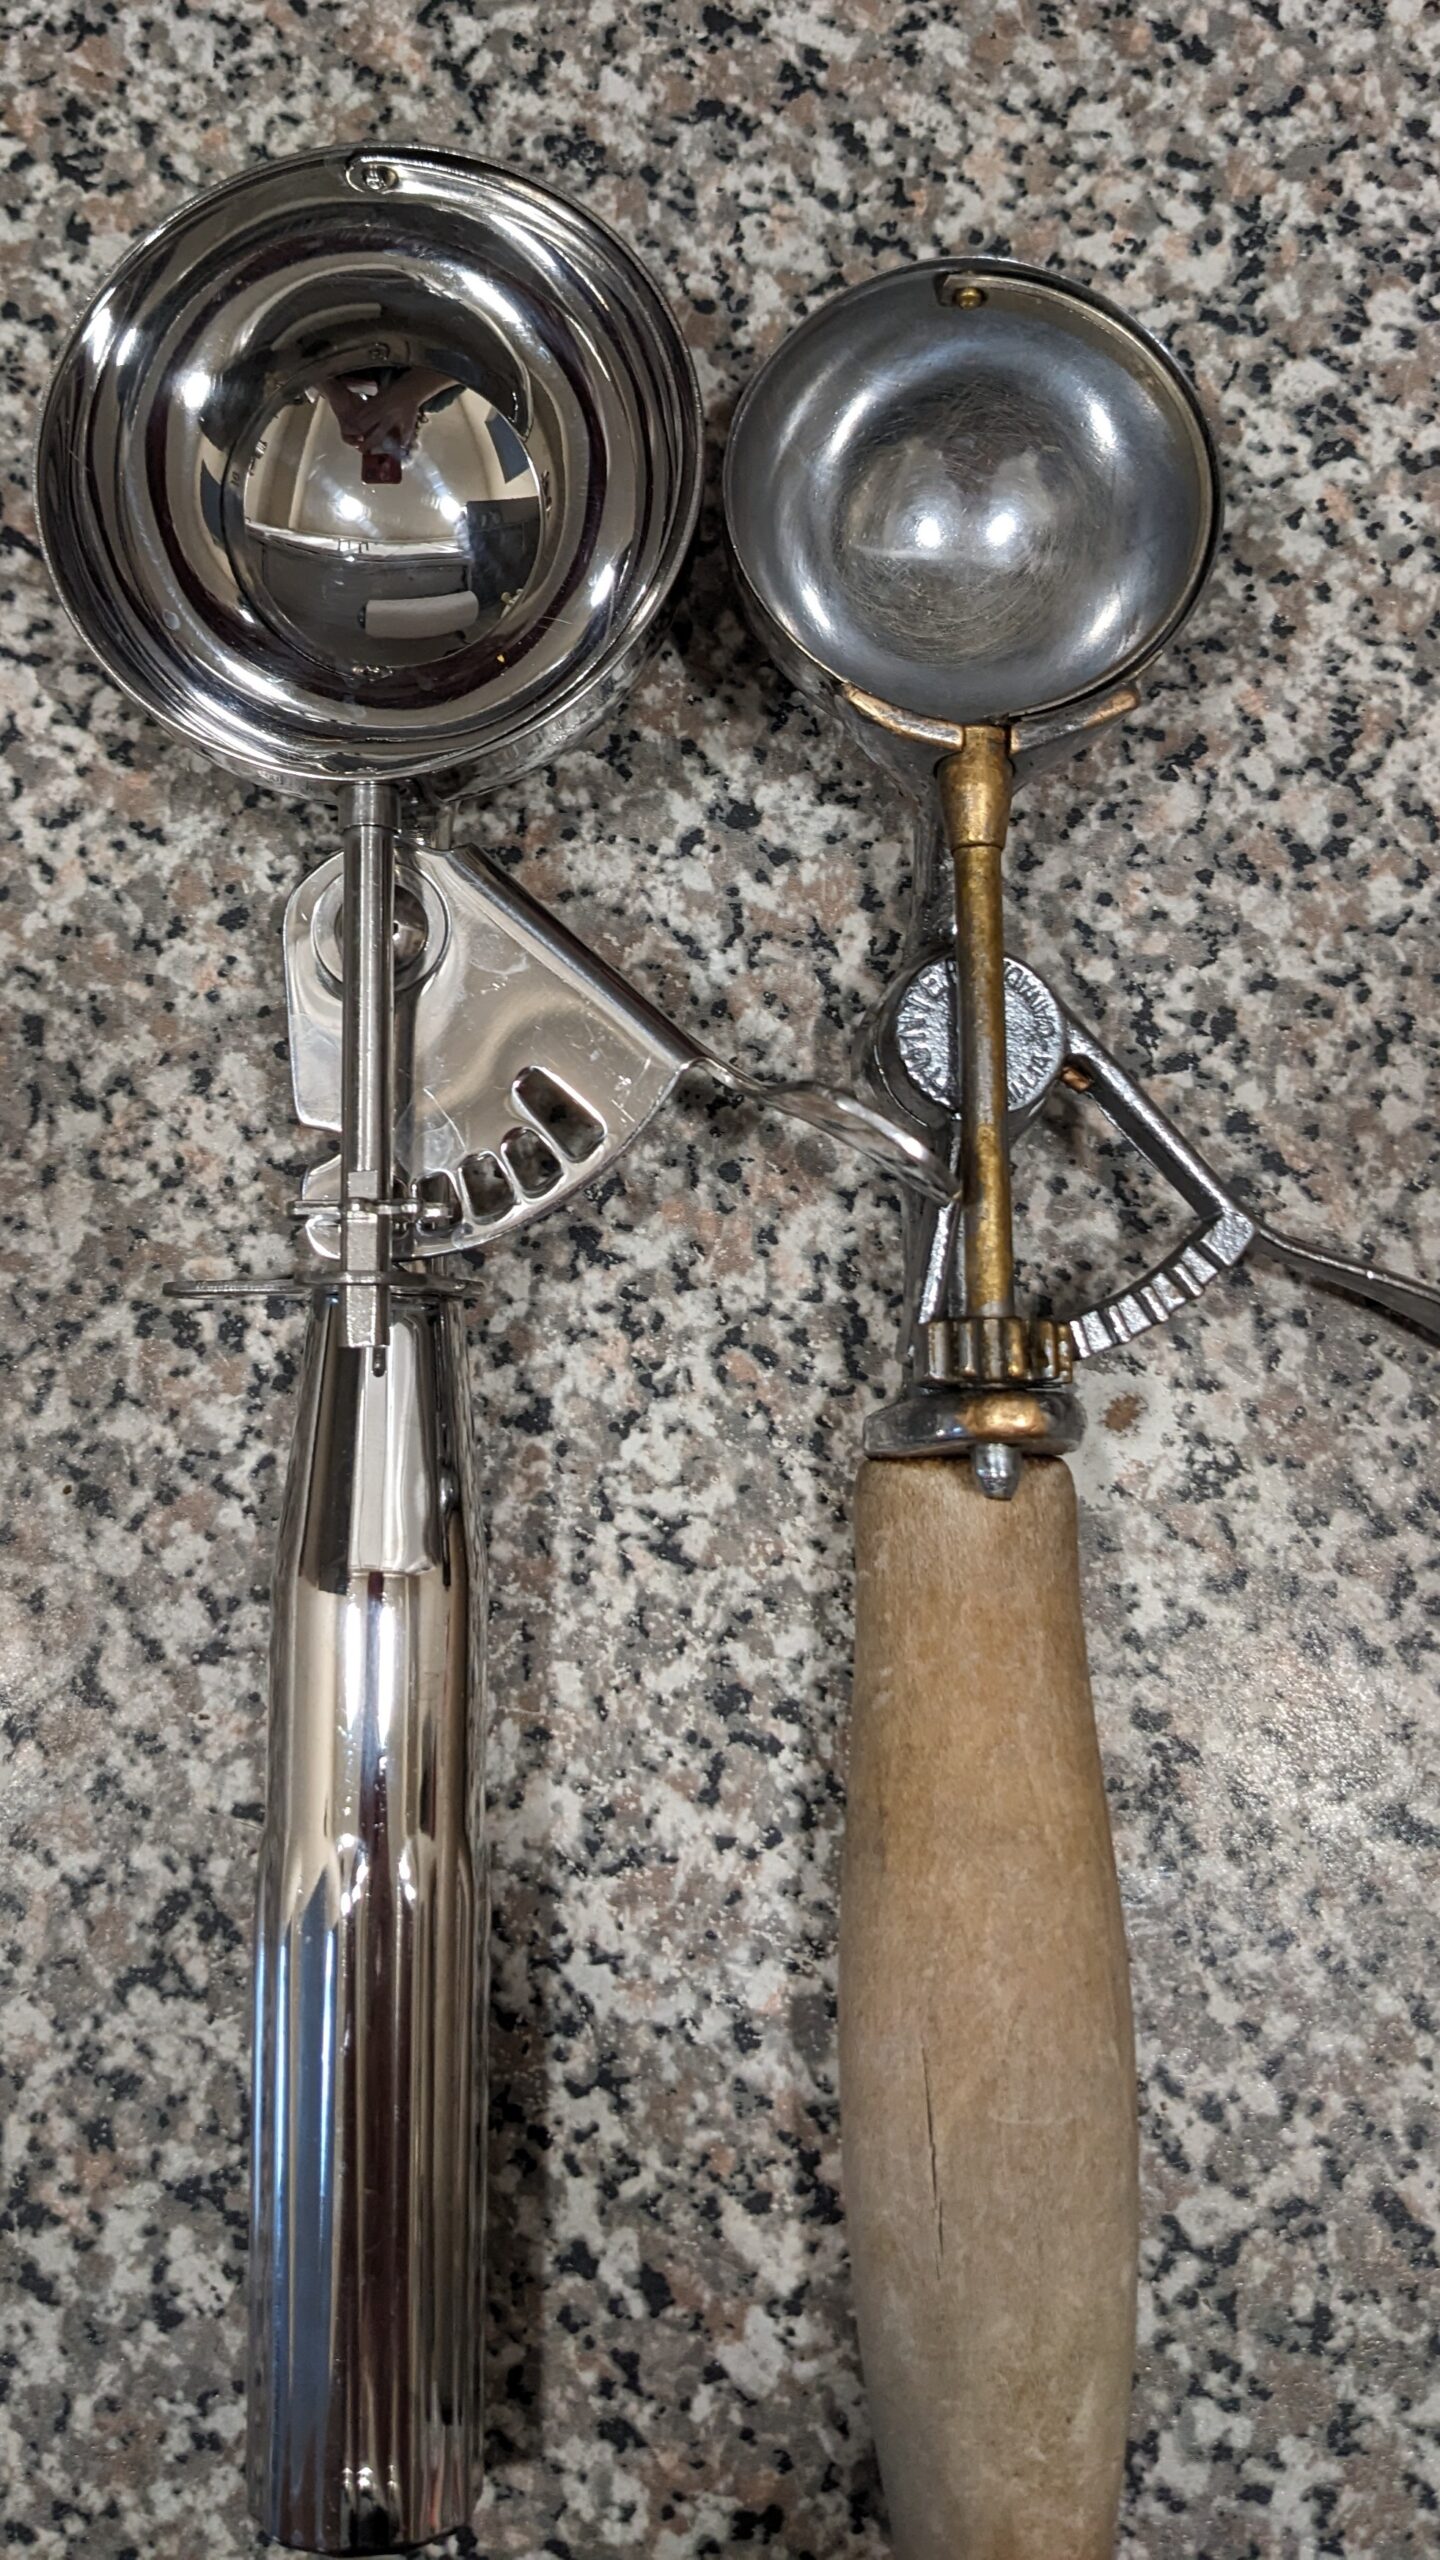
This wooden disher is an antique. I was given to me by the master baker I used to work for something like 18 years ago. It still works beautifully, unlike its modern version that doesn’t hold up scooping out thick doughs or frozen ice cream. I’ve broken a few modern dishers over the years. These two are my standard for loaded cookie doughs, and the smaller size not shown does a great job on softer plain cookie doughs.