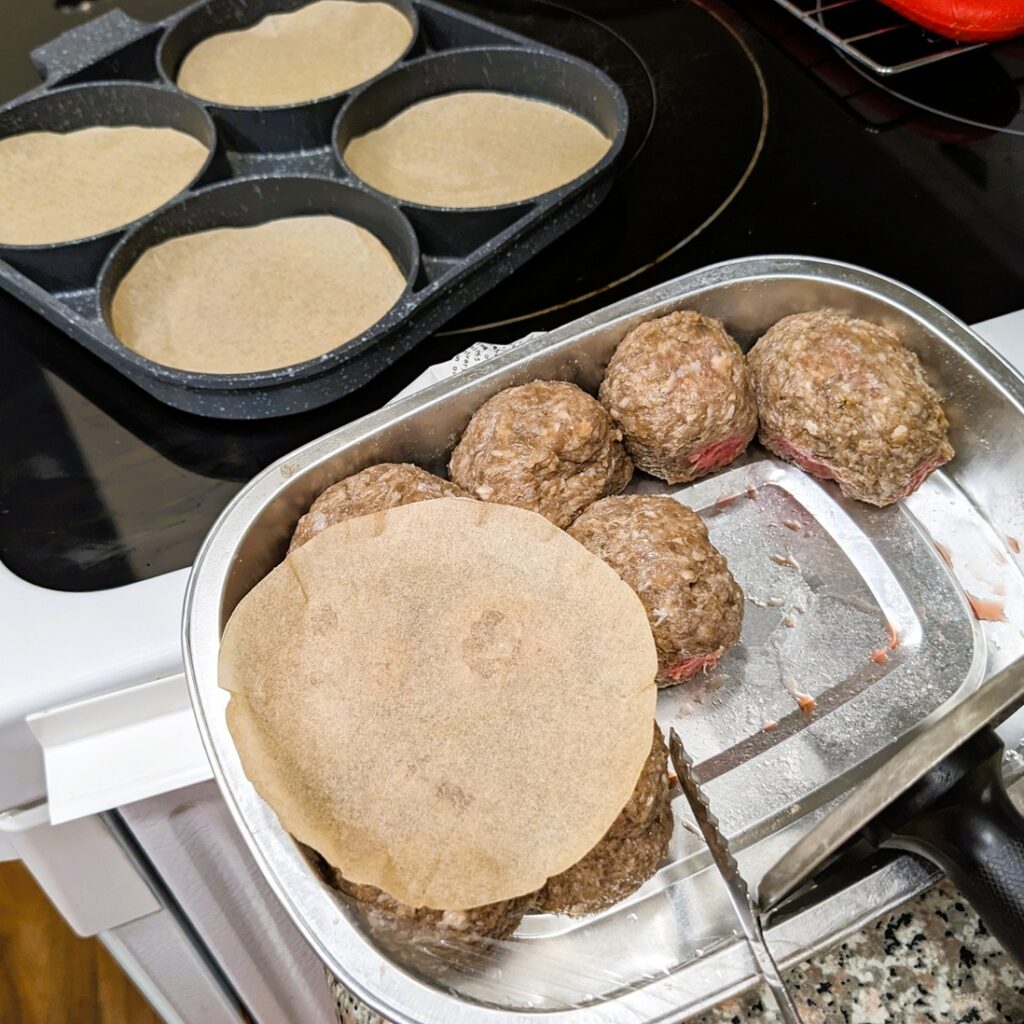
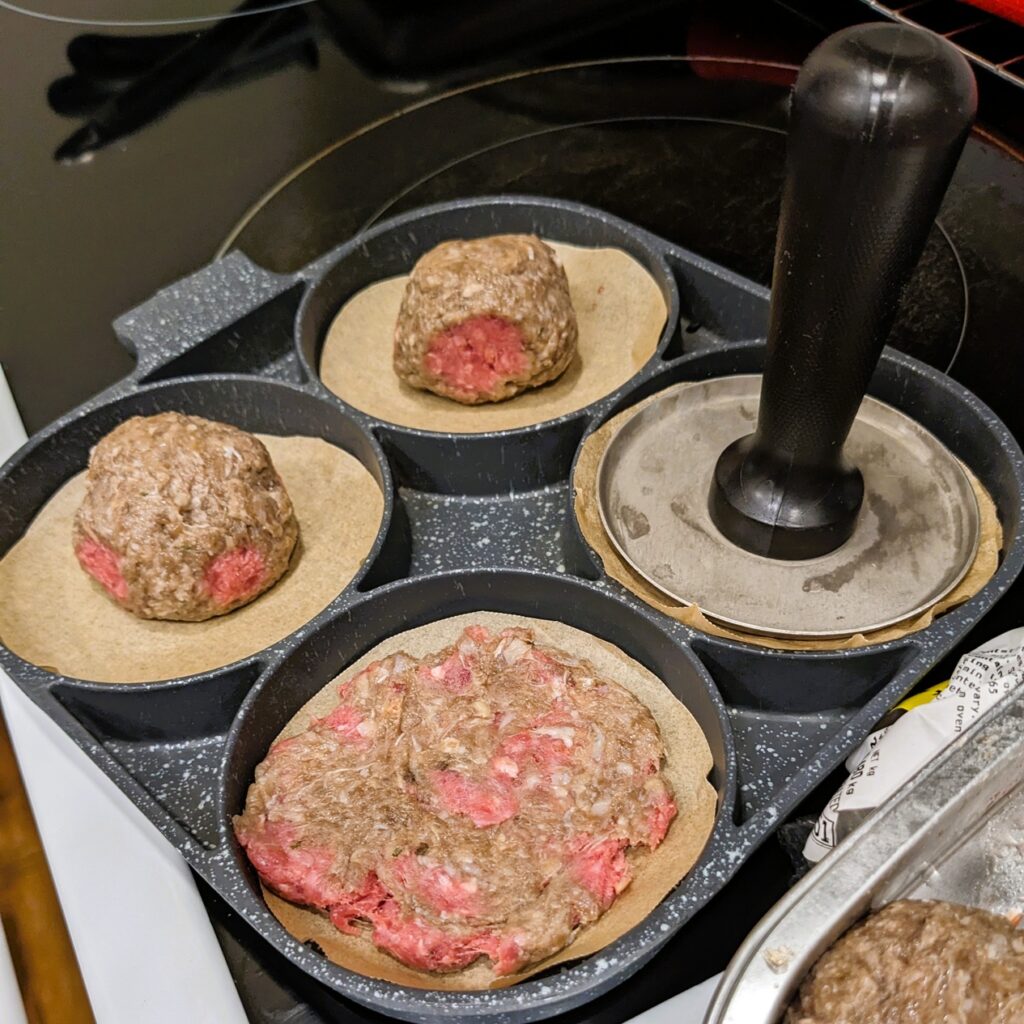
I prepped some meatballs into mini breakfast rounds for future McGriddle sandwiches. I used my cute hamburger/egg pan to form the patty by laying down a parchment paper round, topping it with a meatball that I pushed down on a bit before covering it with more parchment and using my slider patty hammer (I don’t know what it’s called) to press it out to a thin round of meat.
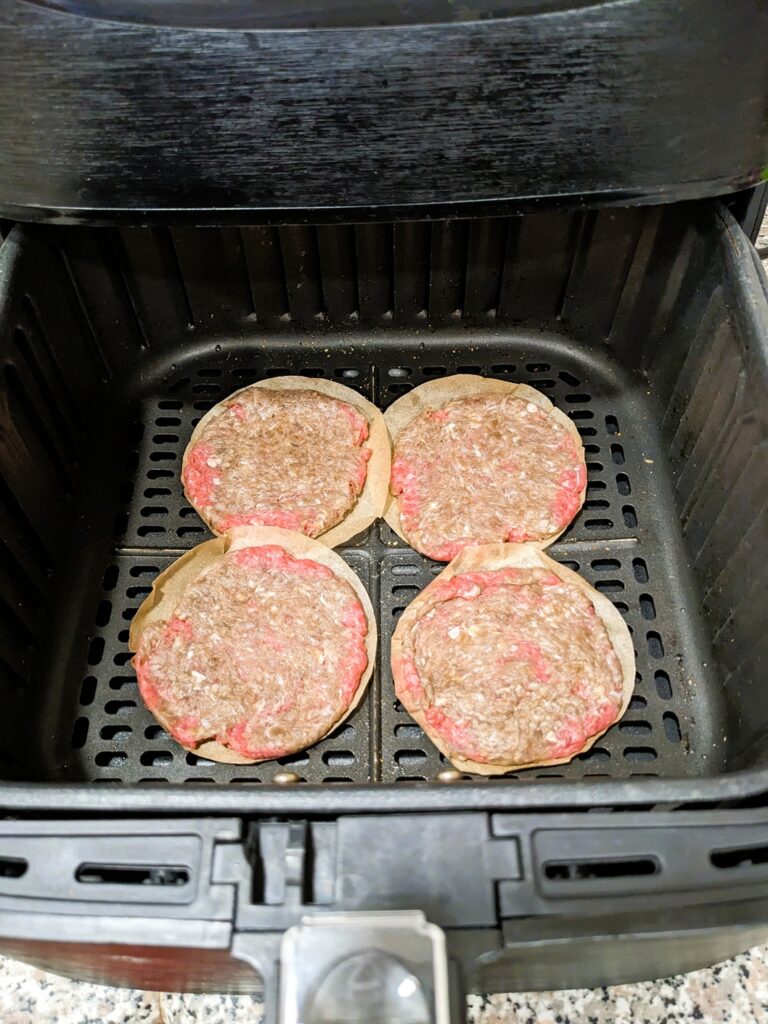
Each meat then got air fried until they were fully cooked. After cooling them on a rack, I bagged them up to store them in the freezer for our weekend breakfasts together.
I wasn’t sure if this was going to work or not, so I bought a tray of meatballs that were reduced to clear, hence the different colours in the meat where the air oxidized the meat versus the red-pink of the meat underneath. Ultimately that oxidation didn’t matter since I cooked the meat to one uniform brown colour the same day I bought the meatballs.
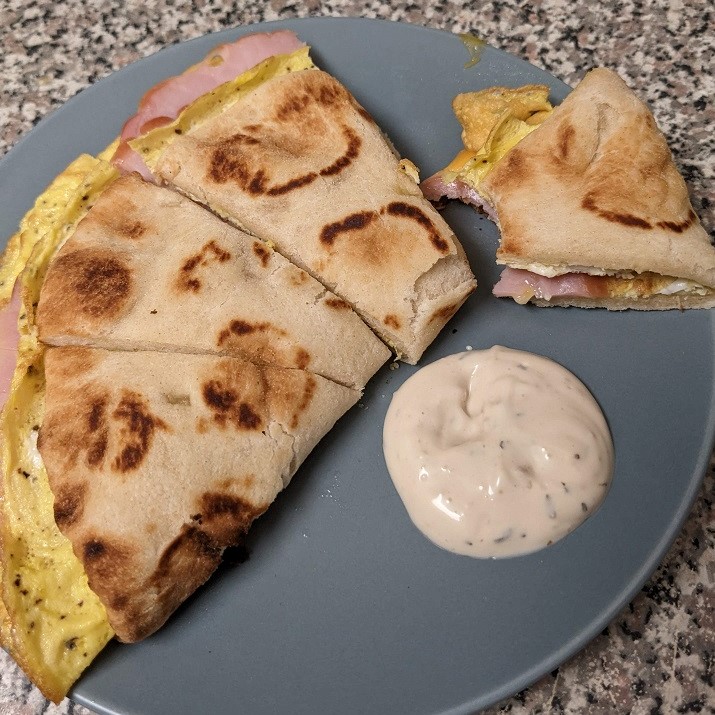
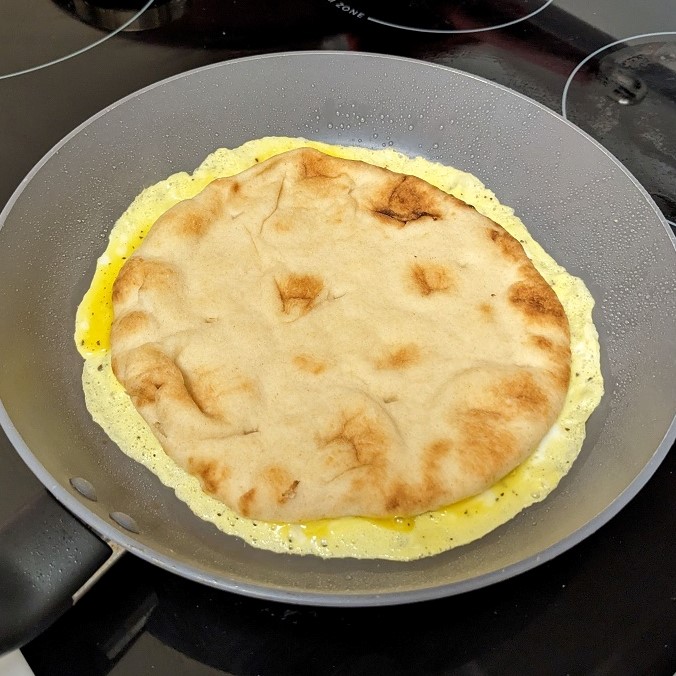
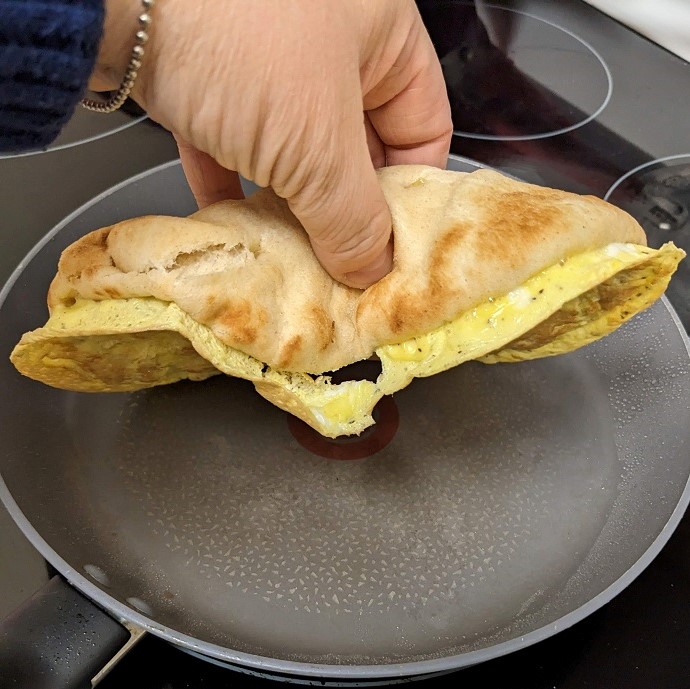
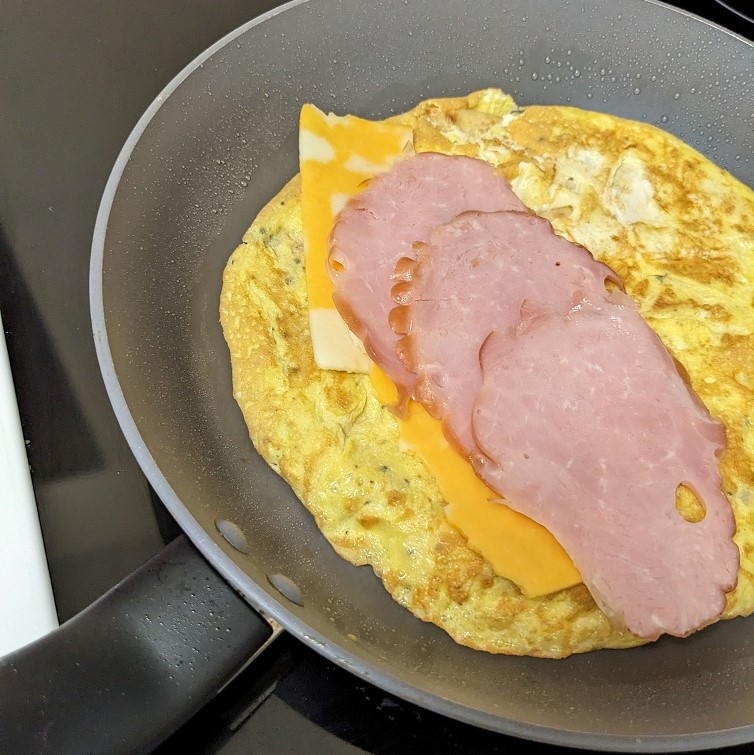
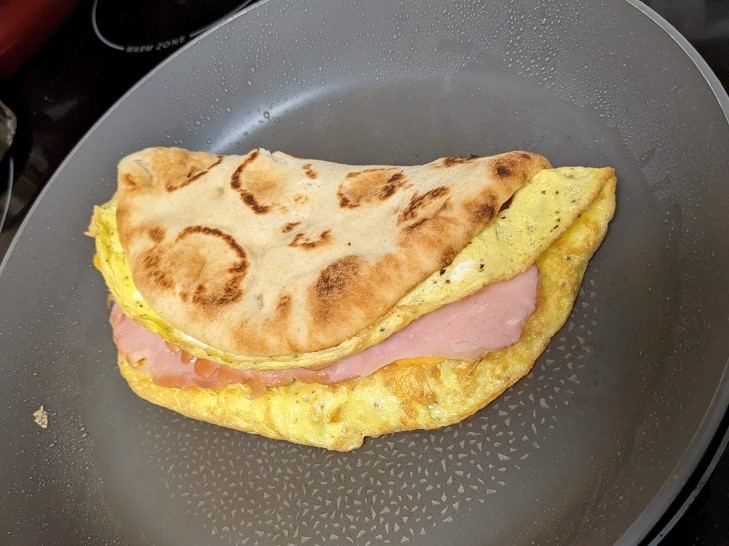
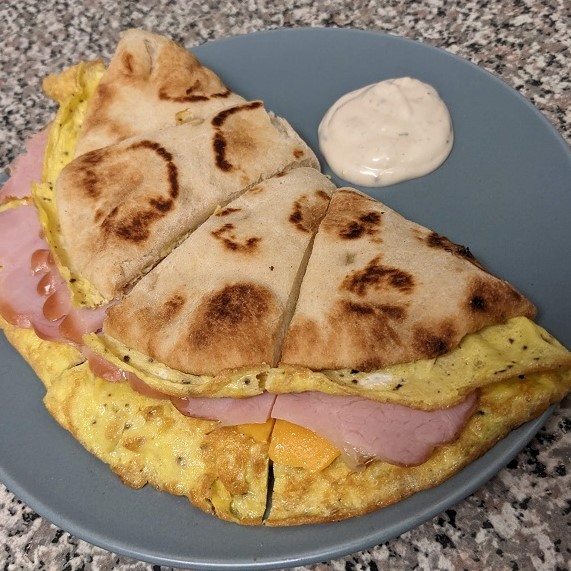
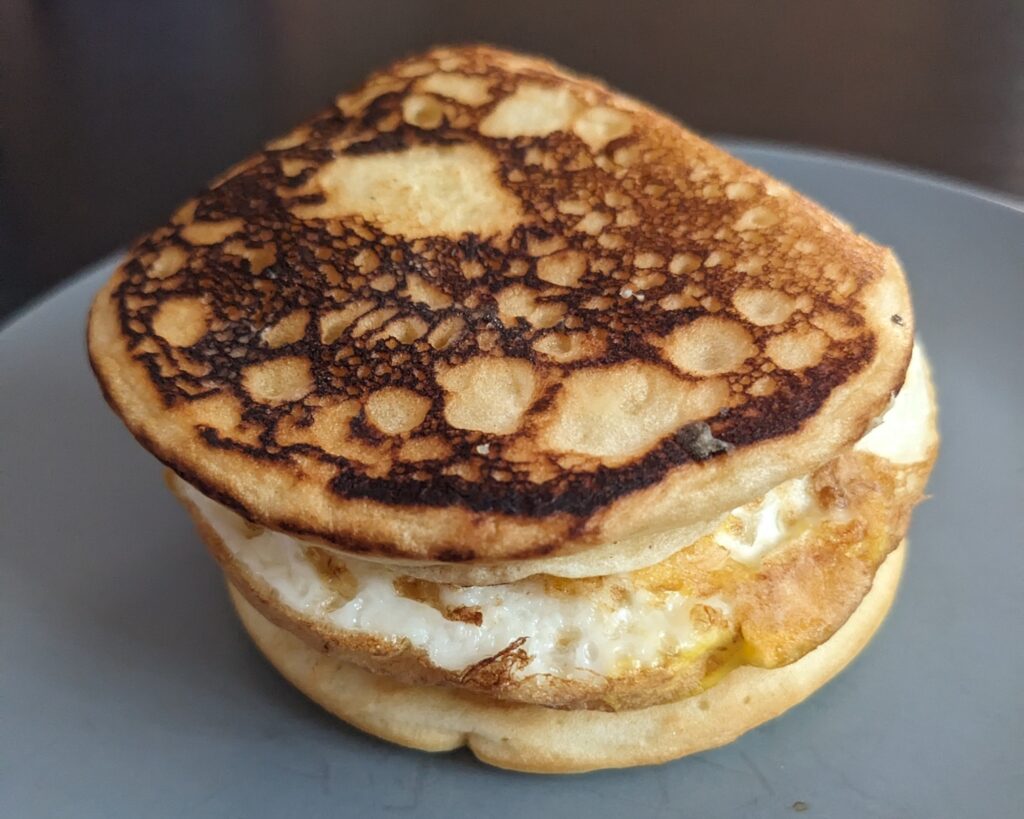
Here is the final version of my knock-off McGriddle. I use a few tiny slices of cheese to hold the egg and meat together as a stack before placing them between two pancake ‘buns’ that may or may not have been drizzled with maple syrup right before serving.
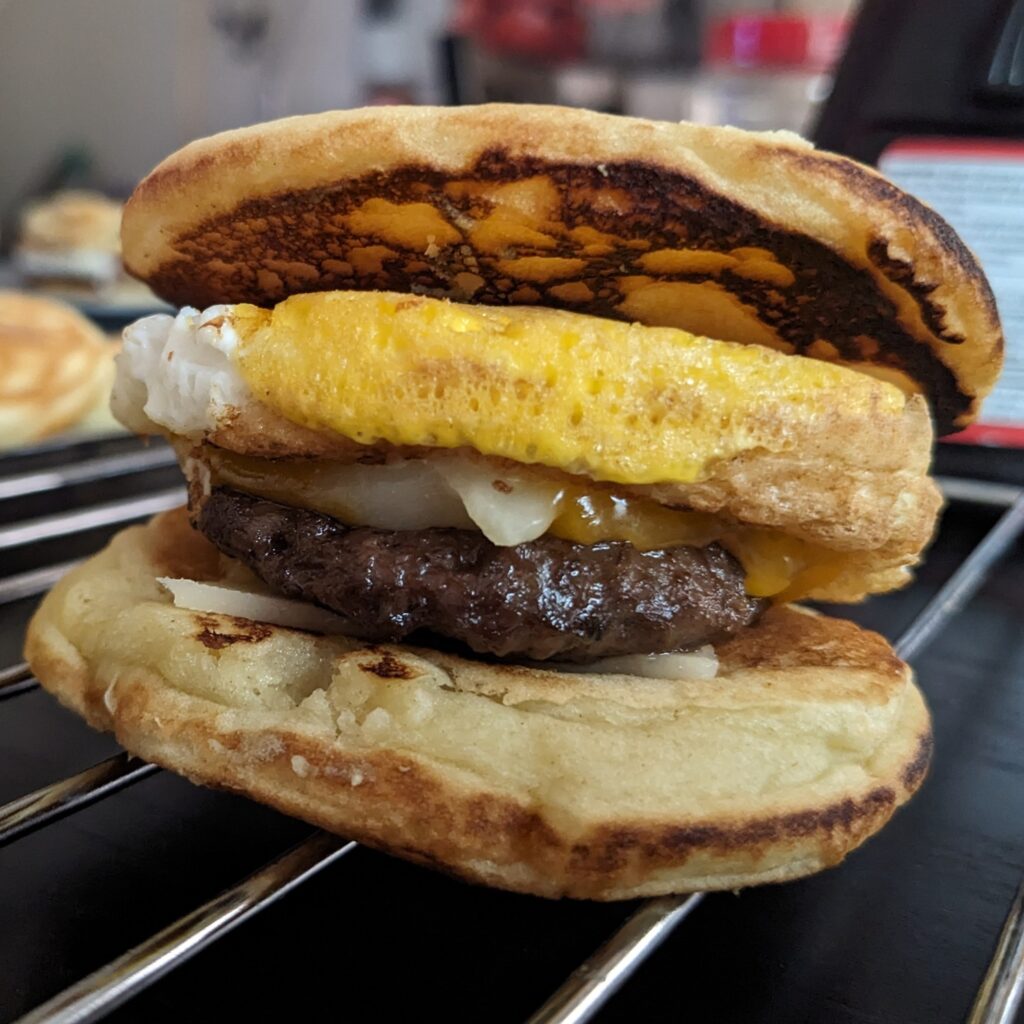
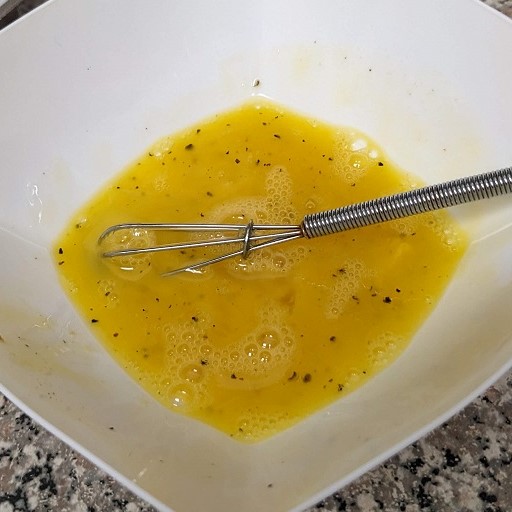
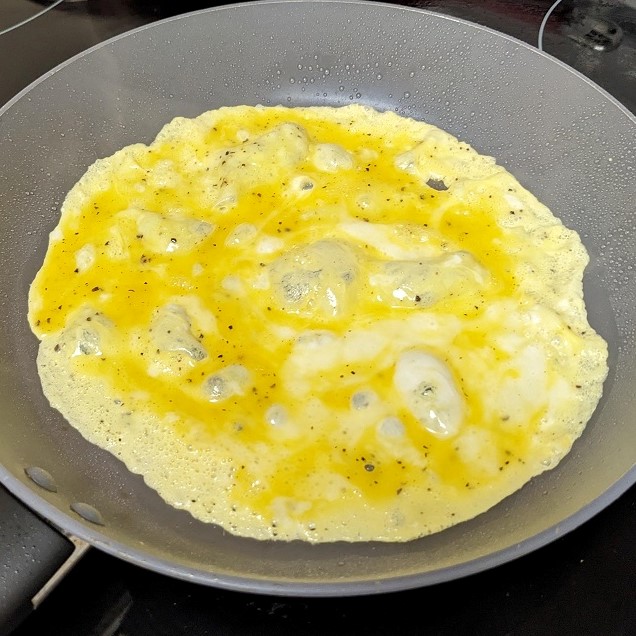
Each egg layer was cooked in my hamburger pan. I cracked one egg inside each well, broke up the yolks, seasoned with S&P, and then flipped when the top edges were no longer wet looking with a small spatula and a fork. This process took less than three mins. The pancakes took a bit longer per side in the same pan.
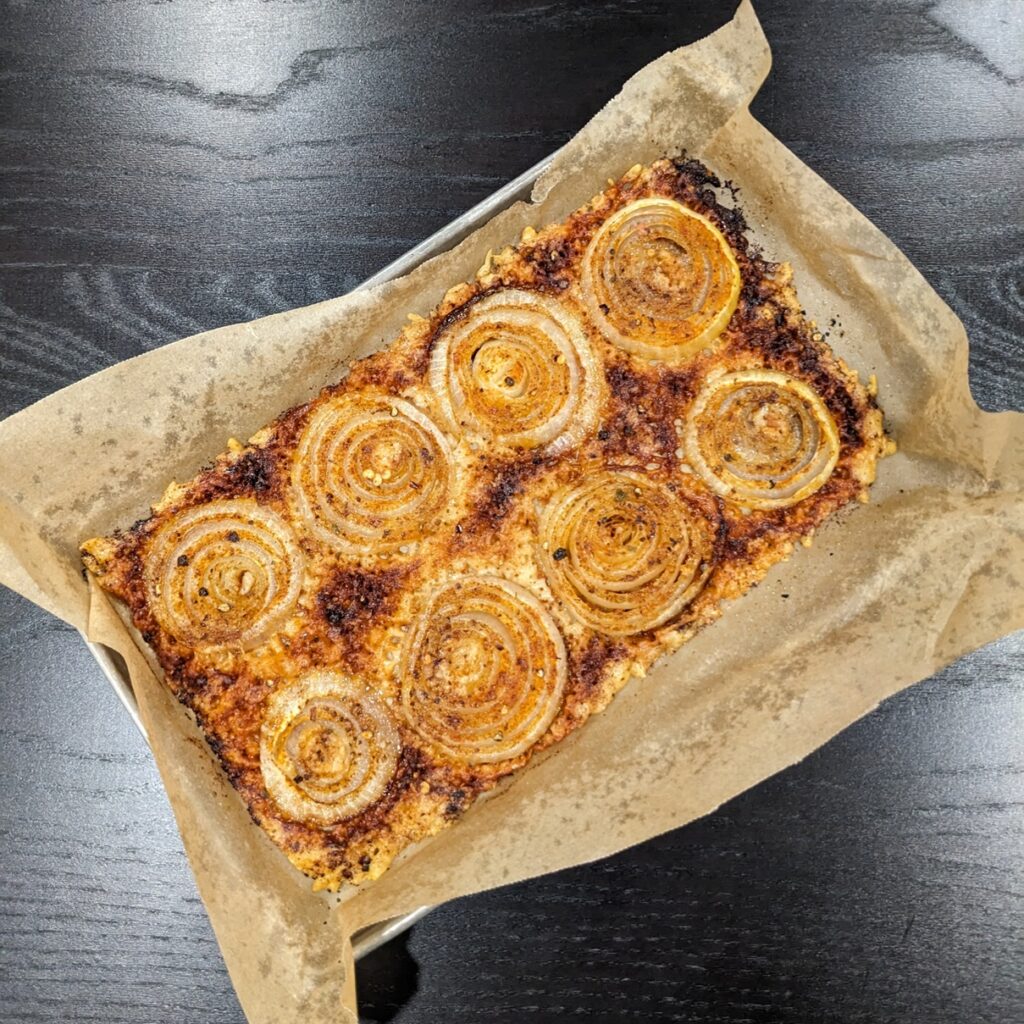
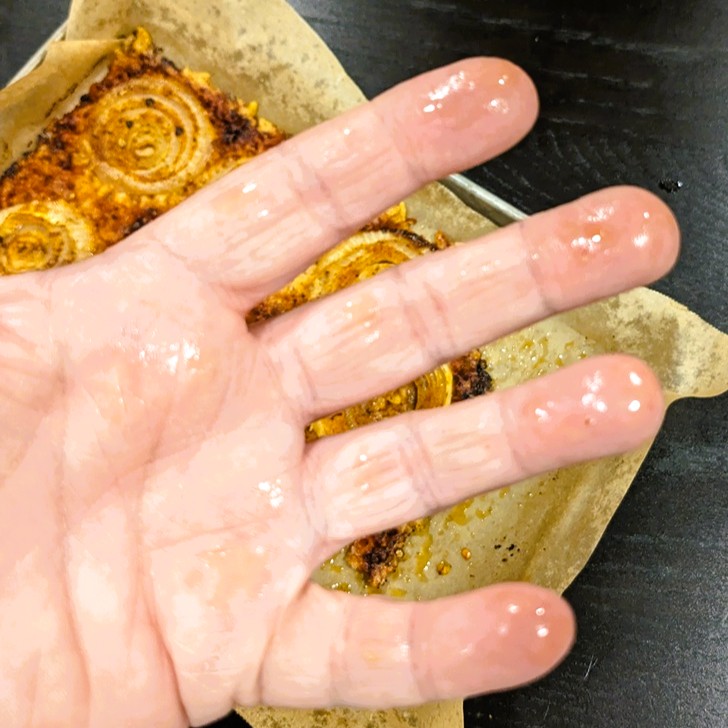 I didn’t like it. It was too greasy even after it cooled down to almost room temp (so how is that appetizing??), and I didn’t like the seasoning blend every one seem to suggest was the best for basic onion rings you’d normally order in a diner.
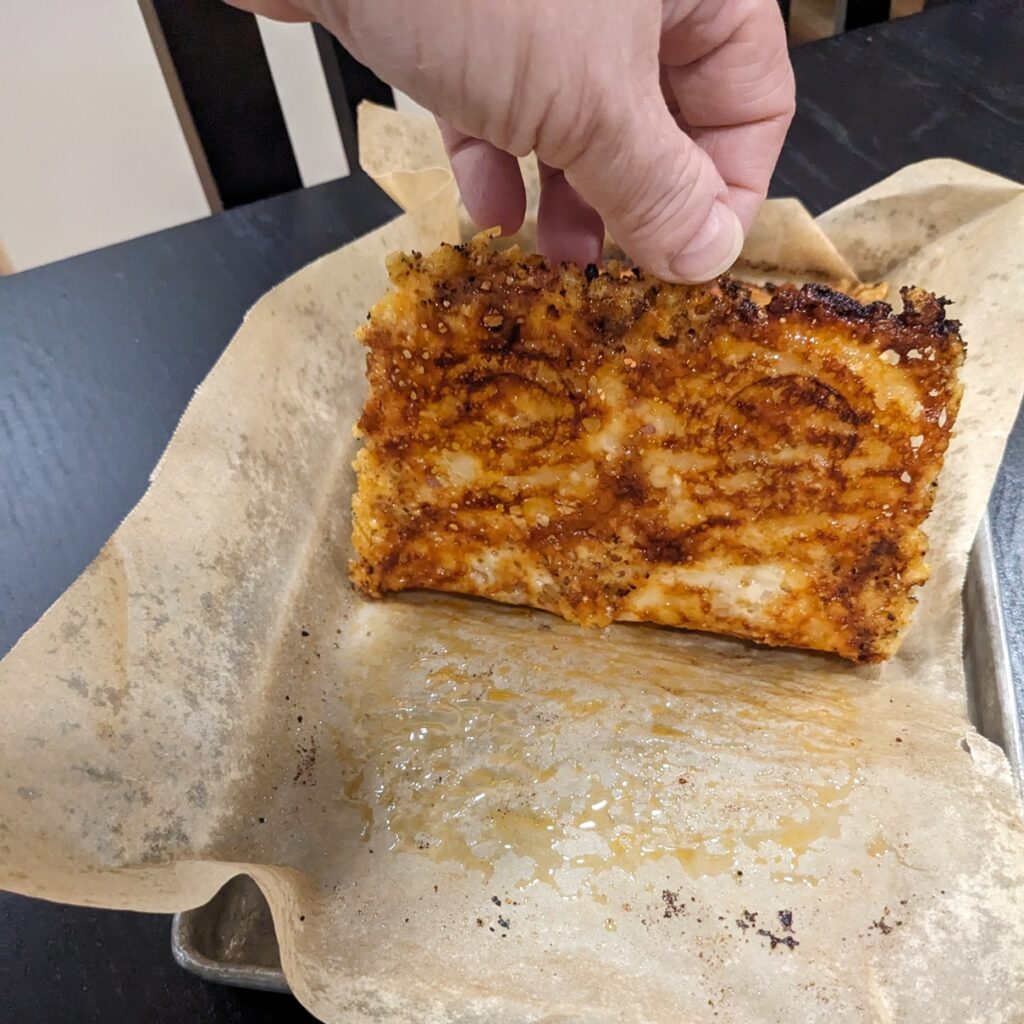
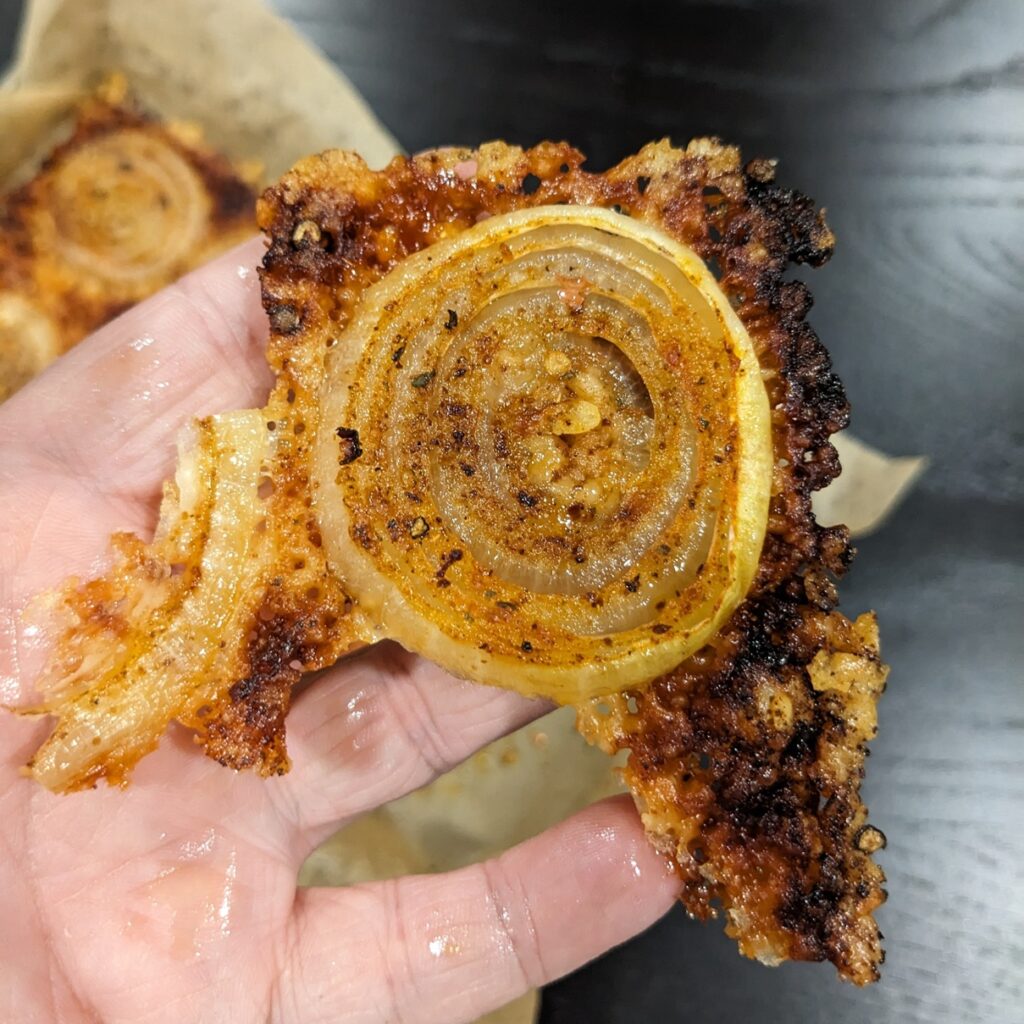 I’m only into the way the parm cheese baked up. That part was tasty and I ended up eating that and throwing the onion rings away. The cheese also produced a really pleasing colour on the bottom of the whole thing.