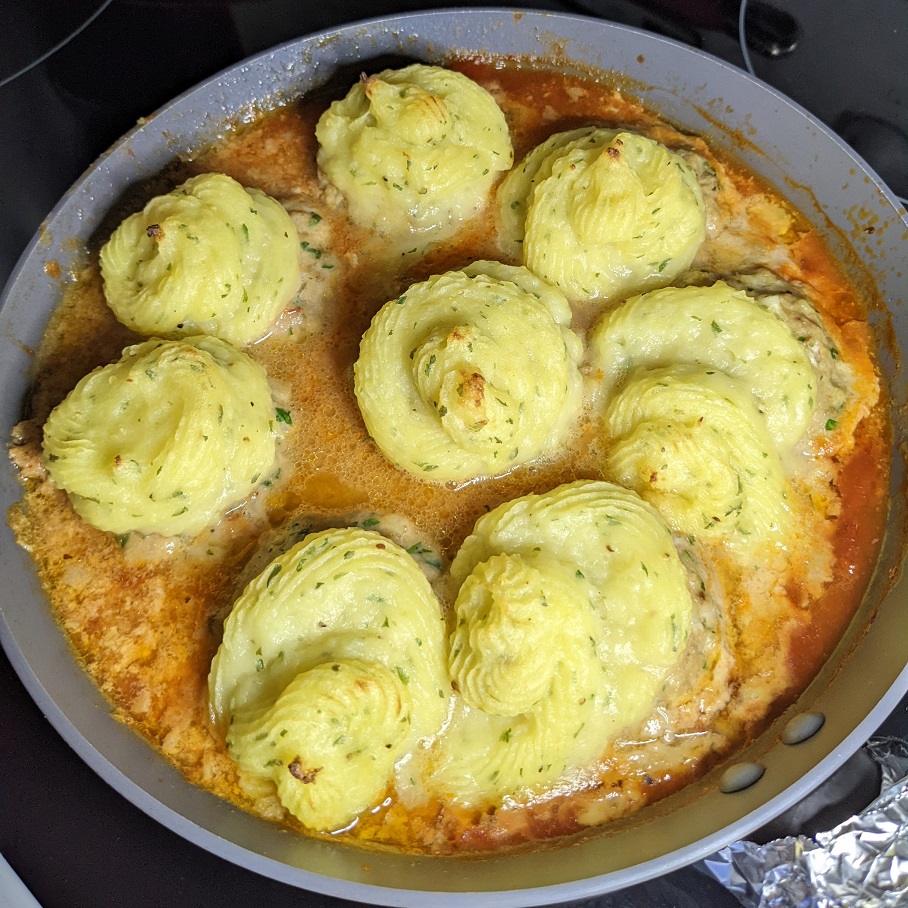
I lost the YouTube video link, but thankfully I scribbled down some notes as I watched it. I didn’t think much of the recipe’s concept, but I do love piping mash potatoes, so I gave this one a whirl.
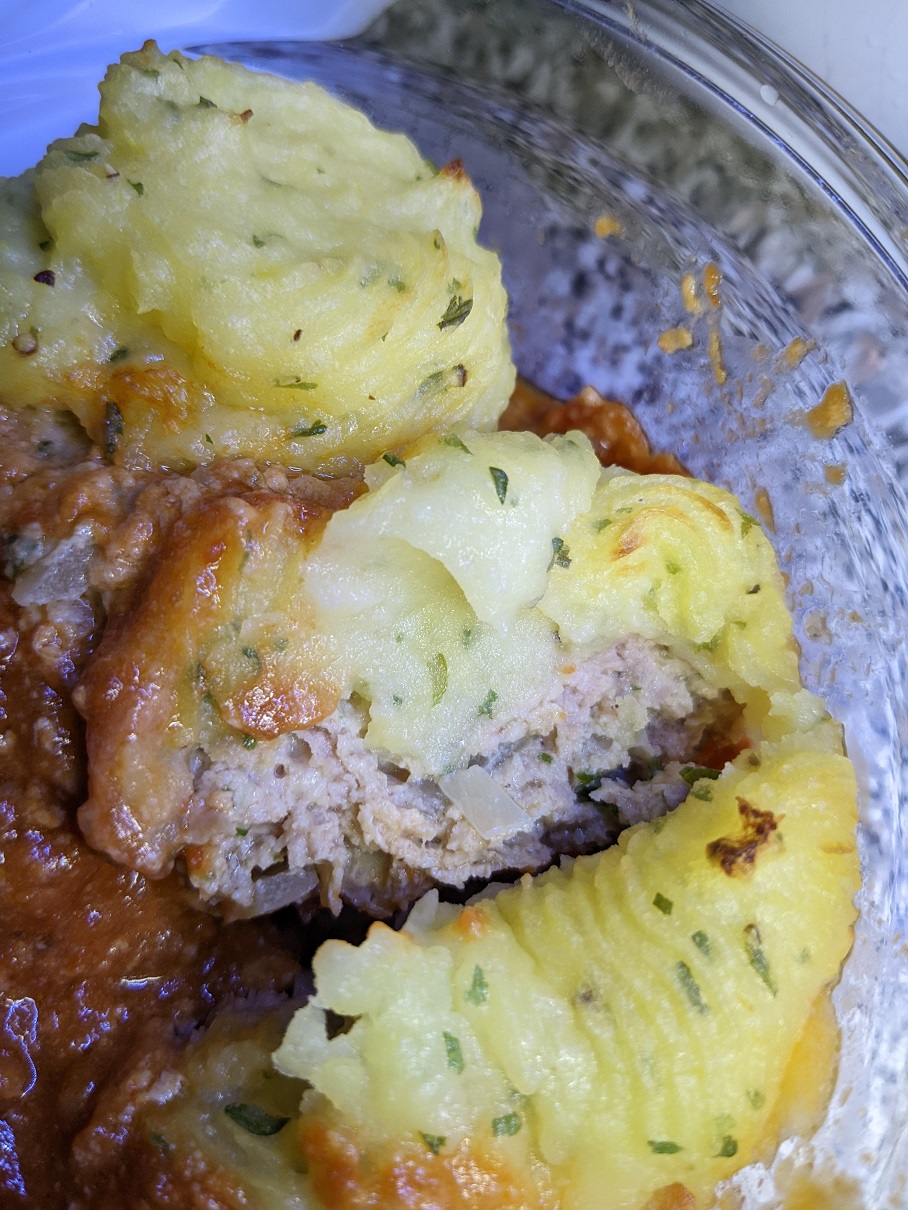
And we are glad I did. We loved it. I have plans to turn this into a Shepards Pie meal. I also want to try stuffing an egg yolk under the mash next time.
This recipe is good for 8 bombs, but you can easily cut it in half for a lovely dinner for two, or for a solo dinner + a lunch for the next day.
Meat & Potato Bombs:
400 g Ground Meat (of choice – I used turkey. It might have been chicken. I forget.)
1/2 Yellow Onion, diced or grated
2 Garlic Cloves, minced or grated
1 tbsp AP Flour
3 tbsp Neutral Oil
1 Yolk
S&P
Parsley, chopped
Mix this by hand to form the patties. Place on a small sheet tray or a big plate and wrap to chill 30 mins. In the meantime, work on the mash. Preheat oven to 350*.
2 Medium Sized Yukon Potatoes (you can use Russet instead), 1″ x 1″ cubes
1 tbsp Salt
From cold water, bring the potatoes in water to a boil with the salt in. Let it boil until the edges of each cube look slightly fuzzy. It should be about 10 mins or so. Drain and process the potatoes into a medium size bowl using a ricer. This tool gives the smoothest mash needed for piping.
40 g Butter
1/2 C Milk
50 g Cheddar Cheese, grated
Pinches of Salt & Nutmeg (if you like it; I don’t)
Warm up this in a small sauce pan as soon as you drain the potatoes and start ricing. At the same time, warm up some pasta sauce. (Jarred is fine, or make a fast pasta sauce using the following.)
Take the bombs out of the fridge. After all the ricing is done, add the dairy mixture. Fold in gently.
100 g Passata Sauce
30 g Olive Oil
1/4 tea Italian Seasonings (rubbed between your fingers first)
S&P
Lay a scant bit of pasta sauce on bottom of a small baking dish or a skillet that is oven proof. Set it aside. Place the bombs over the pasta sauce. Use a finger to indent the middle of the bombs a bit.
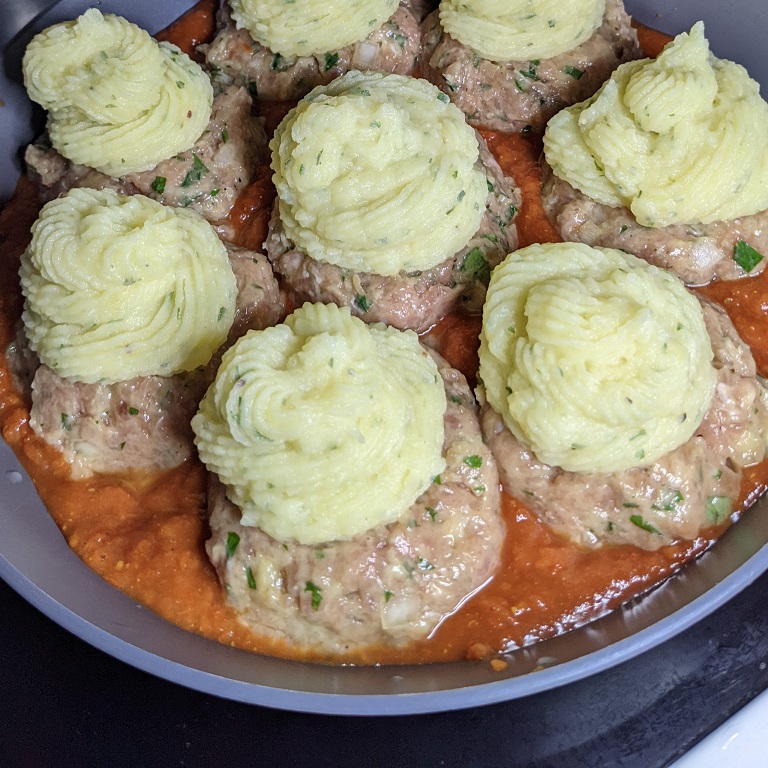
Set up a piping bag with a star tip inserted in the bottom hole. Spoon mash into the bag and pipe it over the bombs starting in the middle, moving out to the edge while circling it into a hive like shape.
Spoon the rest of the pasta sauce between the bombs. Cover the pan’s handle with a sheet of tin foil if it’s plastic in nature to protect it. Otherwise, pop the dish or skillet into the oven.
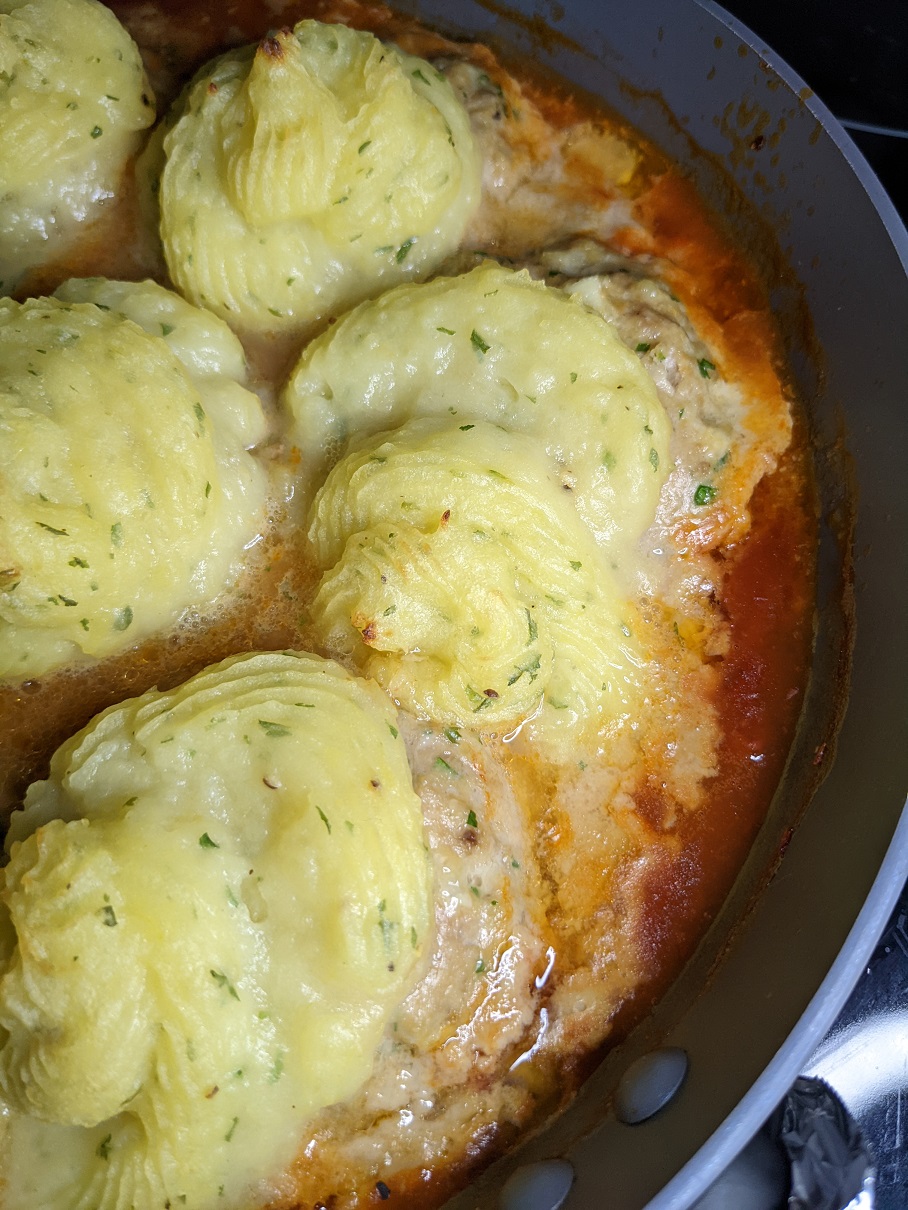
Bake for 30 mins. Longer if you want more colour on the tips of the mash potatoes.
Serve with a side of your choice.
Like this:
Like Loading...

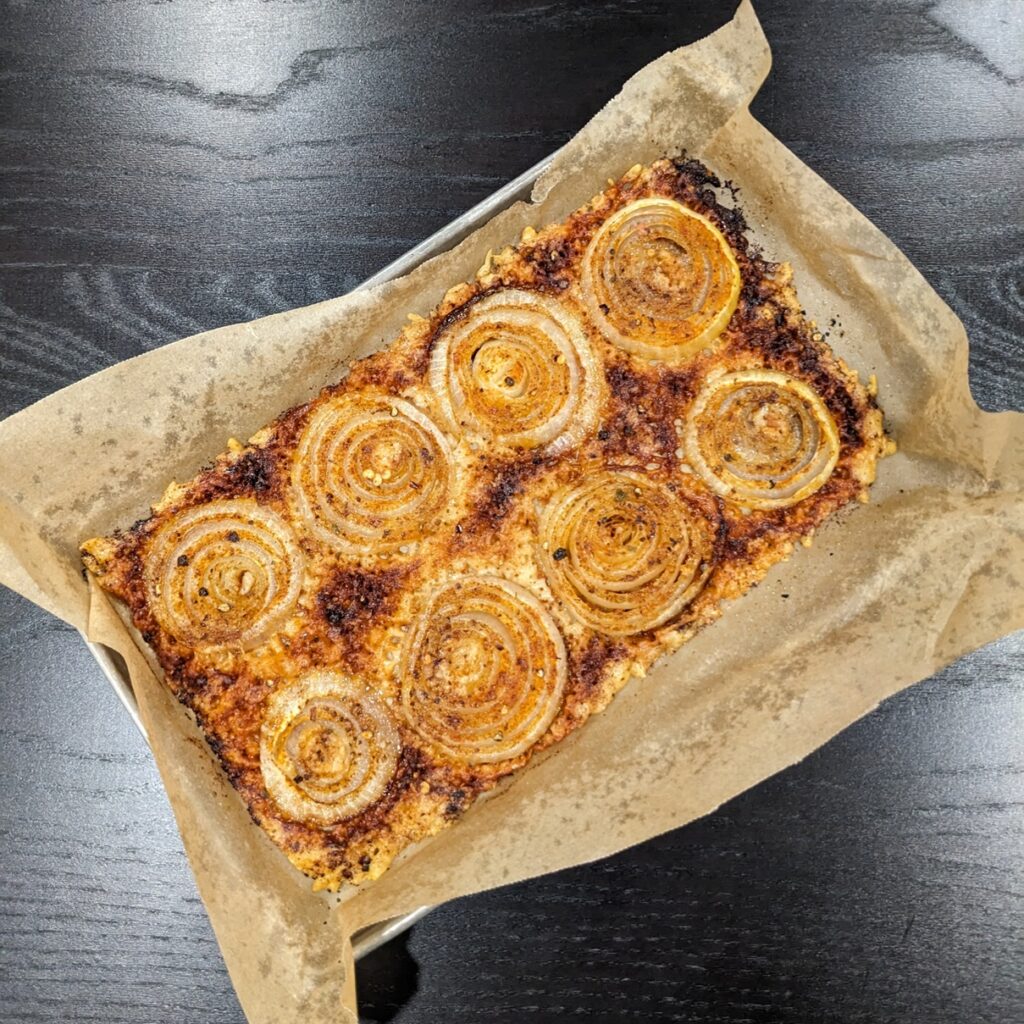
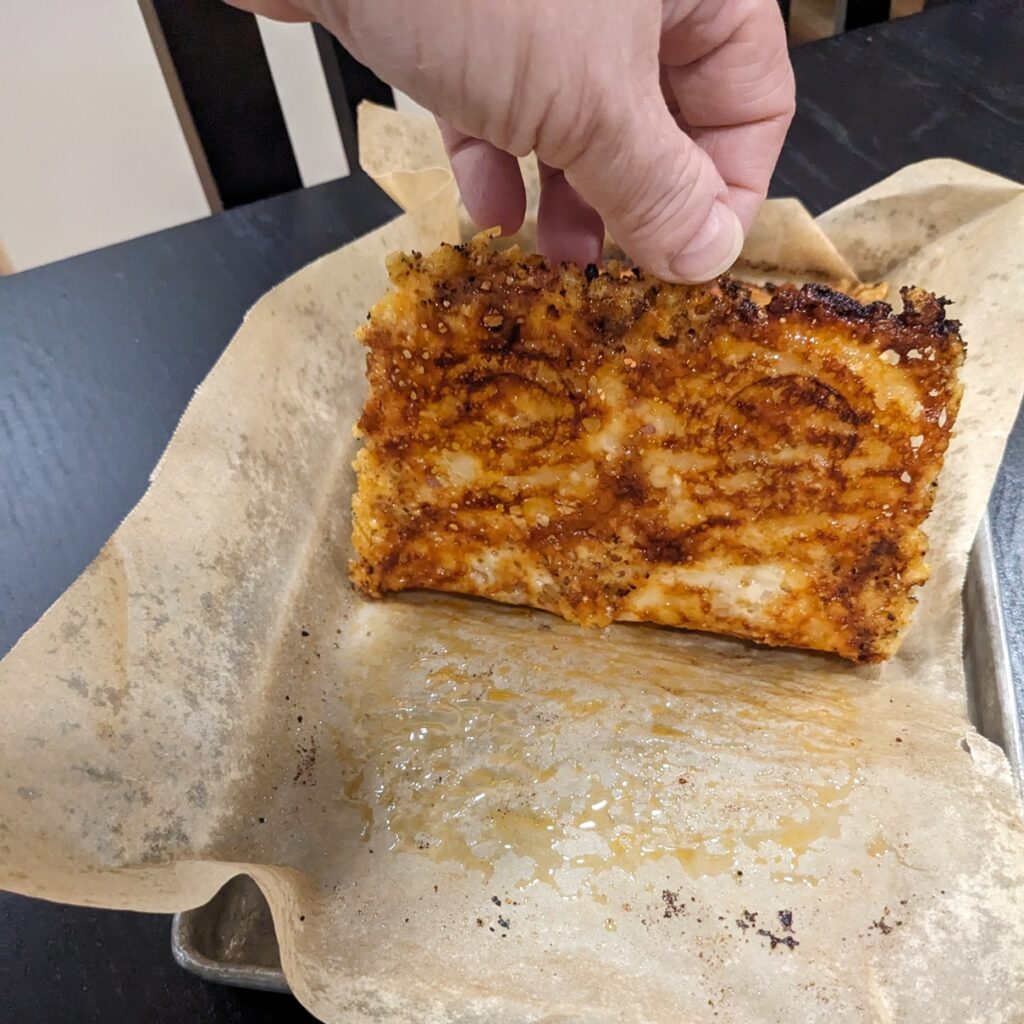
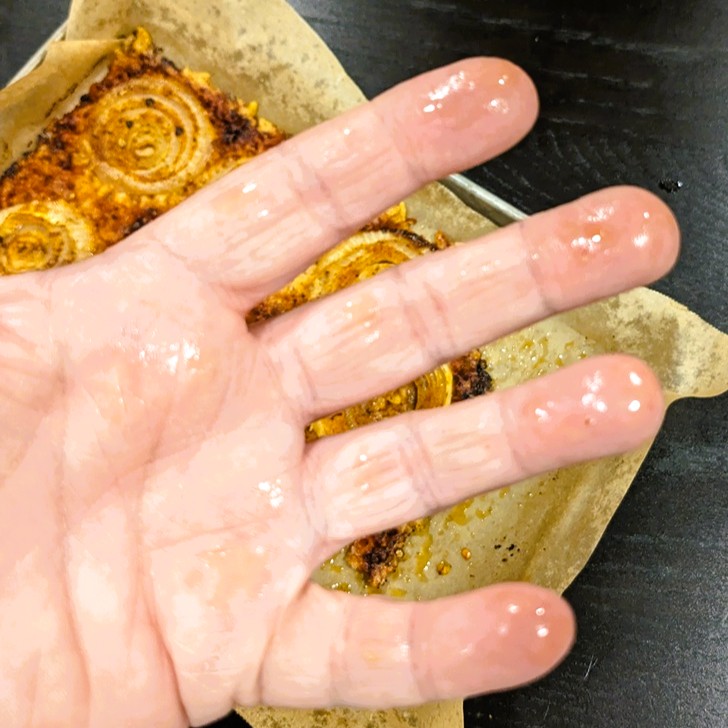 I didn’t like it. It was too greasy even after it cooled down to almost room temp (so how is that appetizing??), and I didn’t like the seasoning blend every one seem to suggest was the best for basic onion rings you’d normally order in a diner.
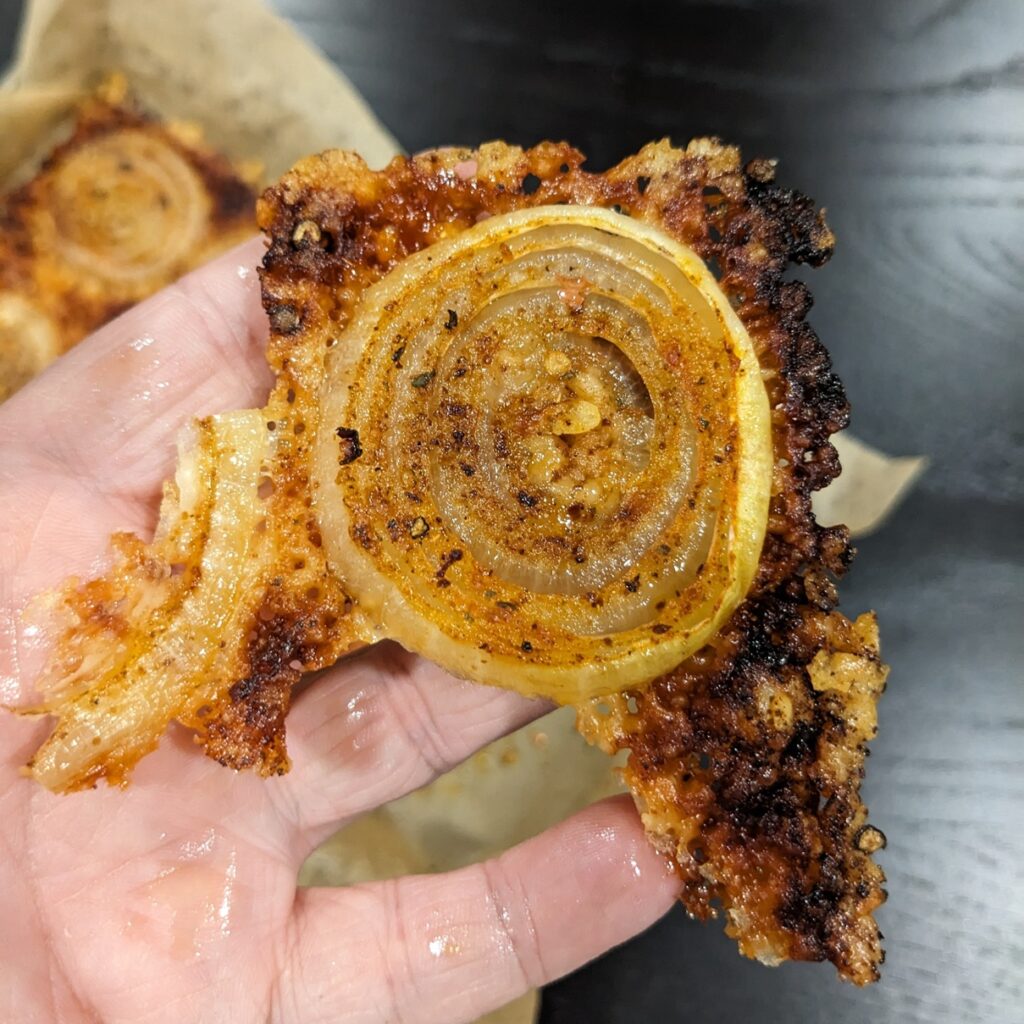 I’m only into the way the parm cheese baked up. That part was tasty and I ended up eating that and throwing the onion rings away. The cheese also produced a really pleasing colour on the bottom of the whole thing.