I found a solution to my drink spilling problem. Behold!
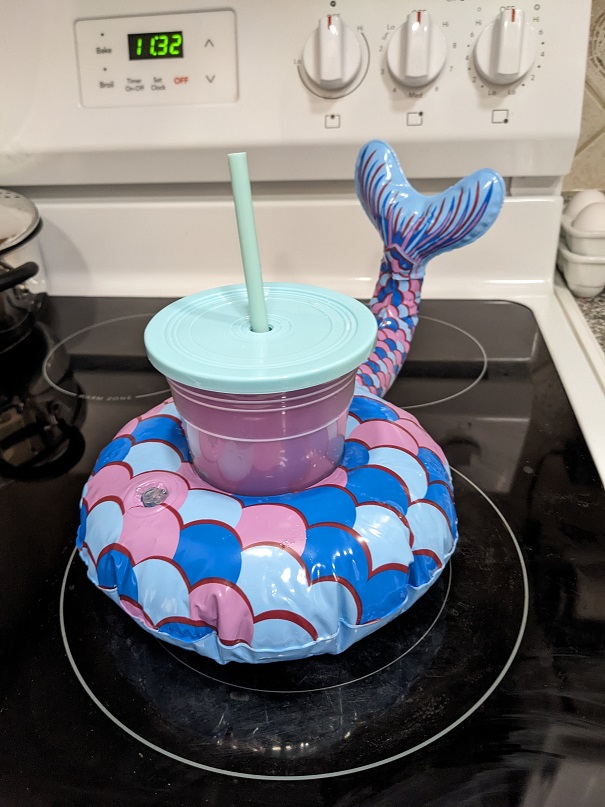
The blowup mermaid tail was stuffed inside the cup when I bought it. It’s cute. Too bad we don’t have a pool. Oh, well. But, no more tip-overs for me. 🙂

I found a solution to my drink spilling problem. Behold!
The blowup mermaid tail was stuffed inside the cup when I bought it. It’s cute. Too bad we don’t have a pool. Oh, well. But, no more tip-overs for me. 🙂
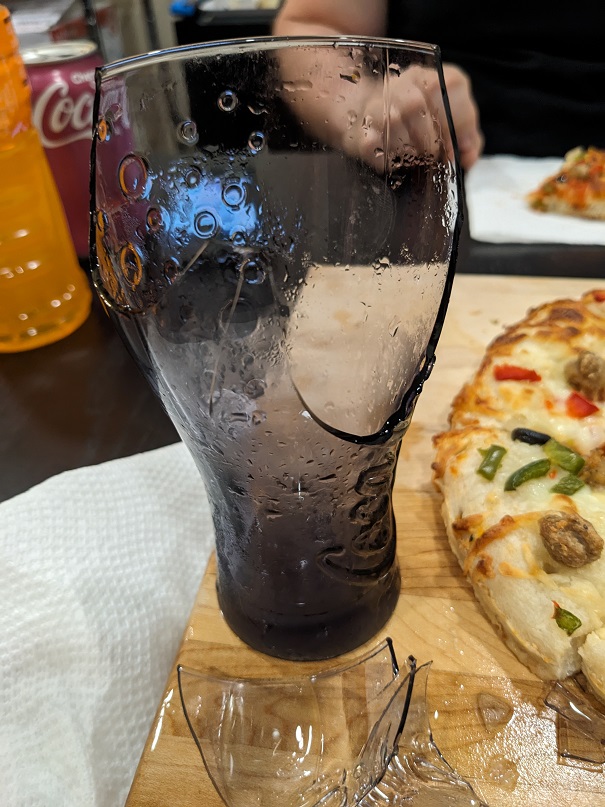
The other night I cooked a pizza for dinner, and as we were sitting down to enjoy a few slices with some soda, my fat sausage fingers got me into trouble again. *le sigh*
As I was reaching for another slice, my knuckle knocked the full glass of Fresca that was in front of the pizza on the cutting board, and this caused it to fall over and hit the hard wood board. It smashed and spilled my drink all over, under, and around the pizza slices, along with a bunch of big and small glass pieces.
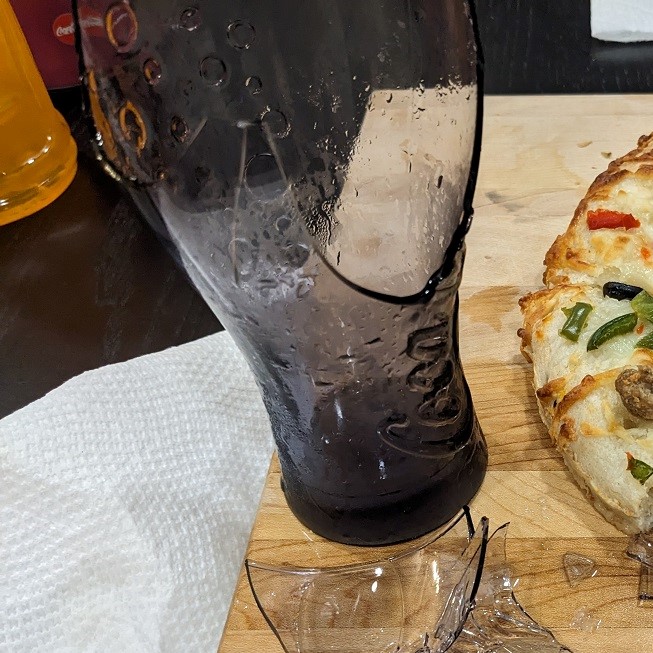
I had to throw those slices (mine with the black olives) into the trash and work as fast as possible to mop up the drink that was now flowing all over the dining table as well as the cutting board. *le sigh*
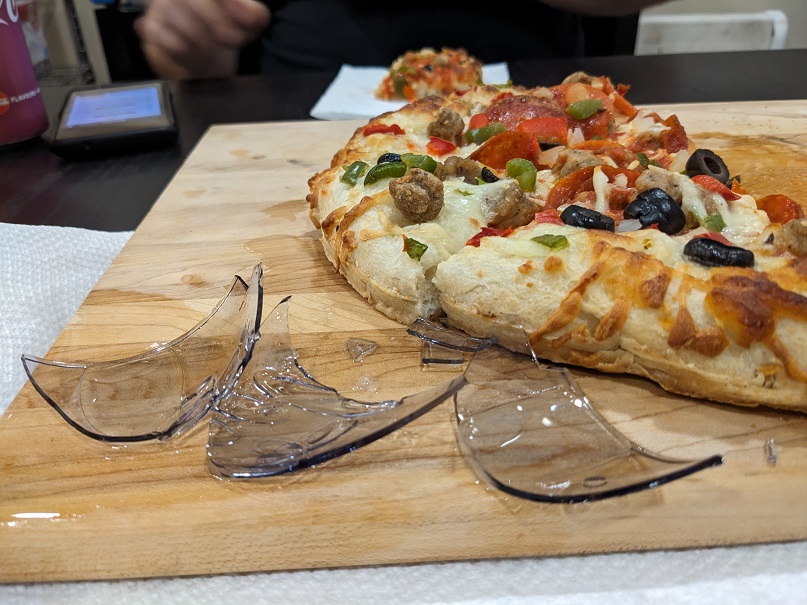
“Would you like a some pizza with your broken glass?” asked the husband.
We were going to smoke some ribs on the BBQ but time got away from us today and it’s about to rain, so switch of plans for dinner tonight.
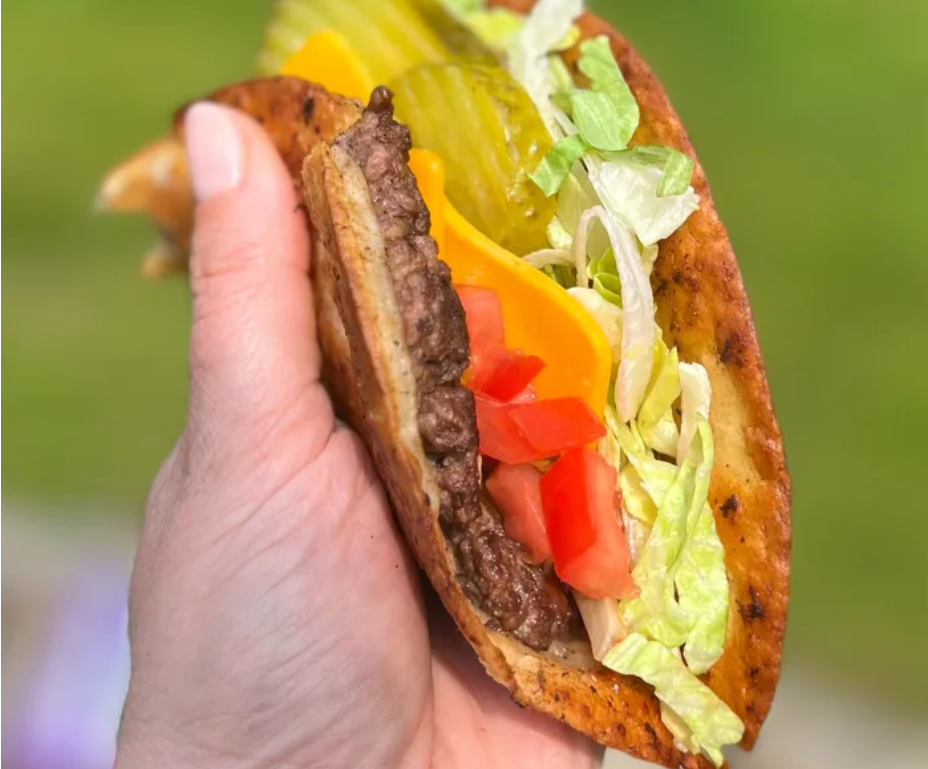
I have been thinking about these small tortilla smash burger tacos, but I only have one large tortilla left, so I’m planning to make a quesadilla version for two. I bought some medium ground beef that I’ll season with S&P, garlic powder, and mince some onion into the mix.
Here is the classic Big Mac sauce I’ll be using. I’m renaming it for this meal idea.
Smash Mac Sauce:
1 C Hellman’s Mayo (I have no idea why this makes it taste better but it does)
2 Tbsp: Vlasic’s Relish / White Wine Vinegar
1 Tbsp Yellow Mustard
1 Tea: Regular Paprika / Garlic Powder / Onion Powder