Years ago I used to make a slightly different version of this salad while working in a kitchen. We’d make a huge batch and individually package them up for sale. This is the version I jotted down in my recipe book after I left that job. I have made this during the hot summer months every summer since. I crave it because it’s so refreshing.
(I made a scaled down version for my work lunch today, so that’s why it doesn’t look like a lot in the pictures. And I used one Ramen noodle nest.)
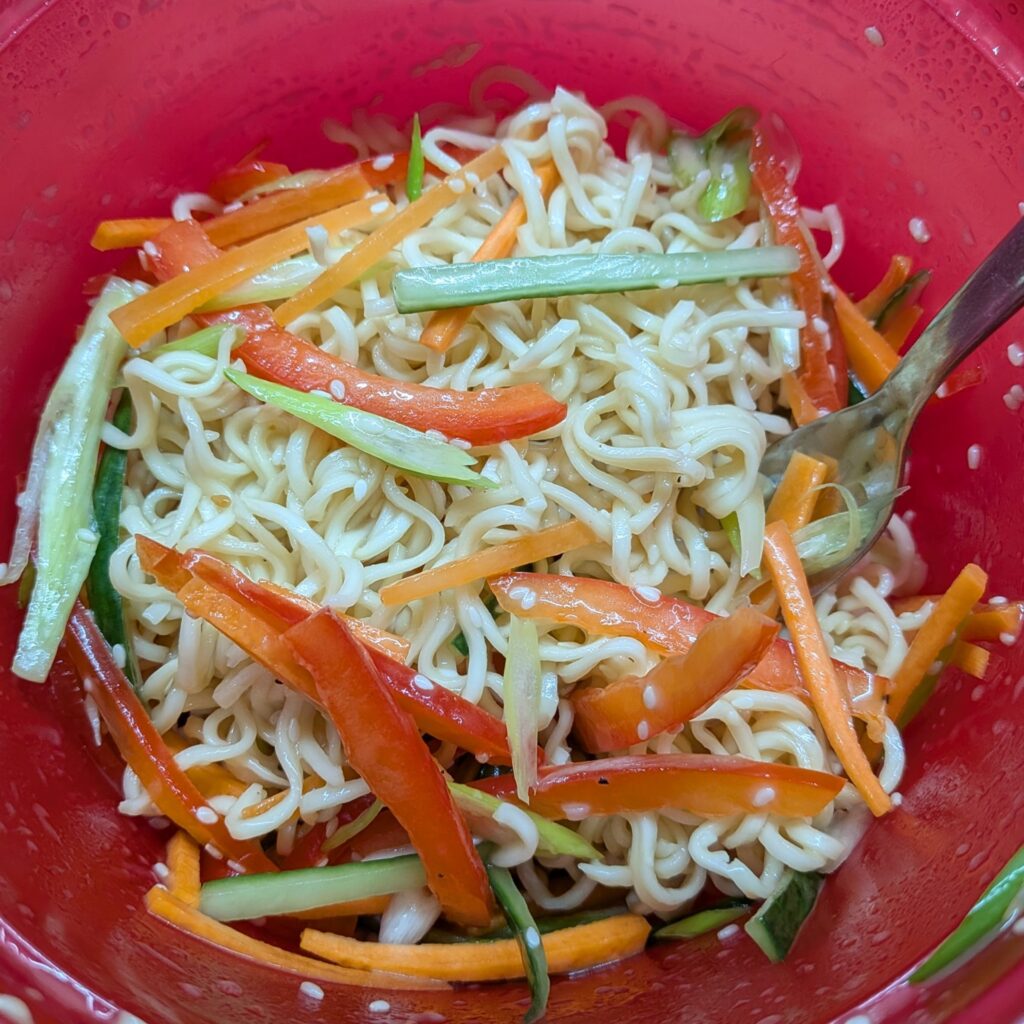
Crunchy Thai Cold Noodle Salad:
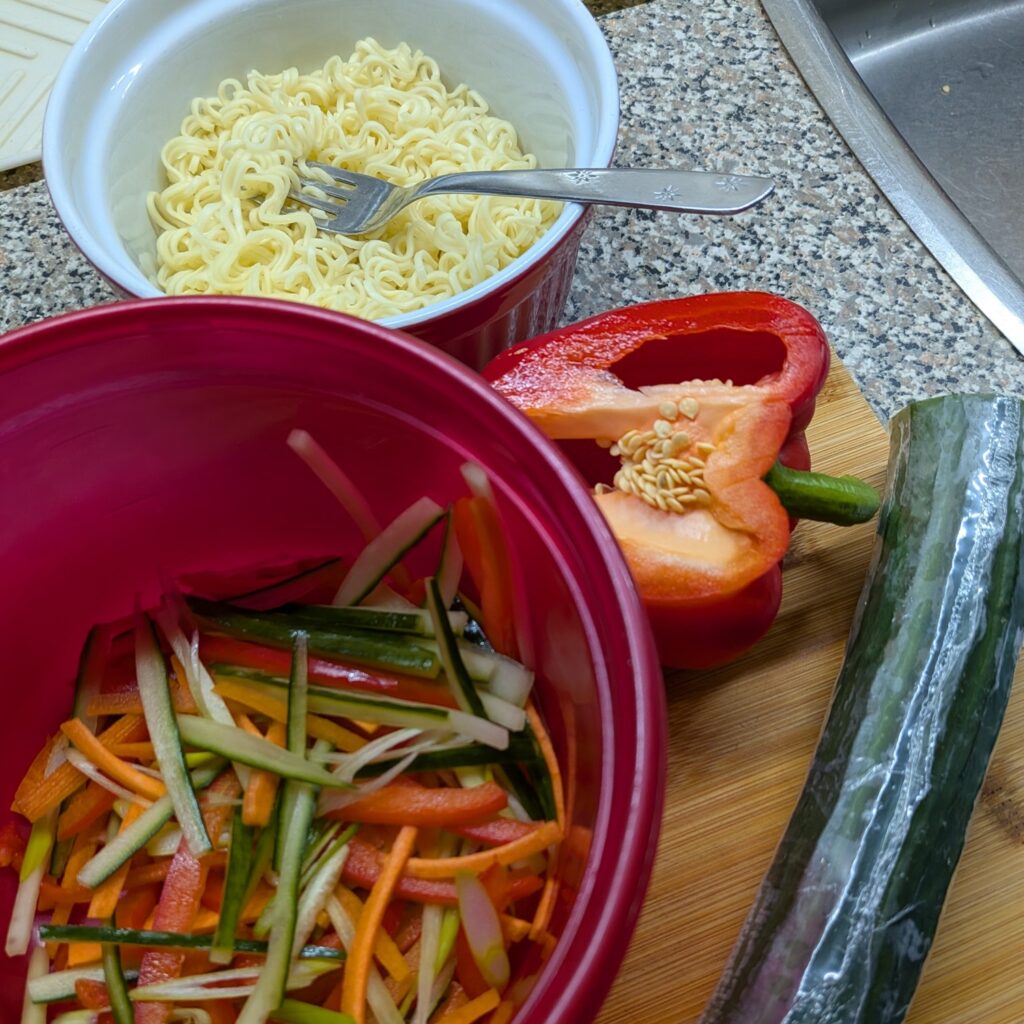
16 oz Vermicelli Noodles or Ramen Noodles, boiled and cooled down completely
Sesame Seeds (as much as you like)
3″ Cucumber section, julienne cut
1/4 Red Pepper section, julienne cut
3″ Carrot section, julienne cut or grated
2 Green Onions, thin sliced on the diagonal
1 bunch Cilantro, fine chopped
1 C Thai Dressing*
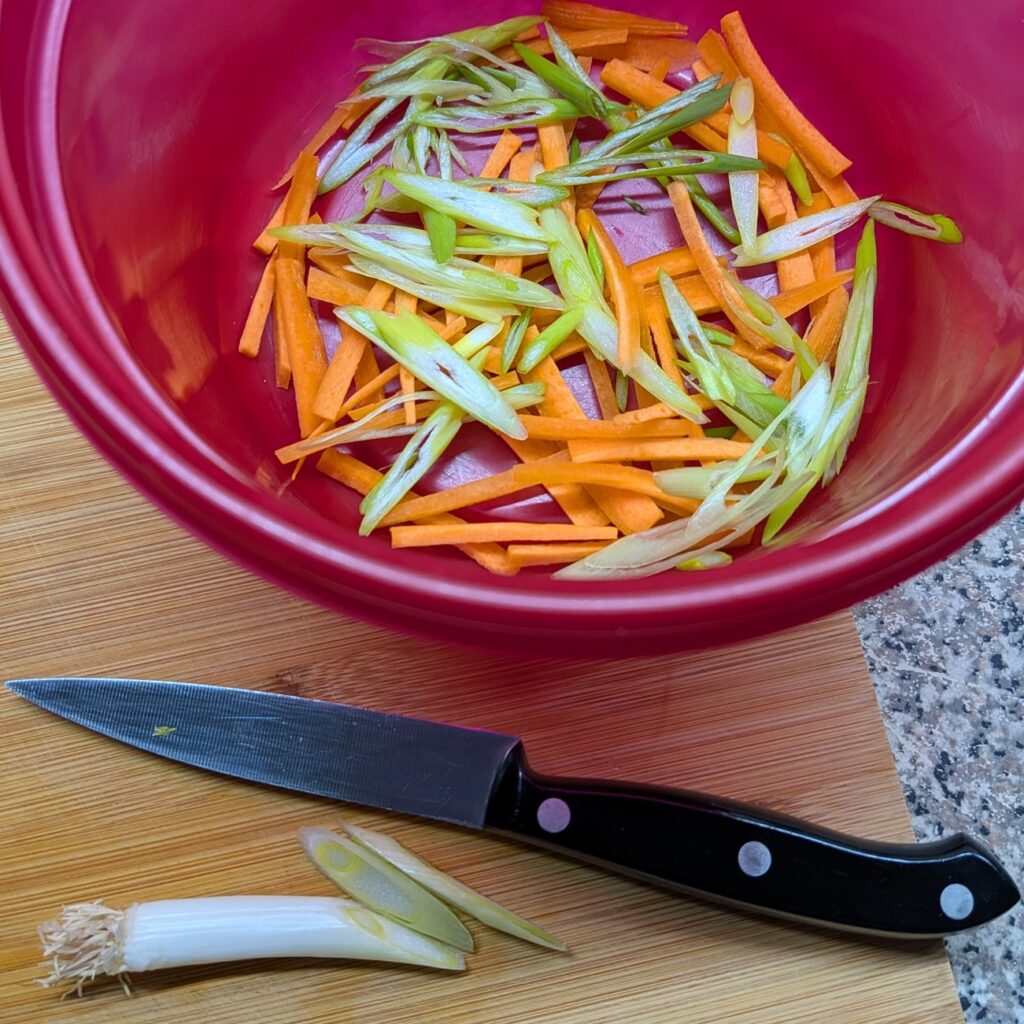
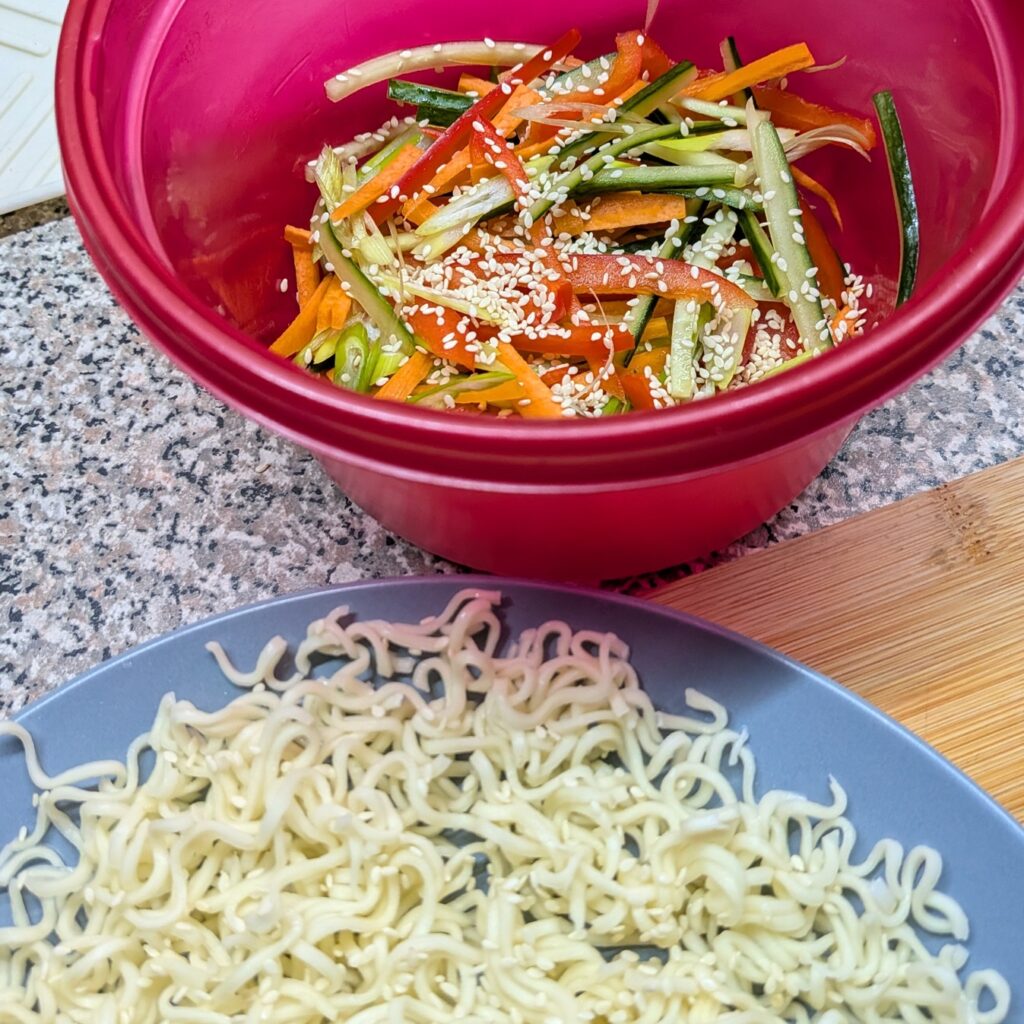
Boil, drain, and rapid cool the noodles across a large dinner plate. Shake sesame seeds over the noodles at this point. Set aside. Turn toward prepping the vegetables.
In a large bowl, toss the cold noodles with the vegetable mix with the dressing. Cover and chill at least an hour before eating.

* When I first started making this salad, there was a Spicy Thai dressing available in stores and through our food vendors. I haven’t seen it anywhere since the pandemic started. I’m not sure if it was stopped because of the supply shortage, or because by then the Thai fast food craze was wanning. It could be a bit of both that caused it to disappear.
No matter, many stores have come out with other Thai or basic Asian dressing mixes that come really close, or even take the flavours in a different direction that also works well with the ingredients in this salad.
I picked up this one yesterday. I’m not sure how long it’s been selling in my grocery store, but it sells for less than $5.00 so I gave it a go. I do not regret this choice. In fact, quite the opposite! I’m in love with this dressing.