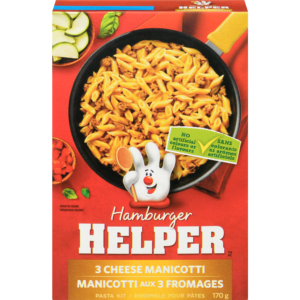
A few weeks ago I commented on an Instagram reel about DIY Hamburger Helper. I commented that I’d never eaten the box stuff before and asked what it tasted like. I never got a reply so I forgot all it until someone at work the other day was telling a co-worker she’s never eaten it before. She asked if I’ve ever eaten Hamburger Helper and then asked what it tasted like. Out of us three, not one of us had, and we come from three different age groups. And we all now work at a grocery store. I thought that was odd. What are the chances?
So, the three of us then had this back and forth about making it at home, and why it exists at all. The answer is, women started working outside the home in the 1970s. This product was marketed to every woman who was looking for faster, simpler meal ideas to feed their hungry family each night from the late 1970s onward.
The basic idea of Hamburger Helper has always been a box of small noodles with a cheese powder + curated spices packet, and all the consumer has to cook it with ground meat, veggies, and liquids to make it a complete meal. Easy peasy.
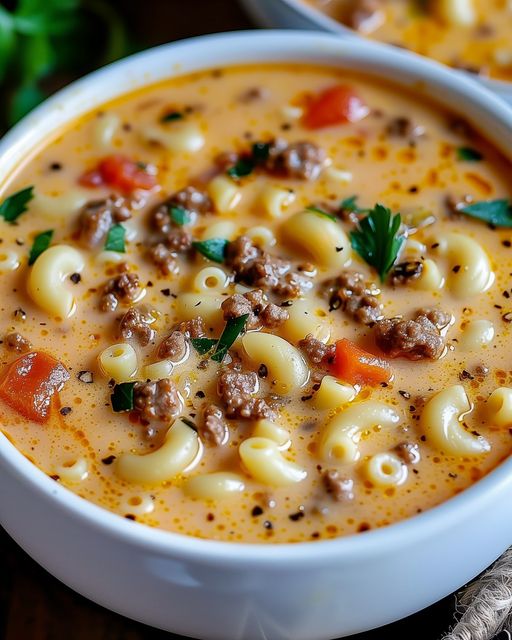
My mom made a version of HH which she could scale up (the box didn’t stretch far enough) to feed her army. So in that spirit, here is the basic idea of what Mum made us based on my memories, with spices I like, smashed together with what I saw in that Instagram reel. The husband and I loved it. I made enough for six big people meals on Monday at lunch, and by dinner tonight (Tuesday), it was all gone (save for one more portion for his lunch tomorrow.)

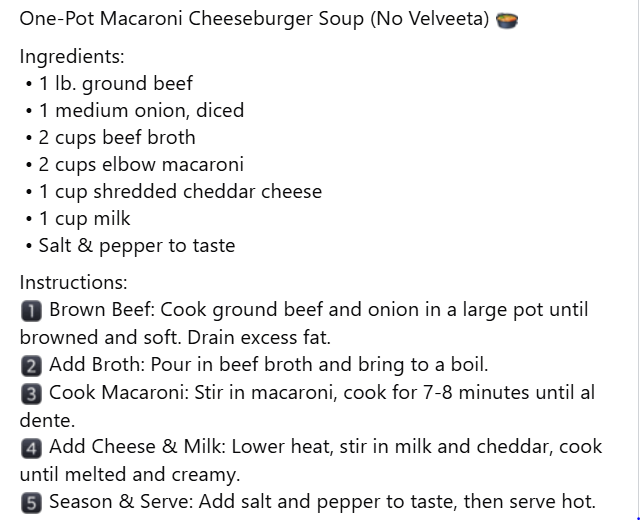
Aunt Stacey’s Hamburger Helper:
4 C Small Pasta Noodles, half cooked and strained (I only had penne on hand)
2-3 Tbsp Oil
1 Onion, diced
Salt Pinch
1 Lbs (454g) Ground Meat (of choice)
Fry the onion until it starts to soften; place into a small bowl. Lay the meat down in the oil to cook the first side, When the bottom edge is browned, carefully flip the meat over from you to sear the second side. Leave it go a full minute before breaking it up with a potato masher, twisting the tool as you push down on the meat to separate the strands into crumble.
Add to the meat:
1 Garlic Clove, minced (I used jar stuff)
1 Sweet Pepper, diced
1 Tbsp: Italian Seasoning, Ground Onion Powder (or more), Beef Gravy Powder (opt)
1 Tea Worcestershire Sauce
1/2 Tea: Ground Sage, Red Hot Chili Peppers grinds, Black Pepper
10 oz Canned Tomato Sauce (or canned diced tomatoes blitzed)
1+ Cup Whole Milk
1/2 Cup Water
Taste test the liquid. Adjust the flavours here if you want or need to. Add another small pinch of salt.
Bring the pot to barely a boil and drop in the half cooked pasta. Stir the pasta so 90% of it is submerged in the liquid. Lid the pot and drop the heat so it can simmer 10 mins to finish cooking everything and give the flavours time to marry.
Final additions:
1+ C Parmesan Cheese, grated or shredded
4 Marble Cheese Slices or 1 C Marble Cheese Shred
Kill the heat and lid the pot one last time to let the cheeses melt. Uncover and stir to combine everything evenly.
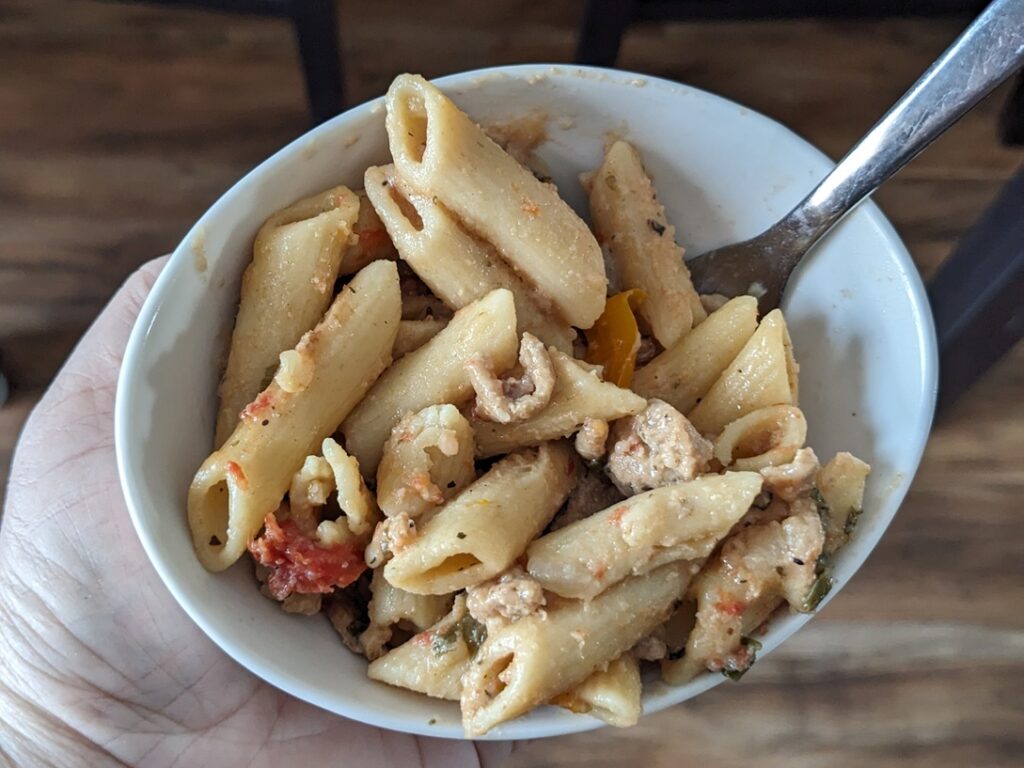
I’m not really sure how long this took to make, but I’d say it was between 20-30 mins. It was just as fast from scratch. The longest part was the time it took the meat to sear so I could start filling up the pan with the other ingredients.

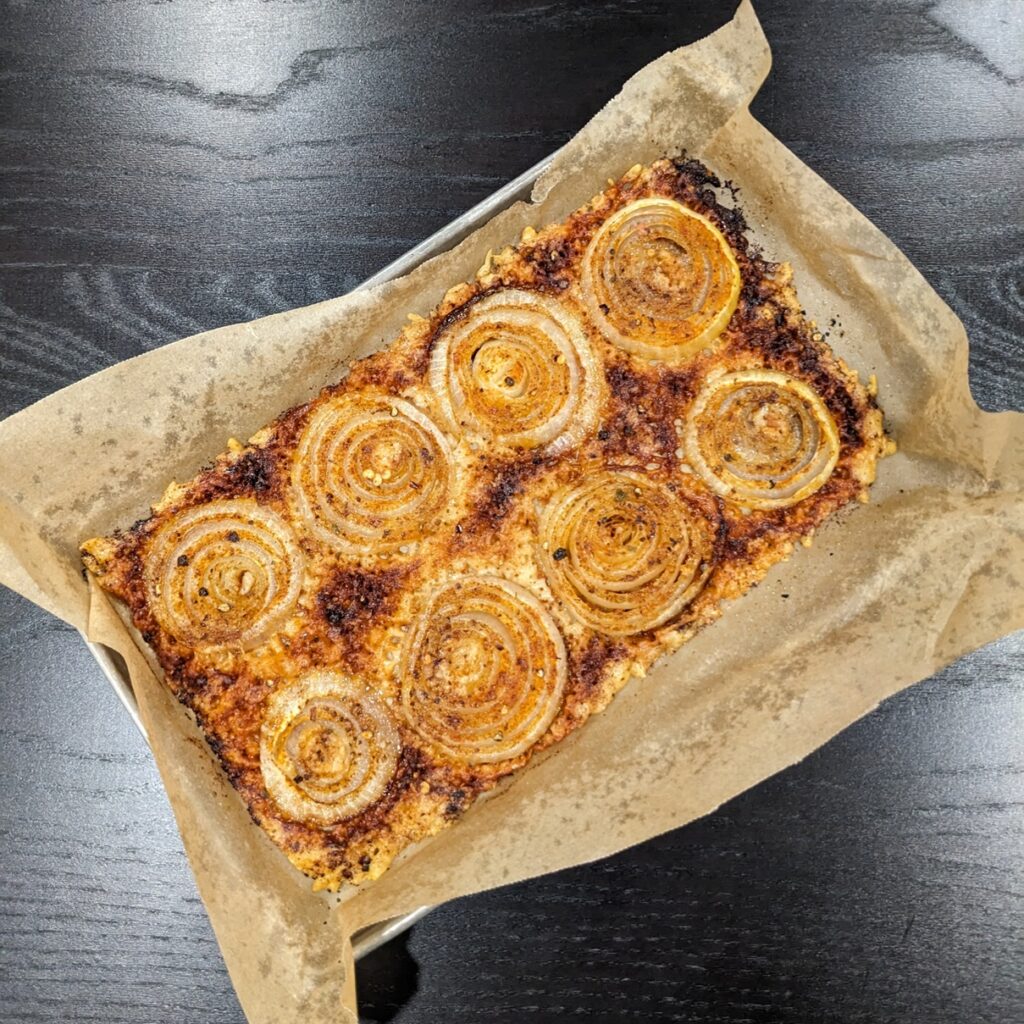
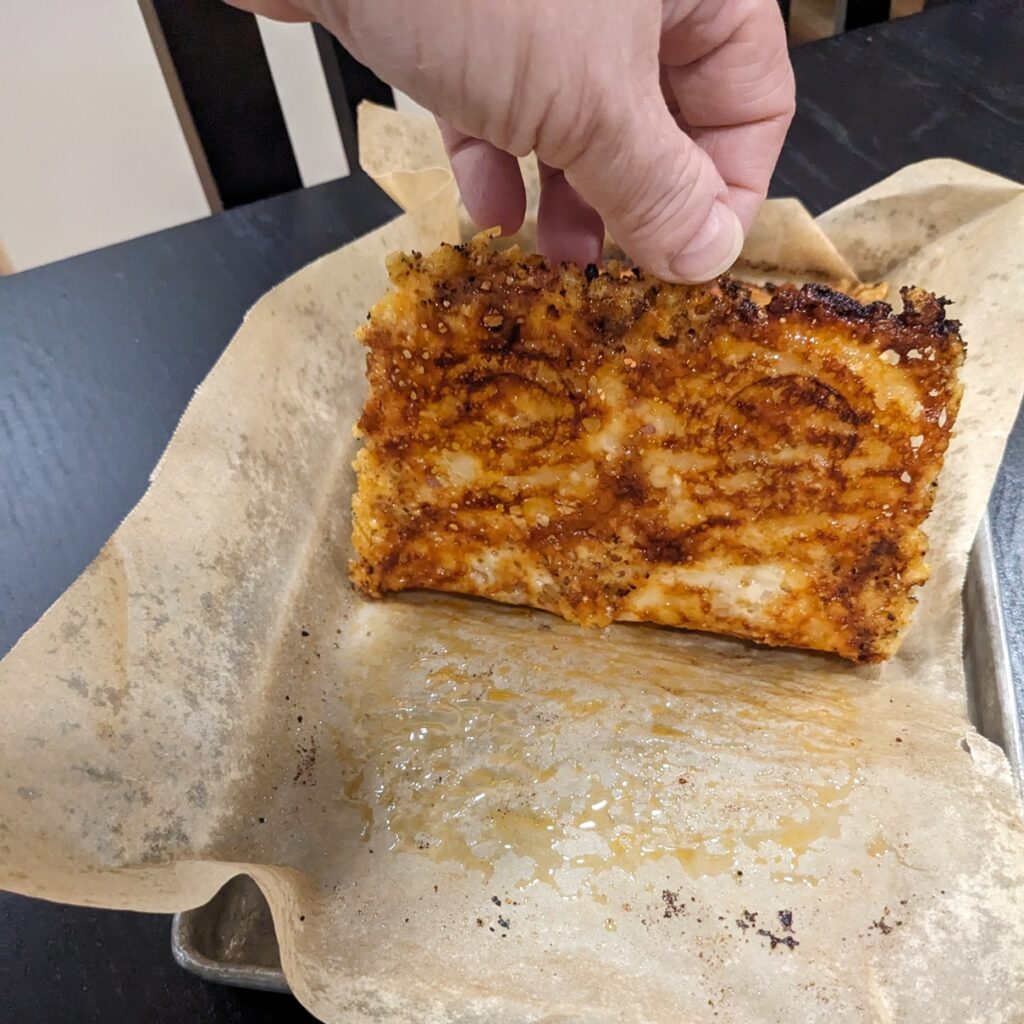
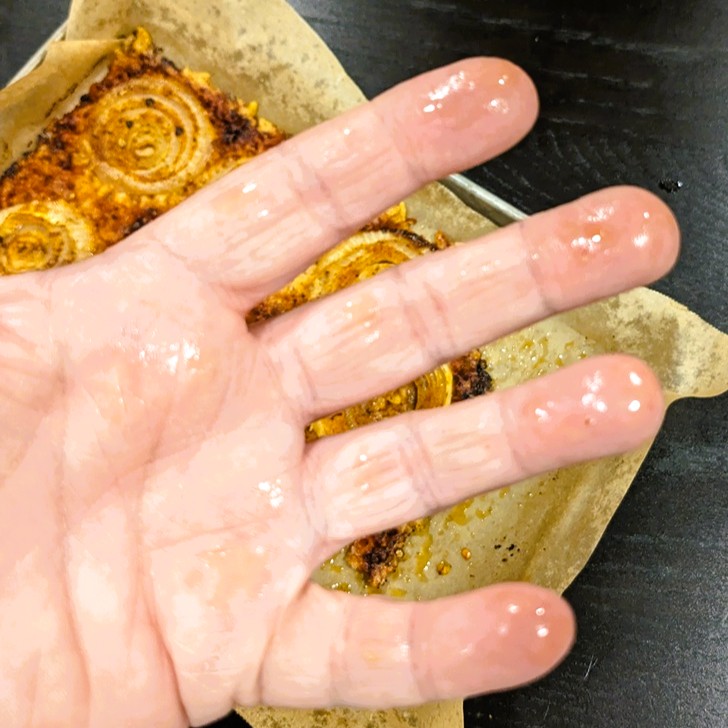 I didn’t like it. It was too greasy even after it cooled down to almost room temp (so how is that appetizing??), and I didn’t like the seasoning blend every one seem to suggest was the best for basic onion rings you’d normally order in a diner.
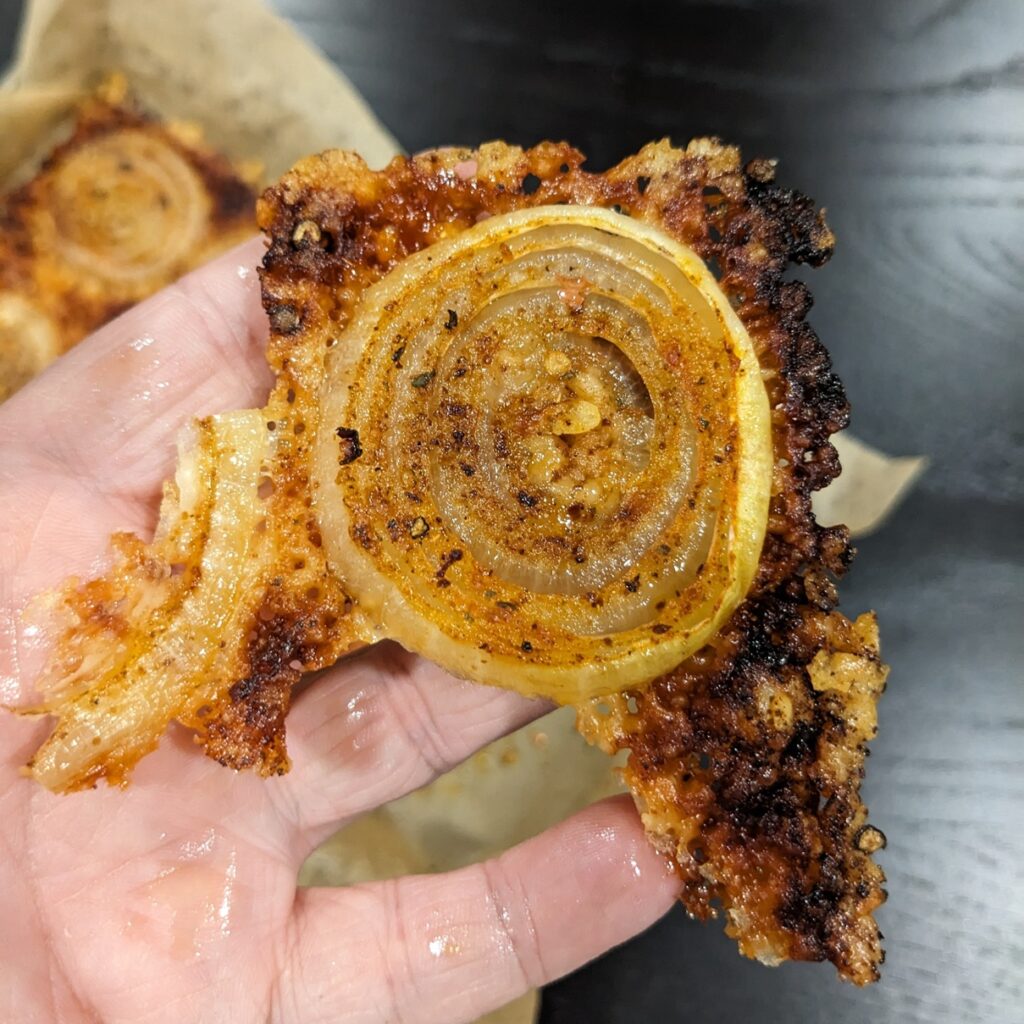 I’m only into the way the parm cheese baked up. That part was tasty and I ended up eating that and throwing the onion rings away. The cheese also produced a really pleasing colour on the bottom of the whole thing.