Blackberry & Pear Crisp

BB-Pear_Crisp-9BB_Pear_Crisp-5
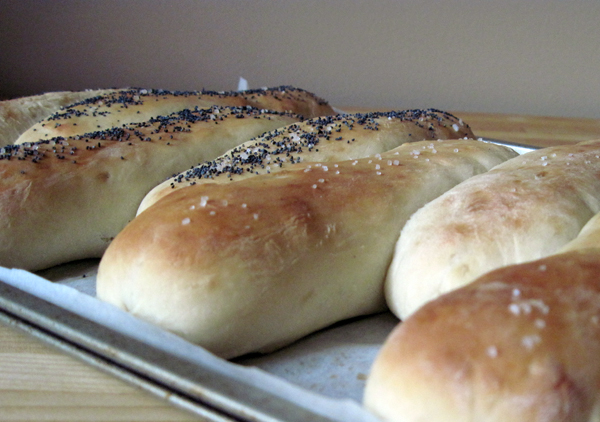
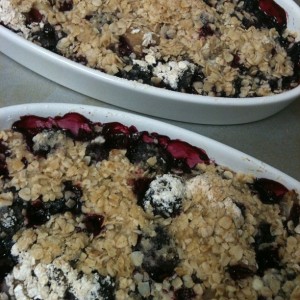
[ Blackberry & Pear Crisp – fresh out of the oven ]

Today a customer gave us our first batch of blackberries off one of the bushes he has in his side yard at home after the husband fixed his computer. (Not as a payment, but as an extra, “Here. This is for you because I remember your wife and you love these from last year when I brought you some at the store,” sort of way.) And we did.

He gave us about one and a half cups, and kindly washed them for us, so all I had to do was peel and cut up the lone pear we had in the fridge to add to the berries for this recipe. I love when a great plan comes together on the fly like this.

So, my challenge wasn’t what kind of crisp I wanted to make, but rather to scale the one recipe I love the most down to something that will use up everything I have onhand and will also fit nicely into two small baking dishes. I adapted the following to make a 2-person serving. Hope you all like it.

Auntie Stacey’s Blackberry & Pear Crisp:
2 C Blackberries + Pears (you can make them even or a bit more of one over the other)
3 Tbsp Brown Sugar
1-2 Tbsp Cornstarch

1/2 C Rolled Oats
1/3 C Flour
3 Tbsp Brown Sugar
1 1/2 – 2 Tbsp Butter (unsalted, cold and cubed)

BB_Pear_Crisp-3

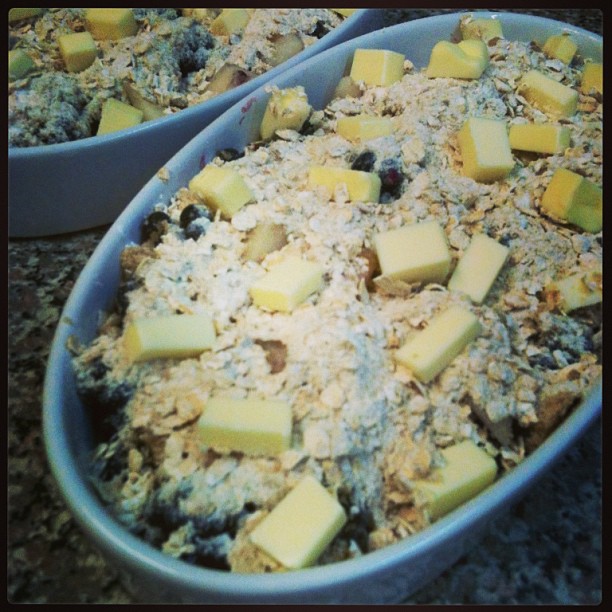
[ Blackberry & Pear Crisp – ready for the oven ]

In a small bowl, mix the sugar and cornstarch; lightly toss with the fruit, or if they berries are too tender, drop the mixture over the fruit as it sits in the baking dishes.

In the bowl again, mix the oats, flour and sugar. Top each baking dish with half of this mixture. Place the small cubes over top of the topping within half an inch of each other.

No need to go overboard or to crowd. If you leftover cubes, chill them for the next crisp you do or use them for your next corn-on-the-cob dinner.

Bake the crisps at 350 for 35 minutes, or until bubbling hot and most of the topping has crisped up.

BB-Pear_Crisp-6

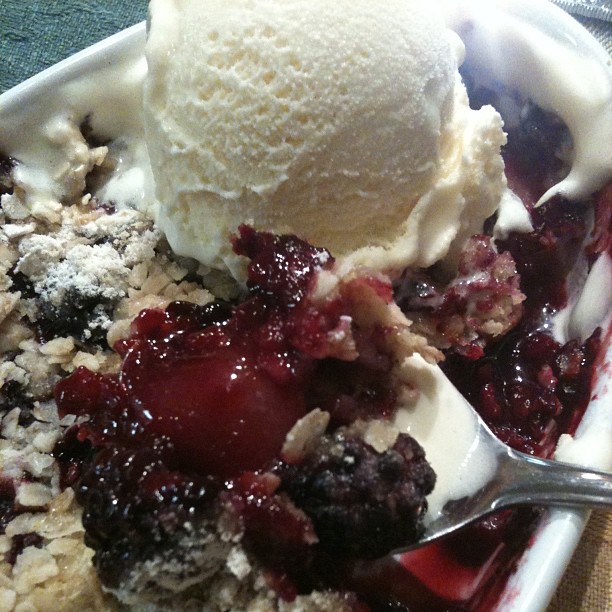
Cool till the fruit can be eaten without scaling the mouth, and serve with French Vanilla ice cream or, if you have it, freshly whipped cream topping.

Yields: 2

BB-Pear_Crisp-10

{ So good. So, so good. ]

Quilting

hexagonalquilt

[ Sample quilt design idea found on Pinterest ]

{waves} Oh, hi. Remember me?

I’ve been around, just not blogging. I’ve been watching tv, visiting with long-lost friends, and – of all things – working on my first quilt. (!!!)

Some of you may remember when I first started talking about my first quilt attempt, and talking about what design I was going thinking about, but forget all that. Since then, I have changed the design four times, the materials twice, and stitch ripped out a full design that I had sewn together and pressed out.

I originally wanted to do hexagons down one side of the quilt till I started putting the triangles together. At one point, when I was very tired, I stitched two halves together incorrectly and came up with a diamond shape. When I looked at it, I really loved the look of it. It was a quilted argyle pattern. Something I haven’t seen before in my Pinterest travels, so I ran with it.

argylediamond

I have all of my argyle diamonds all cut up, sewn up and pressed out. Up next? The attachment of the batting to the backside of the quilt front using spray adhesive, running lots of stitching all over the two layers to hold the batting in place so it doesn’t shift over time, and finally affixing the argyle diamonds in the most suitable spot before finishing off the edges with some kind of ruffle or with a custom binding material using the leftover material I used to make the triangles. That would be nice… in theory. 🙂

One side of my quilt is being made using a plain white bed sheet and will be adorned with the diamonds running down one side of it in a formation (see top image for what I’m going for), and the backside will have this lovely honey coloured flat bed sheet that is 525 thread count cotton. Soooooo soft. I’m also cheating with the batting. I picked up two throw blankets from IKEA to sandwich into the quilt since I figured they are meant to stand up to more washings than a quilt is, and some of the warmest quilts I’ve heard of have army blankets used for the batting. Plus, the throw blankets were a fraction of the cost the cheapest organic cotton batting was.

I’m excited about this quilt. I think that’s what’s been missing for the last year since I started this project. I’m really into it now! 😀

Summer Drinks – Fast & Dirty Frappé

FrappeDrinkI’ve been playing around with stripping down the classic frappé into something that’s not only healthier (let’s be honest here!), but faster and easier to assemble and blend into a tasty drink we all don’t feel grossed out consuming so much of. My frappé ends up being a little over half the size (10oz) of the Starbuck’s tall serving (16oz).

Here’s what I’ve got so far. I like this one a lot. Hopefully you all will, too.

Auntie Stacey’s Fast & Dirty Frappé:
8 Ice Cubes
1 C Vanilla Almond Milk
1-2 Tsp Powder Sugar (optional, and can be replaced with other sugar types)
1 Tsp Instant Espresso Powder (double if you like a strong coffee shot flavouring)
1 Tbsp Coffee Creamer

FrappeI mix this all up in the smallest Magic Bullet pitcher the blender came with because it makes the perfect portion size that prevents us from over-consuming (nice little bonus there).

This frappé is one of my go-to drinks to stay cool during the blazing hot days of summer like we’re having this week. Try it at home and tell me what you think in the comments. 🙂

Herb Tomato Sauce & Chocolate Pasta

ChocoPasta-1

This year I decided to grow oregano in my garden in addition to flat leaf parsley and my old standby, sweet basil. It’s been working out well. I’ve added small sprigs of the fresh oregano to a lot of different dishes, including some sauteed vegetables we ate over pork loin meat on buns last week. This week I made my favourite tomato sauce from scratch, and decided what it really needed was fresh basil and fresh oregano. The sauce turned out so well, I dreamt of making a pot of pasta to top with the sauce for breakfast. All night I thought about my freshly made pasta sauce in the fridge. All.Night.Long.

‘Mmm… So mouth watering.

This tomato sauce uses Marcella Hazan’s infamous tomato with butter sauce as the base.

Fresh Herb Tomato Sauce:
40 oz Jarred Tomato Puree
5 Tbsp Salted Butter
S&P to taste
1 M-L Yellow Onion, chopped coarsely
1 Tsp Fresh Oregano leaves
1 C Fresh Basil, torn or julienned
Jars with tight fitting lids (enough for about 50 oz of cooked sauce)

Bring tomato puree, butter, onion and seasonings to a boil. Reduce the temperature to a low rolling boil and add oregano and basil leaves. Simmer uncovered for at least 30-45 minutes till the sauce thickens. Remove the sauce from the burner to cool a bit while running your clean jars under hot water so the glass don’t burst when the extremely hot pasta sauce touches it. Pour the sauce into the jars and finger tighten the lids.*

Let the jars rest on the counter till you hear each of the lids pop or snap (about 30 minutes). This happens when the hot air in the jars evaporate and the seal is formed with the lid ring. You can then store the sauce in your fridge at that point. The popping will only happen if you screw the lids tight enough, but if you have a jar that doesn’t pop, and you can push down in the lid still after 30 minutes, just make a point of using that jar first within a week or two.

* Finger tight is a term used for screwing a canning lid on till tight with your fingers only, not your whole hand and muscles to apply force.

Digression: The first dish I used this gorgeous tomato sauce over was my homemade chocolate pasta. I was still trying to nail it down to one or two different ways we can enjoy it at home when the husband asked me to not make these noodles again. Ever. He’s not into chocolate pasta. At all. And he’s a pasta fiend. (!!!) Oh, well. :-\

So, instead of doing a whole separate post on how to make chocolate pasta at home from scratch, here are a few pix of the attempts and some of the production of the pasta itself to give you an idea of what it was like, and what efforts I put into it.

Side Note: I previously served these pasta noodles with an Alfredo sauce and the same meatballs awhile back. We disliked that dish. So much it took me a long time to come around to cooking these noodles again. But I really needed to figure out if it was the sauce or the noodles we didn’t like so I could correct what was holding this pasta idea back from becoming a staple in our home.

So, with that in mind, I made a repeat pasta dish – with the only change being my tomato sauce instead of a creamy white sauce. All in the name of science, you understand. 🙂 As it turns out, for me it was that I didn’t like the Alfredo sauce over these noodles but found my tomato sauce worked quite well with chocolate pasta, whereas with the husband, as previously stated, he didn’t like the taste of the chocolate pasta in this dish either. So…

Given this whole experiment ended in a stalemate (and not at all how I imagined when I first discovered its existence), I’ve decided to give up on chocolate pasta. It’s not going to happen in this house. If you want the recipe, ask in the comment section of this post. I’m sure I can scare it up for you in the blink of an eye.

Below are the basic steps you’d make to produce the pasta from start to finish. Pretty, no?

ChocolatePasta-DoughMaking-2Two eggs, pinch of salt, flour and coco powder. I forget the exact measurements offhand, but my rule of thumb for pasta dough making has always been 1 egg : 3/4 C flour if that helps. And I think this recipe calls for a ratio of 3:1 flour to coco powder, but don’t quote me on that. It makes sense given I used 2 eggs for there to be 1 1/2 C flour to 1/4 C coco.

ChocolatePasta-DoughKnead by hand on a floured surface. You can start the kneading in the mixer if you like. I’m not a fan of sticky fingers myself. I stop when the dough pulls away from the bowl and then turn it out onto my work bench to hand knead.

ChocolatePasta-Resting

I wrap the dough ball to let it rest at least 30-45 minutes before I dig in to make the noodles with my pasta attachments and bench scraper.

ChocoPasta-DryI don’t have a proper drying rack, so I use an old coffee mug stand to air dry my pasta noodles after I loosely wind them around my hand after dusting the dough with flour. Once it air dries on the rack, I carefully (because it’s so frah-gill-eh) slide it off and slip it into a plastic baggie to seal up for storing. You can also make the noodles and then dump them straight into a pot of boiling water if you’re planning to eat them immediately.

ChocoPasta-Cooking

They look so lovely and tasty swimming in the pot, and only look better as they rest in the bowl before being sauced. Remember, they are fresh and fragile, so resist the urge to toss this pasta with sauce. Only top it with your best sauce, and serve it with your best cheese.

ChocoPasta-Cooked

Leftover Jasmine Rice Fritters

RiceFritter-1[ Click picture to embiggen ]

Sometimes the best meals are made with leftovers. Especially when it comes to breakfast meals. That’s a FACT. Dispute it all you want, but you’ll never convince me otherwise. I’m stubborn like that. 😉

Today I went on a bit of a cleaning jag, and before I knew it half of my fridge was cleaned and organized, all the turning bad food stuffs were recycled, and I was cleaning the dirty food containers when my stomach let me know it was time to turn my attention it.

I went back into the fridge because the thought of cereal made me weepy. I wasn’t into standard breakfast fare today. I spotted a huge container of jasmine rice and an idea formed. We love jasmine in this house. And since it’s a long-ish cook rice, we always make five times more than we need to every time go. We use the leftovers for fried rice typically, but I’m always looking to stretch my repertoire of things I can use this gorgeous, nutty flavoured rice with or in.

Today’s breakfast quickly took the form of a fritter. I grabbed an egg, some cornstarch, a nub of red onion that I grated, and mixed those items with some rice I heated up with a few sprinkles of water under plastic wrap for 40 seconds to soften and moisten it. I also threw in some dried parsley for colour and to cut the sting of the onion for good measure, and finished the mixture off with a bit of S&P.

Leftover Rice Fritters:
1 C leftover Rice, of choice (the meat of this fritter)
1 Egg, preferably room temp (for binding)
2 Tbsp Cornstarch (for crispness)
1-2 Tbsp shredded Onion (for sting)
2 Tbsp Parsley, fresh and chopped finely, or half this for dried version (for colour)
S&P, to taste (for seasoning)
Oil (for cooking)

Adobo Mayo Dip:
1 Tbsp Adobo sauce (for heat)
1 C Mayonaise (for creaminess)
1-2 dollops Sour Cream or plain Greek yogurt (for tempering) – optional

RiceFritters-2

[ Click picture to embiggen ]

I used an ice cream scoop to drop six balls into the hot oil dancing in my frying pan, and slowly pushed the rice mixture down into patties with the back of my wooden spoon. When the first side was crisp and golden brown, I flipped them over to fry the backside. Each side took about 3-5 mins, more or less. I wasn’t paying attention since I was cleaning up my mess and making a dip as the fritters did their thing in the pan.

I made a great little kicker mayo dip to go with it that consisted of one tablespoon of adobo sauce and one cup of mayonaise. It wasn’t too crazy hot but if you eat enough of it, like I did dipping bite size chunks of the fritters into it, you will find by your third fritter the back of your mouth and top of your throat are starting to feel scorched. If that kind of heat isn’t for you, I recommend dropping a dollop or two of either sour cream or plain Greek yogurt in with the mayo to temper the sting.

I love fritters of all kinds. And before today, my favourite was the classic zucchini fritter. I can’t get enough of them in the summer. It’s amazing how many I have eaten in my lifetime now that I think about it. I’m surprised I never realized I had a wee addiction going on there until today. Ha.

RiceFritter-CrossSection

[ Click picture to embiggen ]

This fritter recipe is a keeper. I think I will use this one for fall and winter times, though. The rice is on the heavy side, so I couldn’t eat more than three fritters with my cup of coffee and the mayo dip sauce. I got quite full quite fast. Sorta like I do when I eat half a Belgian waffle. I guess I’ll have to stick to vegetable fritters for the spring and summer months instead. I’m a bit of a lightweight eater that way. 🙂

Homemade Hotdog Buns

Flag

It’s Canada Day, and that means hotdogs and hamburgers made on the grill in a backyard or in a park by some water close enough to the fireworks hours later. It’s how we do it north of the 49th, kids. And we like it this way!

What we don’t like – or, what I should say I don’t like – is finding out our hotdog buns are moldy on a day when the stores are closed for a national holiday. It bums me out. But, because I discovered this problem very last night, I had lots of time today to make buns from scratch. Yes, I make bread, too. I make it ALL, baby.

{evil laughter}

I don’t have a stock bun recipe so I was planning to scour the innerweebs when Joy The Baker, bless her generous heart, decided this was the weekend she was going to post about her homemade hotdog buns. It was meant to be. 🙂

HotDogBuns-8

From this…

HotDogBuns-10

To this.

I halved the ingredient amounts to make a smaller batch than her recipe yields, but if you’re having a crowd over, Joy’s recipe will give you 18 regular 4″-5″ buns per batch. There’s still time to make a whole mess of these buns if you need more than that. They’re fast, straightforward and easy to make. I assure you. If you’ve ever kneaded dough before, you’ll be fine with this recipe. Pay attention to your type of yeast (I learned the hard way a month ago) and how to use it, and you should be fine.

HotDogBuns-2


I made half the batch with poppy seeds, fresh cracked pepper and big grains of salt, and the other half only got the coarse salt. I liked the salted one, and my husband loved the all dressed up one. I took care to make these buns a full 7″ so the overgrown Costco sausages the boy loves so much would be evenly matched up bite for bite. He complains a lot about rinky-dink store bought buns not being long enough. So, needless to say, he was happy with these buns in ever respect.

Try these buns. You’ll love them. And they took me less than an hour – start to finish.

OK, we’re off to hit a movie if we can, so enjoy your holiday, everyone.

Happy 146th birthday, Canada!