Air Fryer Burgers

I’ve really gotten into making my own burger patties to cook in the air fryer in this past week. I stumbled on the idea of using a certain one ingredient online two months ago, and I have been very happy with my homemade burgers ever since.

Butter Burgers:
450 g Ground Meat (any)
2 Tbsp Butter, grated
2+ Tea Spice Blend (of choice that works with choice of meat)
1/2 C Breadcrumbs (optional if mix is too moist)

Mix everything up by hand just to combine. Don’t over work the meat. Divide the mix into four equal patty portions. Roll each one into a ball and then flatten them out across closed fingers to about 4-5″ wide. Place each patty in the air fryer basket lined with parchment or tin foil.

Cook at 320* for 6 mins per side, and at 400* for 3 mins per side to brown each side more. Let the patties rest in the basket to reabsorb the butter juices. Flip the burgers over a few times before moving to buns.


Summer Salads – Potato

This is my riff on Simply LaKita’s Southern Potato Salad. Her recipe is as delicious as it is straightforward. You will have your potato salad made in no time at all. I use the same base materials and steps, but I add two other ingredients. If my additions scare you, trust me when I say LaKita knows what she’s doing, so you can check out her original recipe instead. 🙂

Taco Potato Salad:
5 Russet Potatoes, peeled, diced
Half a medium sized mixing bowl of cold water + 1/2 tea salt

Prep and rest your potatoes in the mixing bowl as you peel and dice them up. Rinse the diced potatoes twice with cold water. Dump into a pot with water to boil. When the water hits its boiling point, add 1-2 teaspoons of salt. Always salt your starches!

Rinse out the mixing bowl using cold water. Add some ice and add some cold water. Drain the pot water after the potatoes hit fork tender stage. Drop the potatoes immediately into the mixing bowl to come stop the cooking and chill the potatoes.

3 Eggs, room temperature
1 tea White Vinegar
Half a small sized mixing bowl of cold water + ice

Bring eggs up to boil in water + vinegar, and then drop to a simmer. Cover and let them cook for 11 mins. Remove the eggs immediately and drop into the iced water bath to rest 10 mins before peeling. Smash both ends on all of the eggs before carefully getting fingernails under the membrane to smoothly remove the shell fragments. Wipe the eggs off on a paper towel before chopping up.

Dump the potatoes and egg chops into the rinsed out mixing blow and add the dressing:

1/2 C Mayo
2 Tbsp Relish
1 Tbsp Yellow Mustard
1+ Tea Taco Seasoning Blend
1/2 Tea Pickle Brine
S&P

Mix this all together, cover, and chill to marry everything together for roughly 4 hours.

Smash Taco Burgers

I watched a few Tik-Tok videos on these little Smash Taco hybrids since it’s all the rage this week, and they looked easy enough. Of course these videos tend to skip a lot of helpful information for the platform format that gets them the most view. Views = impressions, impressions = reach, and reach = virality. And somewhere a long that string is a spot for monetizing the content. But, fear not – I’ve got you covered.

On my journey to make some at home, I quickly discovered the content creators either use extra lean ground meat, resulting in far less grease (but also far less flavour) than my preferred medium ground beef. I don’t understand anyone eating lean and extra lean beef. Why not eat cardboard instead? It would taste about the same IMO.

Anyway, if you made these smash tacos from start to finish without stopping or resting the food, you will end up with a soggy, greasy, unpleasant final product. But, by cooking and then resting the meat on the tortilla, AND wiping out the grease of out your pan, you will notice the meat and tortilla will feel less moist/soggy as you eat it. The other side of the tortilla will them crisp up nicely in the pan better. I burned a few of these tacos in my first test run, but I nailed them in the second test run by keeping the pan clean and at a slightly lower temp in the last stage.

TIP: Season your meat well before you mix it up and divide them into the ~2 oz balls.

TIP: Use a square of parchment over top of the ball when smashing them down with whatever tamping instrument you have on hand all over one side of the tortilla. (I have the tamper that came with my slider pan.) I like to pick up the paper square and move it where I wanted to flatten the meat, and keep doing that until the meat is thin and evenly spread out.

TIP: Put the taco in the bare pan smashed out meat side down. I gave each one about three mins with me pushing them down into the pan for some lovely charred edges.

TIP: Let each taco REST on a wire rack face up for about 3-5 mins while you cook the meat side of any other smash tacos you’re making. REST that damn meat, people!

After you finish cooking the last smash taco on the meat side down, lay the first rested taco one back down into the pan, meat side up. Lay a slice or two of cheese on top at this point, drop the heat a bit, and cover it. Trust me.

It only needs about 1-2 mins to get gooey. Rest the smash tacos back on the wire rack for another 3-5 mins as you top them all with things like pickle slices, special sauce, caramelized onions, lettuce, etc. Whatever you like.

Resist the urge to fold them too early to serve them. The liquids will leak out of the corners instead of redistributing themselves in the meat, the cheese, the toppings, and tortilla. Patience will reward you when you wait to dig in.

I didn’t wait long enough, and there was grease and special sauce left on my plate, whereas the husband’s was made first and rested longer, and well, his plate was practically spotless when we finished eating.


Sunday Dinner – Meatloaf & Beans

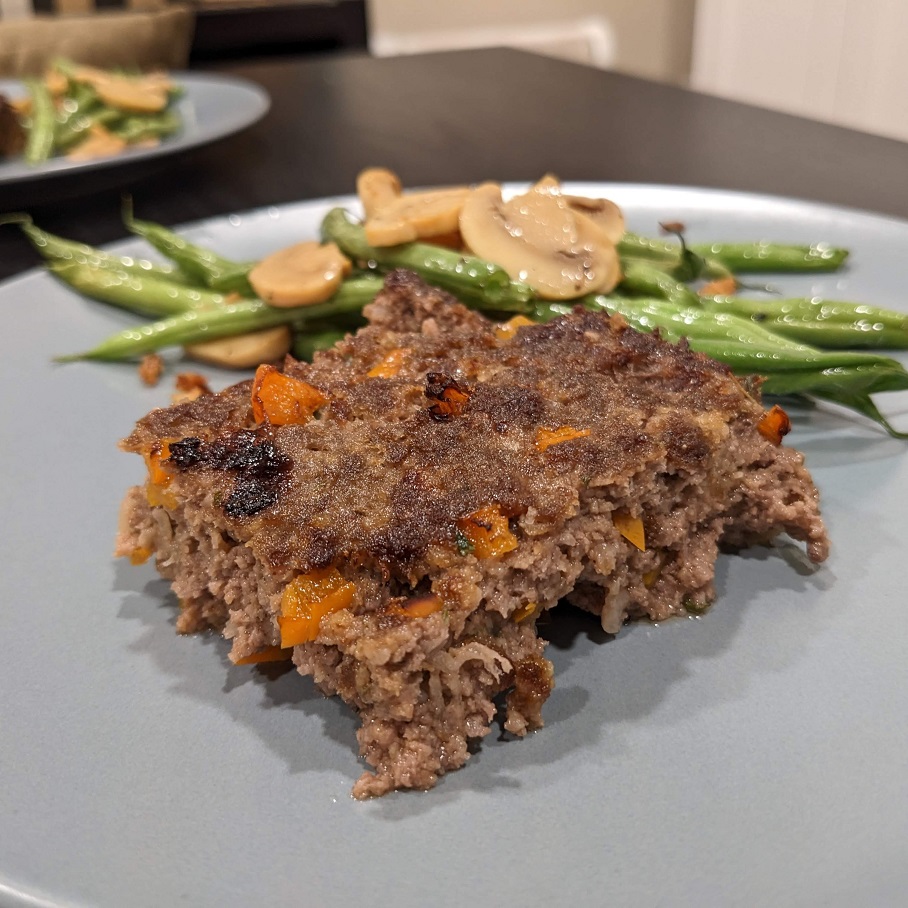
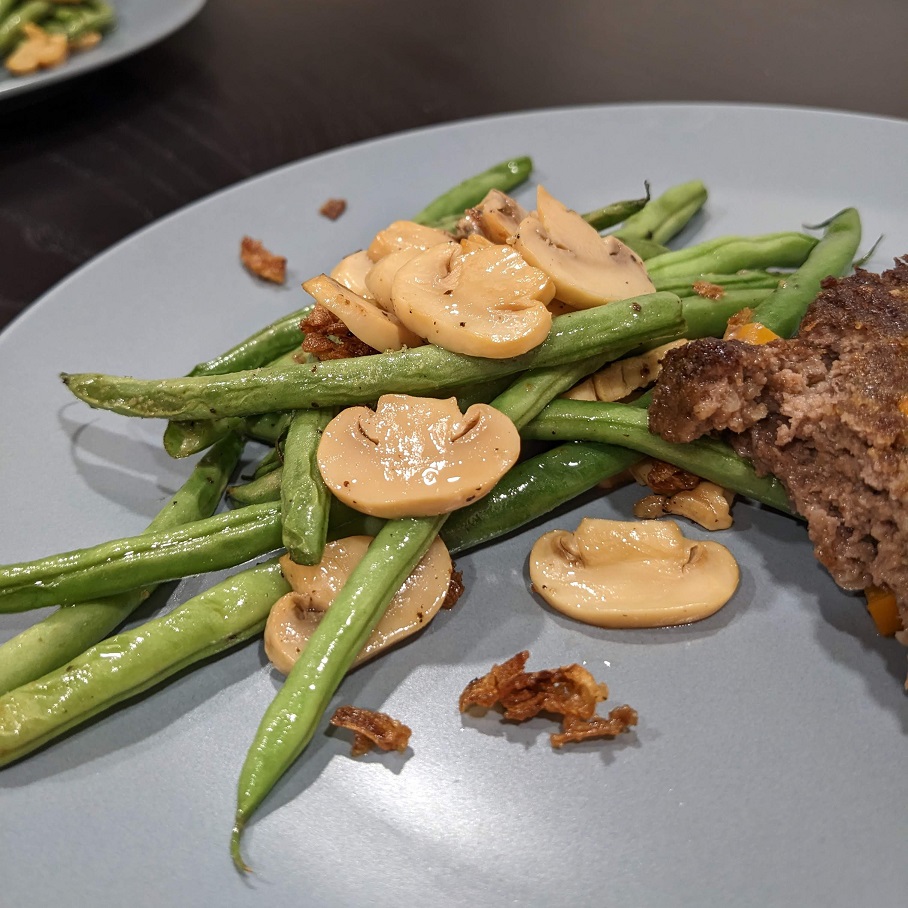
Made a late simple dinner tonight. I cooked a lovely meatloaf in the air fryer. And as that rested, I cooked some green beans with canned mushrooms, and fried onions as the side. I have made many different meatloaves over the years, but this one is up there with my favourite ground turkey meatloaf that I keep craving.

Here’s what I put in mine:

Jalapeno Meatloaf:
1+ lbs Ground Beef
1/4 sm Yellow Onion, grated finely
1/4 Bell Pepper, any on hand, fine diced
1/2 med Jalapeno, seeded and fine diced
Cracks of Pepper
Pinch of Salt
3 tbsp Everyday Seasoning Rub
1/2 C Panko
1/2 C Dry Breadcrumbs

Everyday Seasoning Rub:
1 1/2 tbsp: Garlic / Onion Powders
1 tbsp: Salt / Paprika
2 tea: Black Pepper / Mustard Powder

(Despite only needing a bit of the rub mix for the meatloaf, the above will net you enough to fill a small mason jar. You can use it with any kind of food group.)

Mix all of the meatloaf ingredients in a mixing bowl by hand. Place fistfuls of meat into a greased pan, and press the meat into the corners first. Add the rest to the middle and spread it all out evenly across the surface.

Place the pan into the air fryer (or on a sheet tray) to cook at 375*F for about 18-20 mins. Pull the loaf when it temps at 158-160* and let the residual heat finish cook the meat. Let it rest on a cutting board in the pan for about 15 mins as you work on the green beans.

Green Beans:
1 tbsp regular Olive Oil
S&P, to taste
1/2 can Mushrooms (for cooking speed), drained
1+ tbsp Dried Onions

Clean out the mixing bowl with soap, and drip dry it. Run your green beans under cool water to rinse off any dirt. Drain them and dump them in the bowl. Assemble the other ingredients over the beans. Roll everything around nicely. With tongs, move the mixture to the air fryer basket (or dump it onto a sheet tray to cook them in the oven, or in a skillet to pan fry). Cook the beans at the same temp as the meat for about 5+ mins.

They are done when you can hold one bean with the tongs and bend it over in a soft V shape. Plate it all and decide if you want any sauce to top the meat with or not. Enjoy.

Air Fryer Smash Sliders

A few weeks back, I made some cute mini smash burgers at home that, although tasty enough, were a huge pain the butt to make on the stovetop. They had too much clean up time attached after the onions invariably burned while the thin meat patties resting over them steam cooked, and the cheese on top of them finally melted and the bun warmed up. Ugh.

I vowed never to make them that way again. They make a cute pub grub meal, but honestly, I wasn’t into making them the Alton Brown way again. What he does, he does well. But, I’m not Alton. I’m me. And me is really good at figuring out ways to streamline production and assembly methods at work, and at home. Work smarter, not harder!
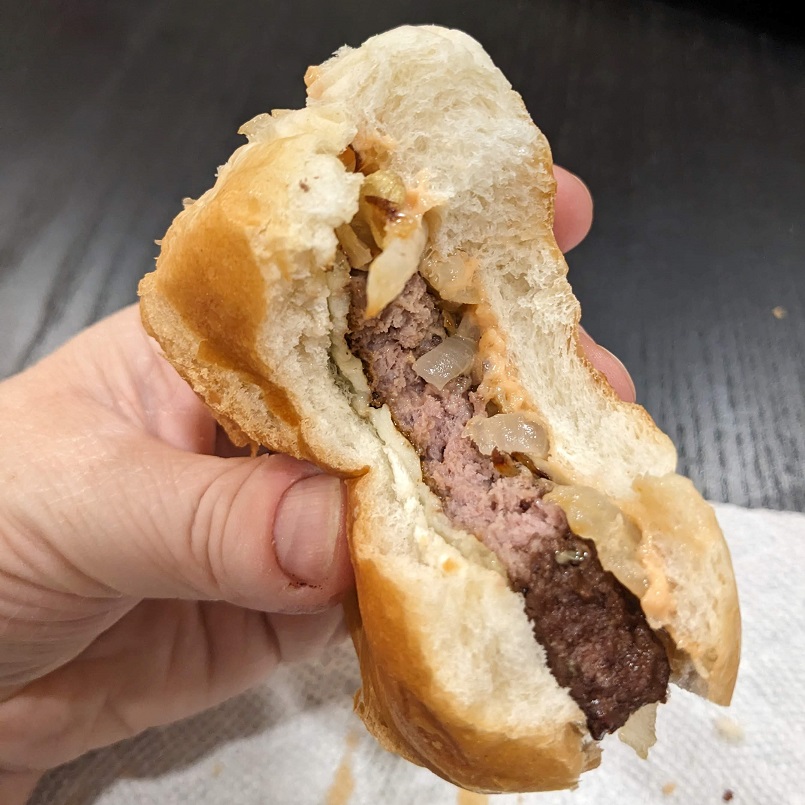
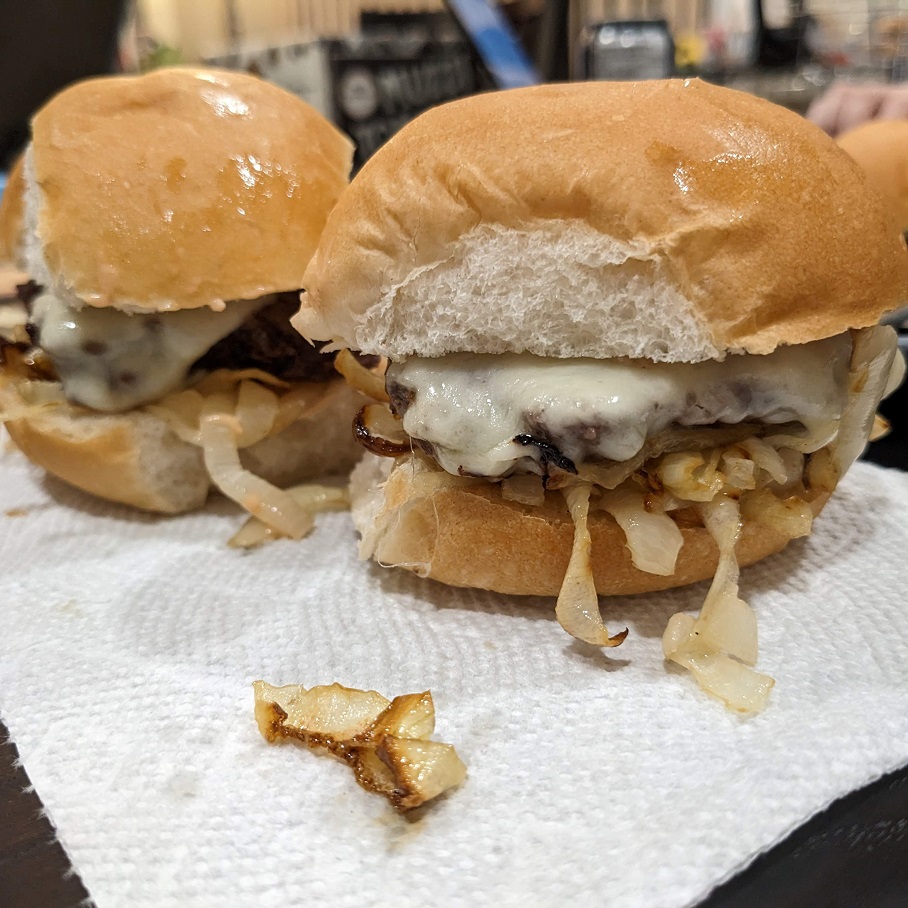
So with that, I turned to my air fryer. In the back of my head, I was only going to cook down the onions in it (so they didn’t burn) while I pan fried the patties on one side before flipping them and adding the cheese on the second side as the meat finished up.
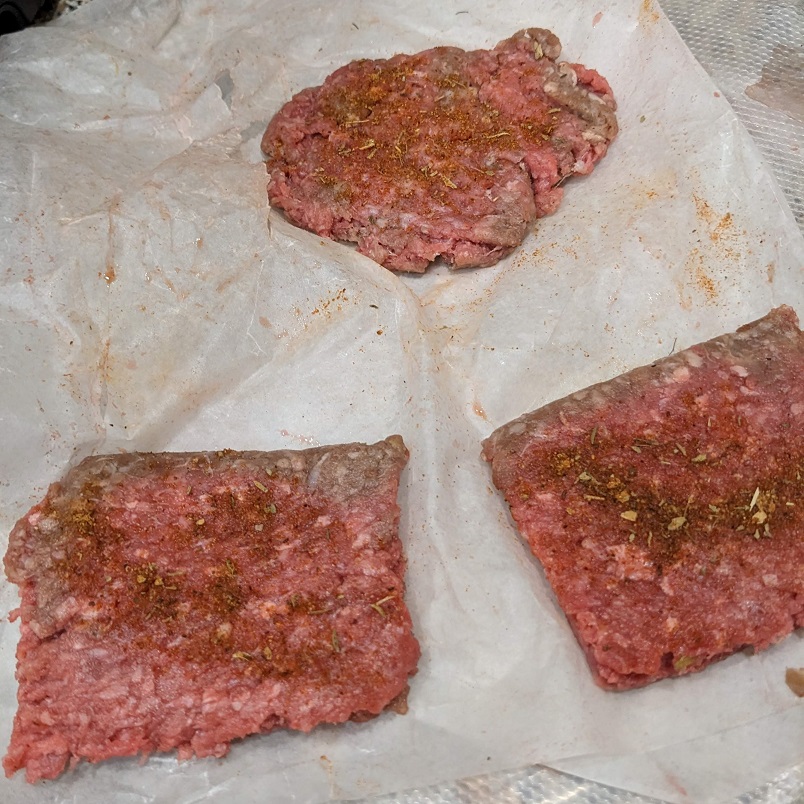
I ended up poo-pooing the idea of using the stovetop all together when I remembered how fast cooking onions in the air fryer is at 350*F for about 10-12 mins. I could just wait ten minutes and add the patties after removing the onions. From there, 4 mins on the first side, flip, add cheese and cook another 4 minutes while I prepped the buns.
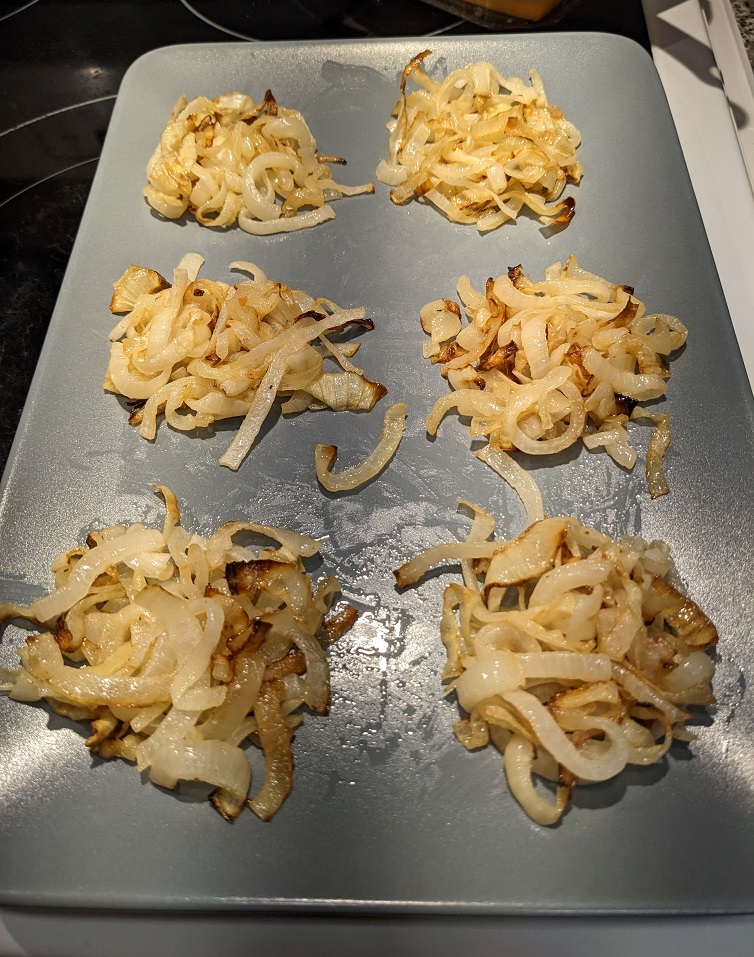
I chose a small dinner roll pack because the grocery store stopped getting the slider buns I was going to buy during the pandemic. I assume the bread maker axed this from their streamlined product line for supply chain issues. Oh, well. The dinner buns were the perfect size in the end.
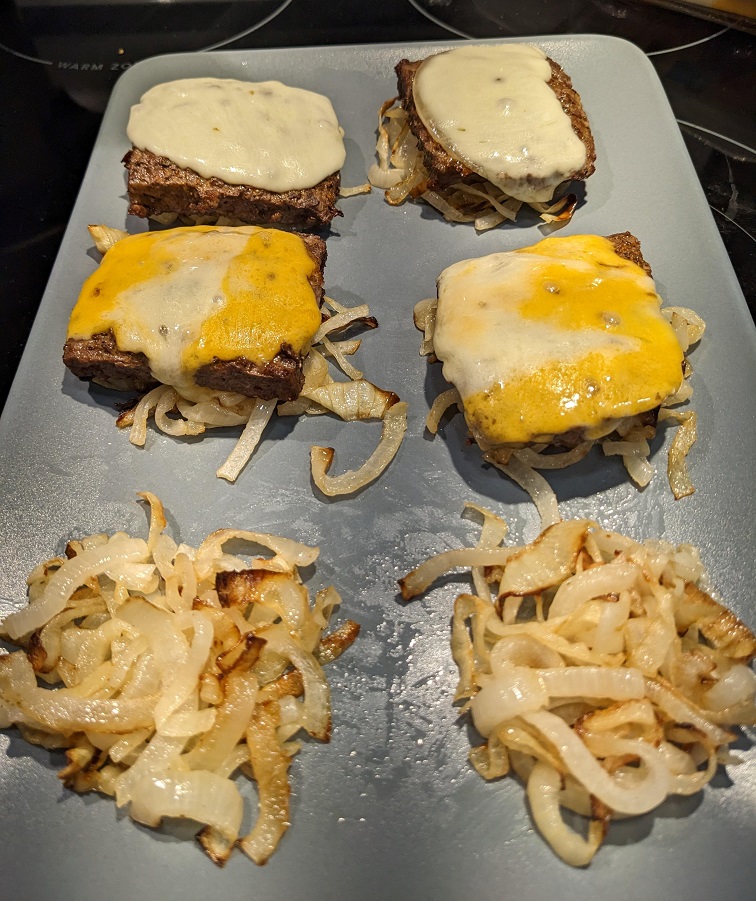
I laid the onions on a platter in small nests so I could drop a cheesy patty on each when they came out of the air fryer. I placed the tops on each patty so they melded together. On the bottoms, I laid down some somewhat spicy burger/dip sauce I had in the fridge.
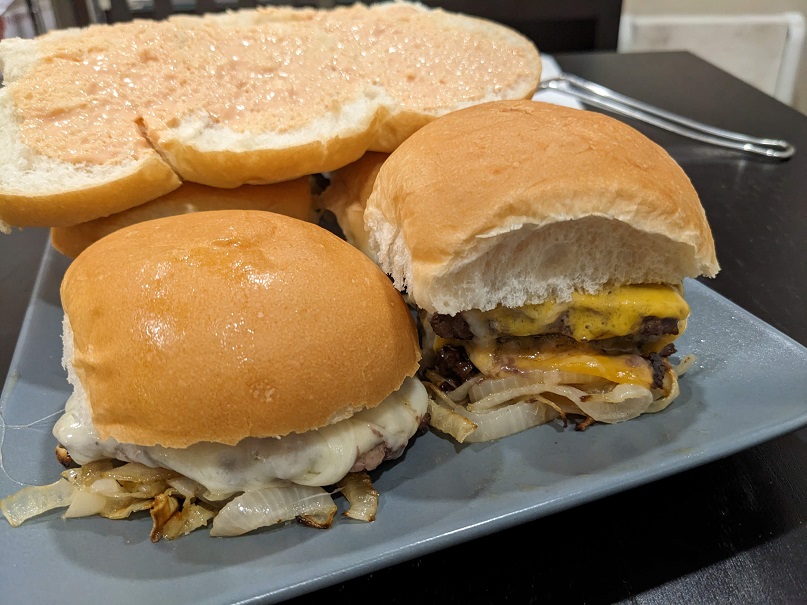
We then scraped up each pile off the platter and laid them down onto each bottom, and viola! Done. I really like how these turned out, and how fast they came together. And it was about as much clean up as cooking bacon strips in the air fryer. And none of it irritated me like doing these smash sliders on the stovetop did.
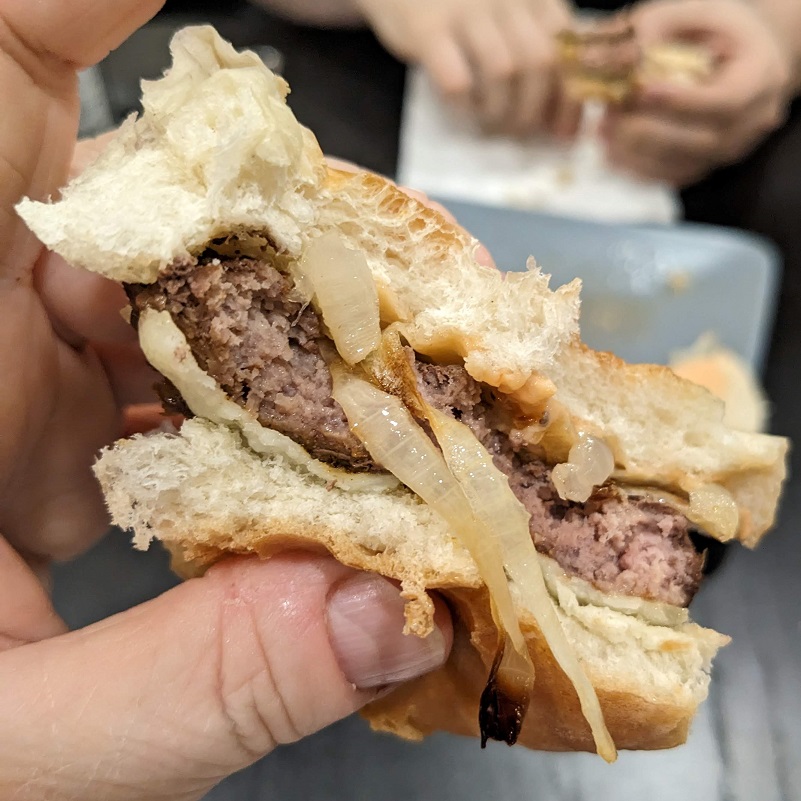
I’m calling this one as a win! Will do smash sliders this way from now on. Recommend.

What I Air Fried This Week

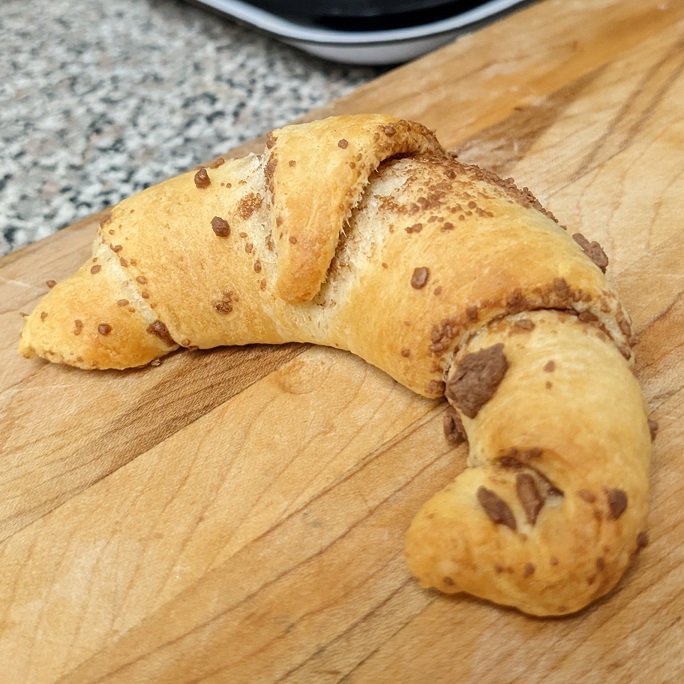
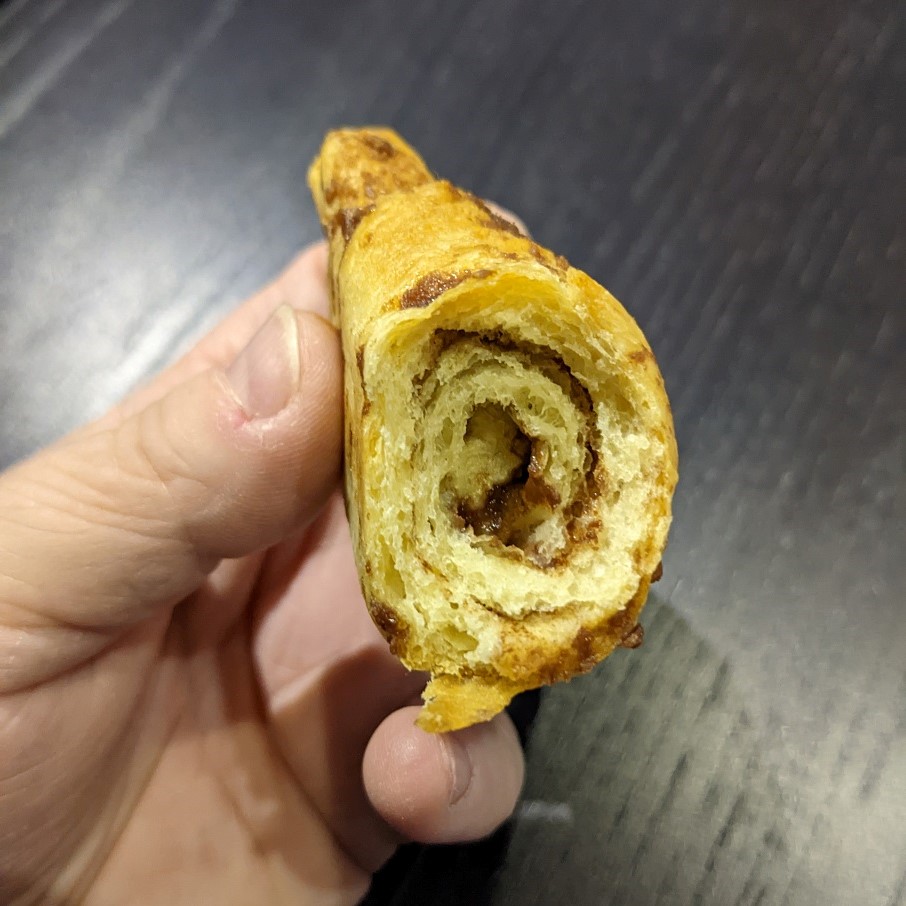
I made a lot of the same things I’ve already made, and I also went back to try the Chocolate Croissants again because I wanted to play with the times.

Instead of the typical 350-400* bake, I dropped it down to 300-320* for ten mins using a can of Pillsbury Crescent Rolls and a crushed up Flaky chocolate bar. Nailed it!

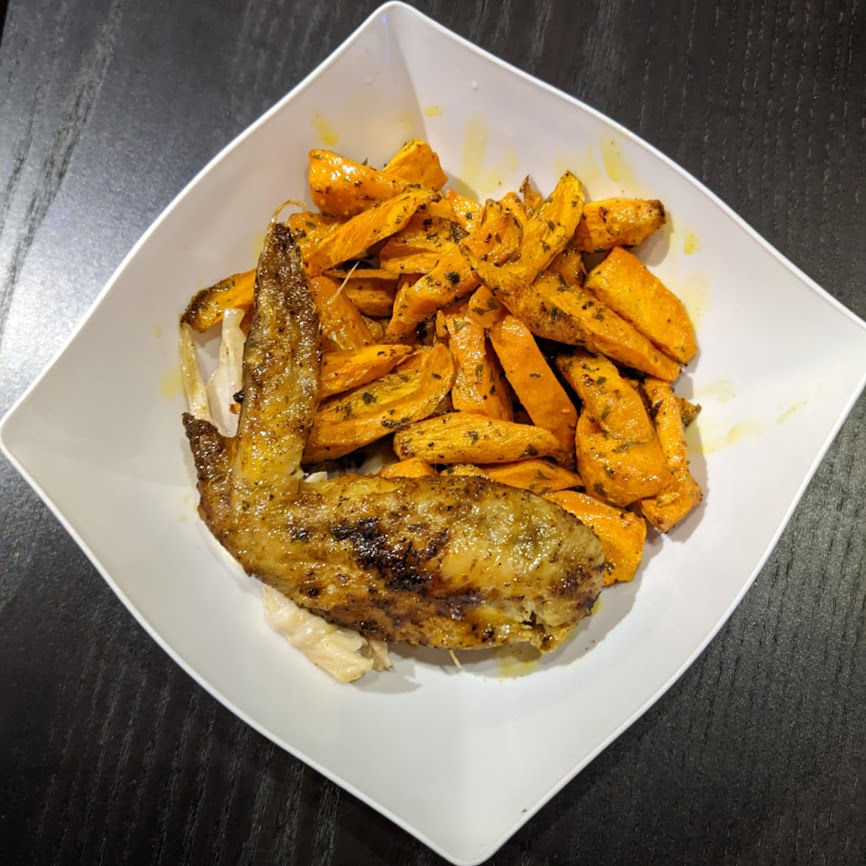
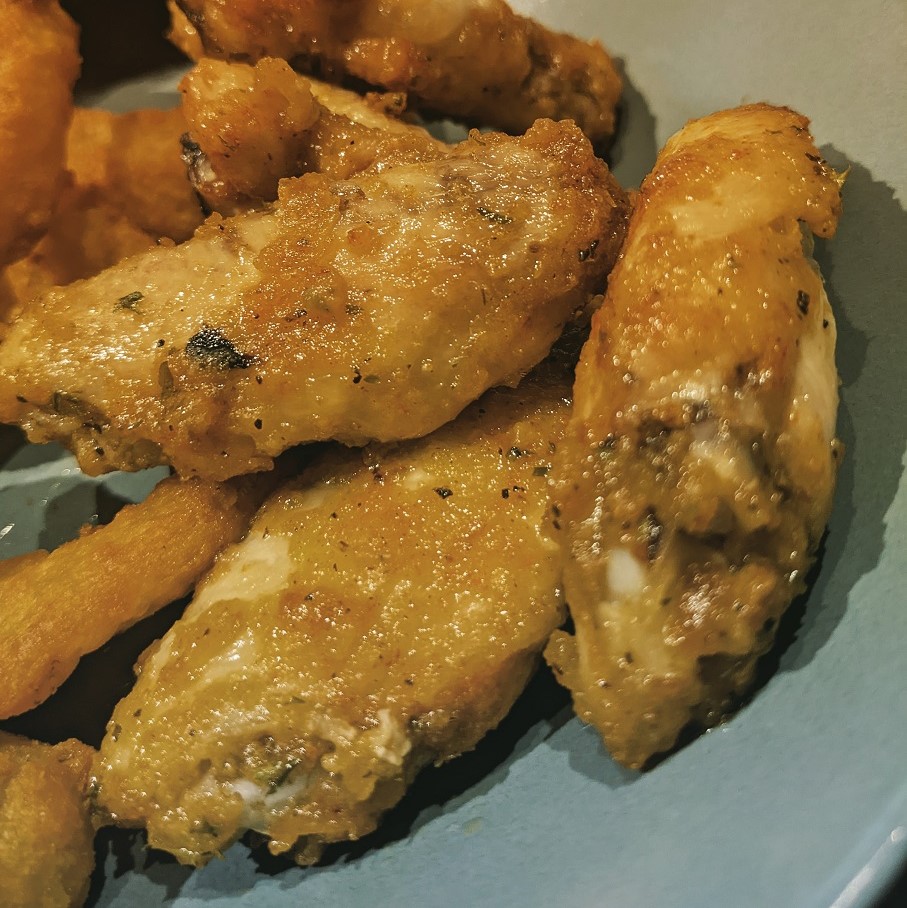
I also saw this video recipe for Lemon-Pepper Wings and decided I needed to try it since the flavourings were right up our alley. I mean, lemon and pepper? C’mon! So I used frozen chicken parts that I coated in seasonings and then in flour. I dropped them in the basket and flipped once half way, cooking them at 400* the whole time ( 8 mins + 8 mins).

The recipe called for rolling them around in some melted butter with the lemon-pepper blend, and they were fantastic. What I didn’t like was how the butter made the crisp texture straight from the air fryer soggy. :-\ I will definitely make these wings again but I will roll them in the lemon-pepper dry seasonings before I cook them and forgo the butter bath altogether.

And if that doesn’t work, I will dust the crispy wings in the lemon-pepper seasonings as a rub after they come out of the air fryer all hot and crispy.

Yes, I know. I need better lighting for my pictures. I agree. I have a ring light but my kitchen is still largely a mess from the unexpected repairs the husband had to do in there, and my ring light is buried in a corner right now. Oh, well.

Steak Quesadillas

Sometimes, after a long day at work, you just need a quesadilla. And a plain cheese quesadilla won’t cut it. That’s when you turn to chicken or, my fave, steak quesadillas. So satisfying.

I picked up a few fast fry steaks, patted them dry and only used S&P on both sides before pan frying them in butter and oil for a short time on each side. After they rested, I sliced them on the diagonal and topped my quesadillas with the tasty strips.

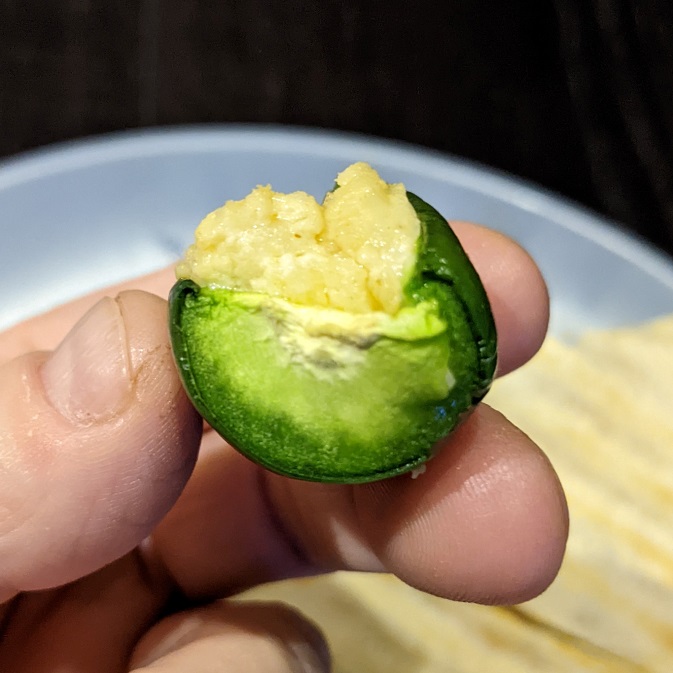
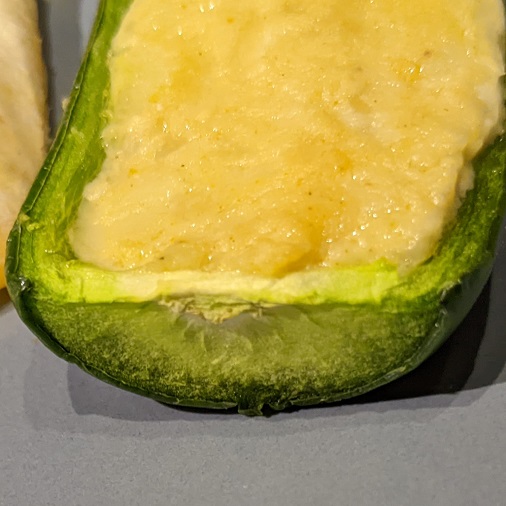
I was going to grill these but I couldn’t be bothered heating up another appliance. I already had the stove on to cook the jalapeno boats, so I grabbed another sheet tray to lay the quesadillas on to bake. Sure, they don’t look as pretty as if I had grilled them, but I just wanted to get that job done that night. 🙂

Sometimes I grill them, too, though.

When I cut them, I take care to keep the cut without an edge with a bit of one so it doesn’t fall apart as I move it from the cutting board to the plate. That tiny bit of uncut folded area, about 1/4″, doesn’t seem like it would help, but it does. It really does.

After you cut the half moon quesadilla into two triangles down the middle, move your knife in place to cut those two pieces into two again to get the four triangles. Now move your knife 1/4″ over to the right (or left) of the centre along the folded edge, and cut down from there to the mid point of the triangle.

Sometimes I serve this with a dip, sometimes not. Your choice. Enjoy!

Jalapeno Boats

We love pub grub, but we don’t really like going to pubs around here. They all tend to be sports themed, and we’re not into that scene. We do like patio dining, but we’re not there yet weather wise. Until then, I make us some of our faves at home. First up, Jalapeno Boats. Love these so much.

Jalapeno Boats:
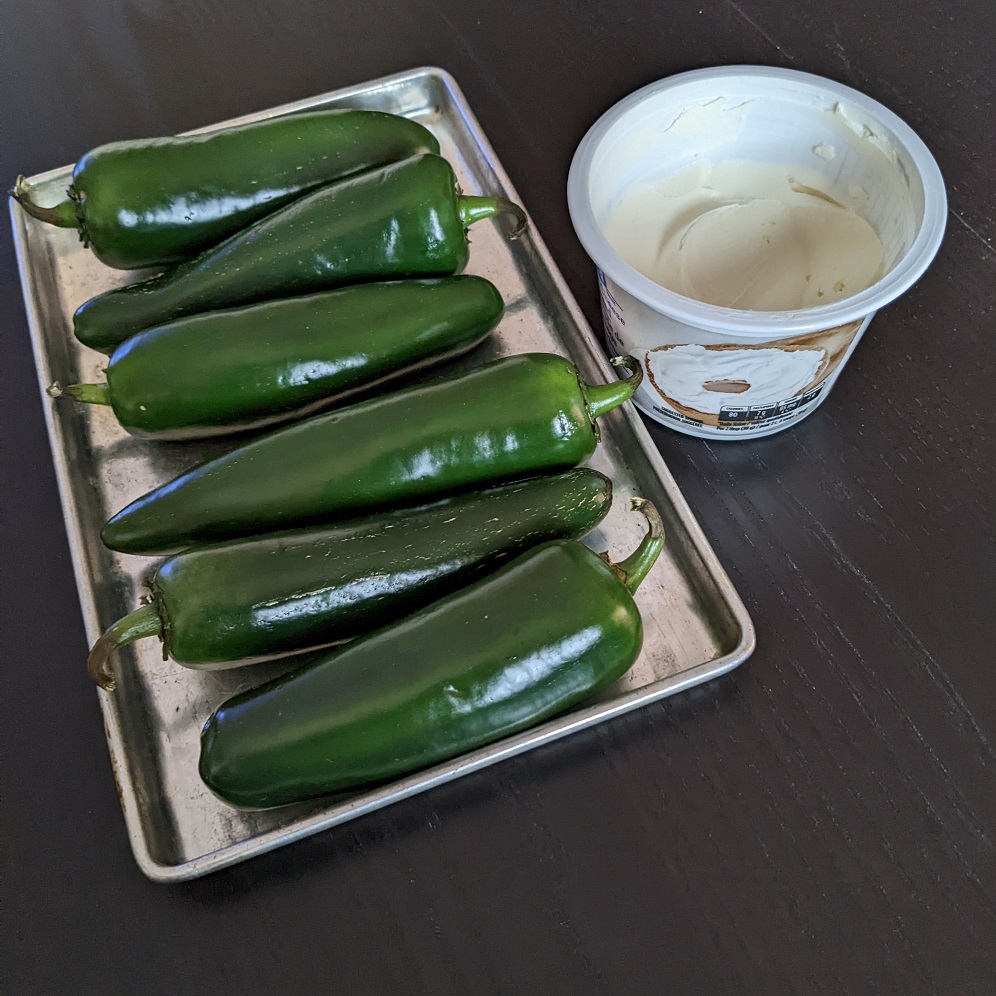
6 Jalapenos
8 oz Cream Cheese, room temp
1/4 C Cheddar Cheese, grated
3 Bacon Strips, cooked, crumbled
S&P
1 tea ea: Onion Powder / Paprika
1/2 tea Garlic Powder

2 tea Butter
1 C Panko (or any other breadcrumbs) *

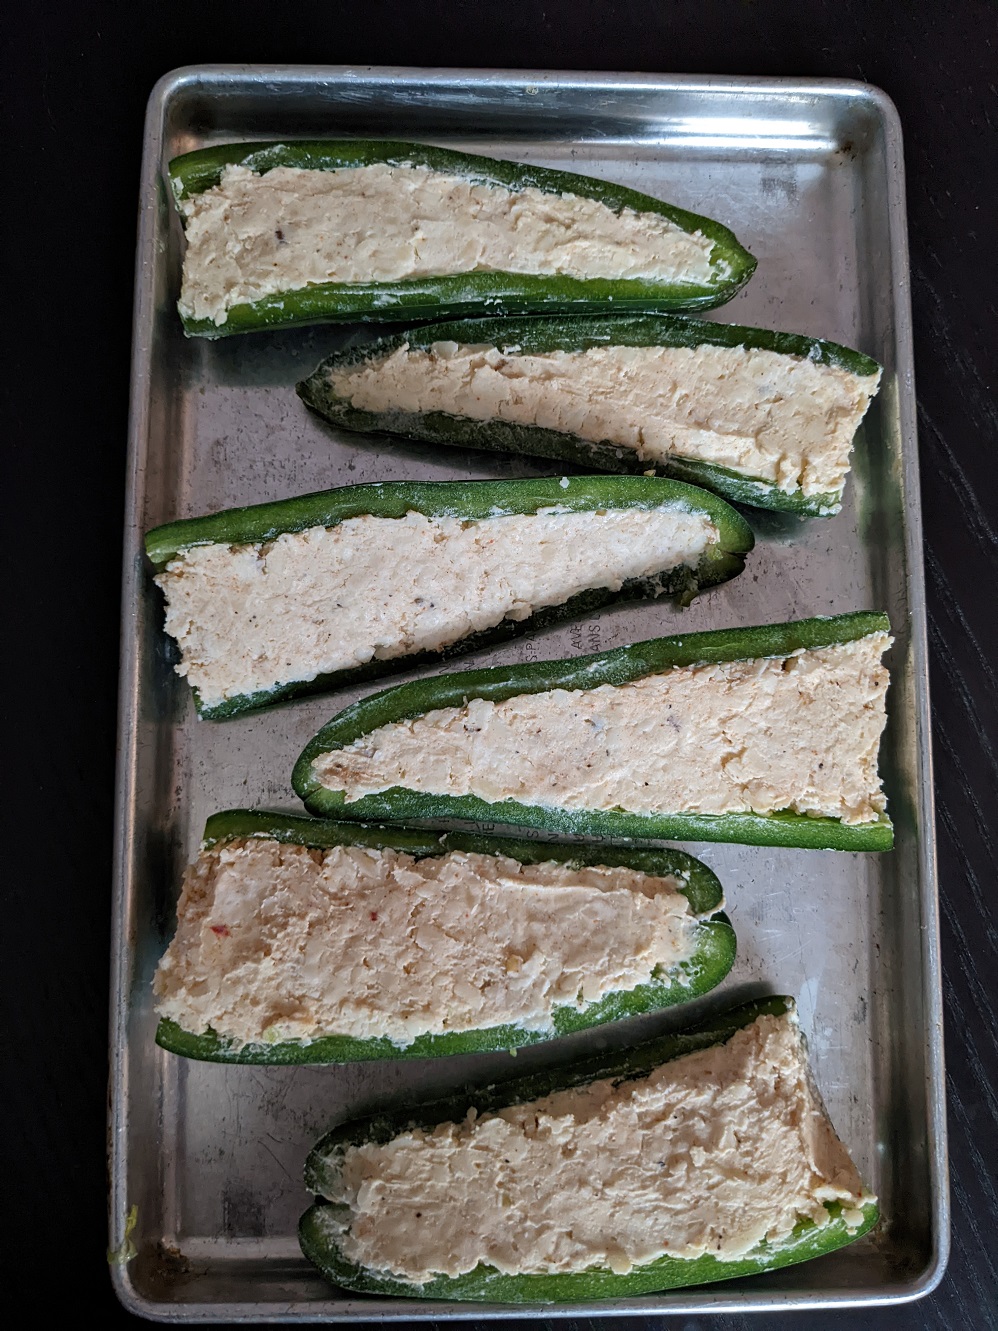
Trim the tails off the jalapenos barely, leaving a wall of white flesh in tact to create the look of a row boat’s blunt end. Set aside.

In a bowl, mix cream cheese with bacon bits, seasons and cheese grate. When combined completely, scoop this creamy filling into each boat. Don’t overfill the boats. The mixture should be level and flush to the sides of the boats.

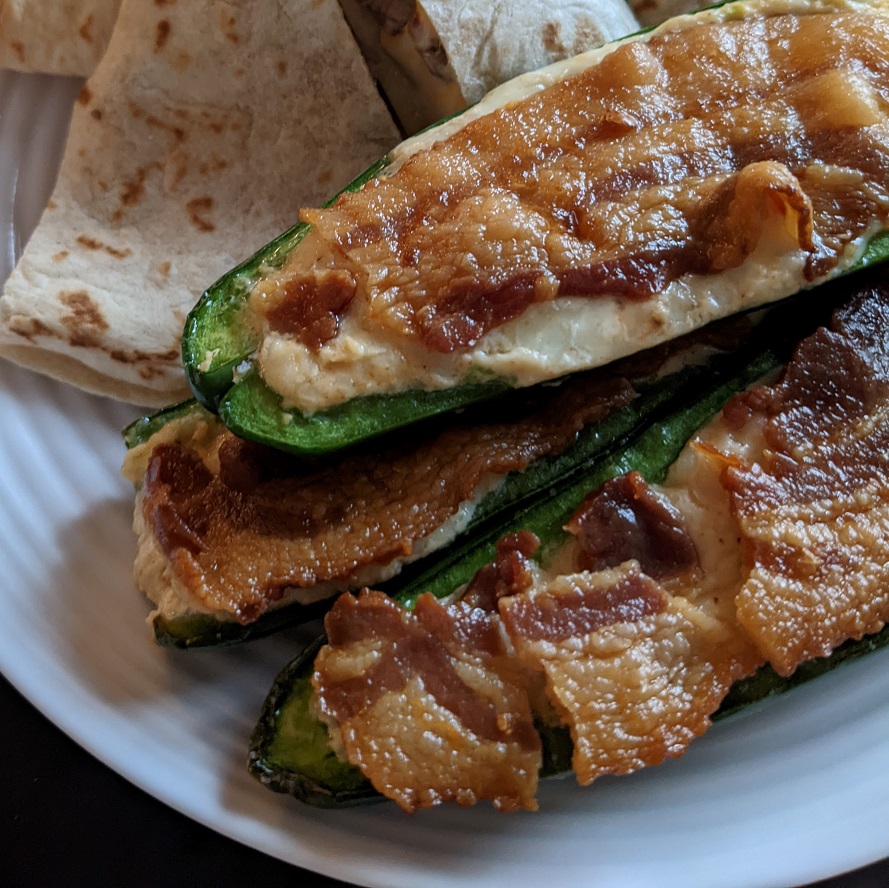
* Optional Topping: I tend to make these boats with a panko topping, but I’ve also made them without it. Sometimes, like in these pix, I top the boats with half a bacon strip. Both methods are delicious.

If you want to use the panko method, simply melt the butter in a shallow fry pan. When it bubbles, throw in the panko and move it around in the pan until the butter is all soaked up. Kill the heat. Shake the pan so the panko sits evenly across the pan’s surface.

Place a boat at a time in the pan cream cheese side down. Flip it over and add a bit more panko on the top. Place these finished boats on a foil lined sheet tray or baking dish.

Bake at 400 degrees for 20 mins.

A Burger For The Ages

I don’t make a lot of burgers by hand at home. When we do burgers, it’s typically store bought pre-formed and frozen for convenience only. The husband takes them to work fully cooked on the smoke bbq and cooled down, with a slice of cheese and anything else he wants to add to it on the fly.

I was cleaning out the two freezers last night (the one attached to the fridge, and our cube stand up mini freezer) and found some portioned ground pork in ziplock bags. I pulled them out thinking I can use it for a dinner this week. Not specifically anything like burgers, but sometimes I like to form them into a meatloaf or meatballs before even thinking about burgers.

Tonight I made burgers for a change of pace. And now my husband is demanding to be kept in the style to which he quickly became accustomed to (as of tonight). *sigh* Ok, fine. Here is what I made him:

Creole Burgers:
14 oz Ground Pork
3 tea Creole Dry Rub
I Egg
3/4 C Breadcrumbs (of your choice, though I used Italian flavoured)
1/4 C Parmesan Cheese, grated up

Don’t overwork the meat mixture as you combine everything. I measured out meat for three patties at 4.6/4.7/4.7 oz each. Each was hefty and fantastic. It was a tasty burger on its own that could forgo a bun if need be. But, of course we topped it with sauces, veg and lettuce from our herb garden.

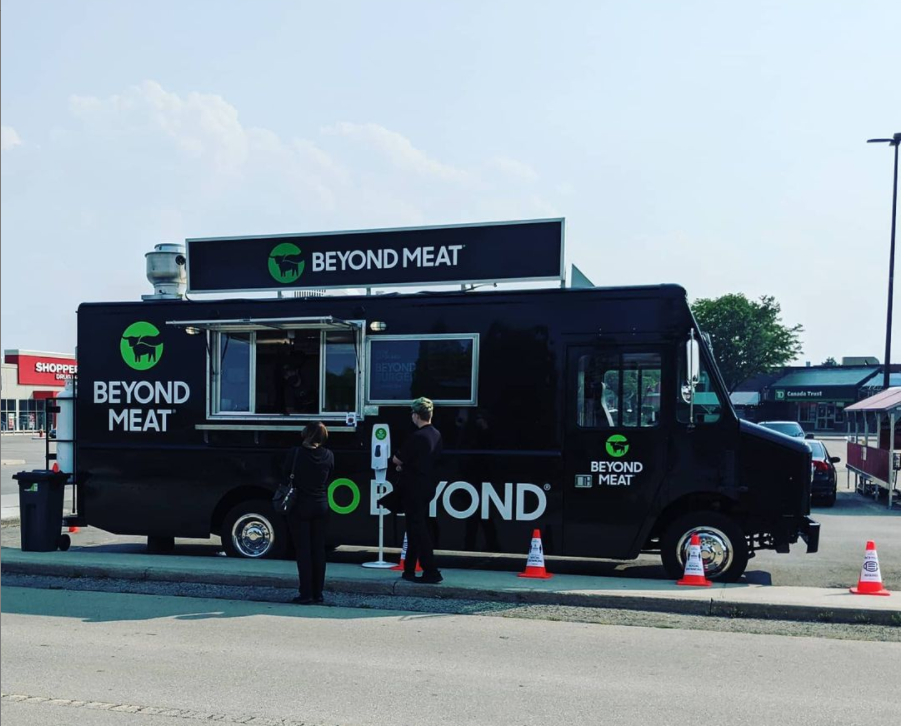
I was spoiled Beyond when this truck showed up at my workplace.

I was, I suppose, trying to give that Beyond Meat burger I had earlier this week a run for its money. I think this burger is just as tasty as the meatless one. Similar flavour palette, same texture, same satisfying feeling in our tummies.

Try this burger recipe and tell me what you think.