Easy Breakfast Egg Quesadilla

I found this idea in a Tik-Tok video several months ago, and I have been rocking it pretty steady since. I don’t seem to get tired of it much. Somedays I make a breakfast bowl of ramen instead, but that’s on my days off when I have more time to clean out the fridge for ramen inclusions.

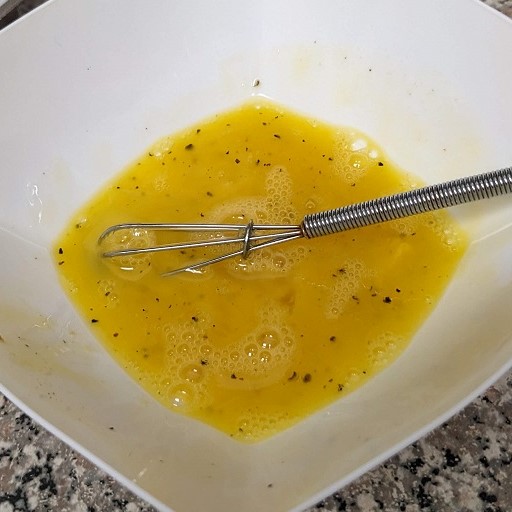
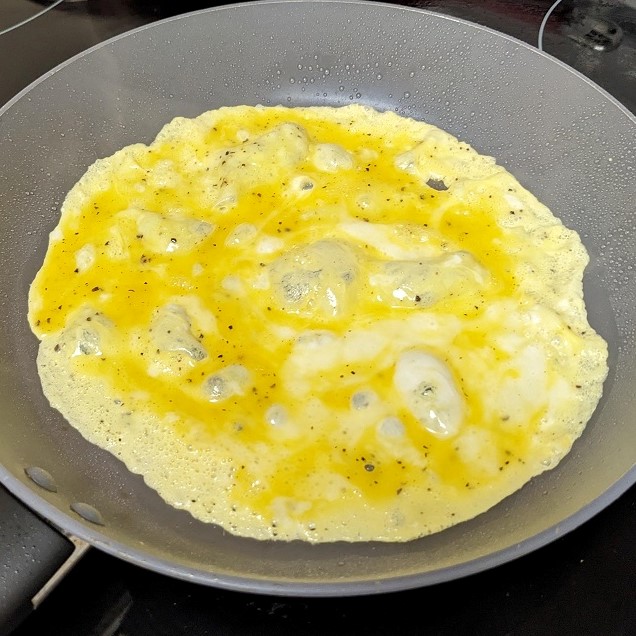
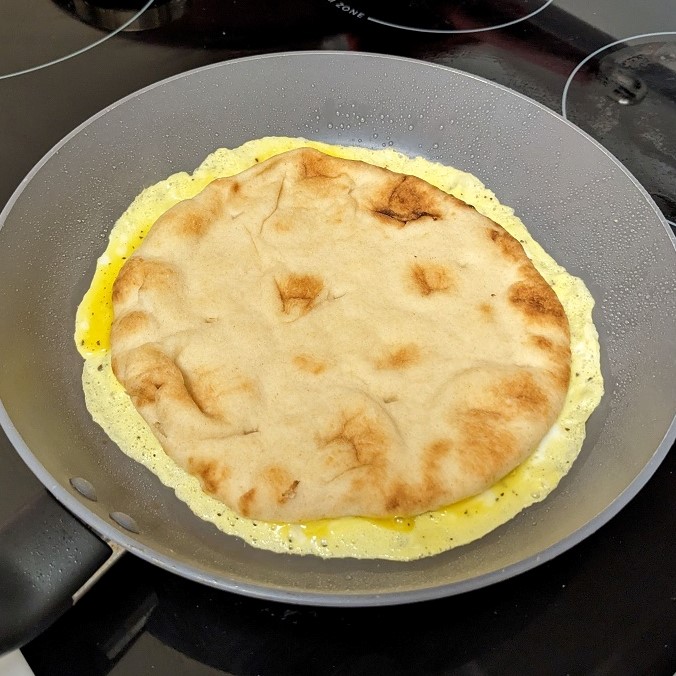
The idea is fairly straightforward and easy. One egg, beaten with seasonings of your choice (S&P/RHCP flakes/Onion Powder is a good combo), poured into to a hot pan with a bit of oil. Tilt the pan so it runs thin over most of the bottom of the pan. As the bottom sets to white, top the uncooked egg top with a tortilla or naan bread. Push it down a bit so the egg sticks to it.

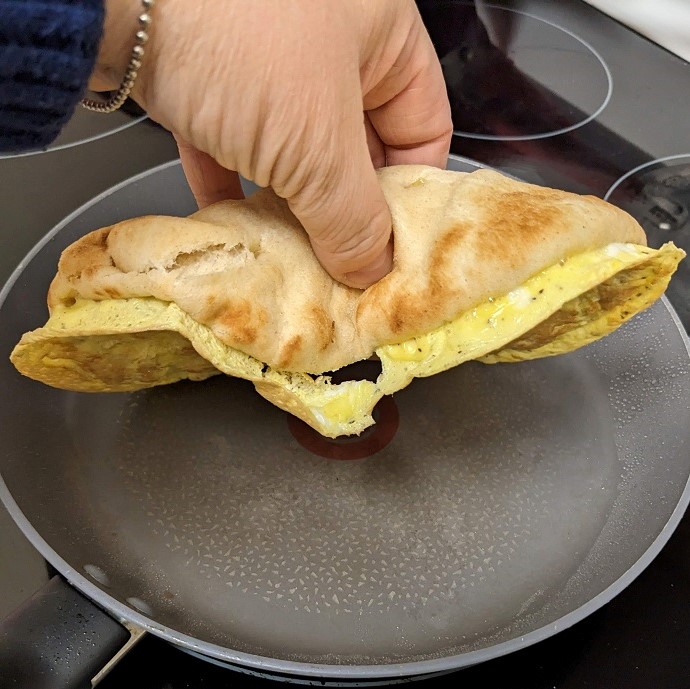
Wait about 30-45 seconds, and then pinch the bread as you pick it up with the attached egg. Flip it over. Here’s where it get interesting.

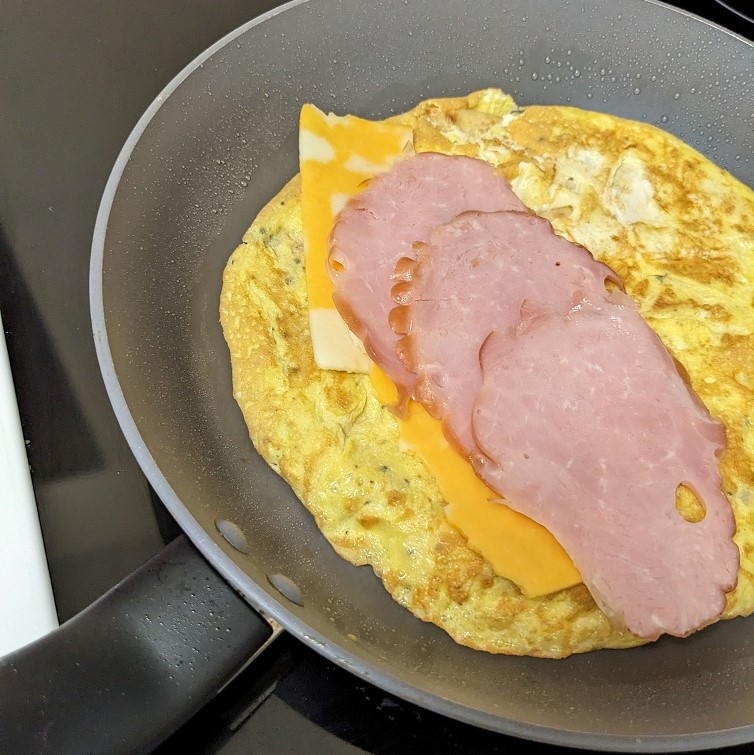
Depending on what I have in my fridge, I will lay down some cheese grate or a broken up slice of cheese over one side. I top that with something like thin sliced deli meat or leftover chicken I chop fine.

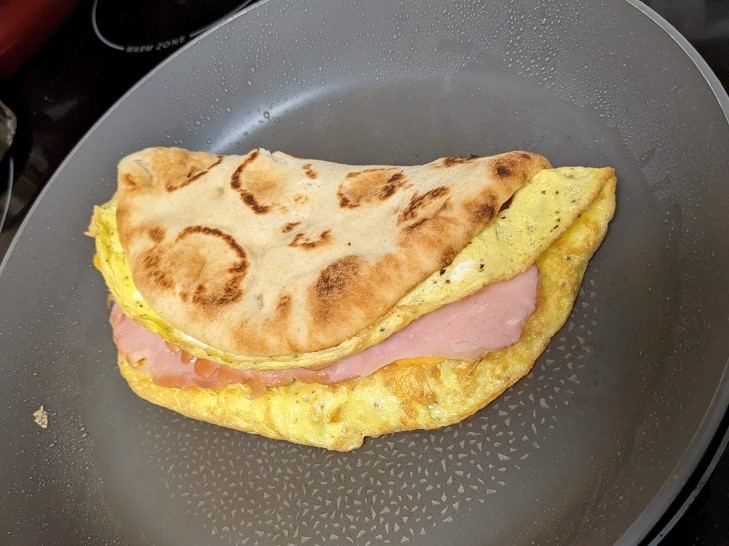
Fold the tortilla or naan over and move the half moon into the middle of the pan. Push down so the meat melts into the cheese. After 30 seconds, kill the heat and flip the quesadilla to finish cooking for another 15 seconds.

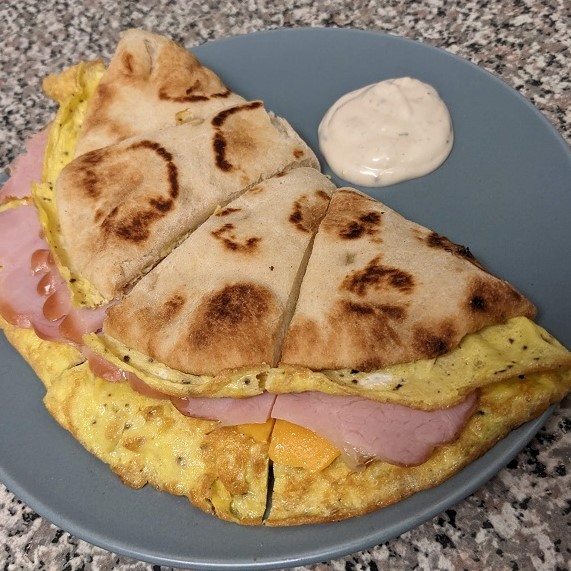
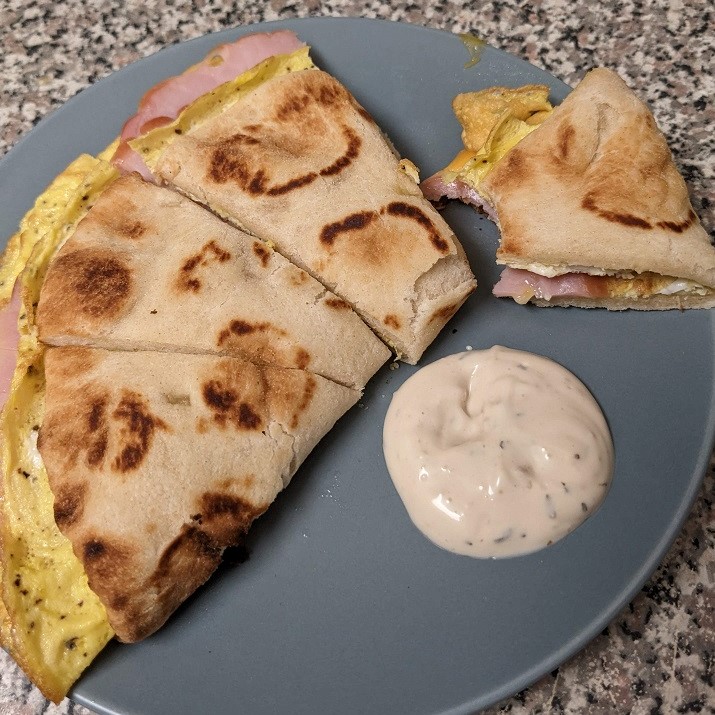
Move it over to plate and cut it into 3 or 4 triangle portions. I typically squirt some Ranch or other dip sauce the size of two quarters on the plate for dipping. This fills me up for a few hours due to the three protein sources. I don’t need to go crazy with the portions either.

Enjoy.

Air Fryer Bacon

This was a gamble given how expensive thick cut bacon is, and since it’s the only bacon I will buy (snob alert!), I cut two or three in half, and lined the basket with them. I added some cracked pepper and grinds of red chili pepper flakes. I didn’t need to use any spray here. The fat rendering out of the pork did all of the heavy lifting for me.

The first side was cooked at 400* for about 4 mins before being flipped to finish cooking for another 3-4 mins. It cooked up perfectly. With minimal curl, to boot. I hate curly bacon (and hair).

Of course the first batch was immediately consumed in a BLT sanny. Yum!

Home Reno – Pantry Storage

Ok, here we are. This is the big project we did. Big in terms of scale, size, and cost. But worth every penny. This project was inspired in part by the wall of storage you’ve enjoyed since your parents bought that house 30-ish years ago. I’ve been in awe of that much space ever since. It’s been tucked away in my head ever since.

This is my take on it. A full 9′ of storage cabinetry stuffed with pull-out drawers and shelves to spare. We even carved out some space for two appliances: the microwave and the drink fridge. The husband busted his ass planning this all out, buying all of the parts and materials, and assembling it all for me while I was – you guessed it – at work.

My main job was to figure out where the drawers and shelves would reside, and what went in them. After all that, I had to put all of my kitchen crap in these cabinets in a neat, orderly way that is easy to find and not too junky looking. For the most part, things are where they will live forever, but sometimes I will figure out something needs to be moved and just do that on the fly.

This is a small sampling of the crap I had to find a home for. I got rid of a lot of stuff before this picture was taken, too! 😀 So, as you can see, I needed proper storage in this dinky house. This house couldn’t handle my kitchen needs. I have no idea how my neighbours live with their lack of storage, but this is what we did to solve this very vexing and annoying problem.

One other issue we’ve always struggled with is, where do we store our brooms and vacuum? The brooms ended up on a wall in the garage, but the vacuum always kicked about. I hated that, but there was next to zero closet storage on the main floor. Thanks to a weird jog in the wall for the hvac stuff, we had a small nook left over that ended up being the perfect size for our baby Dyson. (We have since replaced it with another thin upright vacuum type that also fits in this nook perfectly.)

And finally, I have to talk about how life-changing pull-out drawers have been for me, a woman with tiny T-Rex arms. We paid a LOT for each of these drawers, but I wouldn’t trade them for all the tea in the Boston harbour. They have made this project complete. I can’t imagine trying to live with these cabinets but with just a bunch of shelves. For real, these were invented for people like me. I cannot recommend them highly enough! 🙂

Home Reno – Front Door Glam Up

We bought this house over a dozen years ago, and from day one, we’ve both hated our front door. Specifically, the lack of light it let in. It was less than what prison windows let in, I’m sure. But we put off getting a new door, and put it off and off. For some reason, it bugged the husband this year more than normal, and he started learning what could be done about it.

From this:

To this:

He discovered it wasn’t that hard to pick up a secondhand glass panel, and it also wasn’t that hard to install it himself. So, that’s what happened one day when I was at work. I love it. He made the right call. Definitely. 🙂

Home Reno – Flooring

Last year we ripped up the old flooring to lay down something new, something consistent, something I didn’t hate to look at or clean. Viola!

How it started: I had to get rid of some very heavy furnishes, which I loved but they just weren’t cutting it for me anymore. Sad to say because I loved all of that worktop counter space but I needed more storage than counters. So, I cleaned them out and sold them off.

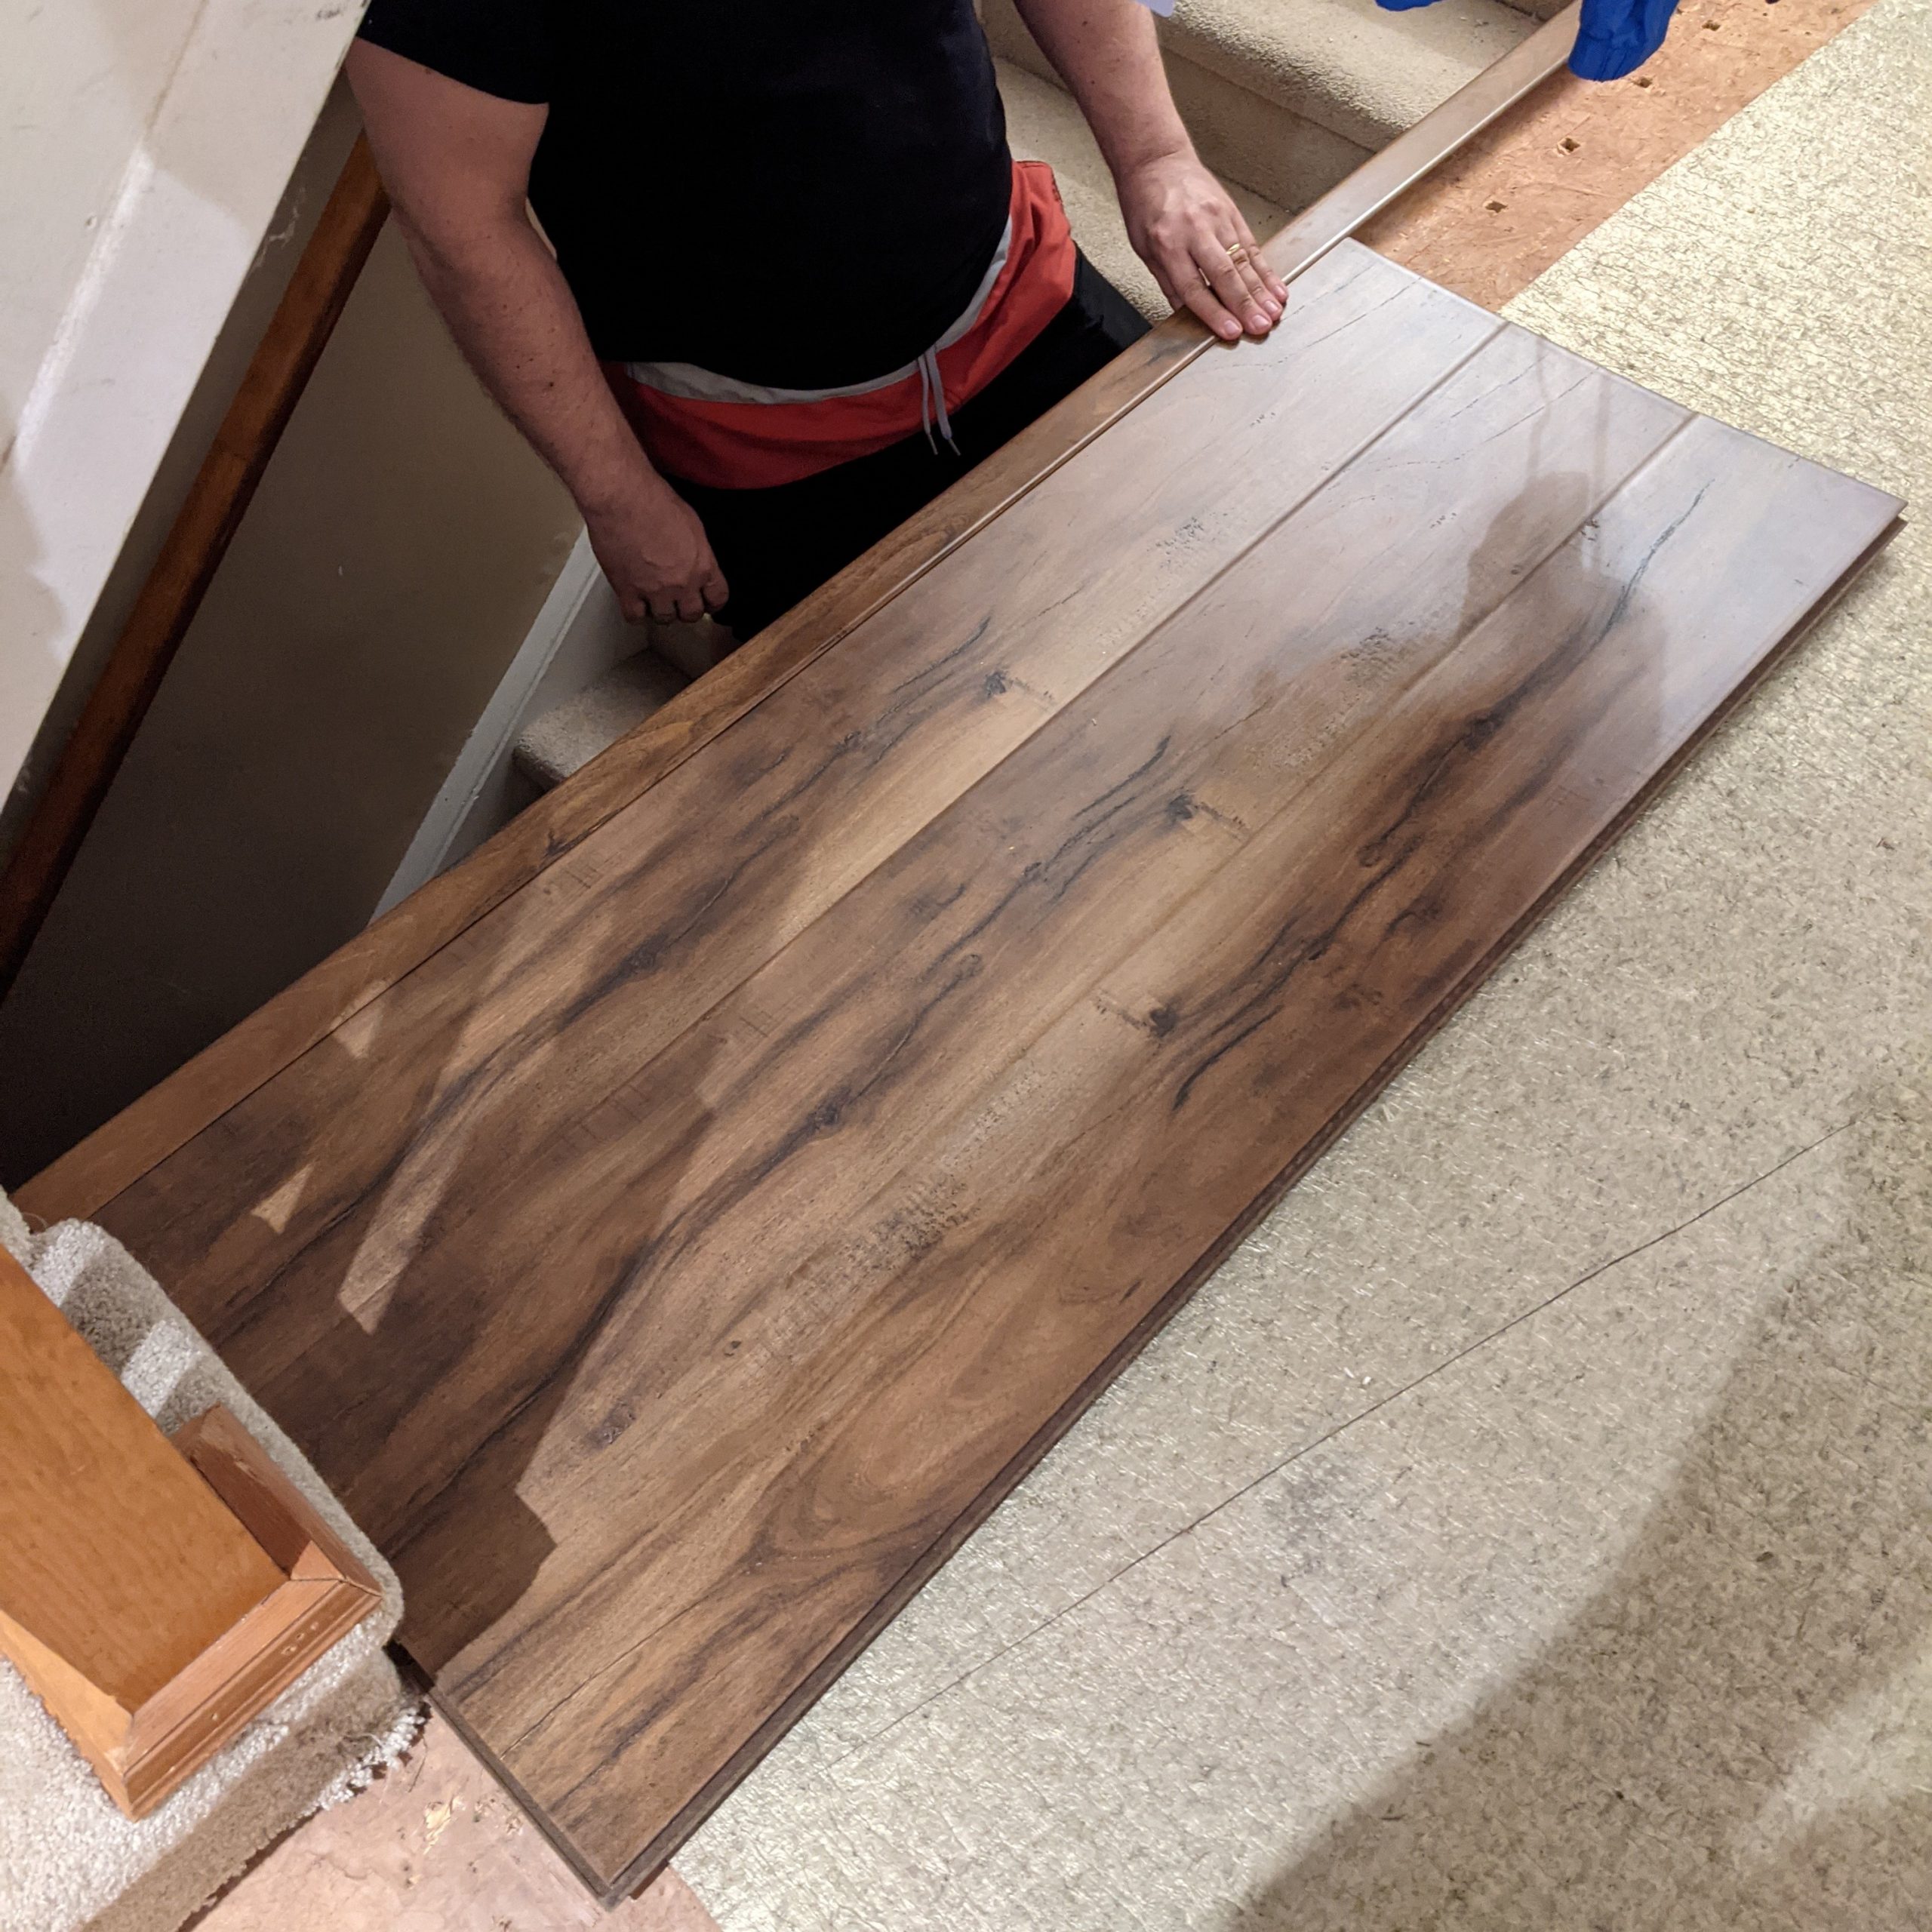
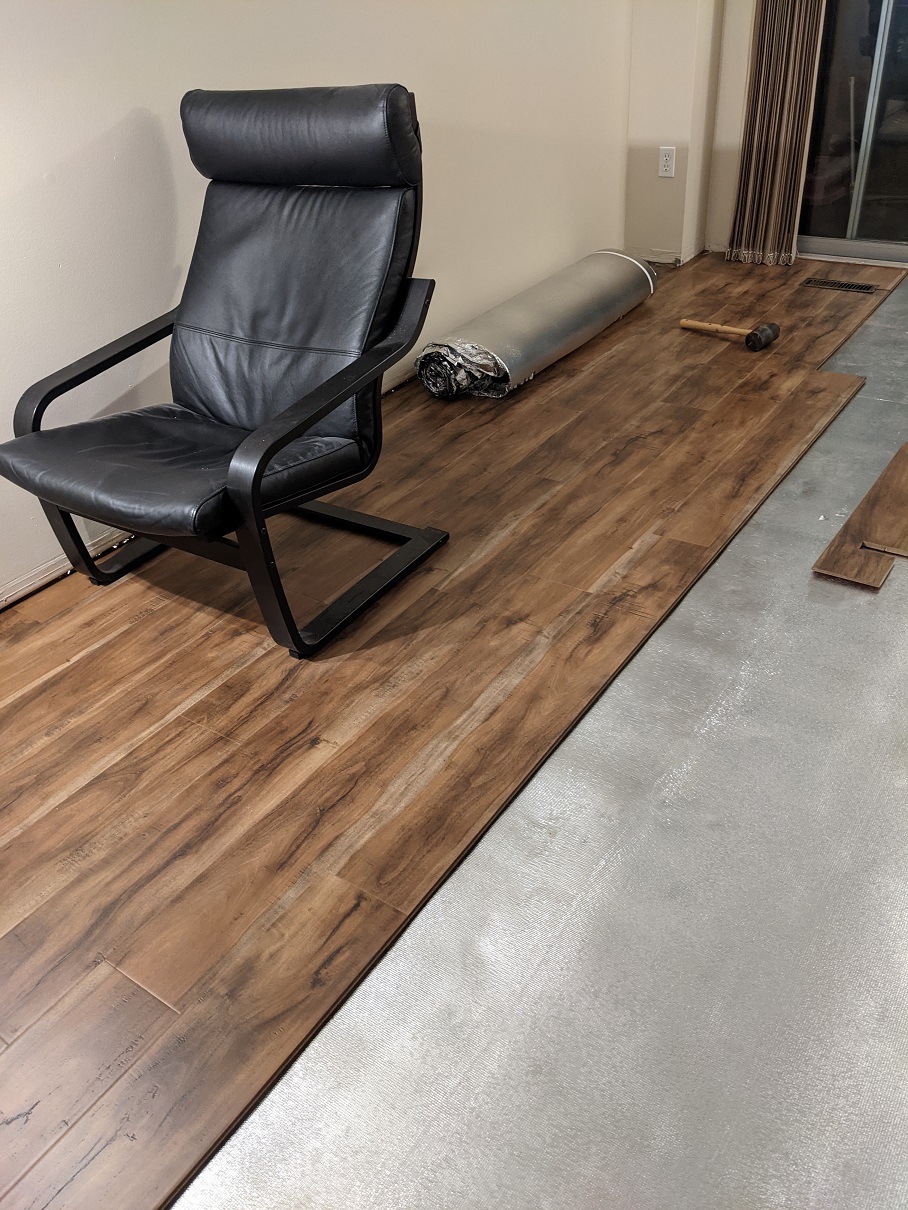
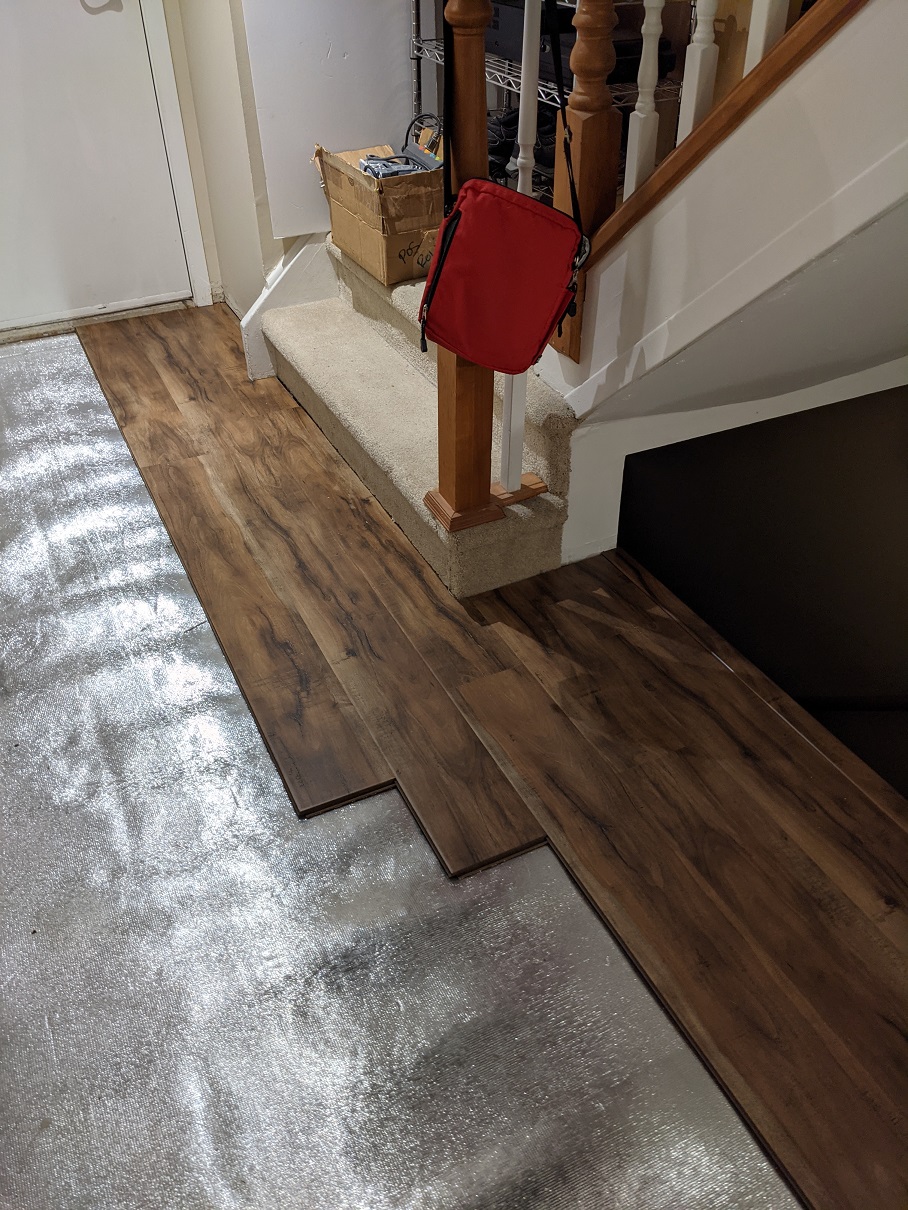
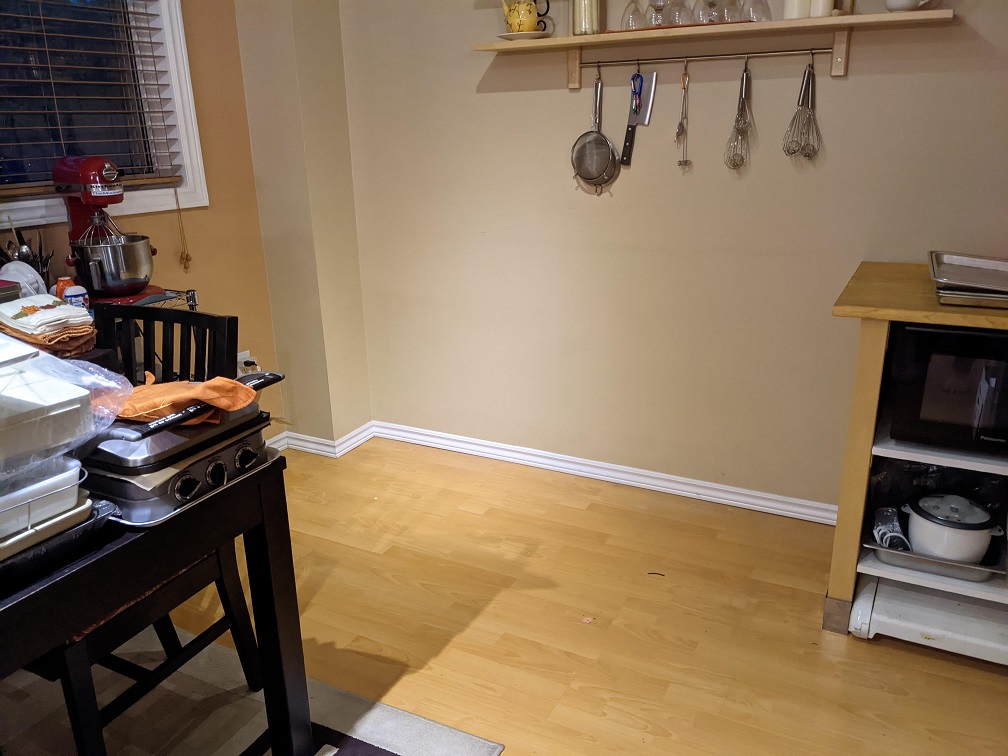
We then had to box up everything we could and shove the furniture around as we worked. Most of our stuff ended up upstairs, downstairs, and in the garage to make the whole process easier. And then we got to work on ripping up the old flooring down to the subfloor, the husband vacuumed and then laid down underpadding, and started figuring out the new flooring we bought in terms of where to start.

From this:

To this…

To this:

And this:

By the way, before all of this, we repainted the whole main floor using Linen by Benjamin Moore. Zoom into the wall behind the IKEA chair. I know it sounds boring, but it just works so well in this space, with our limited natural light, and with our furnishings.

This above picture was the one where I just knew we picked the right flooring for this house. It looked so good just barely laid in this foyer space with the carpeted stairs and the white staircase spindles (removed so I could paint them a brilliant white) that will be put back in place afterwards.

The husband probably did some damage to his body doing this flooring (he still complains about his knees and back), but we both think the new flooring worked out well. We are happy with it. Can’t say for sure we’d do this particular pattern ever again, but for now we’re content.


Home Renos – Electrical Panel

The husband has been looking at electric cars for awhile now, but getting serious about it just this year because of, well, gas prices. And the technology. And the future. Setting up a home charging station for an EV car in the garage dovetails nicely with the swap out of our old fuse based electrical panel in the breaker style panel that we’ve been talking about having done since we bought his house over a dozen years ago.

So, he pulled the trigger on it in September after finding someone who could and would do the work for us. If not for the pandemic, this would have been a swap we did two years ago even though we wouldn’t have thought about the EV component in any serious way. I’m happy he lobbied me for it. Now we are ready for the future of cars!

And this is this is the crown jewel of this reno. The item that will help us, or whomever owns this house, when EV cars are finally affordable. The future is closer now. The whole project was worth every penny (SO many pennies).