Mary-Lou’s Apple Coffee Cake

About 16 years ago, my assistant manager gave me her recipe for a coffee cake she created years before at home. She gave it to me because I told her how much I love a good apple cake during one of our tea times. I can see why she gave this to me. It’s been years since I last made it but I recall really liking the taste of it a lot.

Well, she died in December, and I have been thinking about this recipe ever since. I have felt bad for not making it more often since she gave it to me. I need to rectify that in her honour.

My only qualm about making this every weekend is the volume size. It’s a full Bundt cake pan size. Over the years I have cut this recipe in half, and then cut it in half again. The husband doesn’t really like coffee cakes, but if I make a mini one as a dessert, he won’t say no to a portion of it. Here is the full size version she gave me:

Mary-Lou’s Apple Coffee Cake:
3 LG Apples (of choice), thin half slices (for the best presentation)
1 C Butter
3 Tea Ground Cinnamon
3 Tea Brown Sugar

Sautee the apple slices around in the butter, sugar, cinnamon. Cool down completely.

3 C AP Flour
2 C Sugar
1 Tbsp Baking Powder
2 Tea Salt
2 Tea Baking Soda

Whisk dry ingredients together, and then combine wet ingredients with a hand mixer. Combine wet and dry by hand.

1 C Sour Milk (or Buttermilk if you have it)
1/2 C Cream Cheese, softened
1/2 C Sour Cream, almost room temp
3 Eggs, room temp
1 Tbsp Vanilla Extract

Grease a Bundt cake pan (or any other large baking dish or pan). Pour half of the batter into the pan and top with more than half or the apple slice mixture. Top with the second half of the batter and arrange the last of the apple slices up on top.

Bake at 350*F for 60 mins. Check batter with a cake tester. Bake another ten mins if needed to get the cake tester to come out clean.

Cool on the counter about 15 mins before placing a wire rack over the top and using oven mitts to turn over so the cake can fall out of the pan. Cool cake completely before dusting with icing sugar or glazingย  the top if desired.

I don’t have a picture of the cake because, as mentioned, I haven’t made this cake in awhile. I will have to make the scaled down mini version of it this weekend.

Thick Chewy Chocolate Chip Cookies

The new retail cookie craze is Crumbl. There are a few other companies selling their own version from store fronts as well. But honestly, if I am going to spend $6.50 for a single cookie, it better blow my mind while it blows my budget and bank account! I can also just as easily buy the ingredients to make this knock-off cookie (minus the icing topper) for that much money. And so can you.

I really like a crispy exterior with a softer chewy centre. If you like the same cookie texture, you will love this recipe. Give it a test drive by halving all of the ingredients.

Thick Soft Chocolate Chip Cookies:
1 C Bread Flour + 3/4 C AP Flour *
2 Tea Salt
1 Tea Baking Soda

1 C Butter, melted
1 C Dark Sugar + 1/2 C White Sugar

2 Tbsp Vanilla
1 Tbsp Instant Espresso Powder
1 Egg, room temp
1/2 C Chocolate Chips (or 4 oz Chunks)

Melt the butter and let it sit on the counter about ten mins before stirring all of the wet ingredients together in the same bowl. Whisk up the dry ingredients in another bowl.

Add them together with a spatula to form the dough. Fold in the chocolate chips last. Scoop the dough out into balls onto a lined sheet tray to chill for at least 24 hours. This is a key step. Don’t skip it!

Bake at 355*F for 20 mins. Rest the cookies on a wire rack after a ten min rest out of the oven. Cool completely before topping with an icing if using.

* Bread flour is too expensive and takes up too much room in my pantry, so here’s how I do make my own at home: I mix 1 cup AP flour (minus 1 tbsp) + 1 tbsp Wheat Gluten. *

Awhile back I bought a bag of Bob Mills Vital wheat gluten when it went on sale for making my own bread flour so I can bake proper loaves of bread. Each batch requires so little that I have been storing it in my freezer all year since. It barely takes up space.

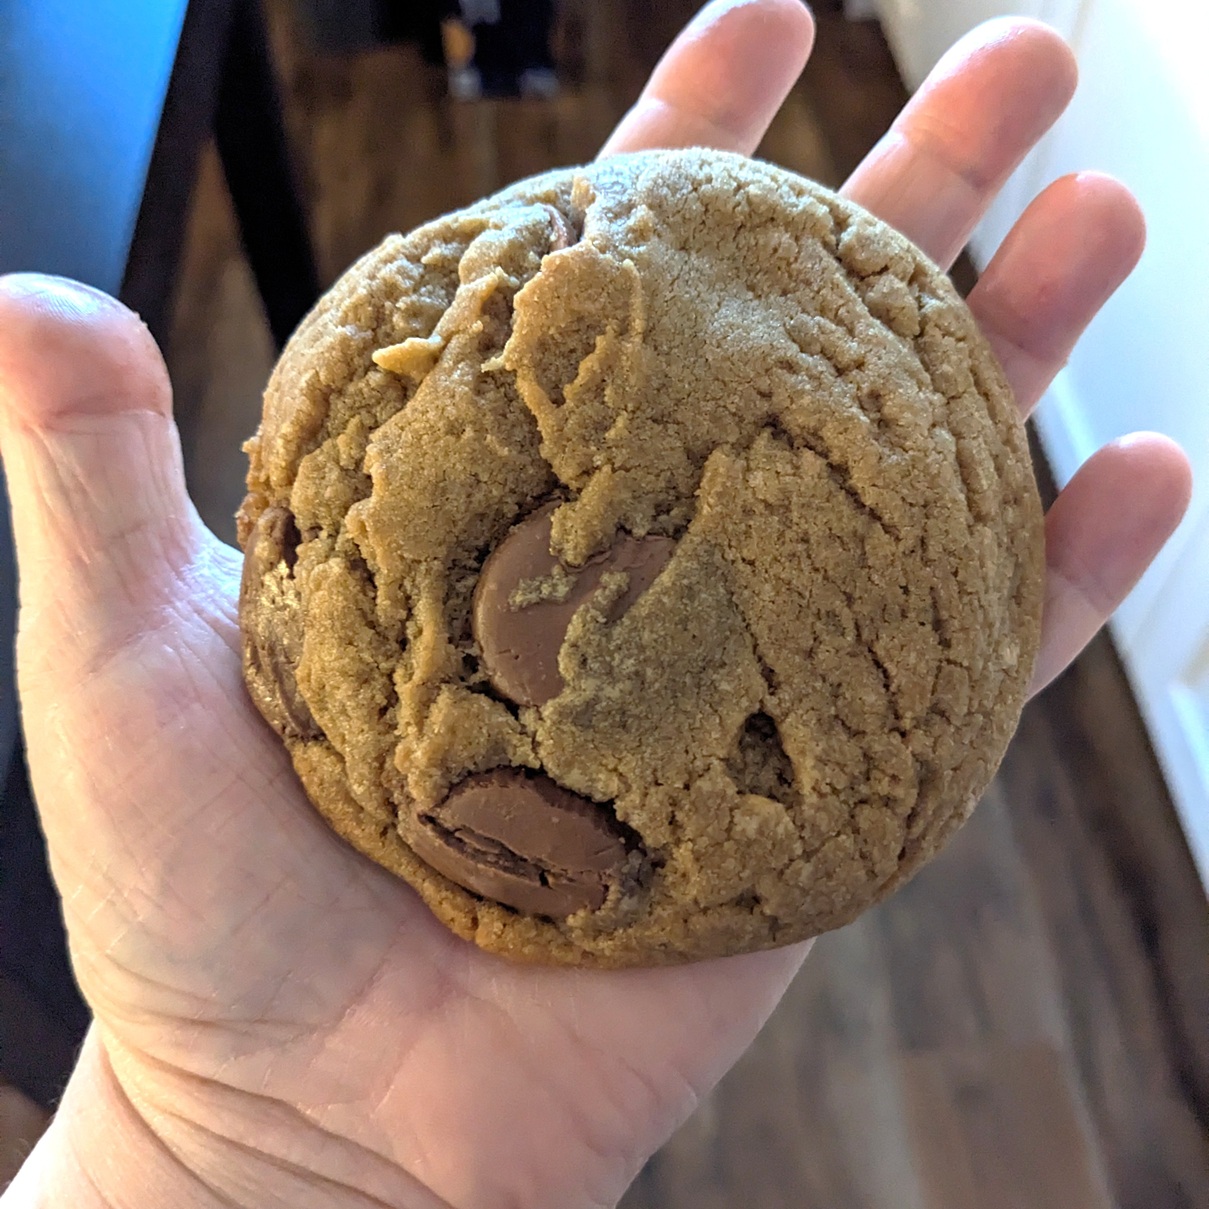
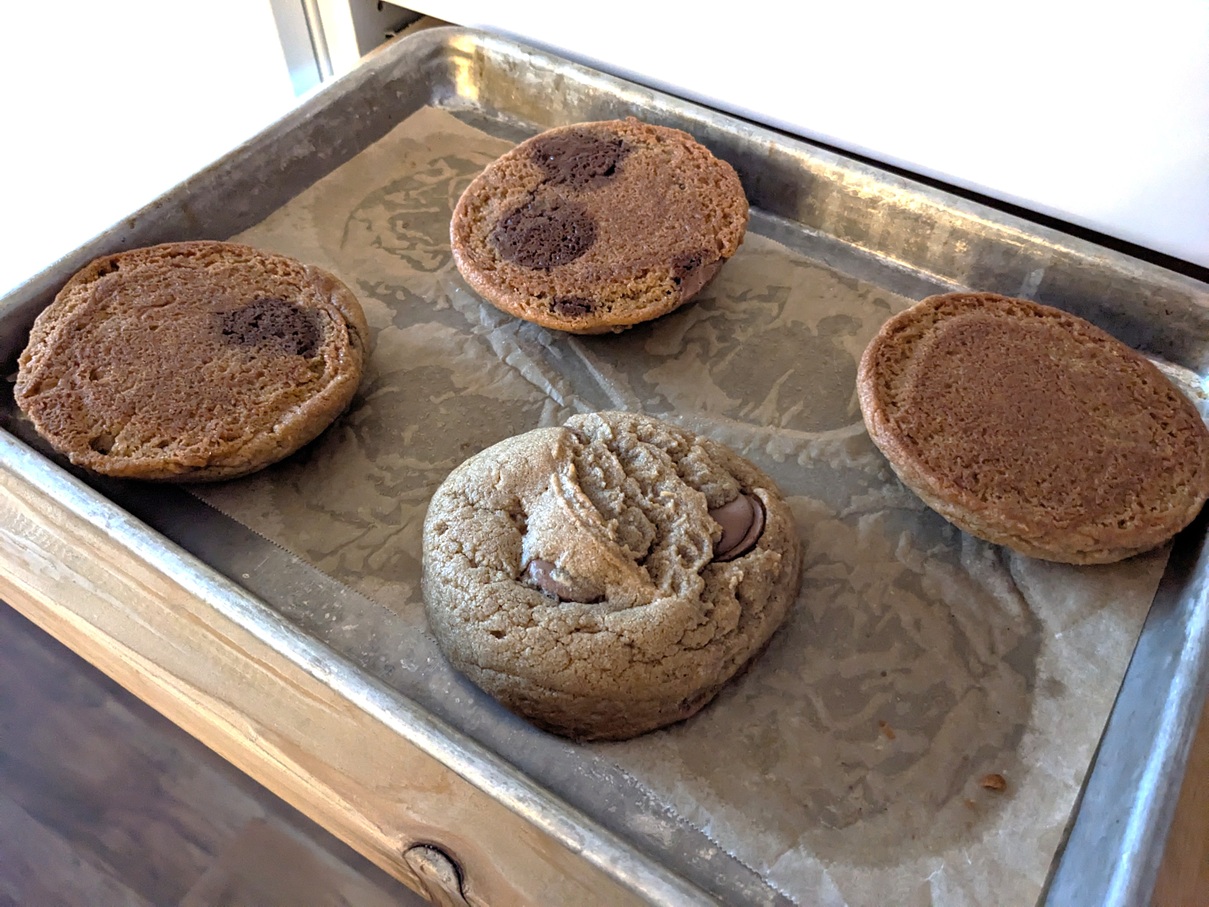
I made these 5 cookie test batch a week ago using my biggest 3 oz disher but I found by the time I got well past the halfway point, I started to feel gross in the gut. I figure one half size cookie should be the ideal size for me.

Going forward, I will be using my half-ish size 2 oz disher from now on for more reasonable sized cookies. I also have a smaller 1 oz disher for a mini cookie version.
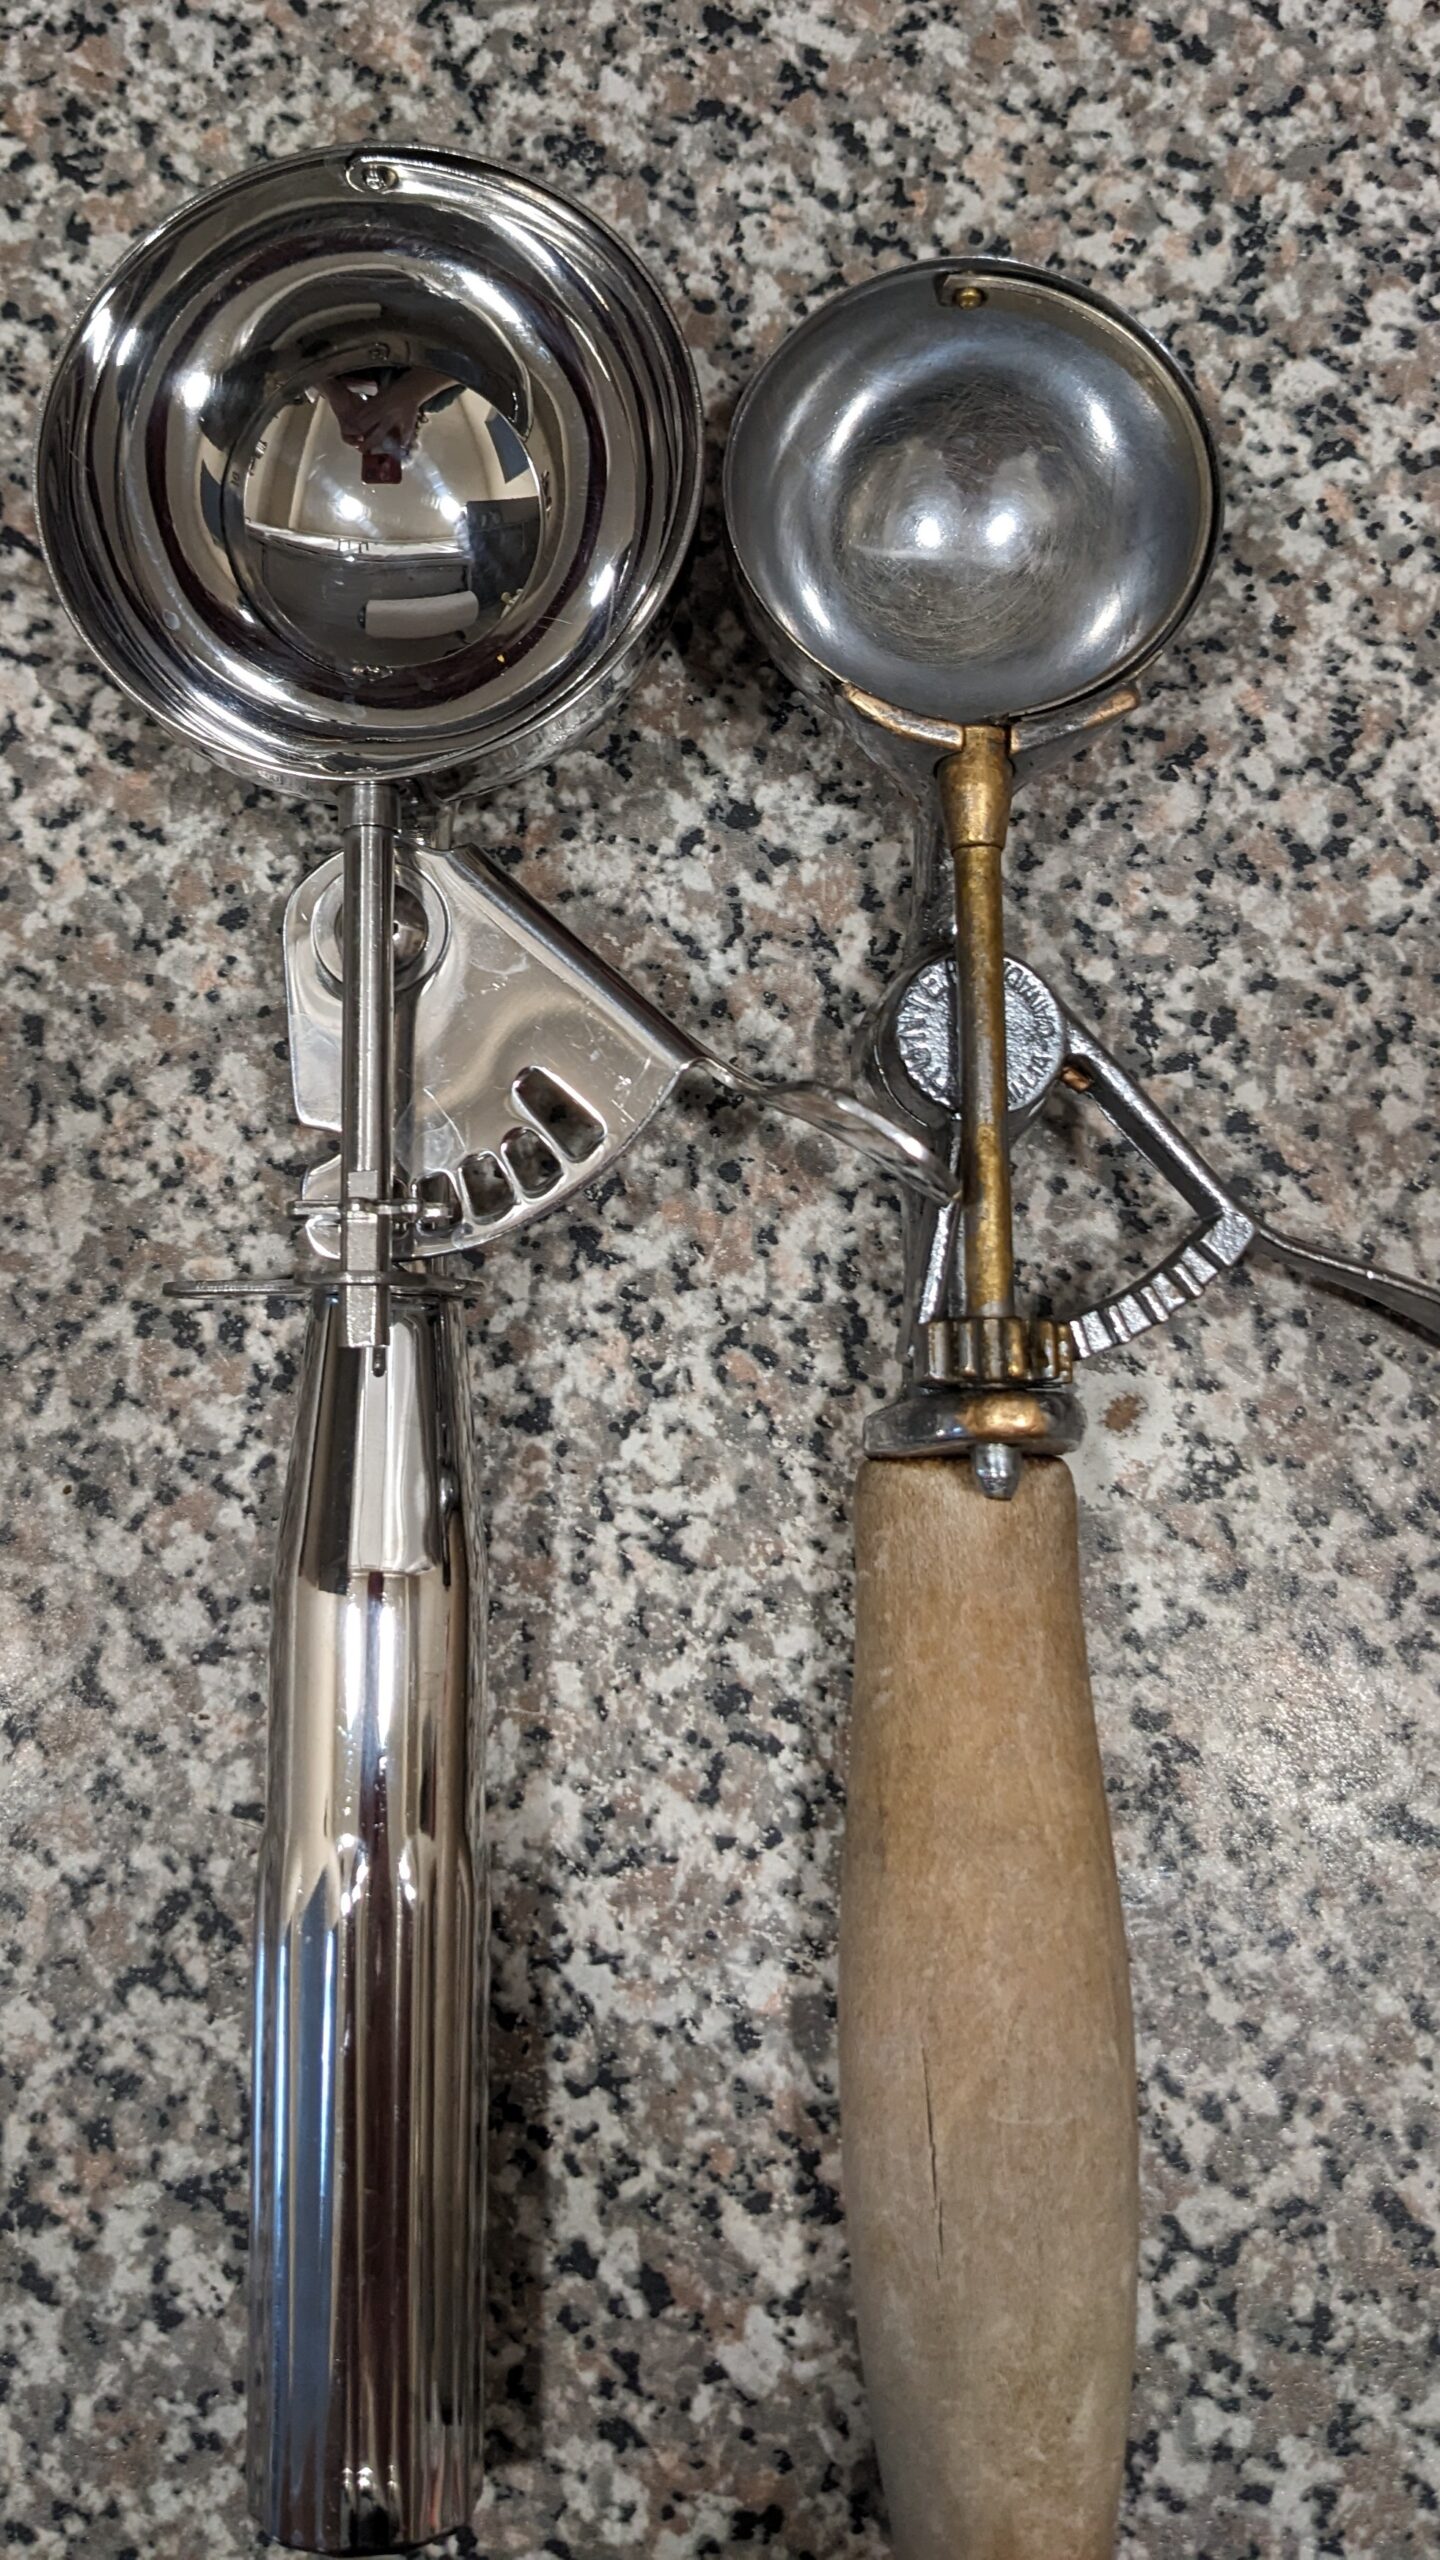
This wooden disher is an antique. I was given to me by the master baker I used to work for something like 18 years ago. It still works beautifully, unlike its modern version that doesn’t hold up scooping out thick doughs or frozen ice cream. I’ve broken a few modern dishers over the years. These two are my standard for loaded cookie doughs, and the smaller size not shown does a great job on softer plain cookie doughs.

Blueberry Oat Bars

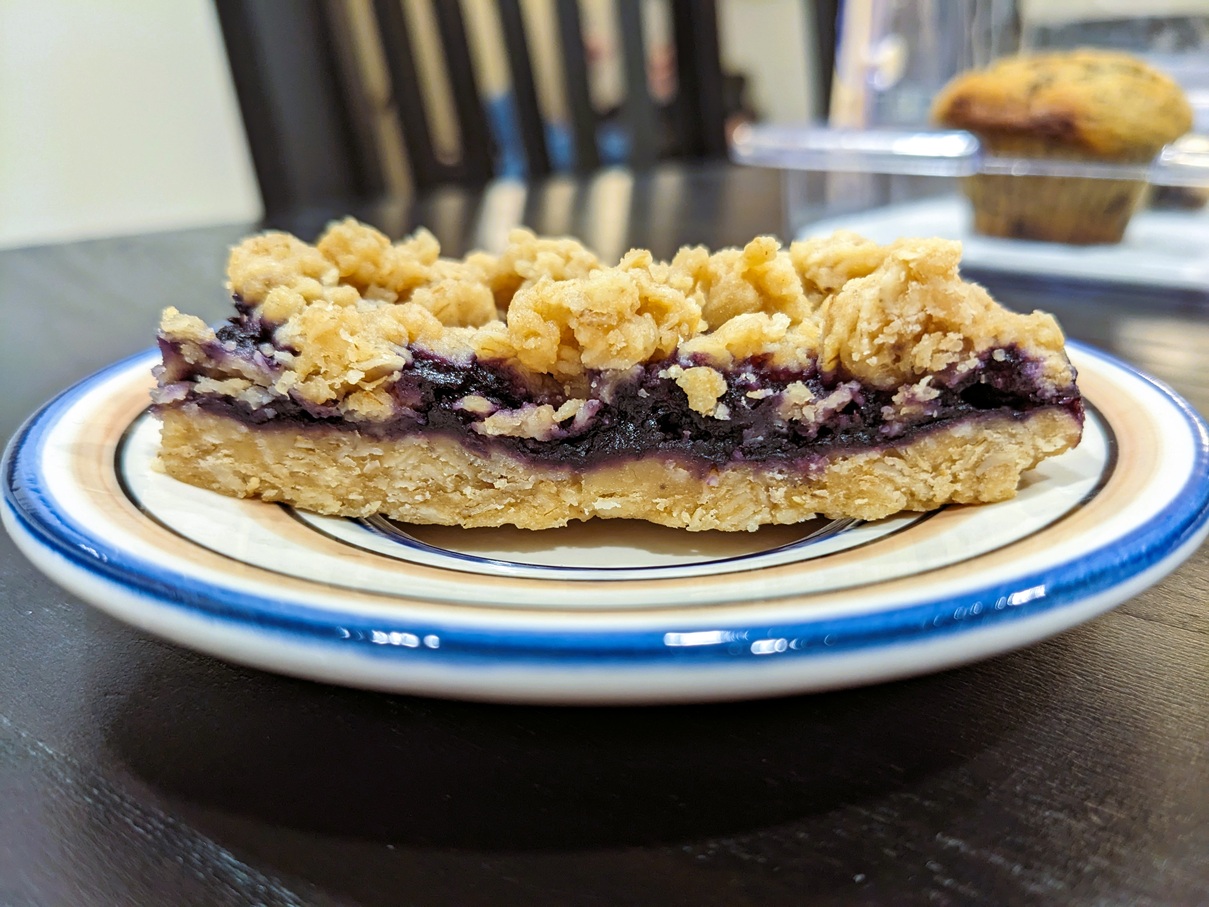
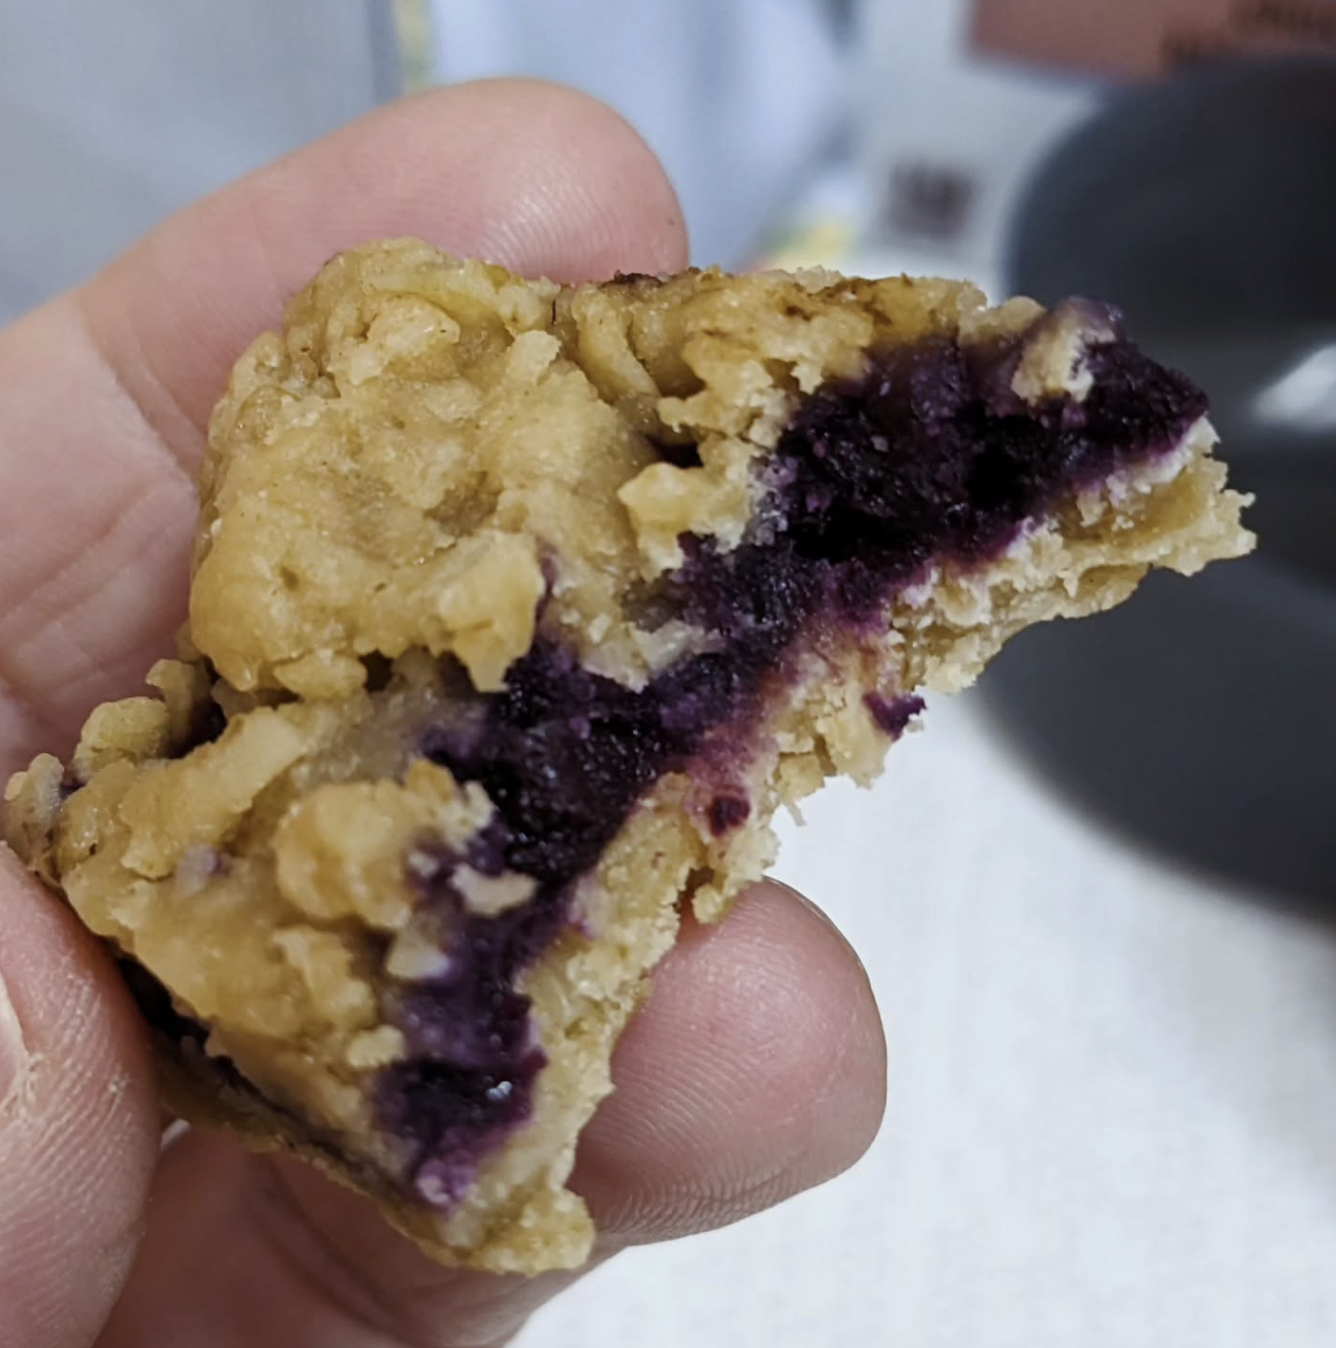
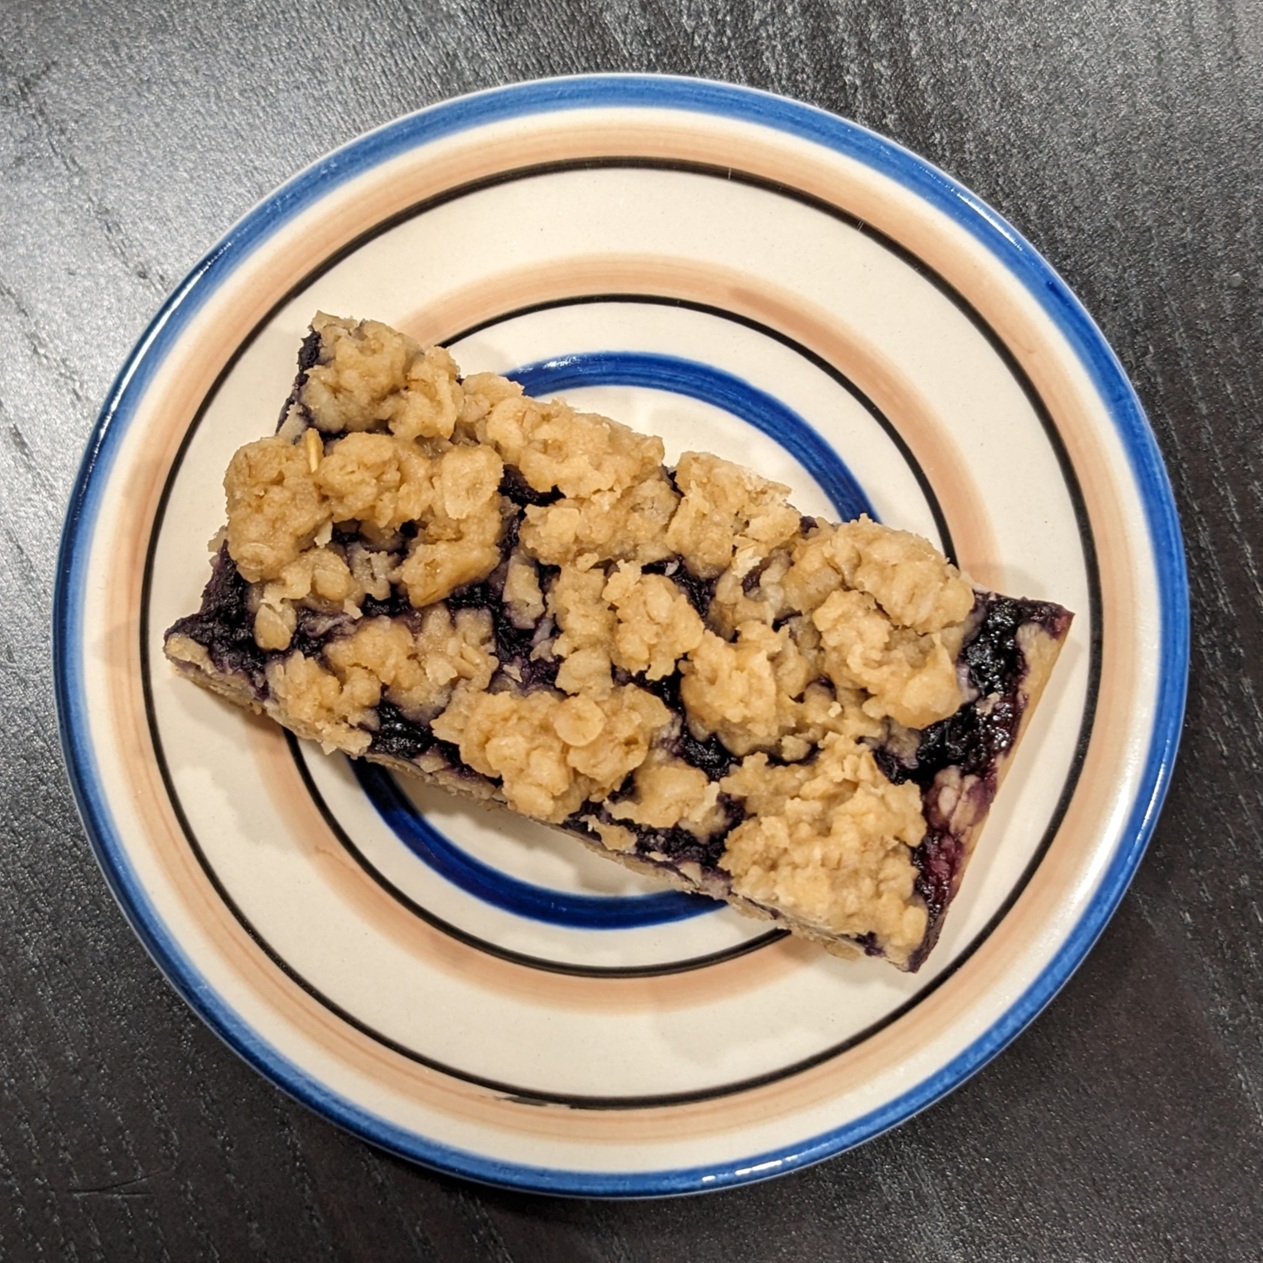
This is an internet provided version of the Jammy Oatmeal Bars I used to make when I worked in the cafeteria. Those bars required more ingredients but they are the same idea: a solid oat base, a jam filling, and a crumble oat topping.

Blueberry Oat Bars:
1 C Frozen Blueberries
1/3 C Water
2 Tbsp Sugar

1 C Quick Oats
1 C AP Flour
1/4 Tsp Salt

1/3 C Peanut Butter (any)
1/3 C Maple Syrup
2 Tbsp Coconut Oil

Cook the blueberries and water down over a med-low heat until it starts to bubble. Mash down the berries at this point and continue to cook down on a lower heat for 5 mins longer. Cool off the burner while assembling the bottom and top layers.

Whisk together the dry ingredients in a mixing bowl. Mix the wet ingredients together in a small bowl before dumping it over the dry ingredients. Fold the wet into the dry to form a ball. Cut the ball into two portions.

Place one portion into a small lined baking dish by pressing a bit of the mix into all the corners first, and flattening out the rest across the bottom evenly using a spoon or a small measuring scoop with a flat bottom.

Pour the blueberry jam over top, pooling the mixture all over by tilting the pan. Pinch off small irregular chunks of the remaining mixture to drop on top of the jam layer. It doesn’t have to be evened out like the bar’s base.

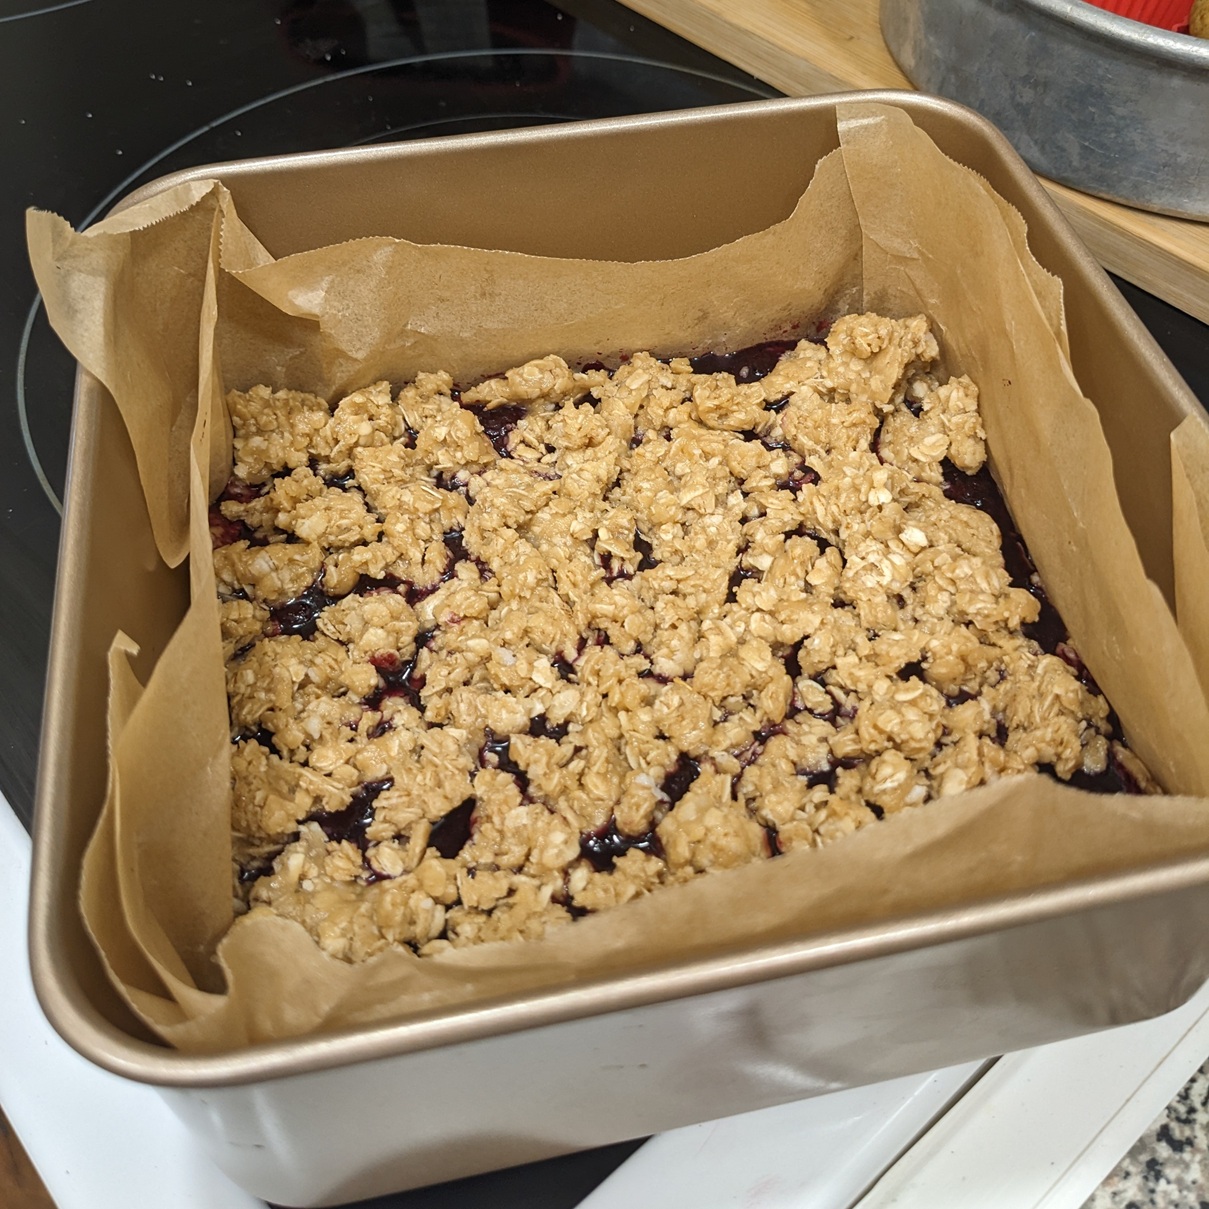
Bake at 350*F for 20 mins.

Cool down almost completely before chilling two hours still in the parchment paper before cutting into eight small bars, or six medium bars, or four large bars.

These bars keep for a few days wrapped and chilled, I think. They don’t last long enough in this house for me to tell you for sure. ๐Ÿ˜‰ Oh, and the jam can be store bought if you have some to use up instead. And I’ve made these with a few different fruit jams to change it up when the mood strikes me.
Hey, I just found this link of that time I burned a pan of these bars. Ooph!

Tuxedo Muffins

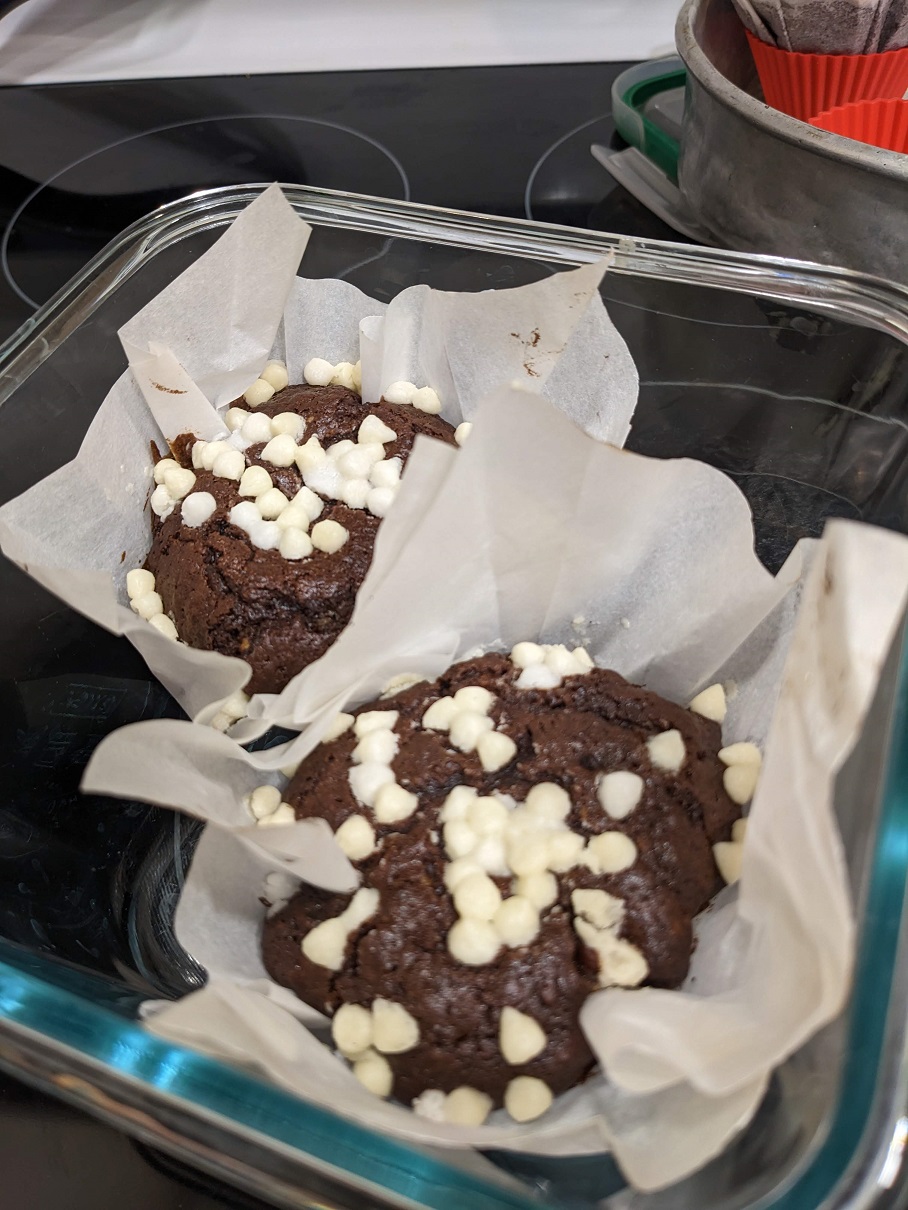
I made these large muffins these other day on a whim. I ended up with four, but if I had split the batter up more, I would have yielded anywhere from 6-10 depending on the muffin tin size I had on-hand to use.

These muffins have an oatmeal mix base, but I assure you, you can’t taste the oats or even detect their texture. What you will think you’re eating instead is a brownie. And you might (should) want to eat it with a fork. The chocolate tends to colour your fingers. In the best possible way, of course. ๐Ÿ˜€

Tuxedo Muffins:
1/4 C (225g) Muffin Mix (of choice)
1/8 C (110g) Coco Powder
3 Tbsp Instant Espresso Powder *
1 Egg
3 Tbsp Veg Oil
1/2 tea Vanilla Extract
1/4 C White Chocolate Chips (reserve some to top muffins before baking)
1/2 C Chocolate Chips (milk or dark)
Enough Water to moisten the batter enough to scoop into the liners

Whisk all of the dry goods together before dropping in all of the wet ingredients. Fold the wet ingredients in to combine in one go, and then stop. Don’t overmix. Scoop it all into your liners and bake the muffins at 425* for 10-15 mins before dropping the heat down to 350*F for 20 mins. (This timing is for the large muffins)

The muffins are done when the top don’t feel soft and moist anymore. If you want to temp the middle with a probe, they will be fully cooked at around 190-200*F.

I hope you love there coffee cafe muffins as much as I do. I’m in love with them. *swoon*

* If you don’t have instant espresso powder, you can use a mix of 3 tbsp hot water + 2 tbsp Nescafe instant coffee grinds mixed together like a slurry, which is what I did when I made these muffins the other night.

Air Fryer Ciabatta Bread Loaves

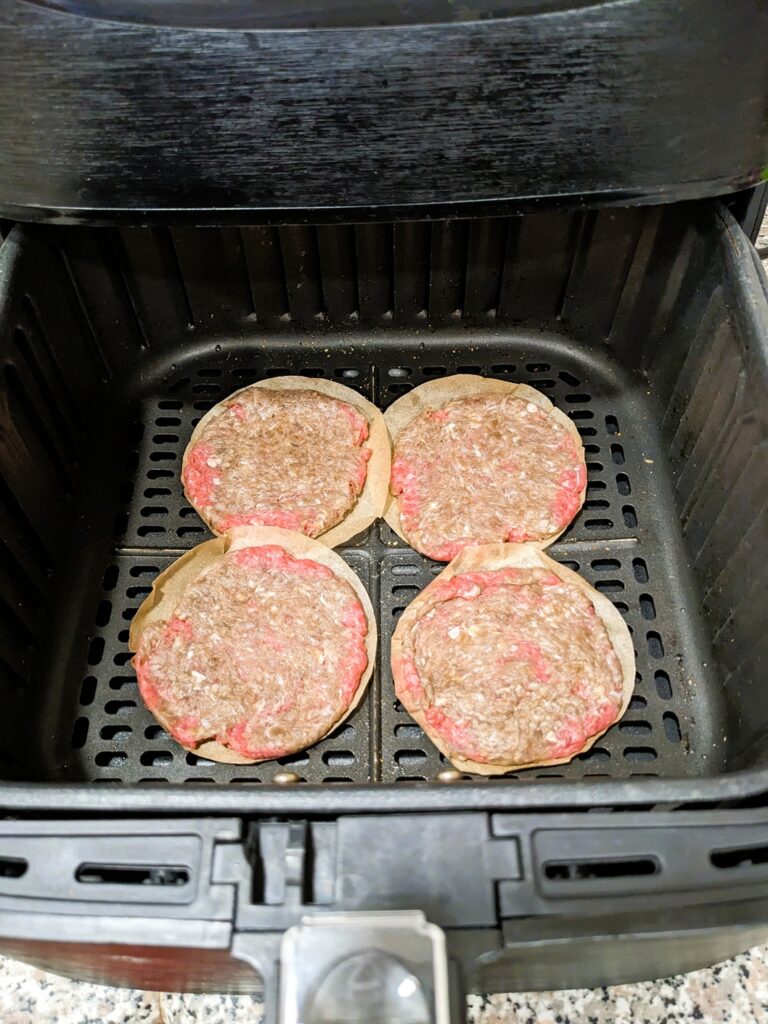
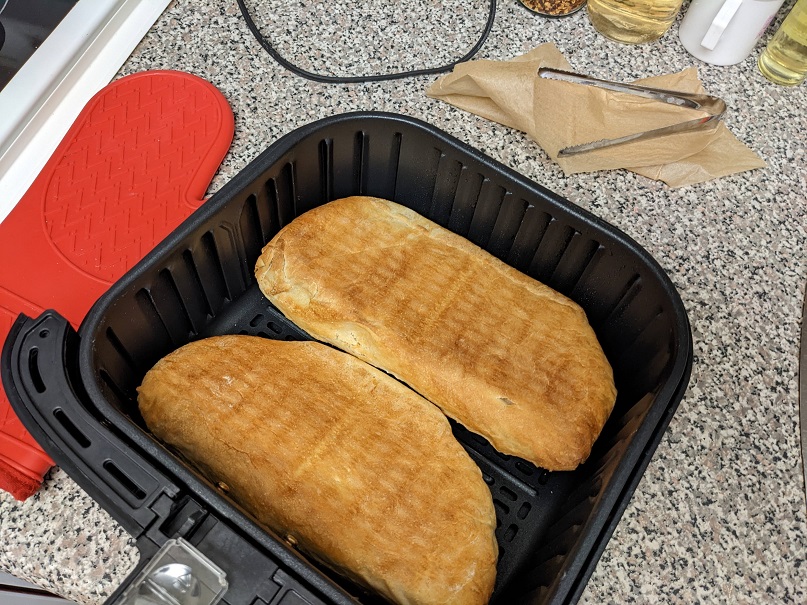
A few nights ago I found a Youtube video showing me how to make ciabatta bread from scratch that can be baked in an air fryer. So, D-UH, I was into it. Here is my first attempt. This picture shows the bottoms after I finished flipping and baking the loaves. The tops look just as beautiful.

I made the mistake of spraying the loaves instead of brushing them with melted butter. I won’t do that again. I didn’t like the finished tops as much, but I did like them. Another thing this recipe calls for is using a bigger than the basket size of parchment so you can pinch up a segregation wall in the middle so the loaves don’t proof and bake together as one square of bread.

Baked at 400* for 8 mins over parchment paper, and then the parchment came off to finish the flipped over loaves in the bare pan another 6-7 mins. When they came out they felt hard or perhaps a tad overbaked, but after a quick rest on a rack, they soften up nicely. I was pleasantly surprised. ๐Ÿ™‚

Air Fryer Cinna Bun Bombs

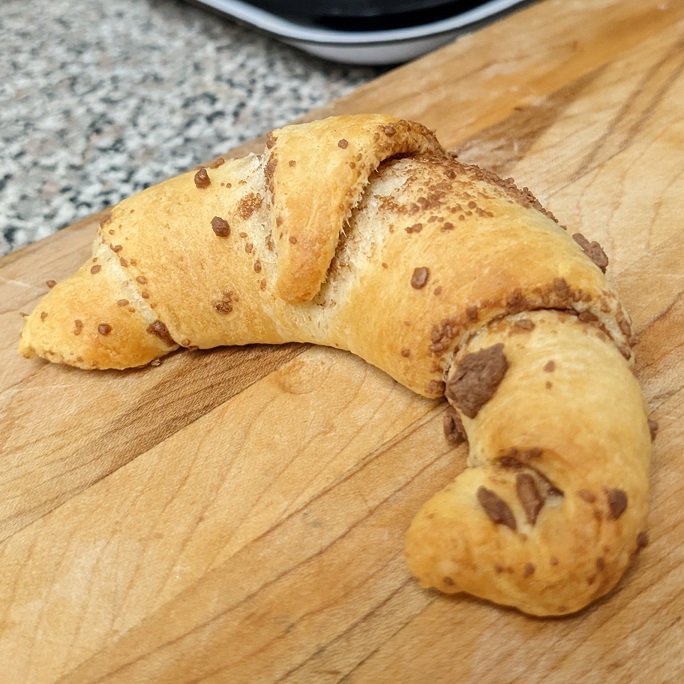
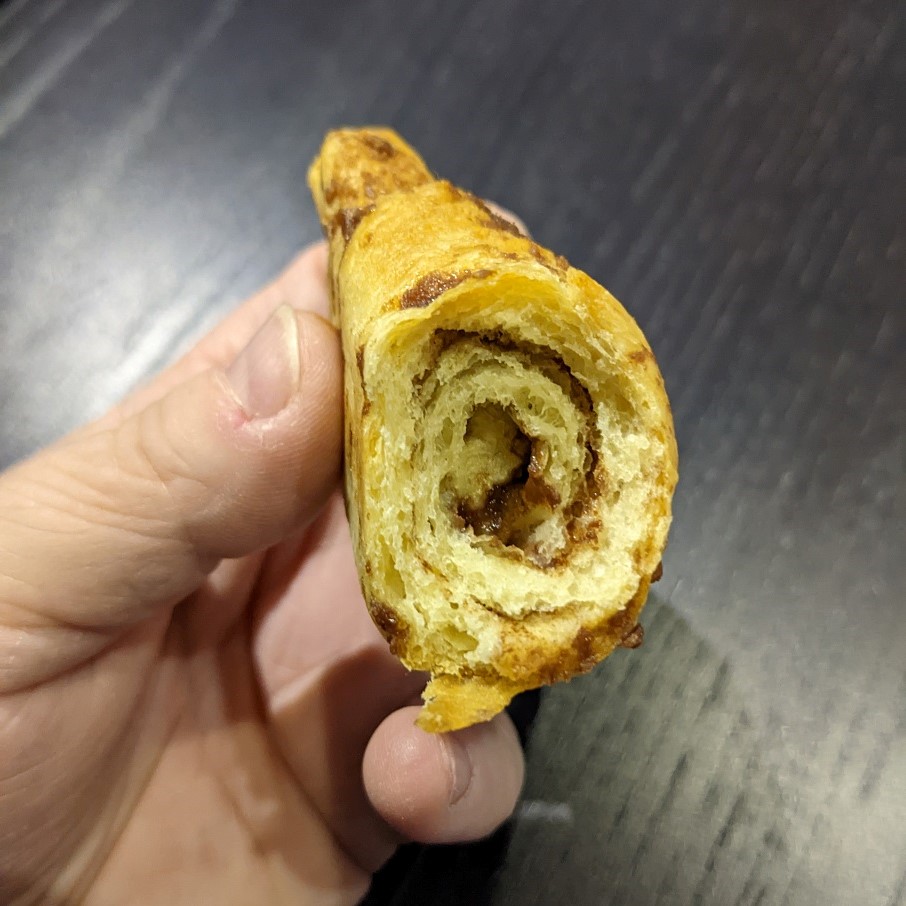
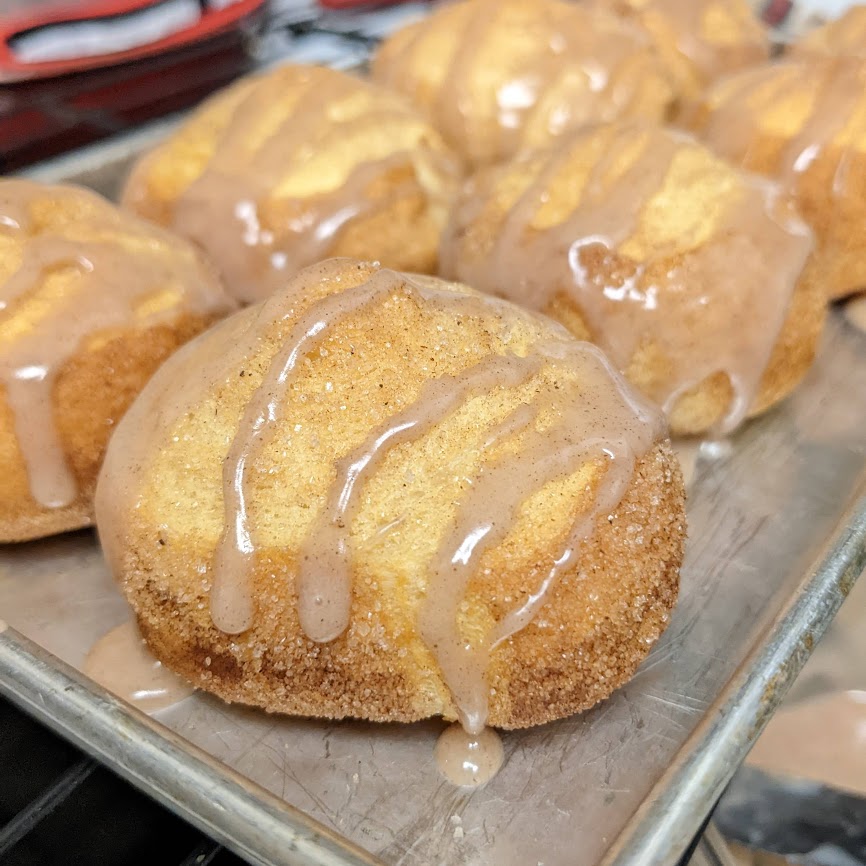
Using a container of Pillsbury Dough crescent rolls, I made some cute cinna bun bombs that I filled and glazed. The husband ate them up! Here’s how I did it:

Cinna Bun Bombs:
1 can Pillsbury Crescent Rolls, in tact
4 tbsp Sugar + 1 tea Ground Cinnamon

Unpack the crescent roll, but don’t unroll the dough. Cut the roll into eight pieces. Turn them on their side and push down on them to flatten them out to about 1 1/2″ discs. Shape the discs so they are round and flattened.

Drop each disc into a bowl of the mixed sugars and roll it around to coat the whole outside. Place the discs into the preheated air fryer basket to bake for 10 mins at 325*F.

When bombs are cooled off, make glaze and pour it over the tops. This is a quick set glaze, so you can pack it up within 20 mins for transporting.

Glaze:
1/8 tea Ground Cinnamon
60 g Powdered Sugar
15 mL Whole Milk (or 18% cream)

Optional: You can fill the bombs by making a deep cavity hole and piping your own pasty cream in.

What I Air Fried This Week

I made a lot of the same things I’ve already made, and I also went back to try the Chocolate Croissants again because I wanted to play with the times.

Instead of the typical 350-400* bake, I dropped it down to 300-320* for ten mins using a can of Pillsbury Crescent Rolls and a crushed up Flaky chocolate bar. Nailed it!

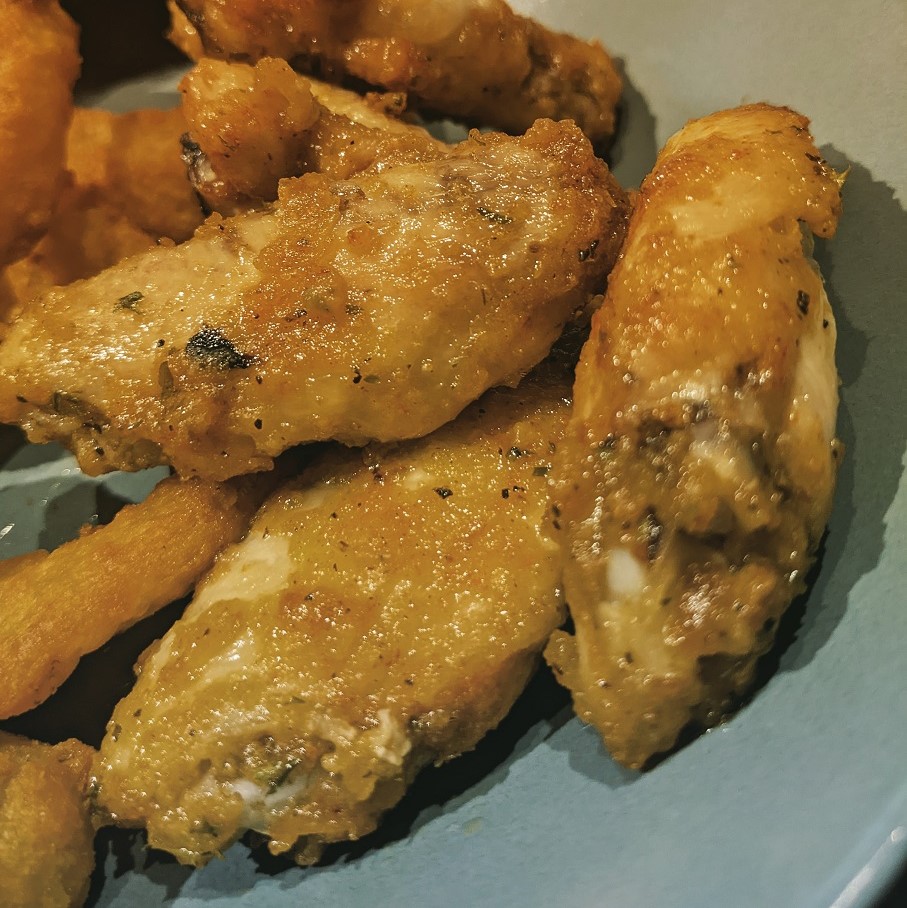
I also saw this video recipe for Lemon-Pepper Wings and decided I needed to try it since the flavourings were right up our alley. I mean, lemon and pepper? C’mon! So I used frozen chicken parts that I coated in seasonings and then in flour. I dropped them in the basket and flipped once half way, cooking them at 400* the whole time ( 8 mins + 8 mins).

The recipe called for rolling them around in some melted butter with the lemon-pepper blend, and they were fantastic. What I didn’t like was how the butter made the crisp texture straight from the air fryer soggy. :-\ I will definitely make these wings again but I will roll them in the lemon-pepper dry seasonings before I cook them and forgo the butter bath altogether.

And if that doesn’t work, I will dust the crispy wings in the lemon-pepper seasonings as a rub after they come out of the air fryer all hot and crispy.

Yes, I know. I need better lighting for my pictures. I agree. I have a ring light but my kitchen is still largely a mess from the unexpected repairs the husband had to do in there, and my ring light is buried in a corner right now. Oh, well.

Strawberry Cream Cheese Muffins

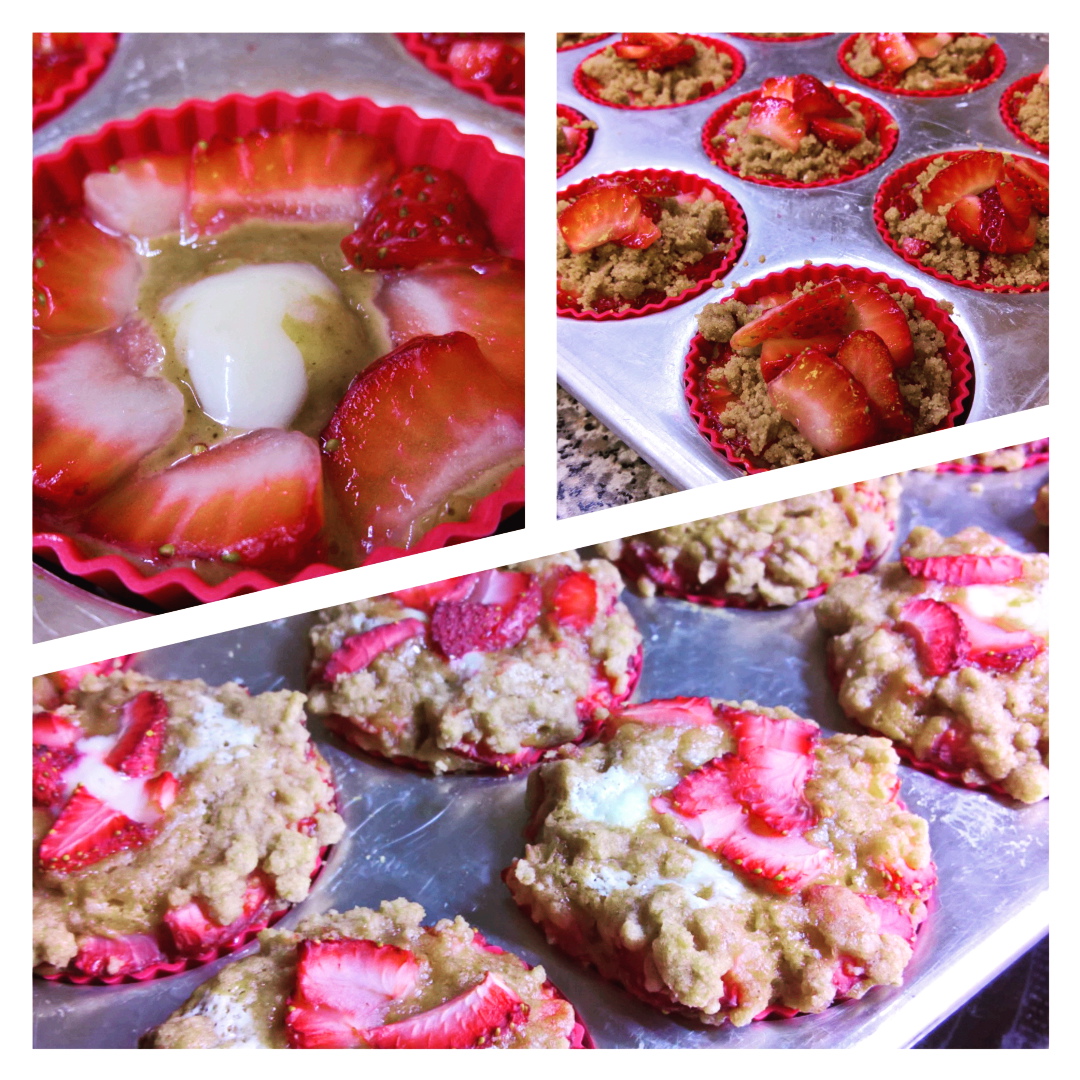
I really need to make these strawberry cream cheese muffins again very soon. So good. *drooling*

How I did it: I made a basic oatmeal muffin using a bag mix, mixed up a cream cheese filling, and sliced up some strawberries.

I added 75% of the sliced strawberries to the batter and used the other 25% to the tops after dropping a big dollop of the cream cheese filling into the top middle spot of each muffin.

I used a skewer to swirl the cream cheese down into the filling a big before covering it up with one or two slices.

Bake as normal according to the muffin mix instructions.

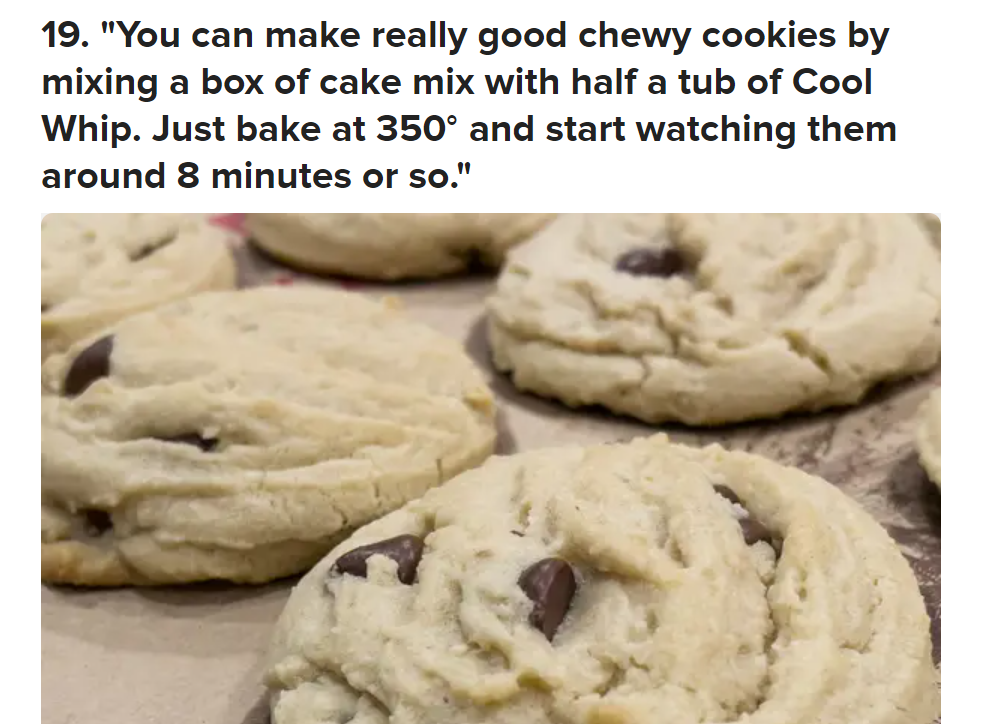
Cake Mix Cookies

I’m a big fan of food hacks. I don’t have a lot of time and mental bandwidth to think of these myself, so when I come across them, I take a screencap for the future when I know I’ll be looking to cut corners. But, a food hack has to be a clever hack. The hack can’t ruin the final product. And it has to make my life easier. Like this one.