Mason Jar Ice Creams

This morning I made an ice cream base in my blender and dumped it into two mason jars and added some crushed up chocolate covered pretzels and some chocolate covered peanuts. I stuffed them into the big freezer and went to work.

The second I got home, I took those jars out and let them come up to room temp a bit while we ate lunch. I like this blend. I love being able to use my high-speed blender to blitz the base together, but I hated scooping it out. Ugh. That is my only complaint.

Give this very creamy ice cream a go if are in a hurry. It freezes perfectly, and softens quickly enough to have whenever you like.

Sunday Dinner – Meatloaf & Beans

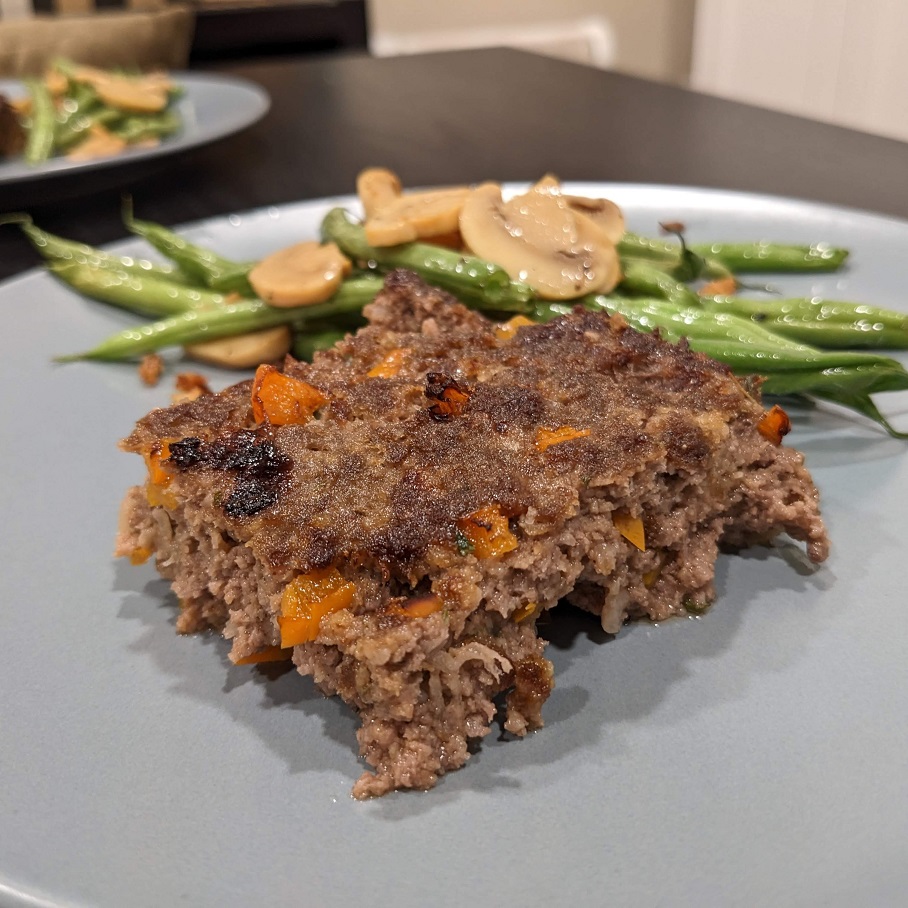
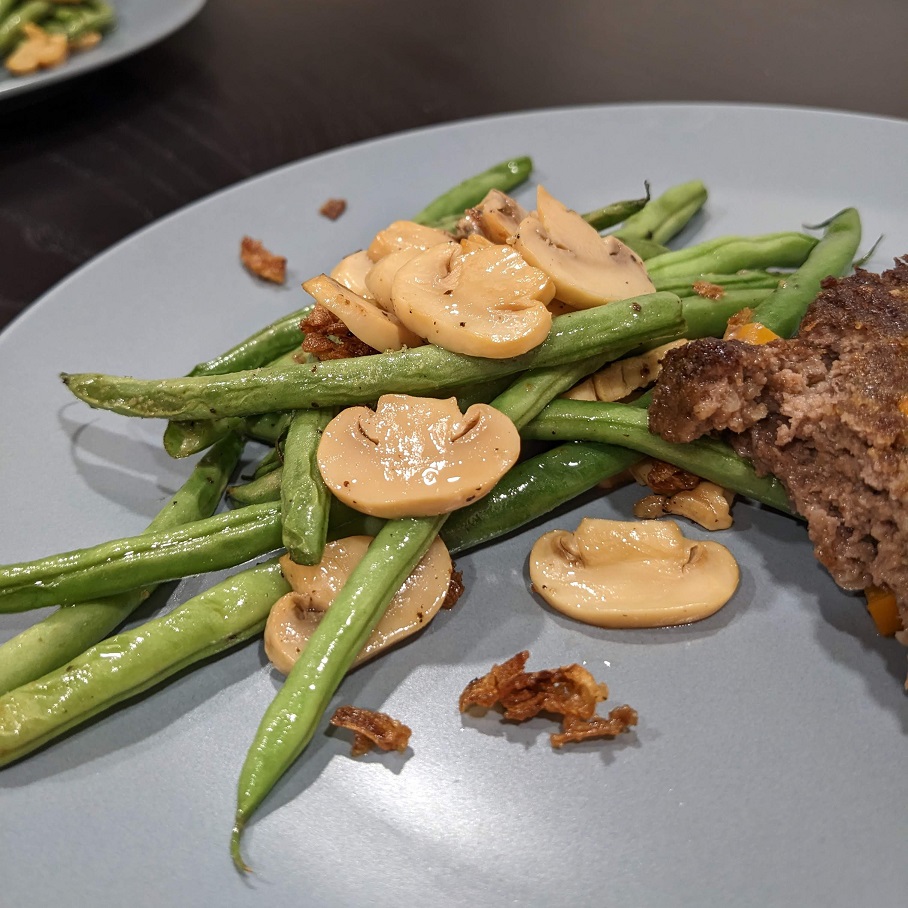
Made a late simple dinner tonight. I cooked a lovely meatloaf in the air fryer. And as that rested, I cooked some green beans with canned mushrooms, and fried onions as the side. I have made many different meatloaves over the years, but this one is up there with my favourite ground turkey meatloaf that I keep craving.

Here’s what I put in mine:

Jalapeno Meatloaf:
1+ lbs Ground Beef
1/4 sm Yellow Onion, grated finely
1/4 Bell Pepper, any on hand, fine diced
1/2 med Jalapeno, seeded and fine diced
Cracks of Pepper
Pinch of Salt
3 tbsp Everyday Seasoning Rub
1/2 C Panko
1/2 C Dry Breadcrumbs

Everyday Seasoning Rub:
1 1/2 tbsp: Garlic / Onion Powders
1 tbsp: Salt / Paprika
2 tea: Black Pepper / Mustard Powder

(Despite only needing a bit of the rub mix for the meatloaf, the above will net you enough to fill a small mason jar. You can use it with any kind of food group.)

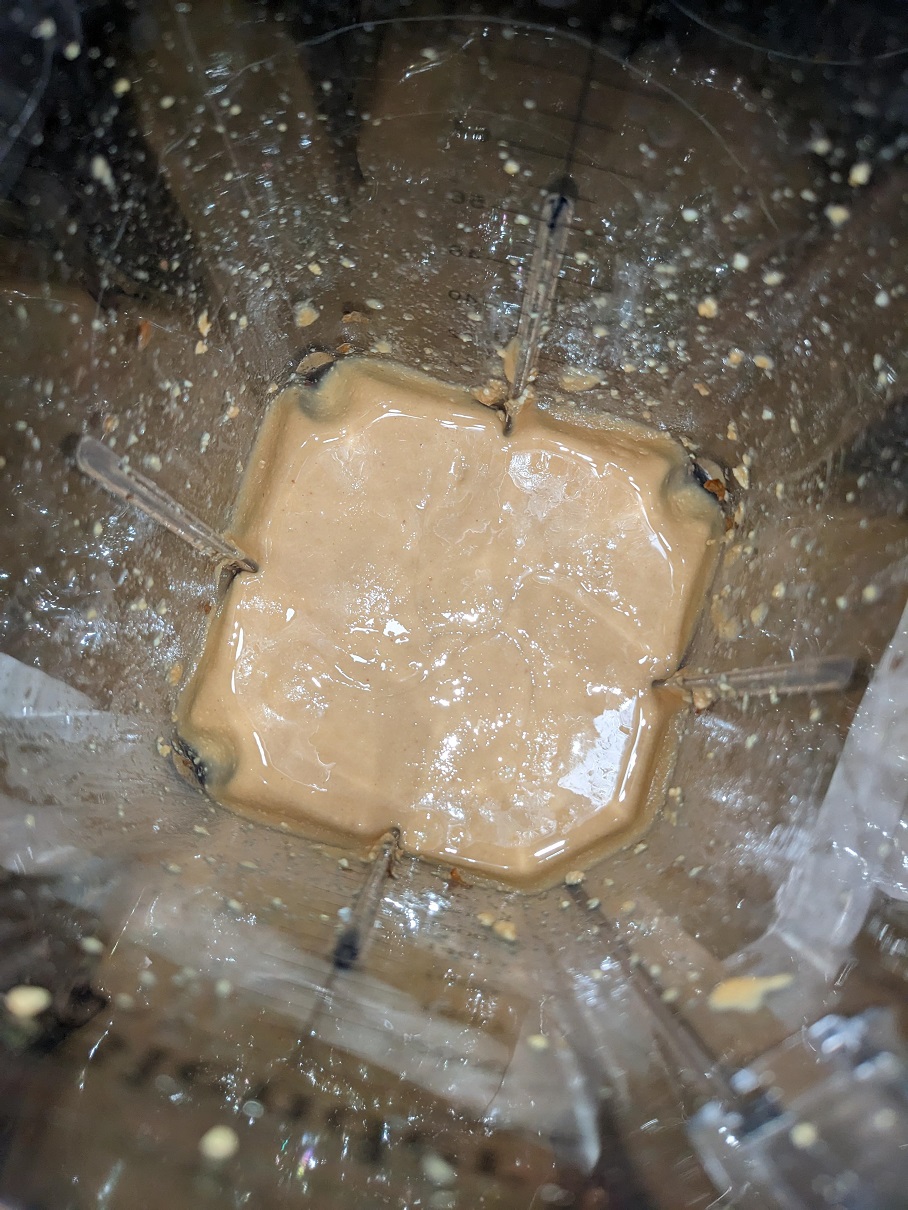
Mix all of the meatloaf ingredients in a mixing bowl by hand. Place fistfuls of meat into a greased pan, and press the meat into the corners first. Add the rest to the middle and spread it all out evenly across the surface.

Place the pan into the air fryer (or on a sheet tray) to cook at 375*F for about 18-20 mins. Pull the loaf when it temps at 158-160* and let the residual heat finish cook the meat. Let it rest on a cutting board in the pan for about 15 mins as you work on the green beans.

Green Beans:
1 tbsp regular Olive Oil
S&P, to taste
1/2 can Mushrooms (for cooking speed), drained
1+ tbsp Dried Onions

Clean out the mixing bowl with soap, and drip dry it. Run your green beans under cool water to rinse off any dirt. Drain them and dump them in the bowl. Assemble the other ingredients over the beans. Roll everything around nicely. With tongs, move the mixture to the air fryer basket (or dump it onto a sheet tray to cook them in the oven, or in a skillet to pan fry). Cook the beans at the same temp as the meat for about 5+ mins.

They are done when you can hold one bean with the tongs and bend it over in a soft V shape. Plate it all and decide if you want any sauce to top the meat with or not. Enjoy.

I Made Natural Peanut Butter!

Yes, I did! Just like the pioneers! (And the pilgrims, I’m sure.)

So easy, so fast, and you can fully control the taste using salt, oil type, and the peanuts you choose to use.

I used: 1 bag of Unsalted Roasted Peanuts / 3-4 tbsp Oil (I chose veg) / 1/4 tea salt. I threw it all into my high-speed blender and let it go.

My pretty blender. I nicknamed her She Hulk. For the obvious reason.

My pretty blender. I nicknamed her She Hulk. For the obvious reason.

My first attempt with a conservative two tablespoons of veg oil produced a lovely chunky mix, but it was barely spread consistency so I added another tablespoon. That got me a lovely lumpy consistency but I wanted to see what would happen if I added another half tablespoon more of oil and let ‘er rip a full minute.

This! This what I got. I’m am very happy. This is how I love my natural peanut butter. This is the spread I love to use at home. I have long ditched the sugary Kraft stuff my husband refuses to give up. He rarely eats PB & J, but when he does, he gets cranky when there isn’t any in the pantry. I married a child. 🙂

Anyhooch, give this a go if you’re into natural peanut butter like I am, and you also hate the big sticker price of it in grocery stores and bulk food stores. The wild pricing of any commercial peanut butter products is teetering on being a criminal situation. :-\

Sicilian Sheet Tray Pizza

I like making pizza at home. We like a nice crispy crust, and one way to guarantee getting one every time outside of having a professional pizza oven is to use a sheet tray and regular olive oil. It’s how the Sicilians nonnas do it.

One your large sheet tray, pour out about 2 tbsp of olive oil. You can use your fingers to layer the whole tray in the oil, or you can use a brush. Don’t forget to brush oil up along the sides so the pizza doesn’t stick to it. Watch this clip to see how it’s done.

Drop your room temp ball of pizza dough on the sheet and use your oiled fingers to start pressing and stretching the dough outwards all over the surface. When you think the bottom has enough oil on it, flip the whole dough over to oil the second side. Keep stretching the dough out to the corners from the middle and the dough edge.

When the dough starts contracting back into the middle, stop. Let the dough rest 30 mins. After that first rest, repeat the stretching into the corners. Again, when it starts contracting, stop. Rest it another 30 mins. This may need one or two more stretch & rests before you can start topping the pizza.

I bake mine at 450*F for as long as it takes for me to smell it cooking in the oven and for the cheese to melt in the middle. Pull it out, rest it 10-15 mins, and then use your longest burger flipping spatula to lift the crust off of the sheet to a cutting board. And this should what you see when you sneak a peek at the crust.

Enjoy!