
Ginger-Espresso Snowflakes
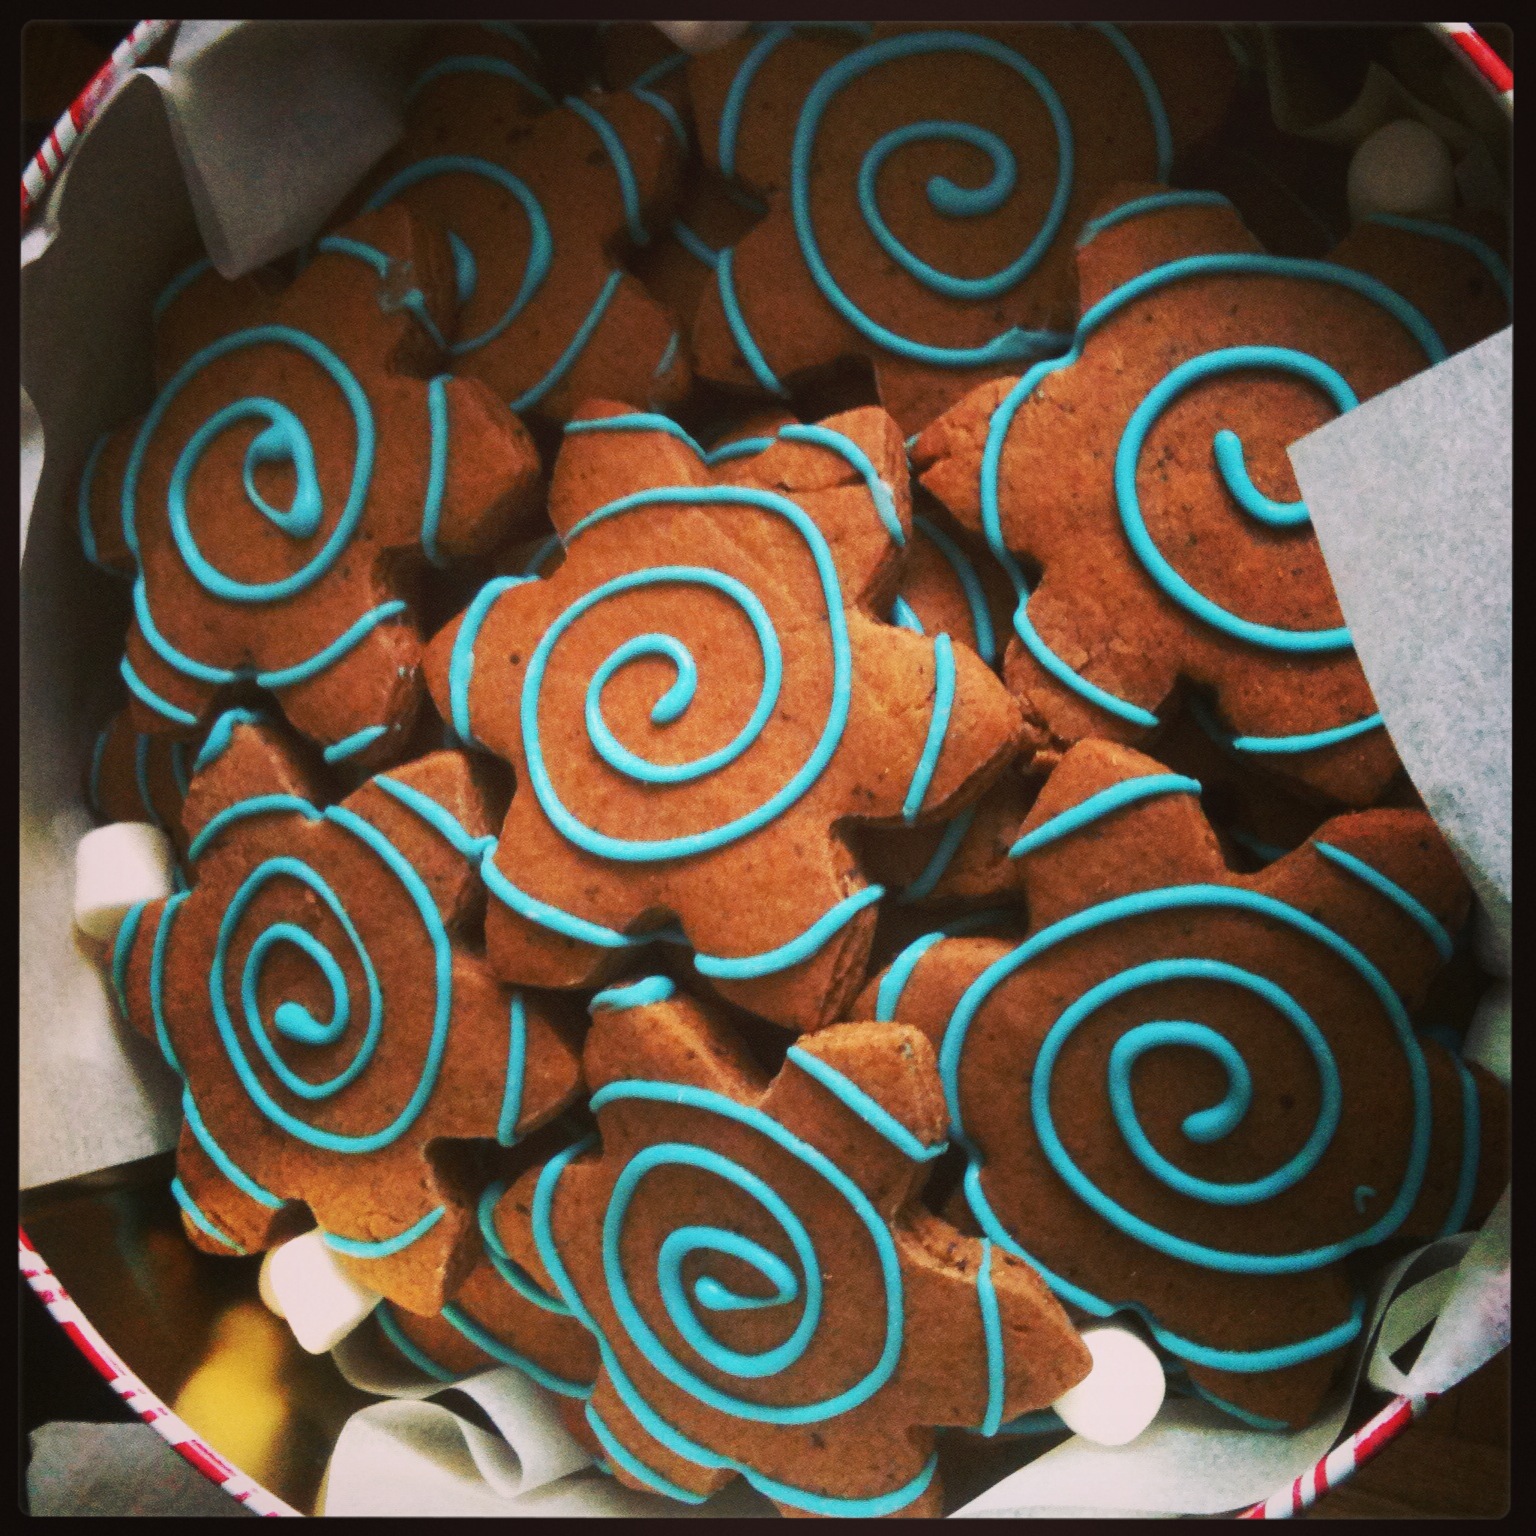
I used this gingerbread cookie recipe as the base of my cookies, and then tweaked the overall flavouring by adding 2 tbsp of fine ground coffee beans for texture. You can see the flecks the grinds create in the final baked cookie form, and you can feel the grinds as you chew them. This flavour addition lends a lovely sophisticated update on the old, somewhat tired gingerbread theme.
The other changes I made were shape (mine are gingerbread snowflakes, not gingerbread men) and icing colour (I used blue icing for a smashing pop of colour against the dark cookie base). I love this look.
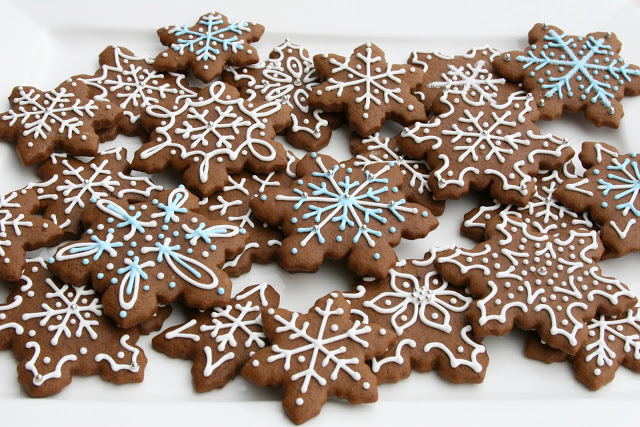
Inspirational picture courtesy of Glorious Treat’s blog – gingerbread cookies
I mean, LOOK at how fabulous this colour combination is. I won’t lie, Glory’s iced cookie version utterly seduced me. When I saw that, no other colour compared!
Gingerbread-Espresso Snowflakes:
1/2 C Unsalted Butter, room temp
3/4 C Brown Sugar
1 Large Egg, room temp
1/3 C Fancy Molasses
2 /2 C All Purpose Flour (unbleached is fine)
2 tea Ground Ginger
1 1/2 tea Ground Cinnamon
1/2 tea Salt
1/2 tea Baking Soda
1 tbsp Instant Espresso Powder
1 1/2 tbsp Coffee Grinds, Fine (not used – yuck!)
In your mixer, blend the butter and sugar together till it’s pale in colour and fluffy in texture (about 5 mins).
In a medium size mixing bowl, add the flour, ginger, cinnamon, salt, and baking soda. Whisk well to combine all of these ingredients. Set near the running mixer.
On the mixer’s slowest speed, add the egg and the molasses. Blend that in a bit before adding in your dry ingredient mixture slowly one cup at a time. When the dry ingredients have been incorporated into the dough finally, add the espresso powder and coffee grinds. Quickly run the mixer enough to blend them through out the dough batch before turning the dough out of the bowl to portion it out into four balls for chilling.
I used a pair of thick chopsticks that are about 3/8″ in diameter to flank each ball of dough between two sheets of wax paper as I rolled it out flat into a circle or square. I then placed all four flattened out dough balls on a tray and let them rest in my refrigerator or about 1 hour before cutting them up into shapes.
After an hour, I pre-heated my oven to 350 degrees (I have a convection oven so I have to set mine at 375 because the oven drops the temperature down by 25 degrees automatically), and poured a bit of flour into a bowl to dip my cookie cutter into between cuts.
I made as many snowflake cookies as I could fit on my baking pans with at least 1″ around each cookie and when the oven was ready, I baked two pans at one go on the middle rack for 8 minutes. I continued cutting out more snowflakes to line my next two pans as the first batch baked up and cooled down. I continued to repeat this until all four balls of dough were baked up into cookies.
I left the cookies to cool completely for about two hours and then started my decorating process. You can use whatever icing you like, but I happen to have been pressed for time so I cheated by melting some baking chocolate waffers in a small Ziplock baggy in my microwave (about three 30 second times for a handful of waffers). As the chocolate started to harden while decorating the cookies, I would melt it some more in the microwave at 15 second intervals.
NOTE: This is a great cookie dough to make up to 1 to 3 months in advance of your Christmas bake-a-thon. Wrap the dough up as a disk in plastic film, and then again in tin foil, before storing it in the freezer. It shouldn’t take more than 15 minutes sitting on the counter for the dough to come up to temperature so you can work with it when you’re ready to get your Christmas bake on.