Chicken Penne Fra Diavolo

Fra diavolo is loosely translated as “brother devil,” or devilish brother pasta, and it’s not a traditional Italy manner of serving pasta dishes. It’s something American-Italians made up from what I gather.

( picture placeholder )

All skillet pasta dishes like this one are very easy to assemble and plate using pre-grilled chicken, pre-made sauce, pre-cooked pasta from the fridge *, and prepped veg.

But, if you don’t have time to prep the night before, or the morning of, you can still make this dish on the fly when you get home in under an hour (assuming you’re giving the chicken 30 mins on the counter to come up to temp for more even cooking).

Boil the pasta water while the oven heats up, and start slicing up the vegetables. Roast the pillared or butterflied chicken in the middle of a sheet pan surrounded by vegetables coated in oil and red pepper flakes (this deepens the heat of the flakes and spices up the veg) at 400 degrees for 10-12 mins. Salt the boiling water well, and drop the pasta in. In a small sauce pot, heat up the sauce or med-high heat.

Flip the chicken at the halfway point of roasting. Heat up a big skillet and get it hot enough to add oil to it. Cook the pasta to almost al dente. The pasta finishes it cook in a sauce pan with the veg + sauce over a high heat. Pull the sheet pan out when the chicken reads 165 degrees with a thermometer.

Let the chicken rest off the sheet pan up to ten minutes before slicing. When the sauce and pasta are finished, add 2 tbsp of oil to the heated skillet and add the roasted veg to soften a bit more, followed by the pasta for a minute or two. Add some pasta sauce, and heat the whole dish through. Add a bit of the pasta water to thicken up the sauce in the last minute of cooking.

Plate the pasta into a bowl plate and top with slices of the chicken, some chopped green onions, and a smattering of a grated parm. If too many red pepper flakes were used, use pinch of toasted breadcrumbs can be snowcap the pasta to sop up a bit of the stinging.

Chicken Penne Fra Diavolo:
2C dry Penne noodles
6C heavily Salted boiling water
2 large seasoned Chicken Breasts, butterflied or pillard
1 1/2C Pasta Sauce of choice (I use a jar sauce when pressed for time)
4C large cuts of Red & Orange Peppers + Broccoli florets
Neutral Oil
A pinch Red Pepper Flakes (to taste)
1 -2 Green Onions (finely chop stems only)

This will make enough to serve 4 hungry people comfortably.

Topping Ideas: Can be fresh cracked black pepper (a smidge – you will already have spicy veg and flakes in the dish) and fresh shavings of parmesan or any other cheese of your choosing, and a small sprinkling of breadcrumbs to compliment the sting of the red pepper flakes.

* Often I will cook a pot of pasta the night before as I cook another meal that night, and lay the noodles out across a plate or a sheet pan in a thin layer to rapid cool it all down before storing it in an airtight container in the fridge. That pasta will get dropped in a pot of slightly salted boiling water for up to a minute to heat through before transferring it to another cooking vessel like a skillet or a casserole dish. It really does speed meals up.

Bowtie Ballsagna

Bowtie Ballsagna:

( Placeholder for new picture )

2-3 C bowtie noodles
2-3 C fresh spinach
3 C homemade pasta sauce + 12oz of tomato puree
24-36 mini meatballs
6-8 fresh Thai basil leaves
2 C ricotta cheese with S&P to taste
2 C grated mozzarella and parmesan cheeses
2 C toasted breadcrumbs (optional)

Layering from the bottom up:
Thin coating of pasta sauce (no meatballs)
Cooked bowtie pasta noodles
Pasta sauce with meatballs
Wilted spinach (in a thin covering)
Ricotta cheese
Cooked bowtie pasta noodles
Pasta sauce with meatballs
Wilted spinach (in a thin covering)
Ricotta cheese
Pasta sauce (no meatballs)
Mix of grated parmesan and mozzarella cheeses
Breadcrumbs (toasted, and optional)

Start by cooking your bowtie noodles in water that’s been generously salted. In a large non-stick pan, start wilting down the spinach with a small pinch of salt and a teaspoon of oil (your choice); set aside to cool when it’s all cooked down.

As you cook the pasta and wilt the spinach, reheat your prepared or jarred pasta sauce in a deep sauce pot. To this, add your freshly cooked (if you had time to make any, of course) or frozen meatballs, the tomato puree, some freshly picked and cleaned Thai hot basil (if using dry leaves, half the called for amount; whole or chiffonade) and freshly cracked black pepper. Let that cook long enough to heat the meatballs all the way through.

Note: If you don’t have fresh or dried out Thai hot basil leaves, fresh sweet basil will be fine in the sauce. We like a bit of zing in our lasagna sauce, so that’s why I grow Thai hot basil in my garden.

Scoop out a bit of the pasta sauce to spread all over the bottom of your lasagna pan thinly. Scoop out a few more spoonfuls of the pasta sauce and set aside (this is for the topping). When your pasta is done cooking, drain it well. Layer more or less than half of the cooked pasta over the sauce in the lasagna dish. (Only use enough to cover the sauce, otherwise this lasagna will become very bulky.) Over the pasta, place a generous amount of sauce with half of the meatballs to cover the pasta noodles, but not much more.

Over the sauce and meatballs layer, lay half of your wilted spinach all over and top that with a few blobs of ricotta cheese; (I use a medium size offset spatula to) spread the ricotta over the spinach in an almost opaque layer. Top the ricotta with the second half of your pasta noodles and top them with the last of the sauce and meatballs. Top those with the last of the wilted spinach, and then top the spinach with the last few blobs of ricotta spread out and the reserved pasta sauce before finishing the lasagna with your two grated cheeses (and toasted breadcrumbs if you like).

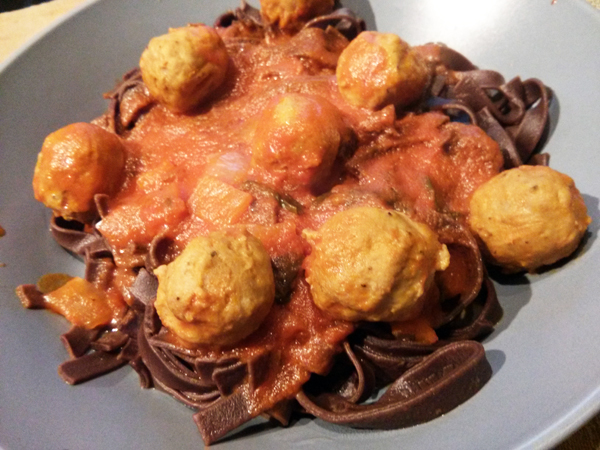
Chocolate Pasta

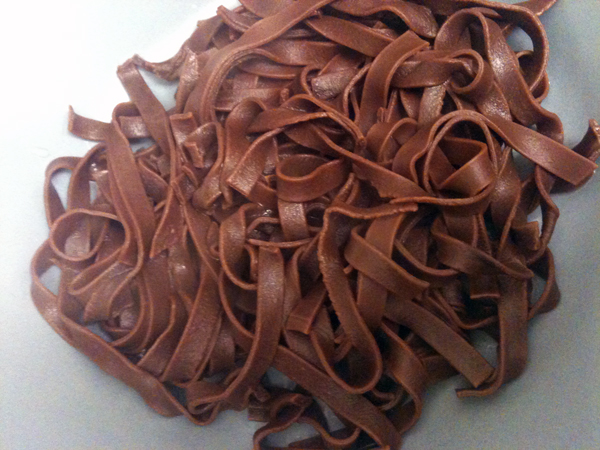
ChocoPasta-1This is for Olivia, whom I started to tell this story to at work but we got busy and, as always, I forget I even started the story or where I left off, and it never got told or finished. Sorry about that. So, here it is. Because you didn’t seem to believe me.

About a year ago, I stumbled over a pin for chocolate pasta over at Pinterest, and I was immediately struck with curiosity. I HAD to try this at home. It was a strong compulsion. I really, REALLY wanted to make this. And I was so SURE we would fall in love with it. I mean, how could we not?!

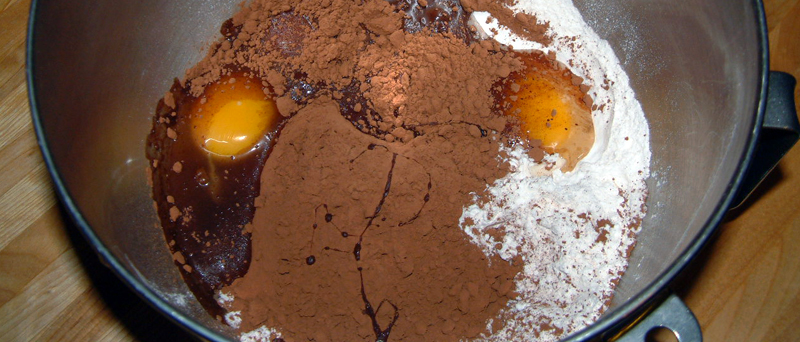
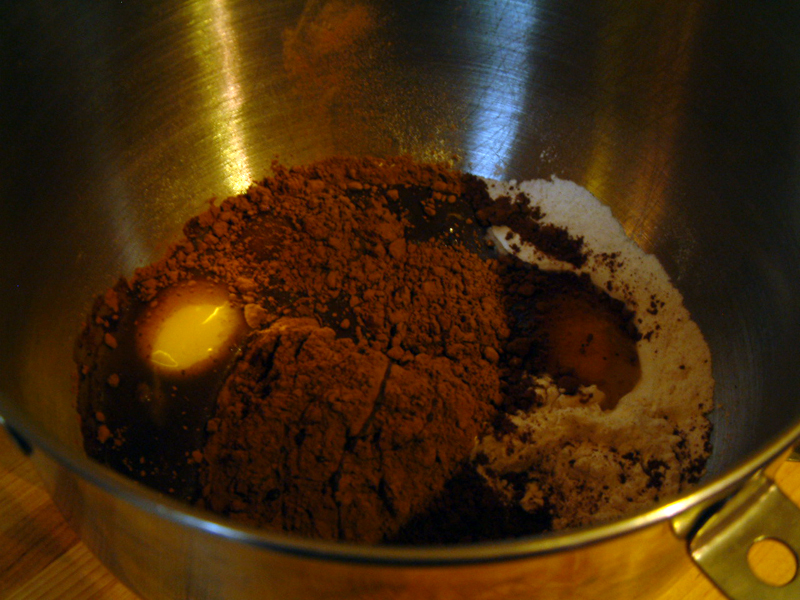
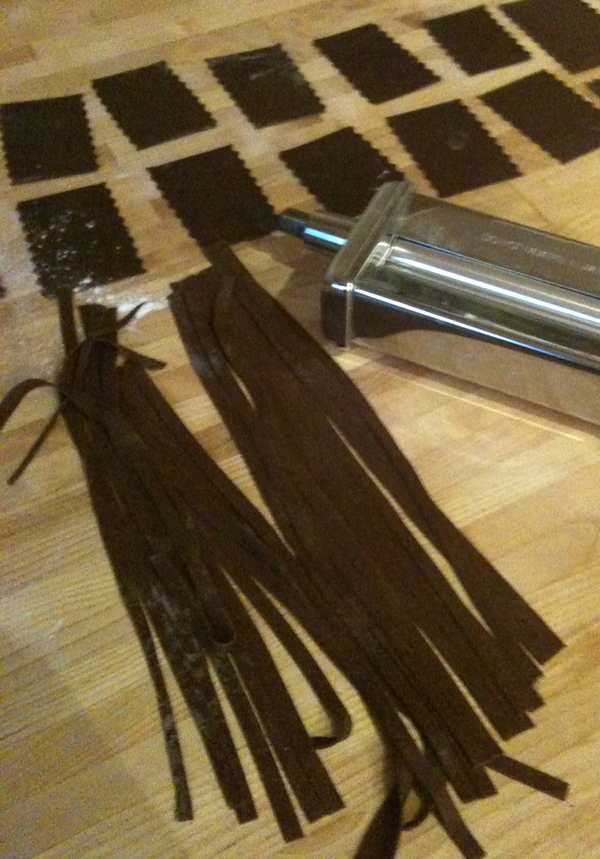
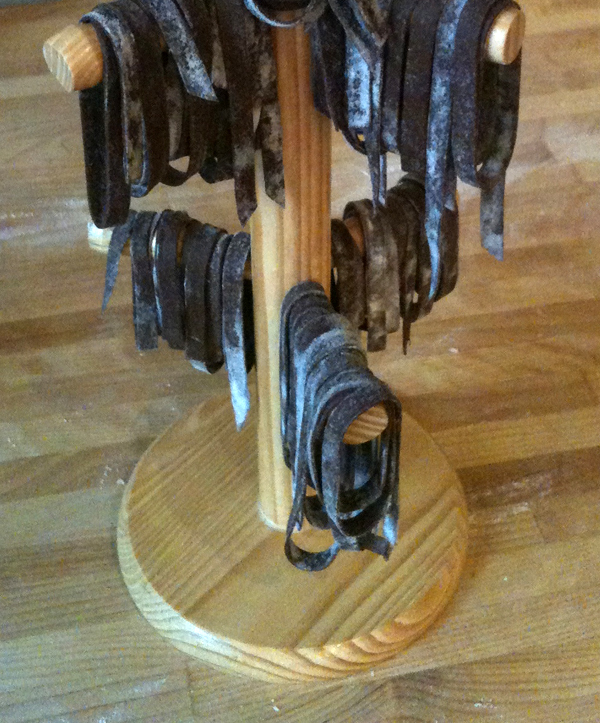
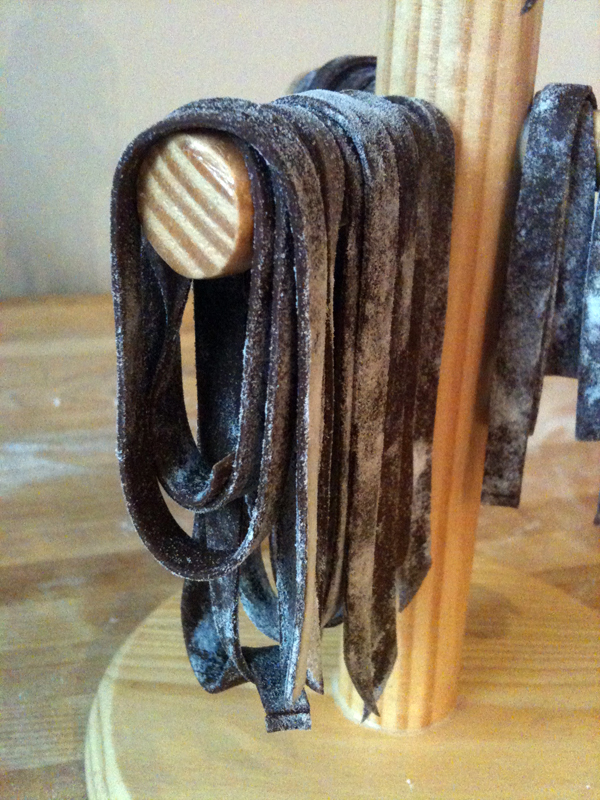
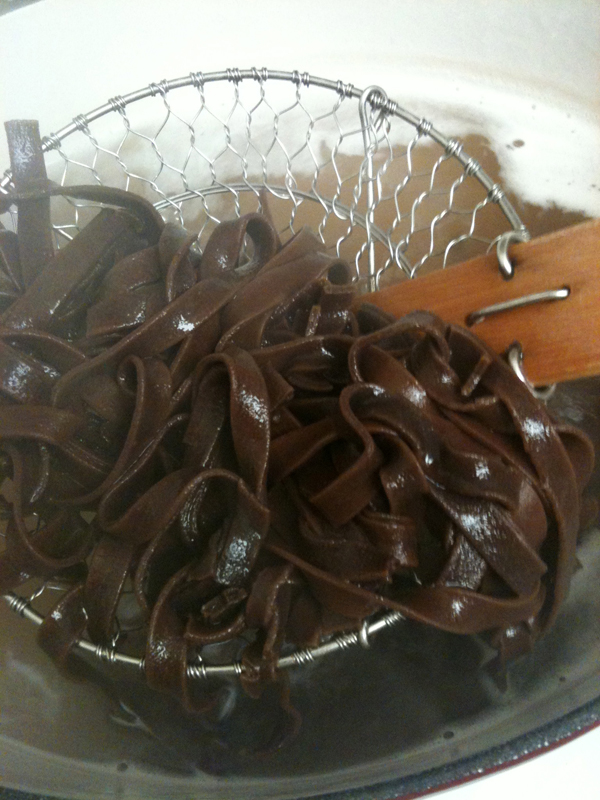
ChocolatePasta-DoughMaking-2 ChocolatePasta-DoughMakingI know this looks like I’m making a chocolate cake, but I’m really not. It’s the funniest thing to look at and know I have to convince people this really is a thing, and people do make this, and it starts out looking like a baking project. 🙂 ChocolatePasta-Dough2 ChocolatePasta-RestingSo after making this just like any other yellow egg pasta dough, I let it rest before I start cutting it up into noodles and then eventually boiling it hot salty water. All very straight forward, all very normal so far. ChocoPasta-Strands ChocoPasta-Drying ChocoPasta-Dry ChocoPasta-Cooking And the final product… ChocoPasta-CookedIt was very pretty like this, and it cooked up nicely, but no matter what I paired it with or topped it with, it wasn’t for us. The husband asked me never to make this for him again. Period. End of story. 😀

Lobster Mac & Cheese

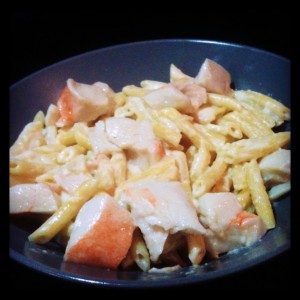
LobsterMac&Cheese-3[ Click to embiggen picture of Lobster Mac & Cheese ]

We’re not the kind of people who love to go out to eat much anymore, nor are we the kind that dress up to go out for wine and fine food. Having said that, we are the kind of people who will watch tv shows like “You Gotta Eat Here!” and find new things to cook at home using ingredients neither of us have ever tasted or used, including some more pricey items like good cheeses or truffles. From time to time, mind you. We aren’t the Rockefellers. 🙂

I have been clearing out a backlog of food shows lately and came across one featuring lobster mac & cheese. My husband always stops wherever he is, whatever he’s doing, when his two favourite foods in the whole world are mentioned: lobster, and mac & cheese. So, of course I had to watch the “YGEH!” Déja-Bu segment over and over till I figured out how to make our own version at home, at our own stove, with the ingredients I know I could get my hands on easily. I even studied the recipe published on the tv show’s website.

I scaled down the increments from the originating recipe because I don’t like lobster (that was strictly for the husband), and it’s just the two of us feasting. Two bowls were more than enough for one night. I stored the rest of my Mornay sauce in the fridge to make another bigger batch of baked mac & cheese tomorrow or Monday night. Probably with some chicken and vegetables thrown into it for good measure instead of the lobster.

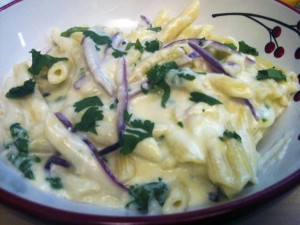
LobsterMac&Cheese-4

[ The basic Mac & Cheese using just the Mornay sauce, onions and cilantro. ]

Here’s what I came up with. Play along at home if you like this recipe.

Lobster Mac & Cheese:
(Béchamel + cheese = Mornay Sauce)
1/4 C white or cooking onions, diced
2 oz butter
4 TBSP flour
1 lemongrass stalk (or three lemon rind peels)

3 C whole milk
S & P
2 oz gruyere + 1/8 C parmesan cheeses

2 C cooked pasta
1 TBSP butter
2 oz lobster meat (I used lobster flavoured white/pollack meat)
Drizzles of truffle oil (completely optional if feel you want the full Monty)

1. Start the pasta water so it boils while working on the other ingredients. Whack the lemongrass stalk along the length with the back of a big knife (or, if using a lemon instead, peel three strips of rind off) and set aside.

2. Melt the butter in a stock or sauce pan that can hold up to 5 cups of liquid easily. While that’s melting, dice up the onions. When the butter is bubbling, add the onion dice to the pot and let it cook for 3 minutes before adding the flour. Stir the mixture till it balls up and leaves the side of the pot to form the roux. Pour in 1 cup of milk at a time, whisking the roux into the liquid. Let the milk and roux heat through and thicken up, stirring occasionally so the milk doesn’t scald and burn at the bottom of the pan.

3. Add the pasta to the heavily salted pot when the water hits the boiling stage. Give the noodles a quick stir so they don’t stick or clump to each other as they cook for 8 minutes.

4. When the milk mixture is thickened enough to coat a spoon or spatula, remove the pot from the heat and start to ladle it into another bowl or pot with a mesh strainer sitting over the opening to catch the lemongrass or peels and the onions. Place this strained Bechamel back onto the burner and add the cheeses to the pot. When the cheese is fully melted, a few scoops of this Mornay sauce can then be used in a small to medium sauce pan along with two scoops of cooked pasta. Toss to coat the pasta fully.

5. Let the pasta and sauce simmer on med-low heat while melting butter in another small sauce pan. Add the lobster meat when the butter if fully melted. Toss to coat all of the meat; let it heat through (about 3 minutes).

6. Plate the pasta and sauce, and place the lobster meat over top of it, arranging the meat chunks in a pleasing arrangement on top of the noodles. Pour the butter drippings from the pan over top of the lobster, and sprinkle some rough chopped fresh herbs over that and top it all with drizzles of the truffle oil if using. Serve immediately.

Herb Tomato Sauce & Chocolate Pasta

ChocoPasta-1

This year I decided to grow oregano in my garden in addition to flat leaf parsley and my old standby, sweet basil. It’s been working out well. I’ve added small sprigs of the fresh oregano to a lot of different dishes, including some sauteed vegetables we ate over pork loin meat on buns last week. This week I made my favourite tomato sauce from scratch, and decided what it really needed was fresh basil and fresh oregano. The sauce turned out so well, I dreamt of making a pot of pasta to top with the sauce for breakfast. All night I thought about my freshly made pasta sauce in the fridge. All.Night.Long.

‘Mmm… So mouth watering.

This tomato sauce uses Marcella Hazan’s infamous tomato with butter sauce as the base.

Fresh Herb Tomato Sauce:
40 oz Jarred Tomato Puree
5 Tbsp Salted Butter
S&P to taste
1 M-L Yellow Onion, chopped coarsely
1 Tsp Fresh Oregano leaves
1 C Fresh Basil, torn or julienned
Jars with tight fitting lids (enough for about 50 oz of cooked sauce)

Bring tomato puree, butter, onion and seasonings to a boil. Reduce the temperature to a low rolling boil and add oregano and basil leaves. Simmer uncovered for at least 30-45 minutes till the sauce thickens. Remove the sauce from the burner to cool a bit while running your clean jars under hot water so the glass don’t burst when the extremely hot pasta sauce touches it. Pour the sauce into the jars and finger tighten the lids.*

Let the jars rest on the counter till you hear each of the lids pop or snap (about 30 minutes). This happens when the hot air in the jars evaporate and the seal is formed with the lid ring. You can then store the sauce in your fridge at that point. The popping will only happen if you screw the lids tight enough, but if you have a jar that doesn’t pop, and you can push down in the lid still after 30 minutes, just make a point of using that jar first within a week or two.

* Finger tight is a term used for screwing a canning lid on till tight with your fingers only, not your whole hand and muscles to apply force.

Digression: The first dish I used this gorgeous tomato sauce over was my homemade chocolate pasta. I was still trying to nail it down to one or two different ways we can enjoy it at home when the husband asked me to not make these noodles again. Ever. He’s not into chocolate pasta. At all. And he’s a pasta fiend. (!!!) Oh, well. :-\

So, instead of doing a whole separate post on how to make chocolate pasta at home from scratch, here are a few pix of the attempts and some of the production of the pasta itself to give you an idea of what it was like, and what efforts I put into it.

Side Note: I previously served these pasta noodles with an Alfredo sauce and the same meatballs awhile back. We disliked that dish. So much it took me a long time to come around to cooking these noodles again. But I really needed to figure out if it was the sauce or the noodles we didn’t like so I could correct what was holding this pasta idea back from becoming a staple in our home.

So, with that in mind, I made a repeat pasta dish – with the only change being my tomato sauce instead of a creamy white sauce. All in the name of science, you understand. 🙂 As it turns out, for me it was that I didn’t like the Alfredo sauce over these noodles but found my tomato sauce worked quite well with chocolate pasta, whereas with the husband, as previously stated, he didn’t like the taste of the chocolate pasta in this dish either. So…

Given this whole experiment ended in a stalemate (and not at all how I imagined when I first discovered its existence), I’ve decided to give up on chocolate pasta. It’s not going to happen in this house. If you want the recipe, ask in the comment section of this post. I’m sure I can scare it up for you in the blink of an eye.

Below are the basic steps you’d make to produce the pasta from start to finish. Pretty, no?

ChocolatePasta-DoughMaking-2Two eggs, pinch of salt, flour and coco powder. I forget the exact measurements offhand, but my rule of thumb for pasta dough making has always been 1 egg : 3/4 C flour if that helps. And I think this recipe calls for a ratio of 3:1 flour to coco powder, but don’t quote me on that. It makes sense given I used 2 eggs for there to be 1 1/2 C flour to 1/4 C coco.

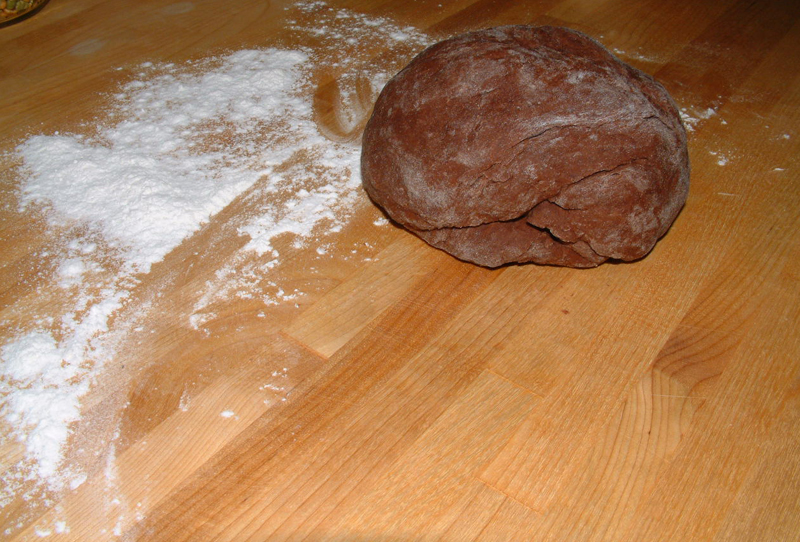
ChocolatePasta-DoughKnead by hand on a floured surface. You can start the kneading in the mixer if you like. I’m not a fan of sticky fingers myself. I stop when the dough pulls away from the bowl and then turn it out onto my work bench to hand knead.

ChocolatePasta-Resting

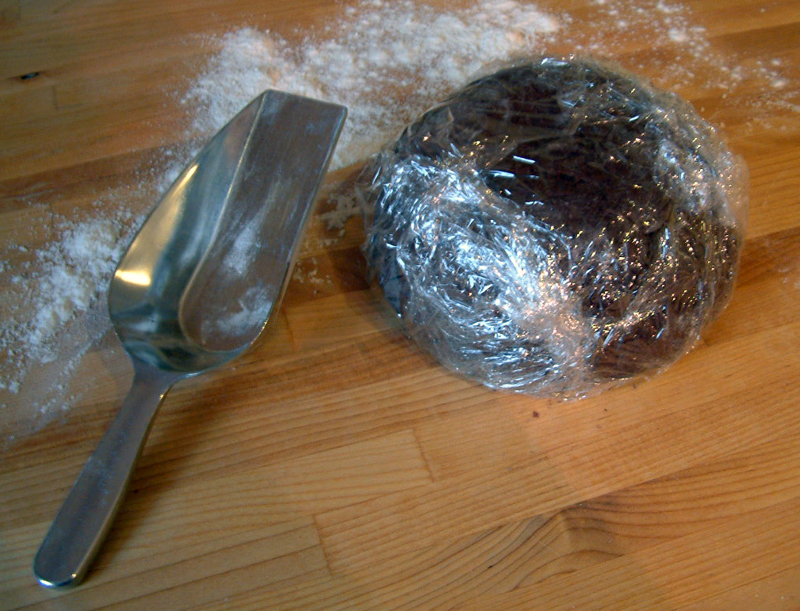
I wrap the dough ball to let it rest at least 30-45 minutes before I dig in to make the noodles with my pasta attachments and bench scraper.

ChocoPasta-DryI don’t have a proper drying rack, so I use an old coffee mug stand to air dry my pasta noodles after I loosely wind them around my hand after dusting the dough with flour. Once it air dries on the rack, I carefully (because it’s so frah-gill-eh) slide it off and slip it into a plastic baggie to seal up for storing. You can also make the noodles and then dump them straight into a pot of boiling water if you’re planning to eat them immediately.

ChocoPasta-Cooking

They look so lovely and tasty swimming in the pot, and only look better as they rest in the bowl before being sauced. Remember, they are fresh and fragile, so resist the urge to toss this pasta with sauce. Only top it with your best sauce, and serve it with your best cheese.

ChocoPasta-Cooked

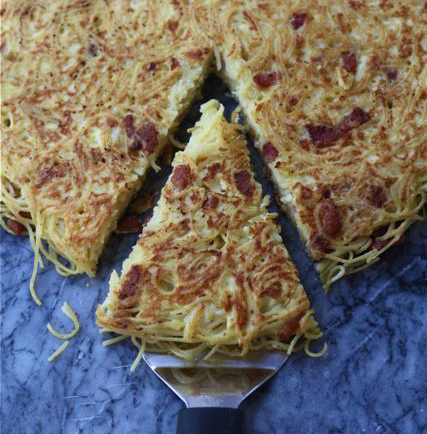
Breakfast Pasta Skillet

Pasta-Breakfast-Skillet

[ Breakfast Pasta Skillet recipe and picture courtesy of A Beautiful Bite ]

I feel it’s never too early in the day for pasta, so I like to find ways to make it for breakfast as well as lunch and dinner. And I never hear any objections from the spousal unit, so this is one I will be testing this long weekend.

I also want to test this with leftover Jasmine rice. Probably Asian noodles, too. And if we’re going that far, why not leftover bulgur?

‘Mmm… I making myself hungry running down the possibilities. Heh.