Cookie Crust – Attempt #1

CookieBase-3

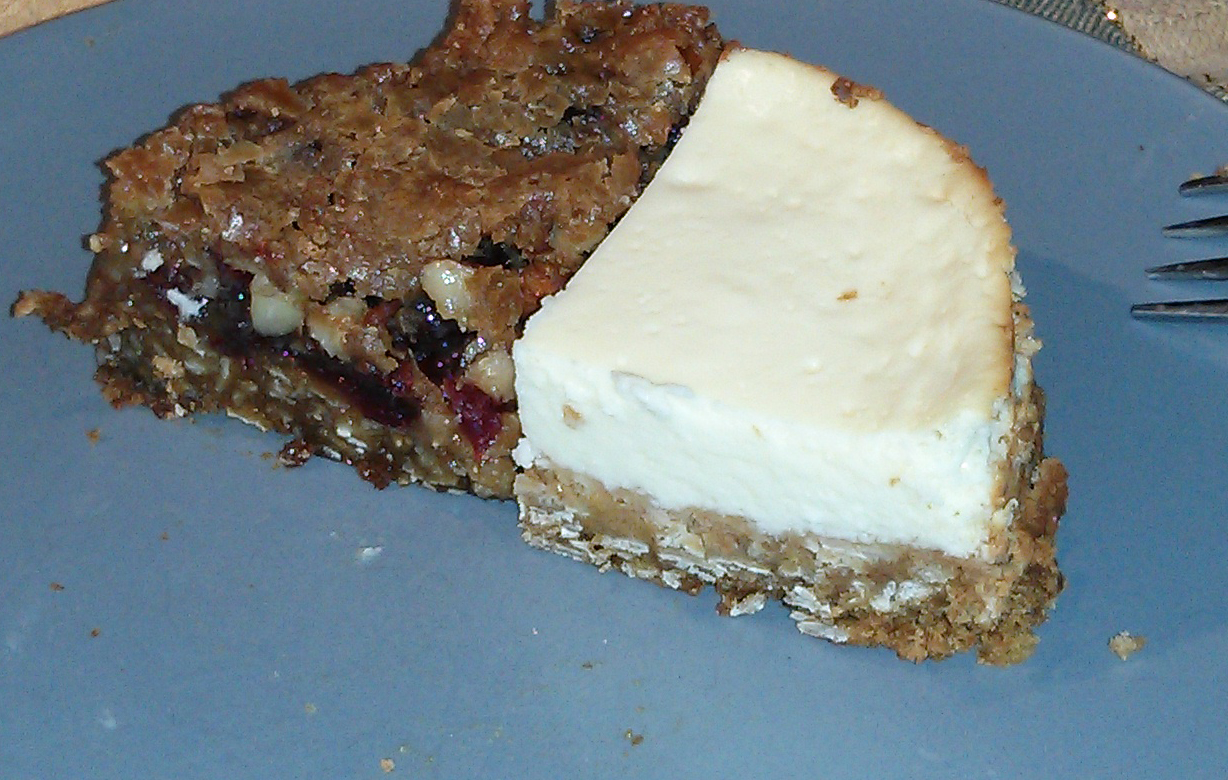
The picture isn’t the best, but neither is the lightening in our dining room. Our track lighting was designed for mood and atmosphere, not food picture taking. My apologies.

I pressed 3oz of my Old Fashioned Oatmeal Cookie dough in each of the mini springform pans when making this butter tart torte and the accompanying yogurt cheese cake. I blind baked each crust for 8 minutes before cooling them down and then filling them up for the full bake.

I really liked this crust alternative. It turned out quite well and I’m happy with the results. The crust was crunchy enough to need my fork to pierce it, but not too crunchy to be hard to chew. It was the perfect kind of base for a yogurt cheese cake given the crust provided a lovely sweetness that complimented the unsweetened (for the most part) yogurt filling to this cake. This is going to be my new go-to crust for cheese cakes!

However, when it came to the butter tart, I found the crust’s sweetness compounded with the butter tart filling’s sweetness just made it overpowering. I’m not a fan of overly sweet desserts to start with, but after eating one piece, aloud I counted down to the onset of my first ever diabetic coma. And I don’t even have diabetes!!

Needless to say, I believe the husband’s family will love this butter tart tort with my cookie crust. It’s just the perfect amount of everything they love: butter to goo ratio, fruit to nuts ratio, and sweetness in the crust ratio. I think this will be hit with them because it isn’t with me. We tend to have differing tastes in desserts right across the board historically. 😉

Apple Tart

AppleTart-Square

Radmila posted a picture on Facebook of a gorgeous apple tart with the apple peels rolled into roses and embedded in the custard. She expressed concern that it looked a bit dodgy without photos to follow with since the link didn’t supply any, so I did a fast and dirty version to show her it’s really not.

the version I decided to base my tart on called for making your own shortbread crust and made from scratch custard, but since I was doing this on the fly with limited time and apples, I used a sheet of store bought puff pastry dough, created trough ridges along all the edges and made a boxed white chocolate instant pudding for the filling. I only had two apples in the house, so I made 6 small apple roses for the tart. Again, fast & dirty.

So, in a pictorial for her, here we go:

1. I used my ravioli cutter to make crinkled edging by cutting off a small section all around the dough’s perimeter, then placed that same dough over top of the main edge, taking care to match the shape, and cutting off the excess where necessary. This is all extra work that one probably doesn’t need to do, but can if they want a nice edge. It only adds a few minutes to the final time, so if you want to, go for it.

AppleTart-Before-Dough

2. I cooked and cooled the instant pudding before spooning some of it into the middle. I didn’t use a lot because it filling isn’t the main event, the roses are. A little goes a long way. A thin layer is all it takes to make this tart tasty. Don’t worry about making a smooth layer with the custard because baking will cause it to smooth out nicely.

AppleTart-Before-Pudding

3. I formed the apple roses and let them dry on paper towels before gently placing them into the custard in select places and pushing them into the dough a bit. That seems to help hold the roses pedals in place so they don’t unfurl. (Obviously you’ll have way more roses to fill up this space than I did, but 6 is enough to give you an idea of how it’s done, right?)

AppleTart-Roses

4. I baked this tart at 350 degrees for 15 minutes and let it cool for another 15 minutes to allow the pudding or custard to finish setting. I suppose in the future when I make this again (all from scratch, none of this instant stuff), I will add simple syrup or some thinned out jam to the tops of the roses to give them gloss, and a bit of an egg wash will be applied to the dough for golden colour. I will probably dust the tart with a bit of powdered sugar, too.

AppleTart-Done

Hope that helps. Let me know if you have any questions in the comments.

Enjoy!

MSL’s Dutch Blueberry Pancake

Years ago I used to collect the small Every Day Food digest mags from the supermarket. Not all of them, but the ones that had enough interesting content to justify the purchase.

And in their March 2009 issue, they introduced their cast iron skillet dessert called Warm Berries ‘N’ Dumplings as well as the this scrumptious Dutch Blueberry Pancake, and they went hand-in-hand with Martha’s version of the classic, Blueberry Grunt. I have been drooling ever since. I always say I’m going to make each of these desserts during blueberry season, but I never do.

This year I will! Will you? (I know Dr. Maggie will. :-))

Blueberry Dutch Baby Pancakes Recipe


(All pictures and recipes are courtesy of MSL.)

Personal Size Pumpkin Pie Tortes

Personal Size Pumpkin Pie Torte
Every year as Summer gives way to Fall, my husband’s mind starts to drift away from ice cream to pumpkin pie. This is a little recipe I made up a few years back that he liked, and I really haven’t shared it much online since. I want to change that.
I have two small torte pans I use in favour of one big pie plate at home. It’s easier for me to bake up two and freeze or give away one of the two than to deal with eating pie morning, noon and night for the better part of a week anytime I get into pie making. This recipe is designed to be split up perfectly, but it will also fit all into one pie pan or plate if that’s what you want to do, or it can be doubled if you want to make a long sheet of pumpkin pie squares for a large crowd.

(From the archives)

24 Lady Fingers, crushed up to fine grind (not powder grind)
1C Butter, melted

2 1/4C Prepared pumpkin pie filling
1/3C Evaporated milk
1 Egg, large, well beaten

Finely grind up Lady Fingers in food processor. Melt butter and add to a small bowl before dumping in Lady Finger grinds. Mix well and pour half of the mixture into each of the small torte pans (roughly 8” – 12”).

Press the mixture outwards from the middle and up the sides all around the pans. Place the torte pans in the freezer for 10 minutes to set the crust. In the meantime, mix the pie filling with the evaporated milk and well beaten egg and set aside.

Pumpkin Pie Torte Crust

When the crusts are hard, pour the mixed pie filling into each pan and bake for 15 minutes at 425. Reduce temperature to 375 and bake for an additional 30 minutes or until an inserted knife in the centre of each pie comes out clean. Serve warm with whipped cream on top and hot coffee, tea or cocoa at its side.