Philly Steak Sandwich Inspo

I can’t find the video I watched a week ago that gave me this idea. In the video, they used chopped up steak, but I had leftover smoked ribs and chicken, so I chopped up both into a mix and used that instead.

I started by frying some chopped onions, and then I added the meat to heat all the way through. Near the end of that, I added some marble cheese shred, gave it a toss and then scooped it into naan bread I steamed to make them pliable.

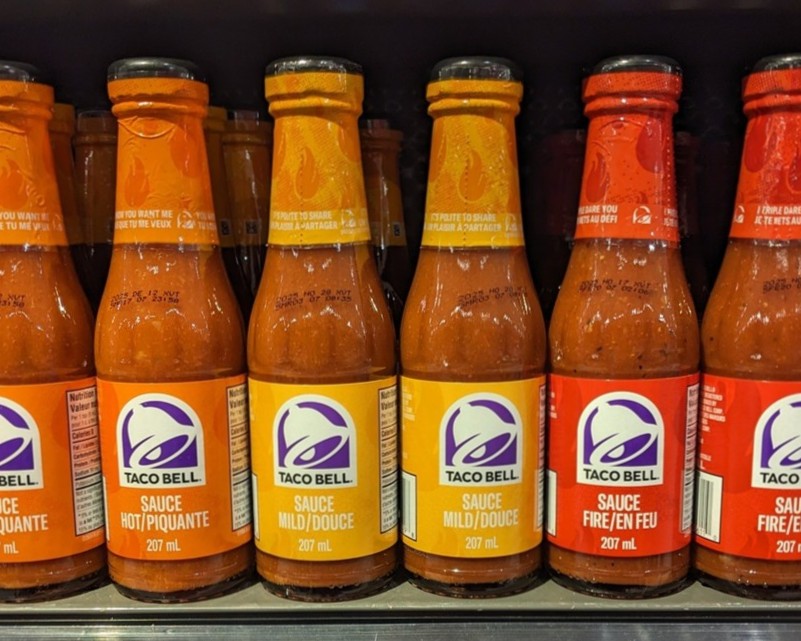
I added some Poke sauce to the naan and took a bite. I was so good. It will be better when I make this again when I add some veg (I didn’t have any left at this point in the week), and following the traditional Philly Steak, I will add fried green peppers, some lettuce and tomato slices, and then top it all with melted Provolone (or Swiss) cheese and hit with some Kewpie mayo. I can’t wait.

A Very Berry Summer

I bought a container of price reduced strawberries when we were grocery shopping for bbq food. I gave them an eight min bath in 1/4 C white vinegar and enough water to just top the berries. After draining, I placed them on a clean tea towel to dry.

The former customer of ours that gave us blackberries from his backyard as I was making dinner to let me know he pick another huge yield that day. I dispatched the husband to grab another pint from the nice customer. When he got back, i set up the same vinegar and water bath for the blackberries. I rested them eight mins, drained them, and laid them out to air dry.

From there, I lined each plastic container with a bit of paper towel, and placed the berries back inside them before I found some room in the fridge to eat them this week.

Straight from the Smoker

It was a beautiful clear day yesterday, so I decided I needed to BBQ some food for the week. I thawed some back ribs I had in the freezer when I woke up, and while that was doing its thing, we headed out to buy some groceries for other items I was planning to smoke.

When we got back, the husband took off on the motorcycle (a rare luxury for him these days), while I fired up the charcoal. I prepped all the food as the fire heated up the coals. I slapped down some pepper cuts, potatoes, chicken breasts, and the ribs to get some colour on the top side before I rolled it over and shoved it over to the indirect side to slow smoke.

While this was happening, I got to enjoy a few hours out on the patio playing on the computer and drinking cold coffee. Ahhh… I was a happy camper. After the food was finished cooking, I brought it all in and get the table ready as the husband was walking in the door. The corn also got smoked but it was the last night I smoked a few mins on each side after microwaving them in their husks for 6 mins to speed everything up.

When the chicken was cool enough to handle, I cut all five breasts differently to target meals for the week. I sliced one and a half breasts into thin slices for the express of making my favourite sanny ever, the Chicken Club. šŸ™‚

The rest of the chicken got cut up into thicker chunks for a Caesar salad for one, and cubes to drop into a pot of hot Butter Chicken sauce tomorrow night for dinner. Yes!

After dinner, I got making up a few meal kits for our lunches the next day. When the corn was fully cold, I dropped a bit of salt over them as well as a small butter pat, so after the corn is heated with the meat, we could roll our corn sections in the salt + butter inside the dish. Worked like a charm.

And the potato in my kit got pierced in a lengthwise line as was as a cross line. I didn’t think it was enough, so I stabbed the rest of the potato top and then used the fork to push it all down to a smushed mash before topping it with some cucumber salad dressing and green onion chops like I did the night before (see above dinner plate).

All in all, I’m liking this bbq weekend stuff. I just wish the weather was more consistently night as opposed to one bbq day every three fricking weeks. Ugh,

Gluten-Free Chocolate Chips (Quarter Batch)

I’m at that age where eating a cookie (or three) over the course of a day is really not working for me. But, I still want a cookie every so often, so I dipped a toe into the dark side by picking up a bag of gluten-free flour.

I know, I know!

I also bought a small bag of gluten-free cookies at work the other day, and son-of-a… Yeah, I felt fine, and I didn’t look stuffed like a pig the next morning. So I guess we all know where this is heading. Ugh.

Ok, fine! I will start to shift over. I’m starting with this recipe I found on the back some other g/f cookie mix bag that was far too expensive for me to buy. I just couldn’t. I hope just buying the flour will get me where I need to go.

(fingers crossed) Here is my first kick at that can.

Auntie Stacey’s Gluten-Free Chocolate Chip Cookies:
Dry:
Flour = 75g
Baking Soda = 1/4 tea
Salt = 1/4 tea
White Sugar = 150g
Brown Sugar = 156g
Chocolate Chips = 30-40g
Chopped Nuts = 30-40gĀ  (opt)

Wet:
Vanilla = 1/4 tea
Butter, soft = 40g
1 med Egg

Yield: 12 mini cookies
Bake at 375*F, 11 mins, on parchment

Update: The butter spread out too much, so I dropped the butter and upped the flour increments so I can refer to this online recipe when I make them again next week. But, as for the rest of the cookies, I can tell you they are soft in the middle while retaining a crunch due to the brown sugar. It’s a lovely chewy experience. And the sugar blend is dead on. The cookies aren’t not too sugary, and nor are they underwhelmingly sweet.

Mini Cinni Buns

I was cleaning out my big freezer and found this tube of croissants in it. I defrosted it and then rolled it out to spread some melted butter, ground cinnamon, and white sugar all over one side before cutting and rolling this into eight small cinnabuns.

Also, I am so old, I had to take a picture of the packaging instructions so I can zoom in the text to know at what temp to bake these suckers.

My Sausage Fingers Strike Again

The other night I cooked a pizza for dinner, and as we were sitting down to enjoy a few slices with some soda, my fat sausage fingers got me into trouble again. *le sigh*

As I was reaching for another slice, my knuckle knocked the full glass of Fresca that was in front of the pizza on the cutting board, and this caused it to fall over and hit the hard wood board. It smashed and spilled my drink all over, under, and around the pizza slices, along with a bunch of big and small glass pieces.

I had to throw those slices (mine with the black olives) into the trash and work as fast as possible to mop up the drink that was now flowing all over the dining table as well as the cutting board. *le sigh*

“Would you like a some pizza with your broken glass?” asked the husband.

Threefer Breakfast

Yet another Tik-Tok I recreated before a video caught my eye. I have all of the equipment and all of the materials, and we love all of these foods, so why not, right?

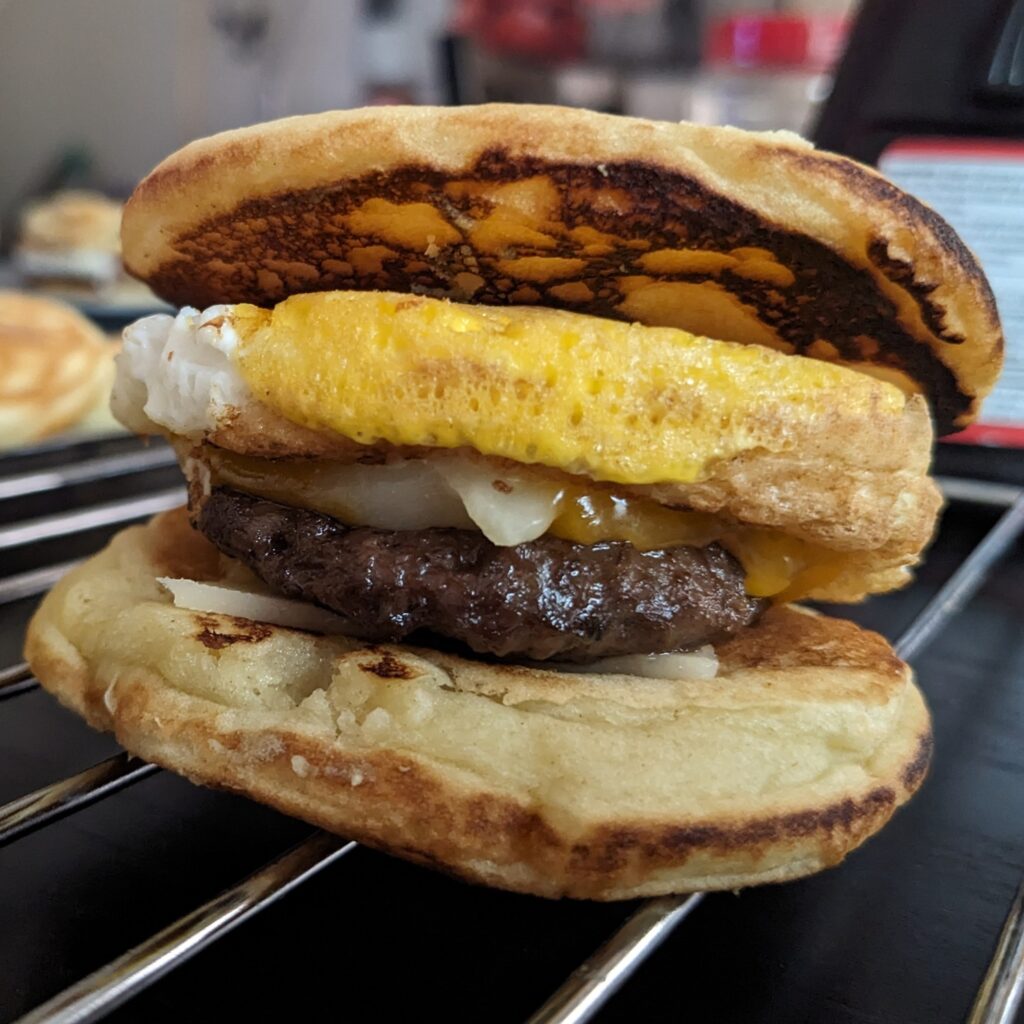
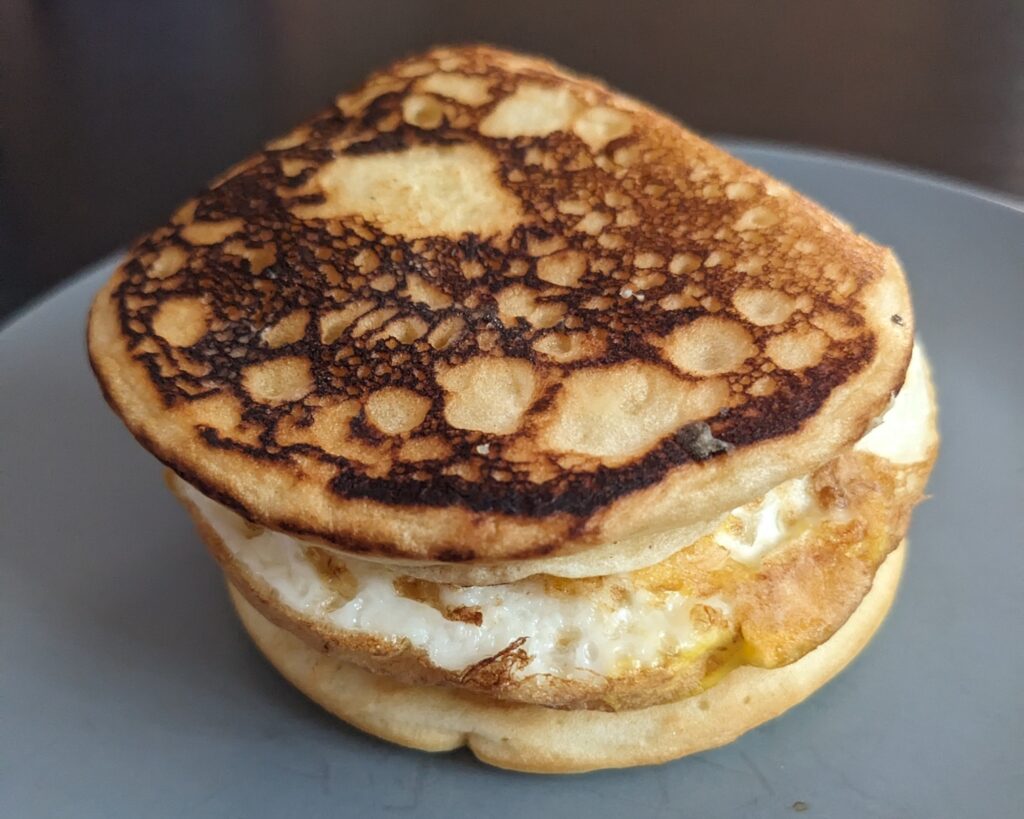
This one I’m calling The Threefer Breakfast. It’s a waffle that’s been pan fried in some pancake batter on one side, and pan fried again in an omelette mixture on the other side. It sounds complicated and a lot of work, but it’s not. It went faster than I thought it would, and I used the waffle batter for the pancakes after I thinned it out a bit with milk.

  1. Make you waffle batter as your iron heats up. Pour it into the machine to start it.
  2. Make your omelette mixture. Set aside. Heat up a frying pan on a moderate heat.
  3. Remove the cooked waffles as they finish and rest them on a wire rack while heating some oil in the pan.
  4. Add 1 tbsp of milk to the waffle batter and whisk together to thin out the batter.
  5. Ladle one large scoop into the frying pan, tilt the pan to spread batter out, and top it with a waffle.
  6. After the pancake side fries up in a few mins, rest it back on the rack and add a bit more oil to the pan to heat up.
  7. Pour half the omelette mix into the frying pan and lay the pancake waffle down on top, waffle pocket side down (pancake side up).

That’s all that is involved. I was working on this creation and didn’t get time to take pics of the process but it’s not unlike a battering station as you bread and fry foods. Pick up, dip, drip off excess, drop over the oil. Bing-bang-boom.

Serve with syrup and whipped cream. If you remember and liked the McD’s full breakfast that came in a white Styrofoam container with baby butters and an OJ, you will like this throwback feeling as you eat your Threefer. Makes two.

If you want to make my waffle batter, you can search for the recipe on this blog, and double it.

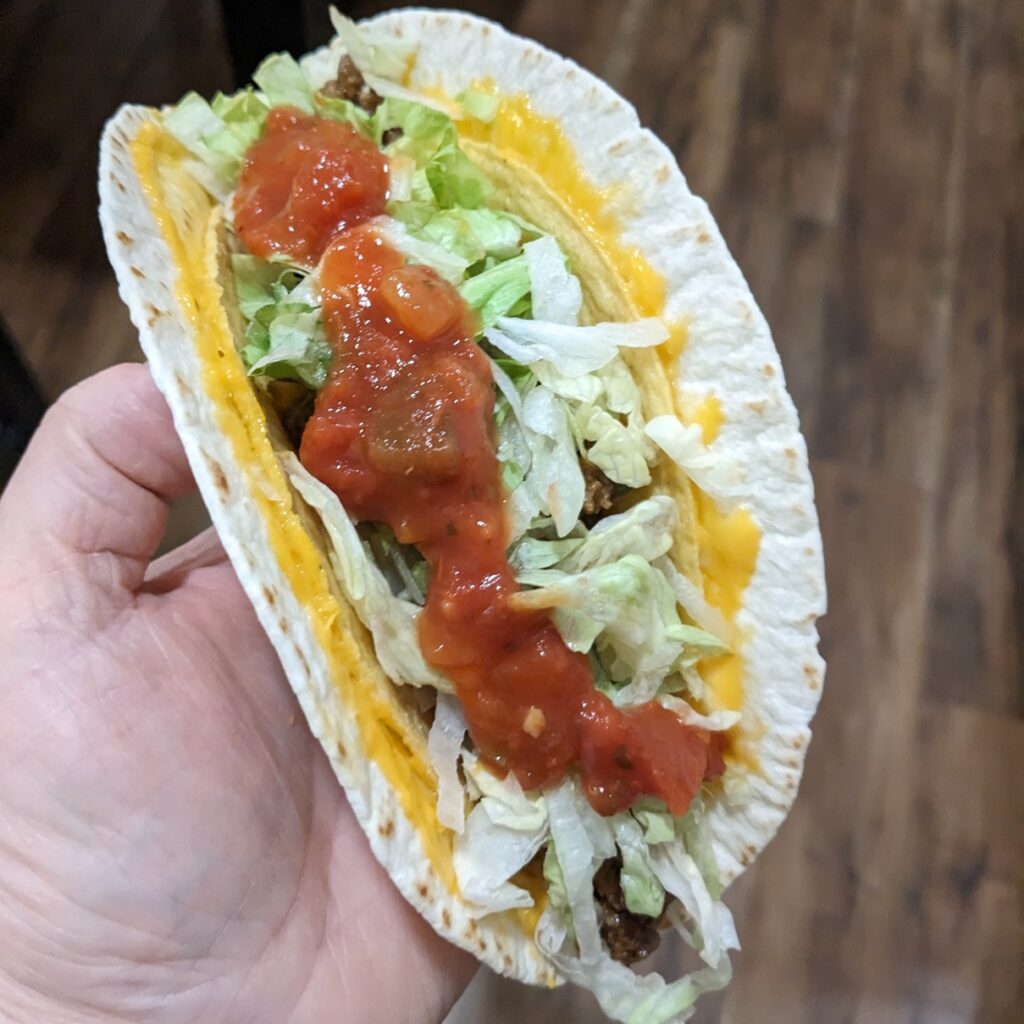
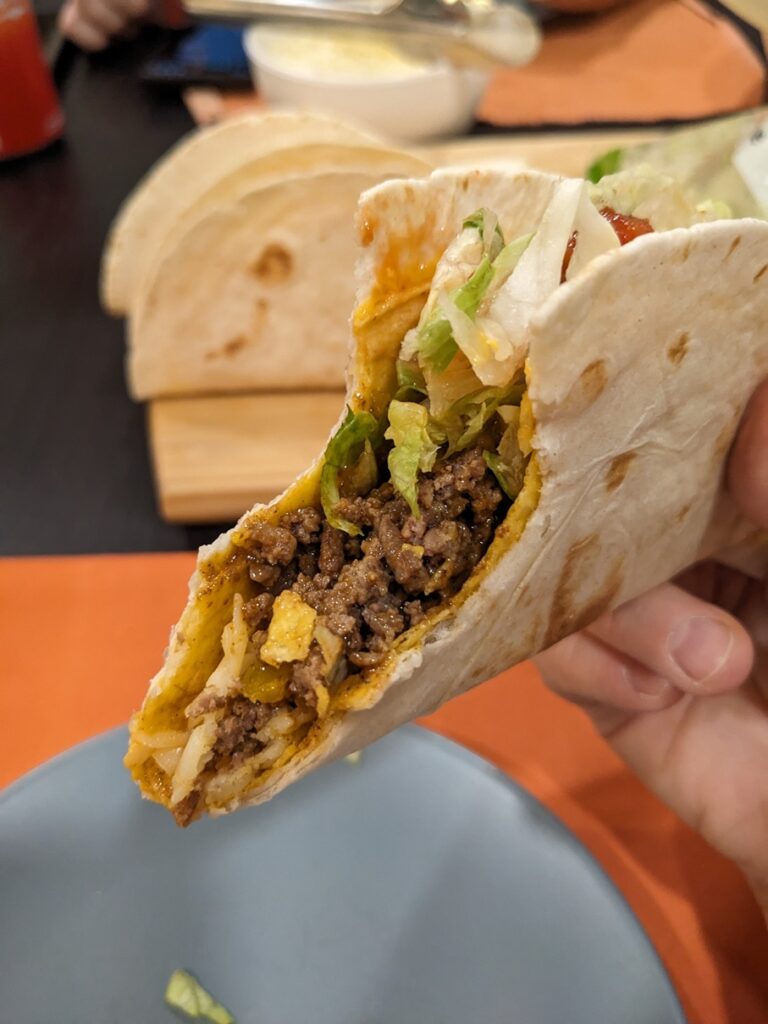
Smash Taco Burgers

I watched a few Tik-Tok videos on these little Smash Taco hybrids since it’s all the rage this week, and they looked easy enough. Of course these videos tend to skip a lot of helpful information for the platform format that gets them the most view. Views = impressions, impressions = reach, and reach = virality. And somewhere a long that string is a spot for monetizing the content. But, fear not – I’ve got you covered.

On my journey to make some at home, I quickly discovered the content creators either use extra lean ground meat, resulting in far less grease (but also far less flavour) than my preferred medium ground beef. I don’t understand anyone eating lean and extra lean beef. Why not eat cardboard instead? It would taste about the same IMO.

Anyway, if you made these smash tacos from start to finish without stopping or resting the food, you will end up with a soggy, greasy, unpleasant final product. But, by cooking and then resting the meat on the tortilla, AND wiping out the grease of out your pan, you will notice the meat and tortilla will feel less moist/soggy as you eat it. The other side of the tortilla will them crisp up nicely in the pan better. I burned a few of these tacos in my first test run, but I nailed them in the second test run by keeping the pan clean and at a slightly lower temp in the last stage.

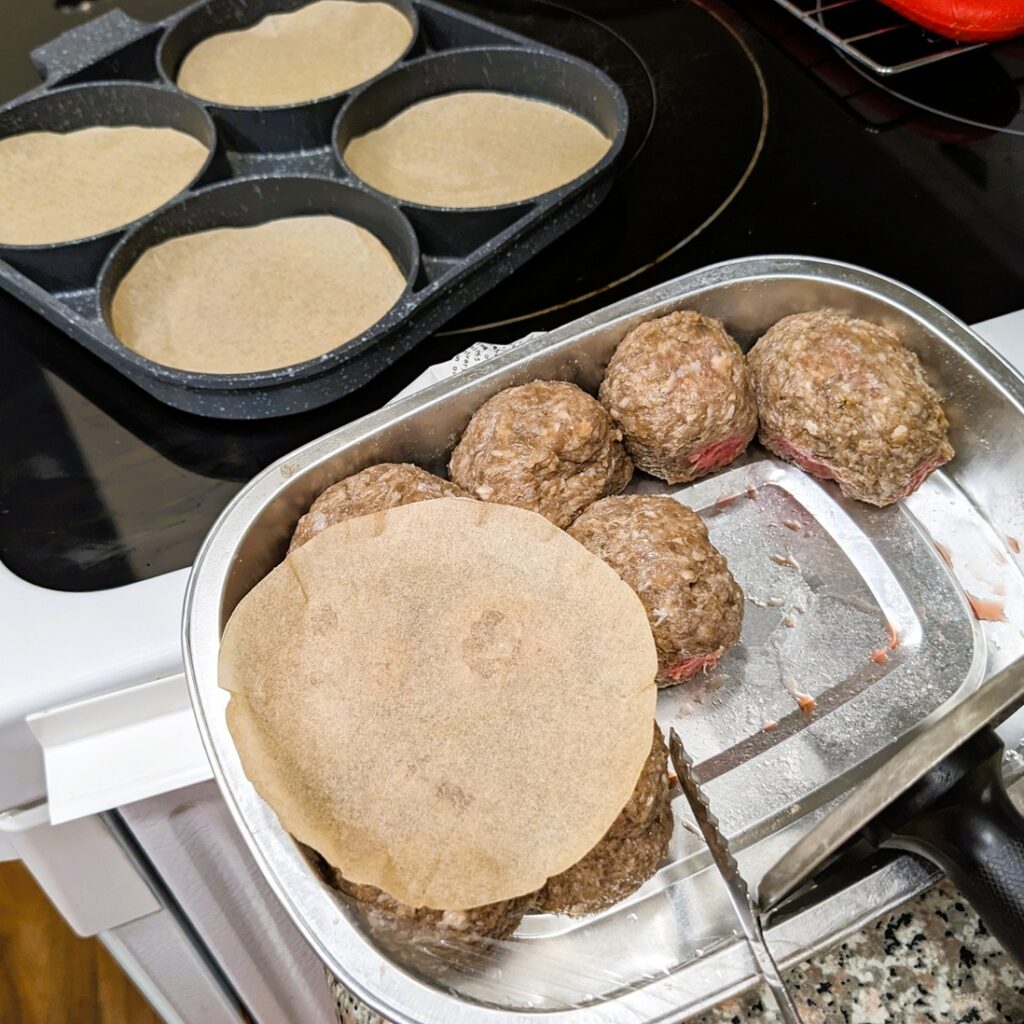
TIP: Season your meat well before you mix it up and divide them into the ~2 oz balls.

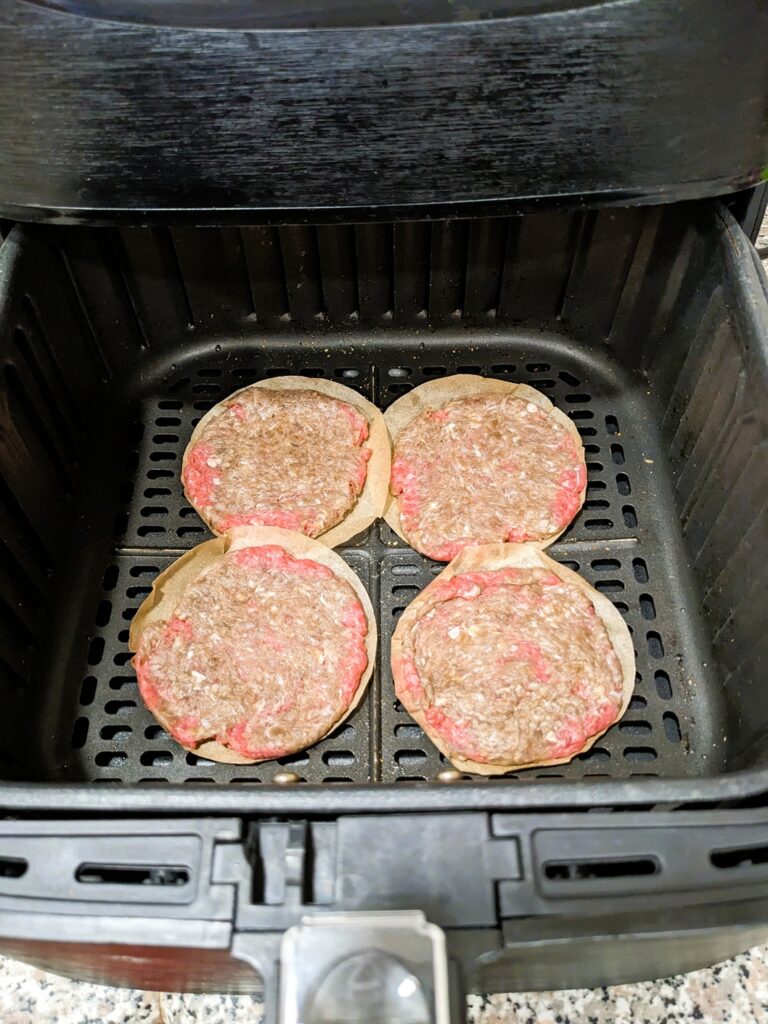
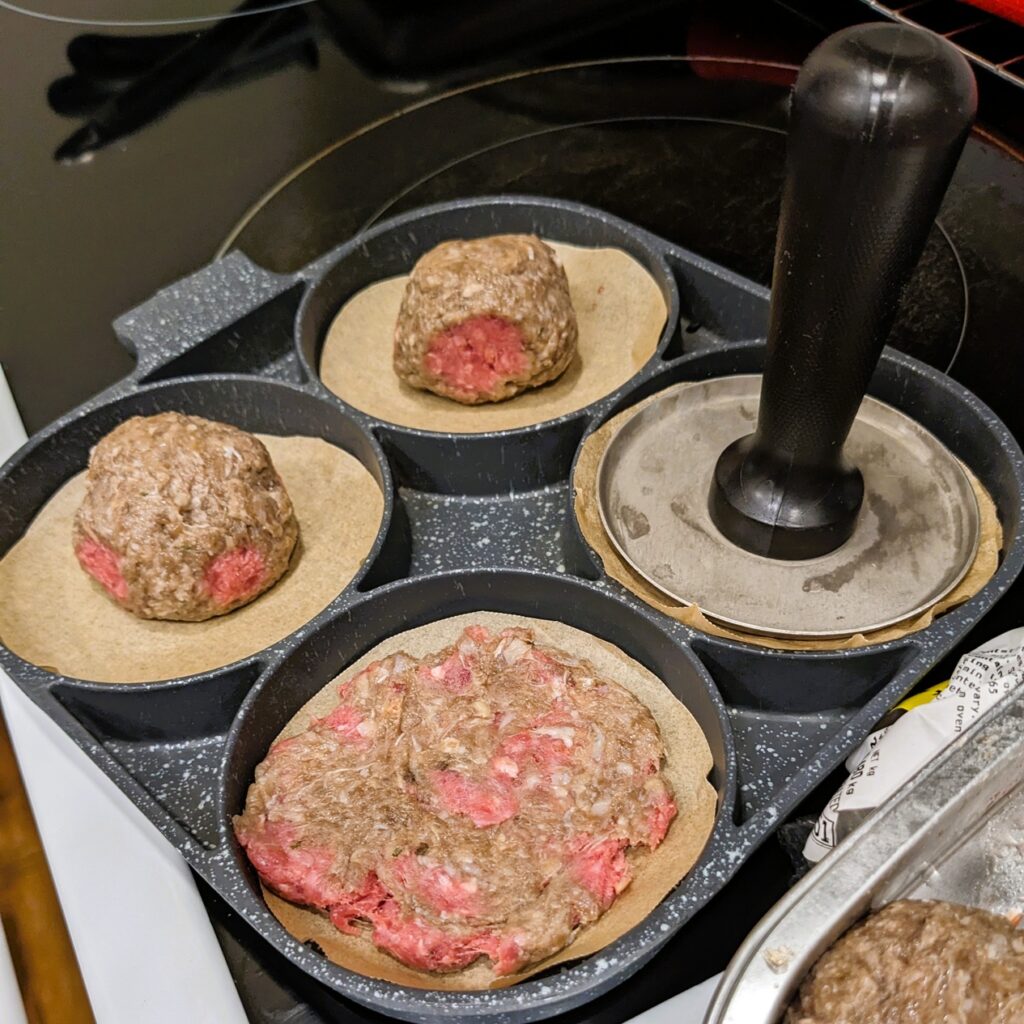
TIP: Use a square of parchment over top of the ball when smashing them down with whatever tamping instrument you have on hand all over one side of the tortilla. (I have the tamper that came with my slider pan.) I like to pick up the paper square and move it where I wanted to flatten the meat, and keep doing that until the meat is thin and evenly spread out.

TIP: Put the taco in the bare pan smashed out meat side down. I gave each one about three mins with me pushing them down into the pan for some lovely charred edges.

TIP: Let each taco REST on a wire rack face up for about 3-5 mins while you cook the meat side of any other smash tacos you’re making. REST that damn meat, people!

After you finish cooking the last smash taco on the meat side down, lay the first rested taco one back down into the pan, meat side up. Lay a slice or two of cheese on top at this point, drop the heat a bit, and cover it. Trust me.

It only needs about 1-2 mins to get gooey. Rest the smash tacos back on the wire rack for another 3-5 mins as you top them all with things like pickle slices, special sauce, caramelized onions, lettuce, etc. Whatever you like.

Resist the urge to fold them too early to serve them. The liquids will leak out of the corners instead of redistributing themselves in the meat, the cheese, the toppings, and tortilla. Patience will reward you when you wait to dig in.

I didn’t wait long enough, and there was grease and special sauce left on my plate, whereas the husband’s was made first and rested longer, and well, his plate was practically spotless when we finished eating.