Rice Bowl Upcycling

So, the other day I made this lovely quasi Tex-Mex rice bowl for our Taco Tuesday dinner. The next night I still had so many materials leftover, plus all of the other ingredients I forgot to prep and add (salsa, cheese, deep fried onions), so I made another better version to make the true taco rice bowl I envisioned all week.

Both looked great, but the second one worked better because it had some moisture and heat the first attempt didn’t. Oh, and I found a squeeze bottle of some cheesy chipotle sauce I bought specifically for this taco meal and had forgot all about, the following Friday in my pantry. D-oh!

So, what was in my taco bowls?

Rice
Lettuce shredded up
Ground Chorizo Meat
Pinto Beans
Homemade Pico de Gallo
Sour Cream
Cilantro Leaves
Lime Juice squeezes
Cheese shredded up
Deep Fried Onions

That’s just a list of what I had on hand prepped to use in them. Your list might be different, and that’s ok. Cooked chicken shred or cooked ground beef also works, as does pickled onions and pickled jalapenos. You can use some Mexican cheese if you have it, as well as some broken up tortilla chips if you like.

Go crazy, or keep it pared down to five items. It’s your bowl, your way.

Fried Rice Breakfast

Yesterday was my day off. On my days off, I like to linger in front of the open fridge looking at items I have in there that may be on the verge of turning. And I like to turn some or all of these items into a completely new meal. I hate food waste.

Yesterday’s upcycled meal was a fried rice breakfast dish. I used up the last of the cooked rice, and some of the bits and bob veg I had in the crisper drawer (a bit of yellow onion, a bit of a carrot, some celery chops). This was the holy trinity that would be the base for my dish. I threw it in the frying pan with bacon fat and got it going.

I found a container with egg whites in the back from the last time I separated yolks to make the husband a lovely pasta carbonara. I added whisked in another egg and dumped the rice in to combine it all.

When the veg mix was softened enough, I added the rice-egg mixture and moved it all around in the pan, picking up the veggies as I fried up the egg to a solid state. That was long enough for the cold rice to heat all the way through.

I added a splash of soy sauce and a dribble of fish sauce, rolled it around, and then scooped it into a bowl. I also sprinkled sesame seeds on top for good measure. So good.

Home Reno – Pantry Wall Tweak

Since we installed our wall of pantry storage cabinets, we have made some tweaks. One of them I had to be convinced we needed by the husband. But, in the end, I am grateful for it when I use it from time to time.

I’m talking about a pullout wood block I can use to drop hot foods from the microwave above it. I can also use it to lay hot trays of food on from the oven steps away in the kitchen. And, as I discovered after I woke up one day with hip pain and couldn’t sit to use my computer, it works as a lovely standing desk area.

Originally we both envisioned me making fresh pasta on that board, but I haven’t had time to use it that way yet. I hope to rectify that in the near future. 😀

Oh, and he hated the small area I had a tiny garbage can sitting in that was also exposed, so he built a pullout tall can drawer with a door panel to hide the can.

Lately I have been working on the organization of my canned goods. Since the drawer I store them in rolls out and hits the middle of my thighs, I find picking up cans to see if it’s the one I need while I’m rushing around to make dinner on the fly just unworkable for me.

I came up with a solution. It isn’t Pinerest worthy, but it works for me. More importantly, now I can ask the husband to grab me a can of something-something quickly. He often asks how he can help, and I can’t deal with him in there rooting around. That’s frustrating given how many cans I store. I’m hopeful this is the low-tech solution we’ve been seeking.

Sicilian Sheet Tray Pizza

I like making pizza at home. We like a nice crispy crust, and one way to guarantee getting one every time outside of having a professional pizza oven is to use a sheet tray and regular olive oil. It’s how the Sicilians nonnas do it.

One your large sheet tray, pour out about 2 tbsp of olive oil. You can use your fingers to layer the whole tray in the oil, or you can use a brush. Don’t forget to brush oil up along the sides so the pizza doesn’t stick to it. Watch this clip to see how it’s done.

Drop your room temp ball of pizza dough on the sheet and use your oiled fingers to start pressing and stretching the dough outwards all over the surface. When you think the bottom has enough oil on it, flip the whole dough over to oil the second side. Keep stretching the dough out to the corners from the middle and the dough edge.

When the dough starts contracting back into the middle, stop. Let the dough rest 30 mins. After that first rest, repeat the stretching into the corners. Again, when it starts contracting, stop. Rest it another 30 mins. This may need one or two more stretch & rests before you can start topping the pizza.

I bake mine at 450*F for as long as it takes for me to smell it cooking in the oven and for the cheese to melt in the middle. Pull it out, rest it 10-15 mins, and then use your longest burger flipping spatula to lift the crust off of the sheet to a cutting board. And this should what you see when you sneak a peek at the crust.

Enjoy!


Mac & Pizza Casserole

Sometimes I get tired of pizza because I’m not in the mood to chew a baked crust. And sometimes I also want Mac & Cheese at the same time as pizza. Enter the casserole version!

I mixed up my normal pizza topper ingredients I like (pepperoni chopped up, any veg I have kicking around, loads of grated mozza + marble cheddar plus a bit of parm cheeses), a bunch of cooked elbow pasta, the white mac & cheese sauce I always make (or close enough), and any spices I want (I stuck with the classic Italian blend).

This got baked covered at 375* for about 30 mins to get it hot enough to melt the cheese properly.

Home Reno – Pantry Storage

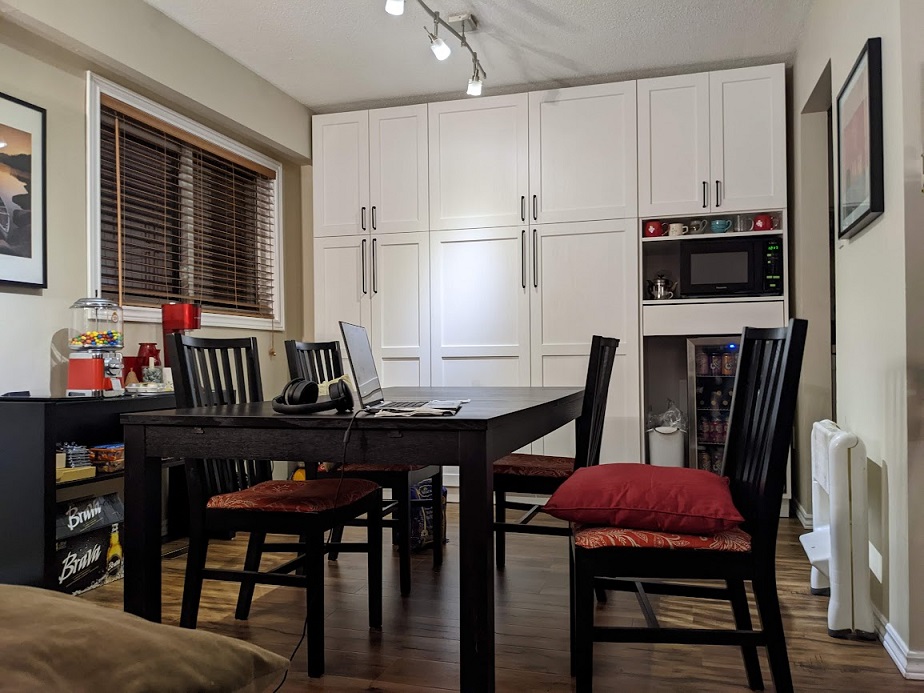
Ok, here we are. This is the big project we did. Big in terms of scale, size, and cost. But worth every penny. This project was inspired in part by the wall of storage you’ve enjoyed since your parents bought that house 30-ish years ago. I’ve been in awe of that much space ever since. It’s been tucked away in my head ever since.

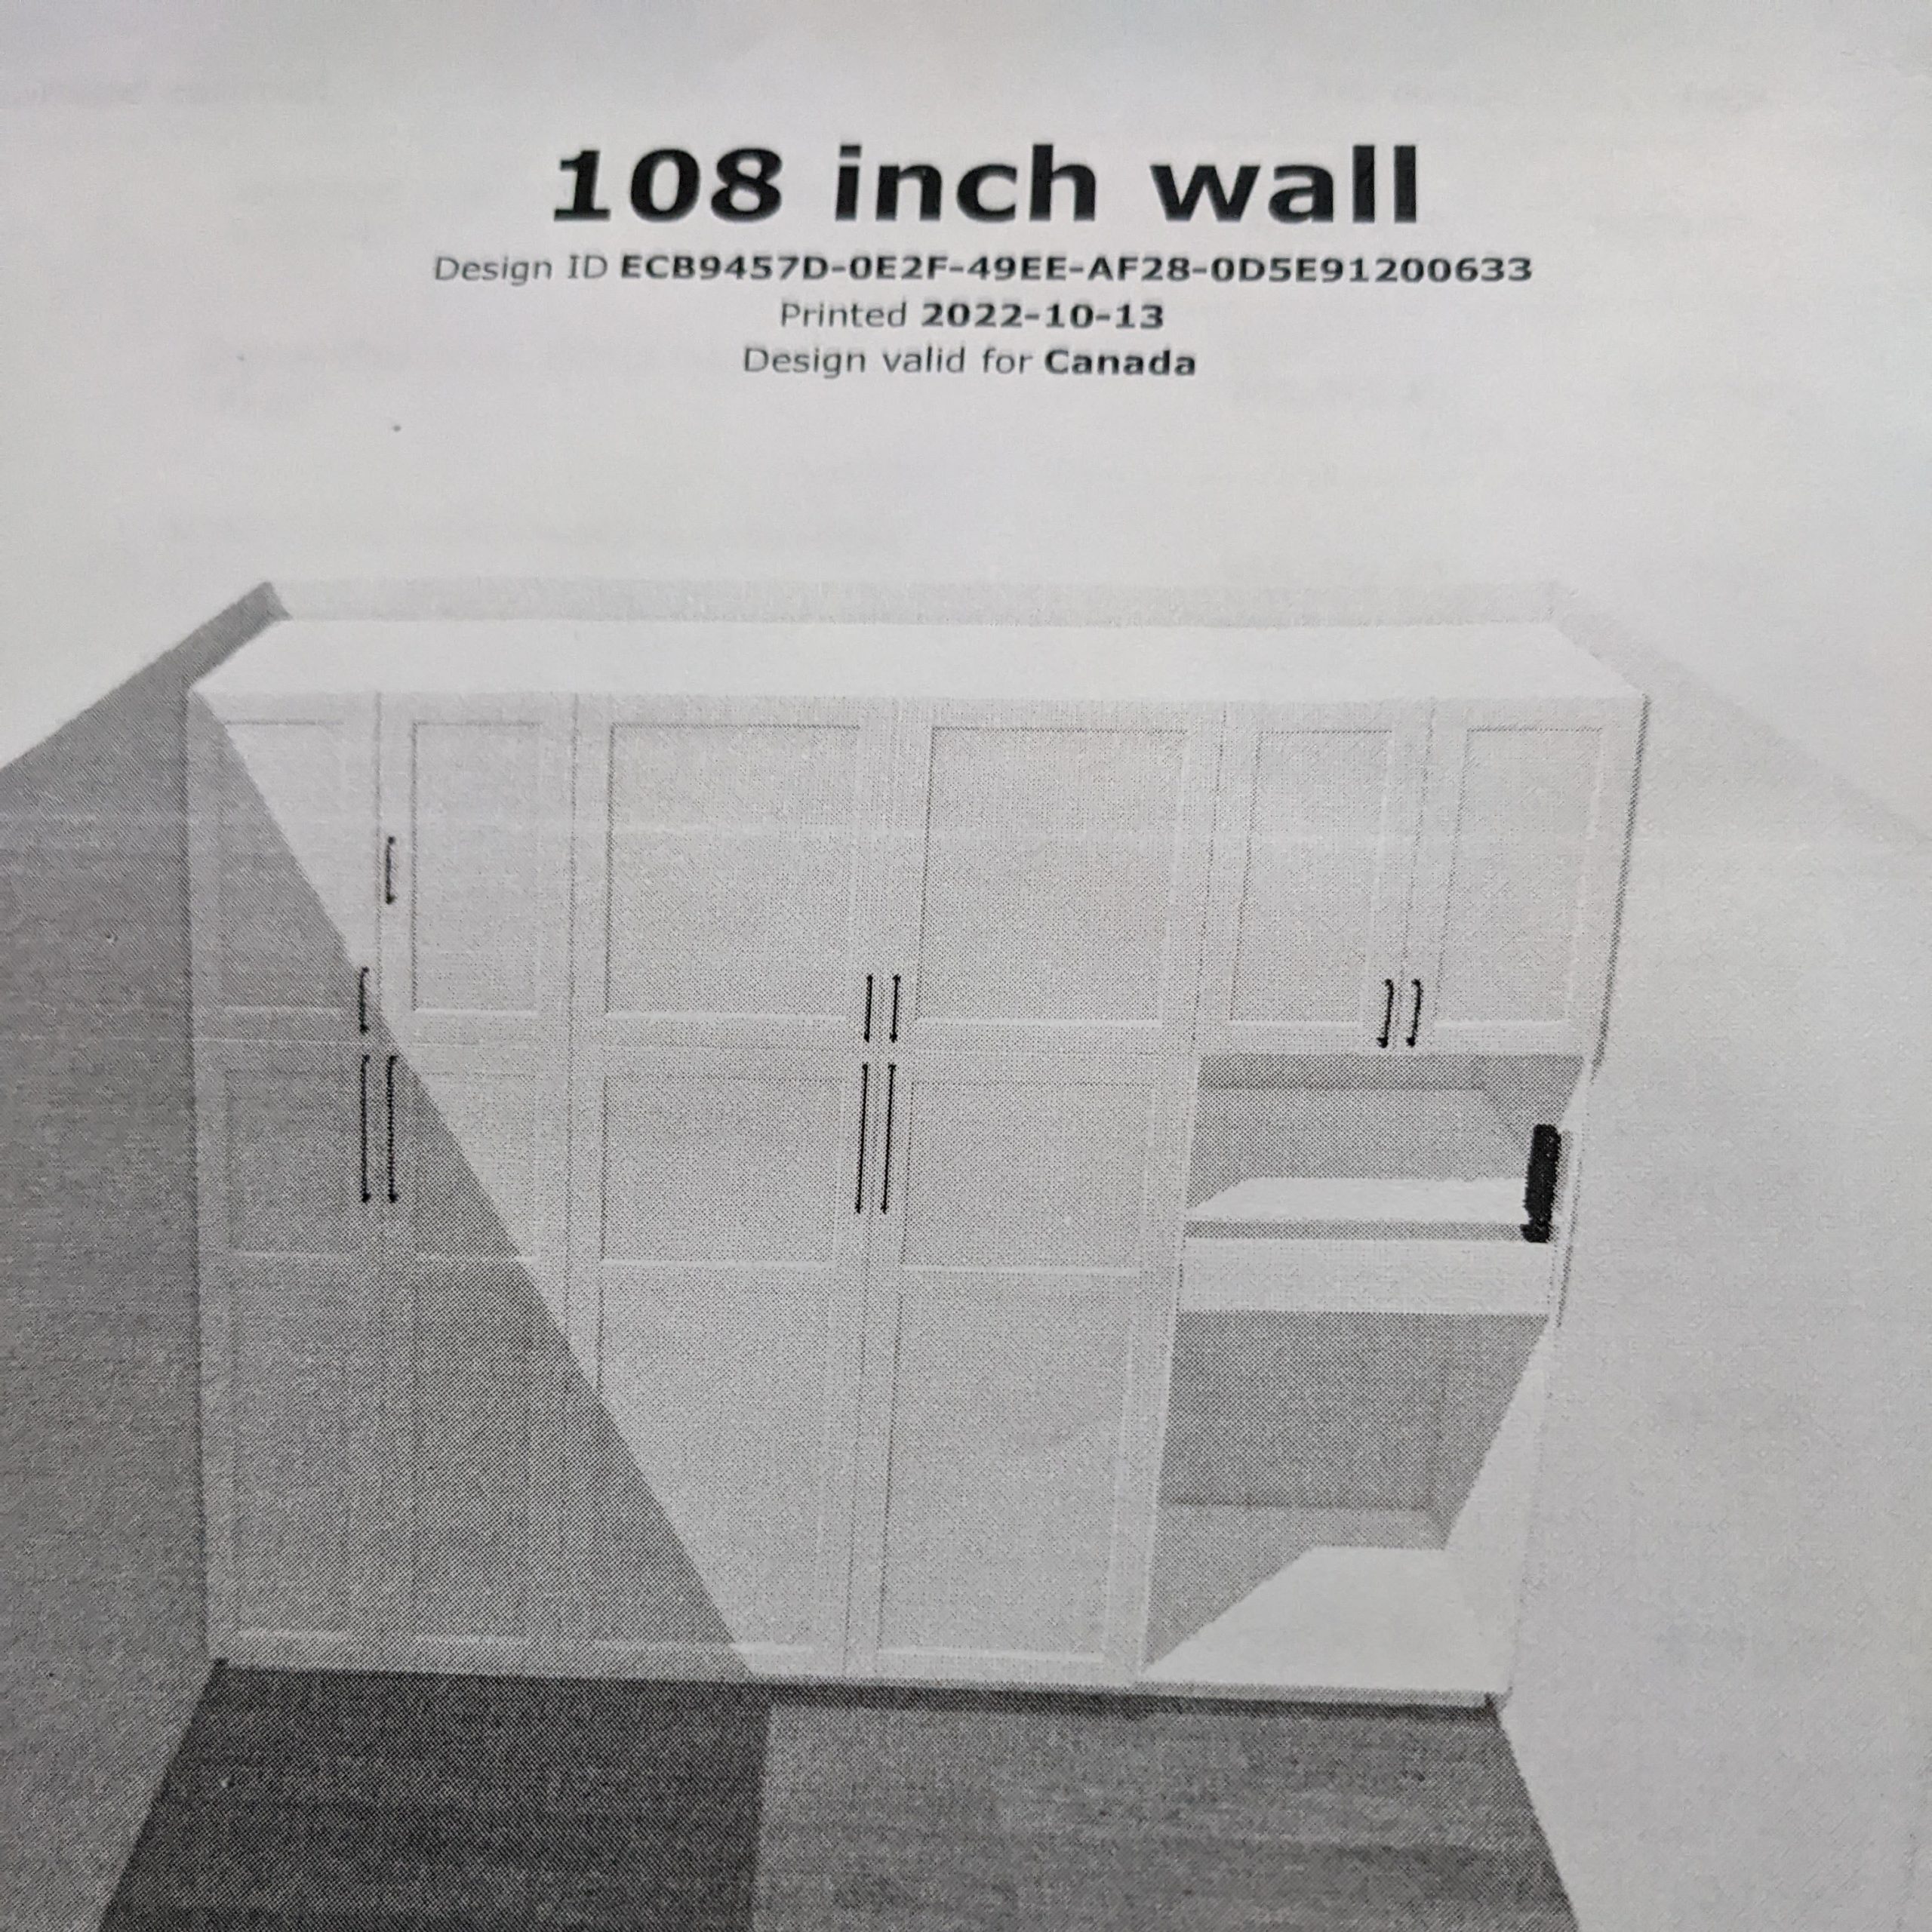
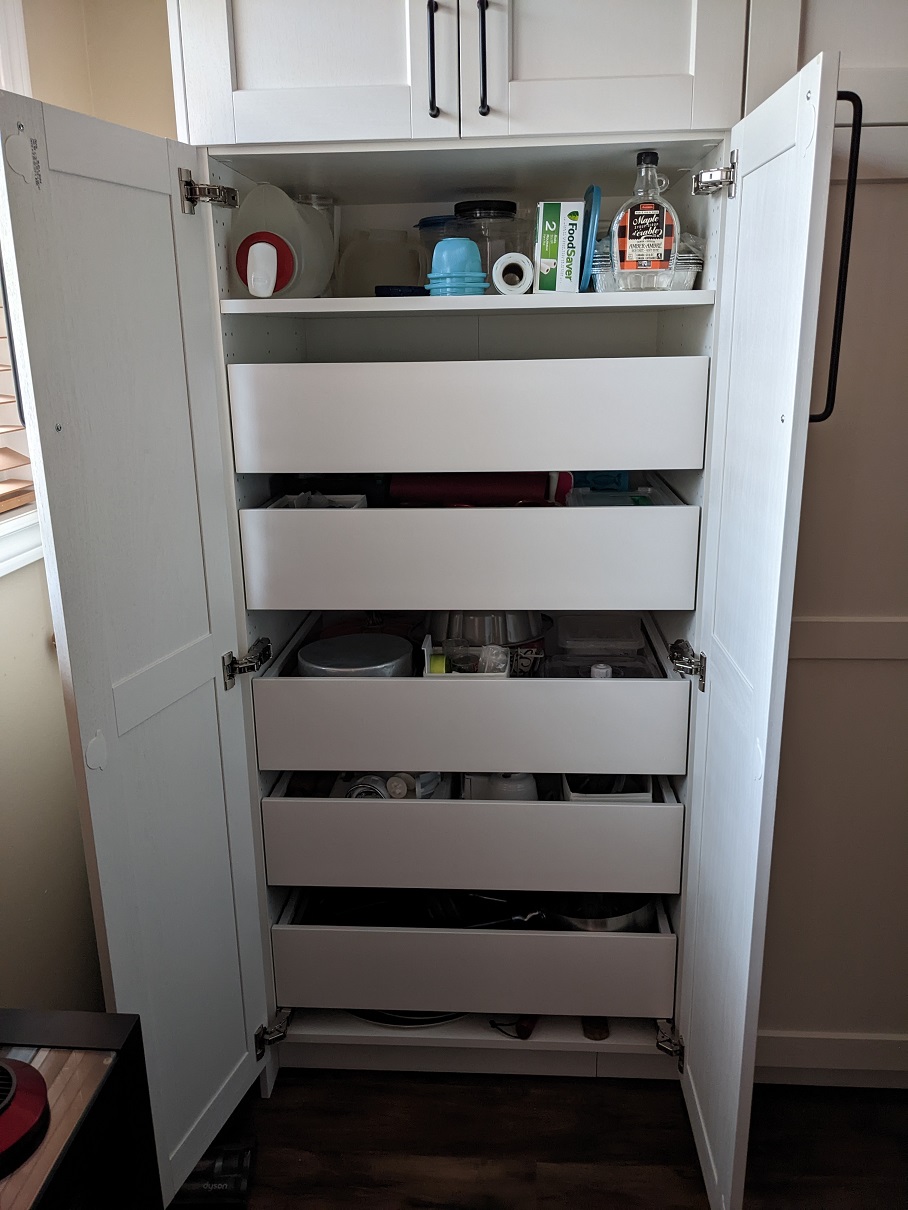
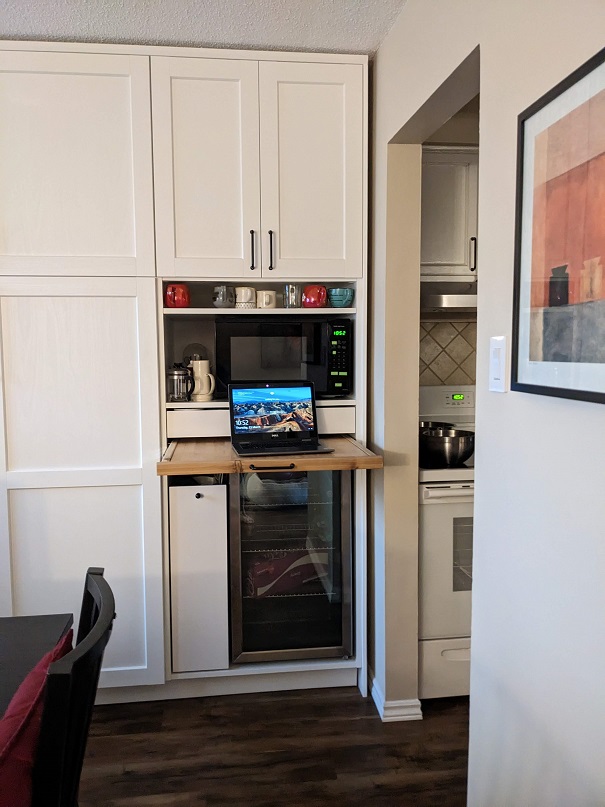
This is my take on it. A full 9′ of storage cabinetry stuffed with pull-out drawers and shelves to spare. We even carved out some space for two appliances: the microwave and the drink fridge. The husband busted his ass planning this all out, buying all of the parts and materials, and assembling it all for me while I was – you guessed it – at work.

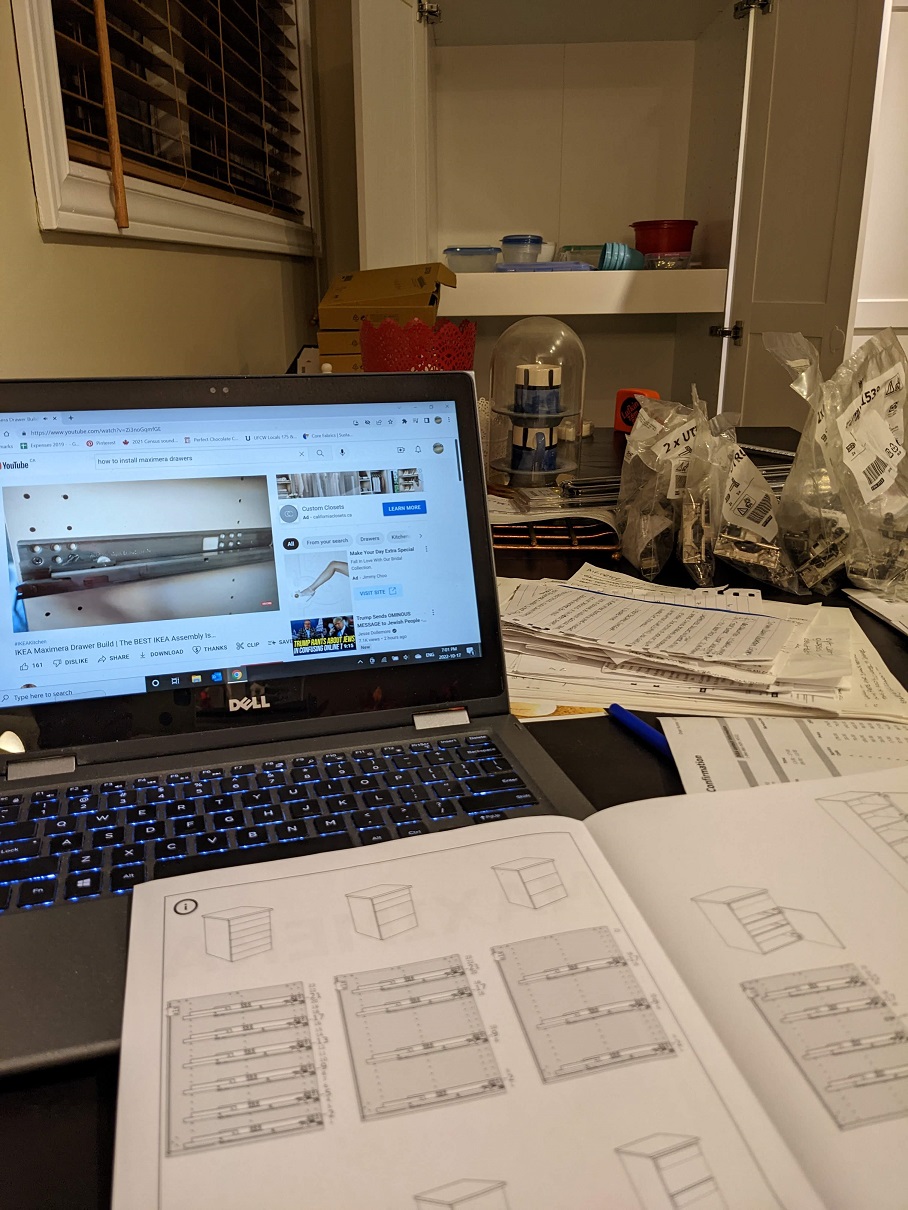
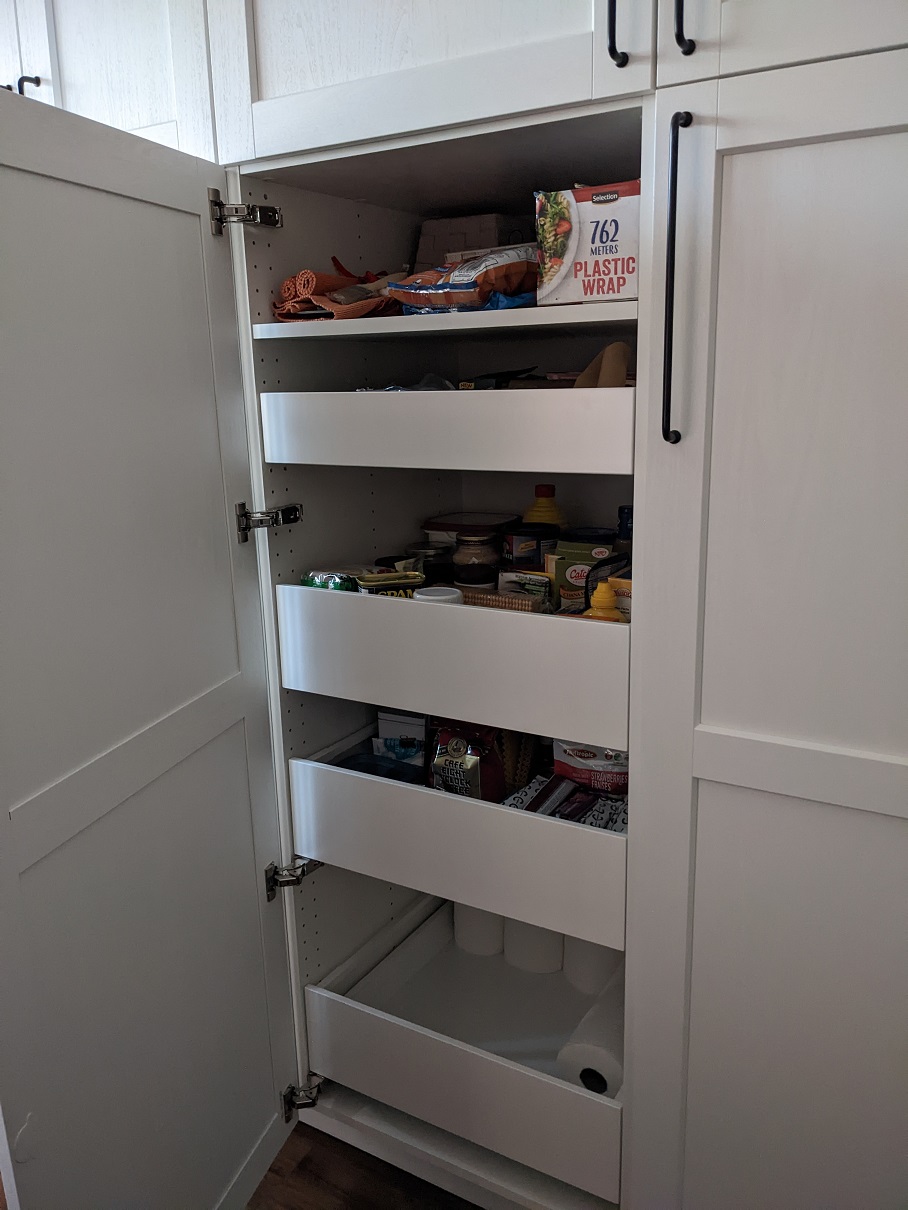
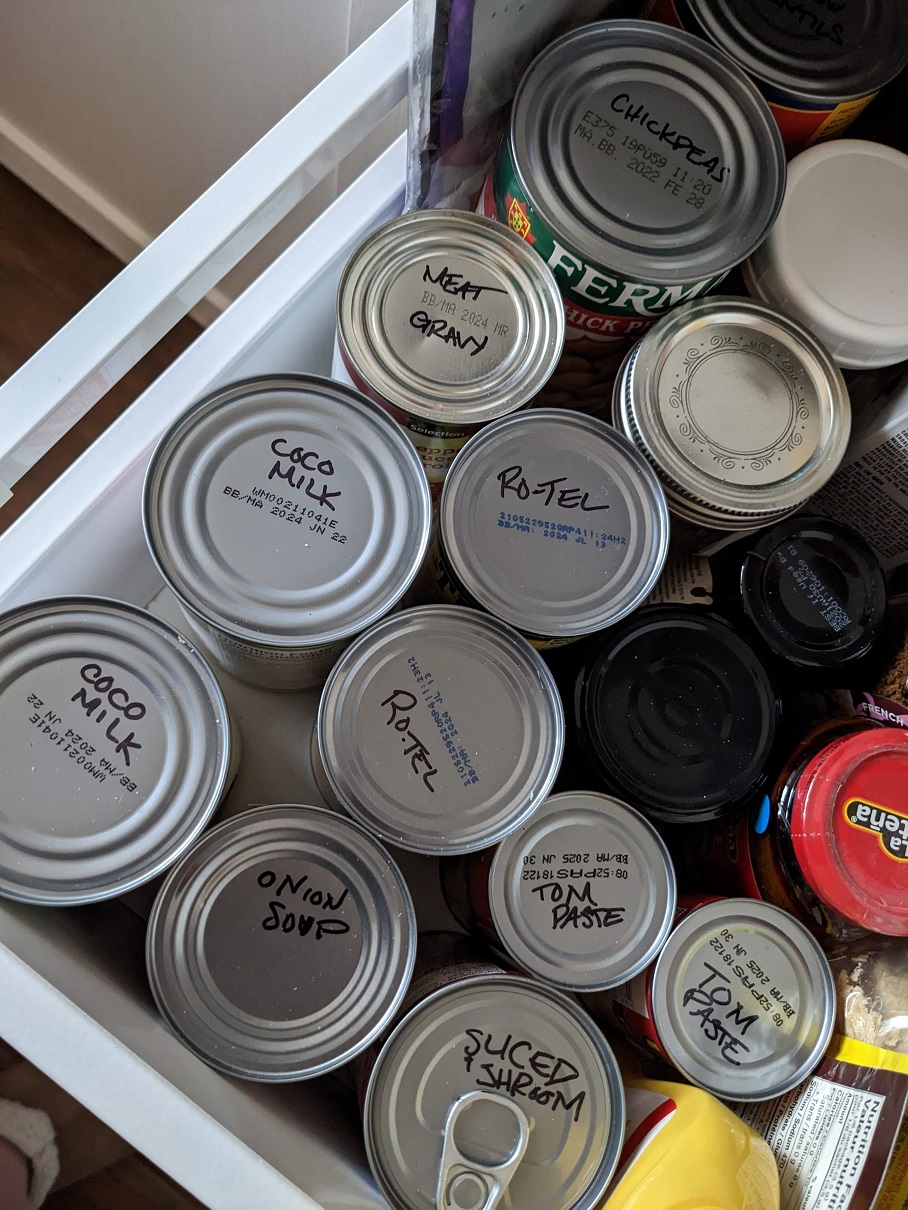
My main job was to figure out where the drawers and shelves would reside, and what went in them. After all that, I had to put all of my kitchen crap in these cabinets in a neat, orderly way that is easy to find and not too junky looking. For the most part, things are where they will live forever, but sometimes I will figure out something needs to be moved and just do that on the fly.

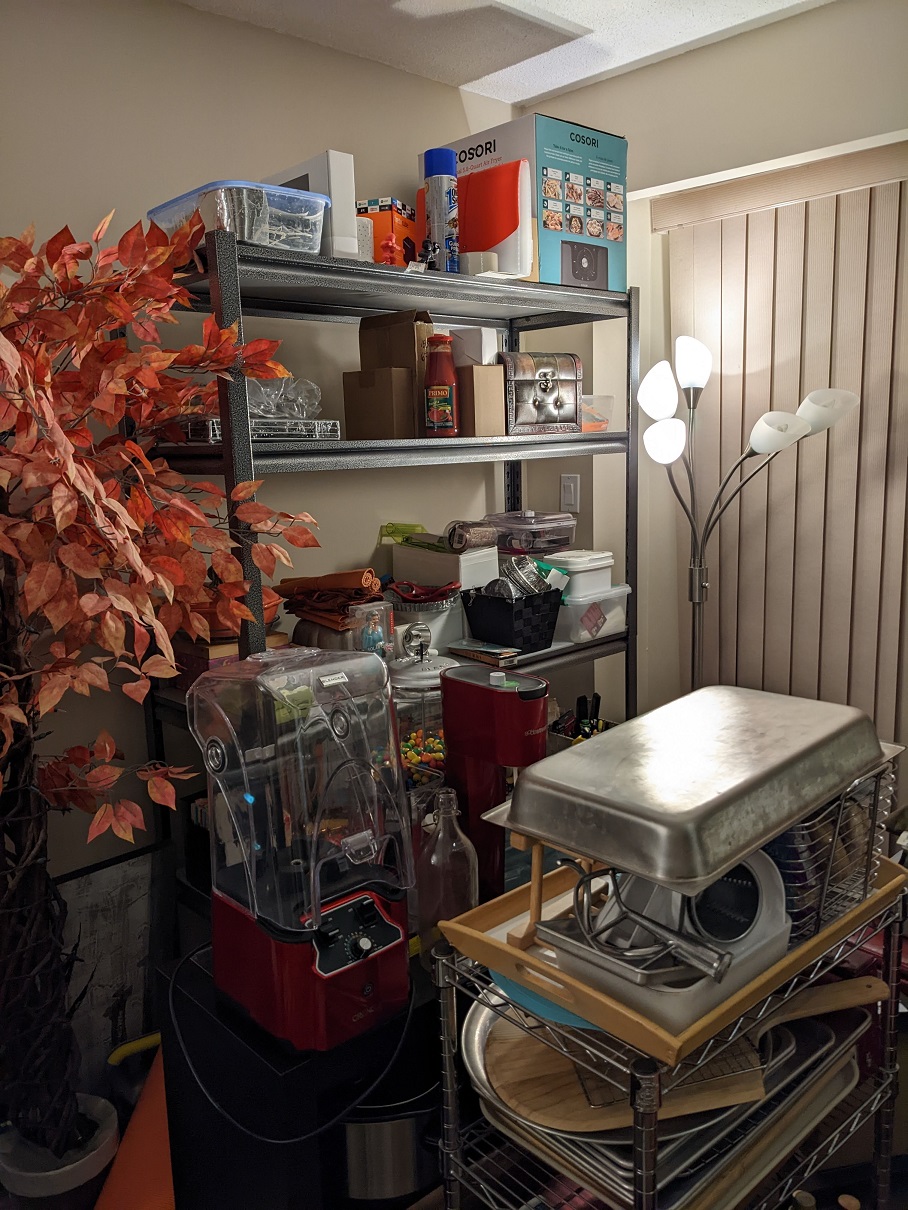
This is a small sampling of the crap I had to find a home for. I got rid of a lot of stuff before this picture was taken, too! 😀 So, as you can see, I needed proper storage in this dinky house. This house couldn’t handle my kitchen needs. I have no idea how my neighbours live with their lack of storage, but this is what we did to solve this very vexing and annoying problem.

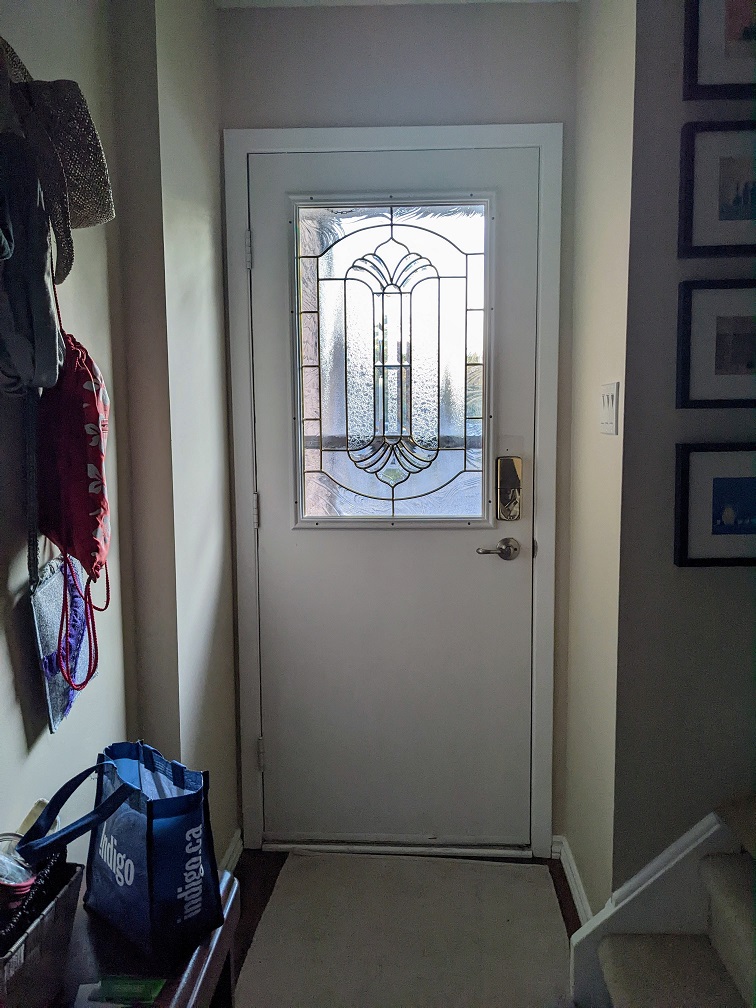
One other issue we’ve always struggled with is, where do we store our brooms and vacuum? The brooms ended up on a wall in the garage, but the vacuum always kicked about. I hated that, but there was next to zero closet storage on the main floor. Thanks to a weird jog in the wall for the hvac stuff, we had a small nook left over that ended up being the perfect size for our baby Dyson. (We have since replaced it with another thin upright vacuum type that also fits in this nook perfectly.)

And finally, I have to talk about how life-changing pull-out drawers have been for me, a woman with tiny T-Rex arms. We paid a LOT for each of these drawers, but I wouldn’t trade them for all the tea in the Boston harbour. They have made this project complete. I can’t imagine trying to live with these cabinets but with just a bunch of shelves. For real, these were invented for people like me. I cannot recommend them highly enough! 🙂

Home Reno – Front Door Glam Up

We bought this house over a dozen years ago, and from day one, we’ve both hated our front door. Specifically, the lack of light it let in. It was less than what prison windows let in, I’m sure. But we put off getting a new door, and put it off and off. For some reason, it bugged the husband this year more than normal, and he started learning what could be done about it.

From this:

To this:

He discovered it wasn’t that hard to pick up a secondhand glass panel, and it also wasn’t that hard to install it himself. So, that’s what happened one day when I was at work. I love it. He made the right call. Definitely. 🙂

Home Reno – Flooring

Last year we ripped up the old flooring to lay down something new, something consistent, something I didn’t hate to look at or clean. Viola!

How it started: I had to get rid of some very heavy furnishes, which I loved but they just weren’t cutting it for me anymore. Sad to say because I loved all of that worktop counter space but I needed more storage than counters. So, I cleaned them out and sold them off.

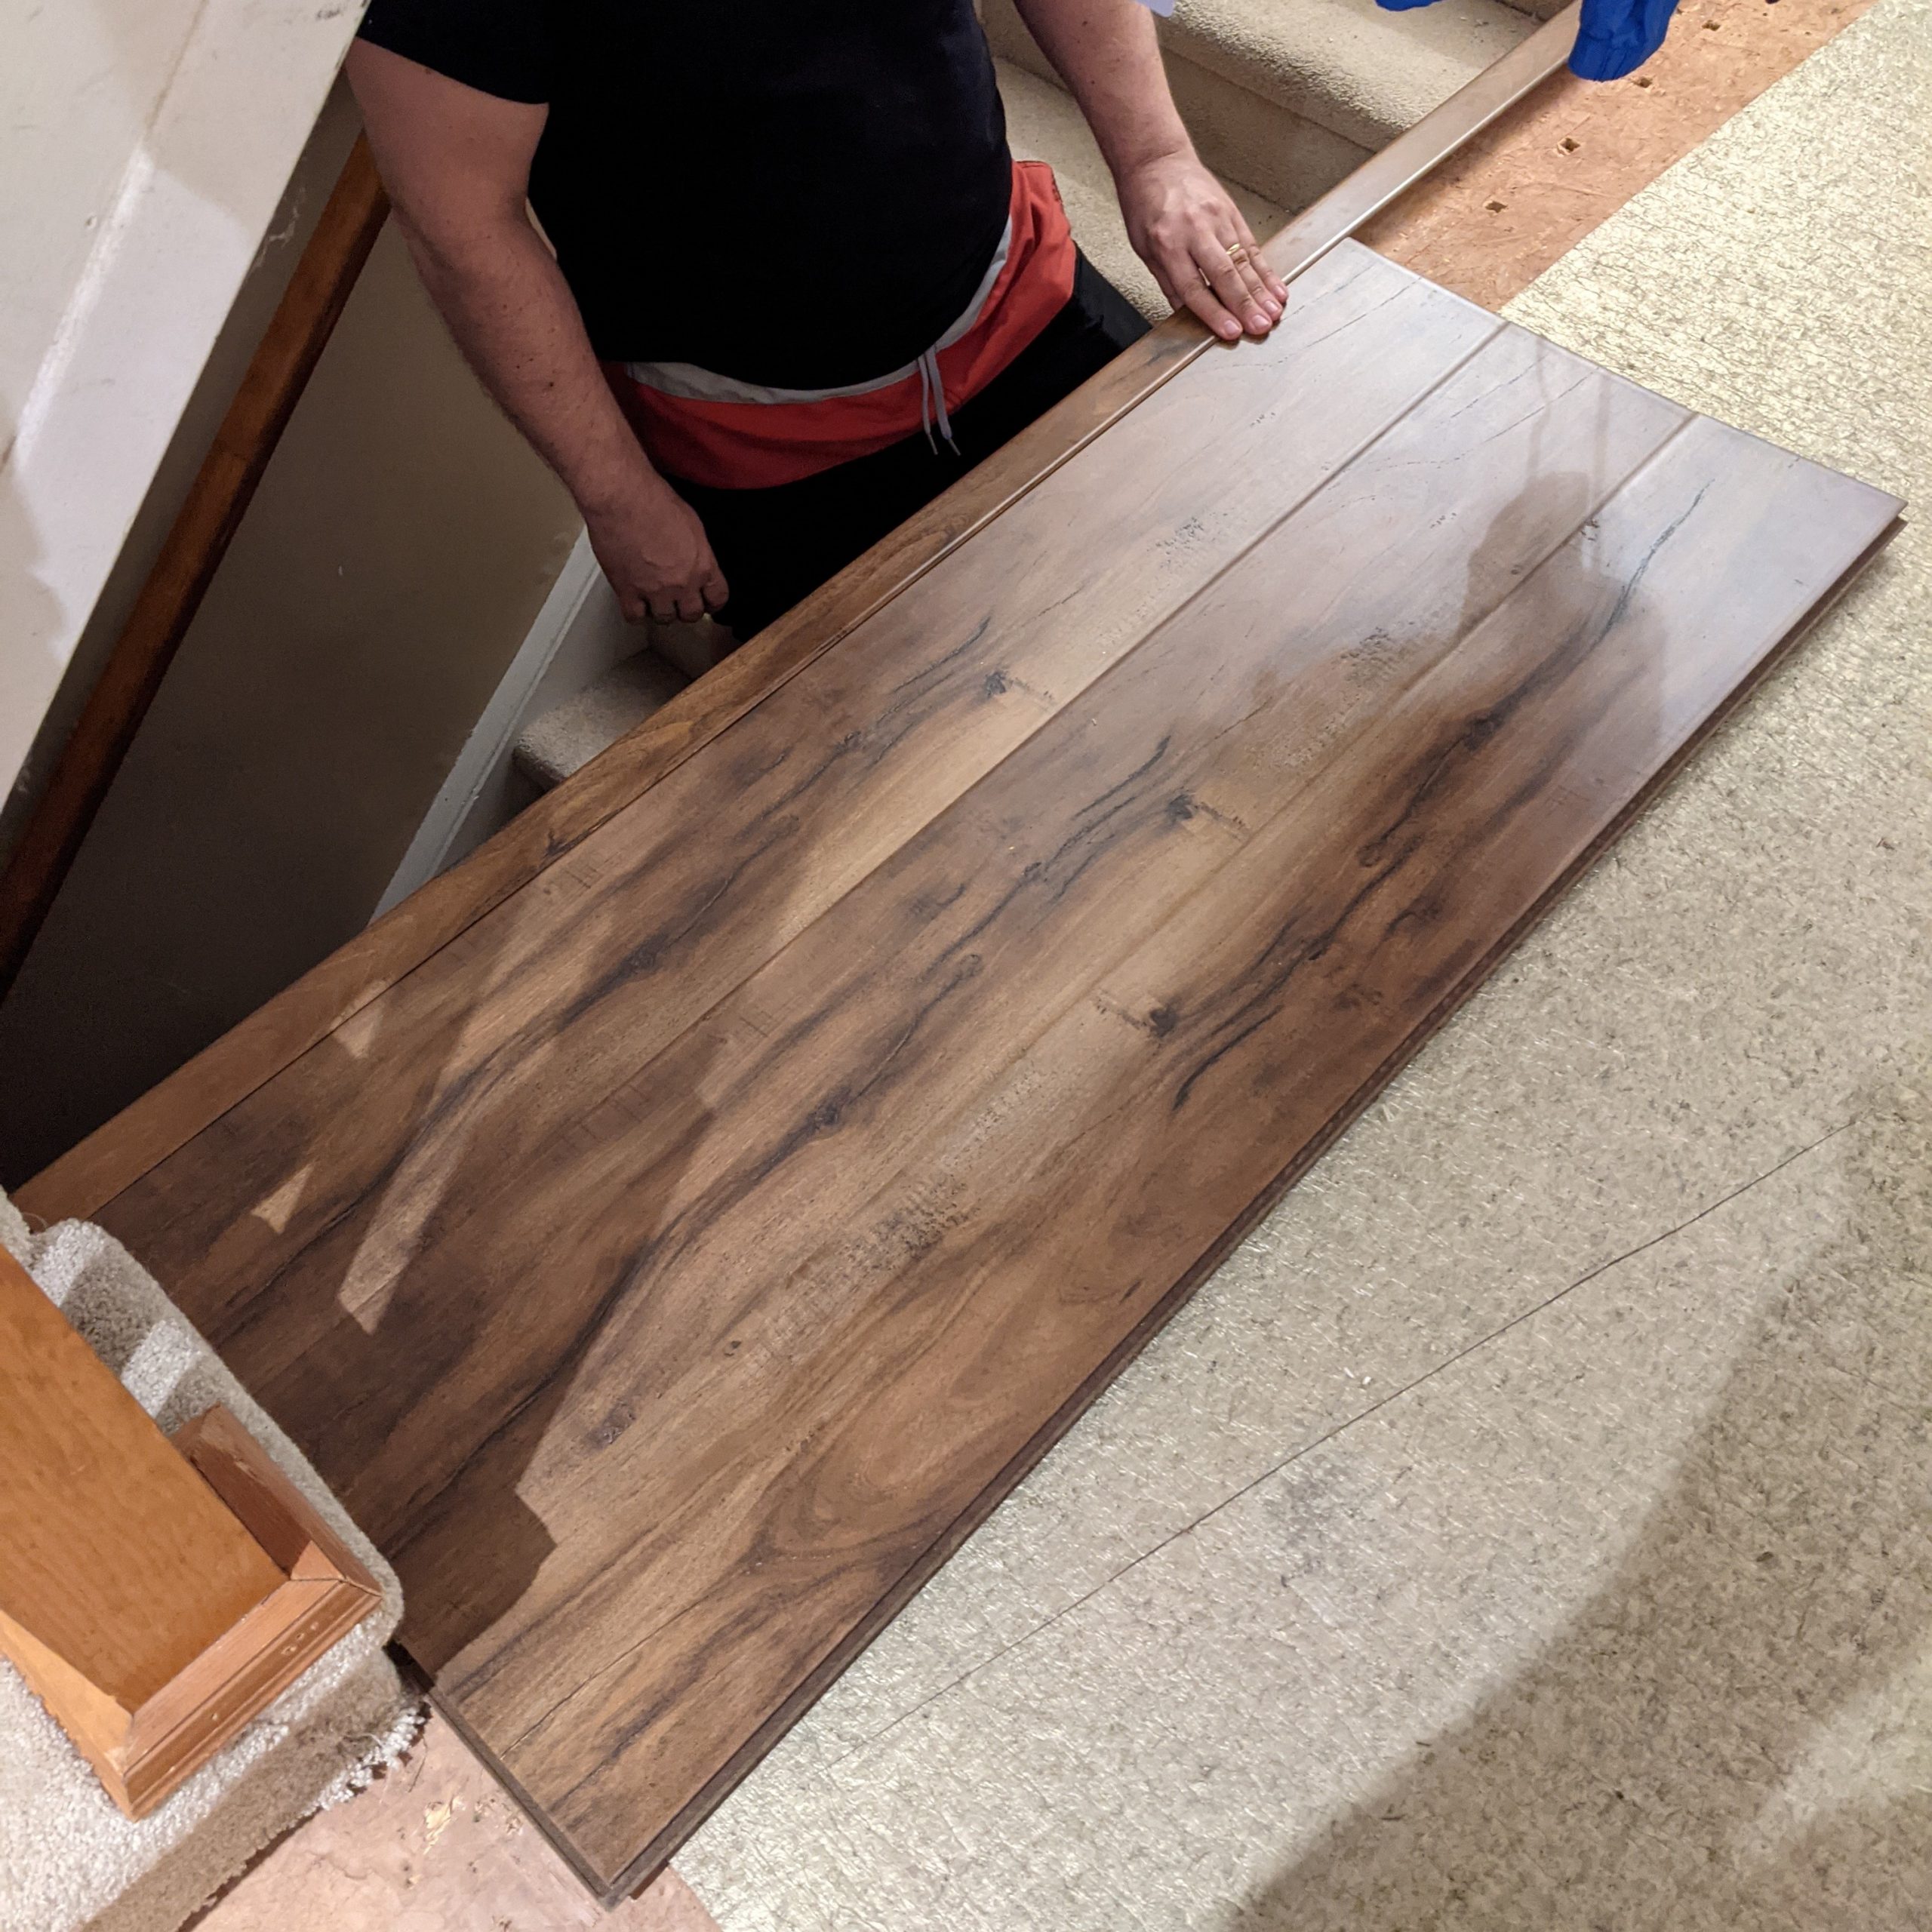
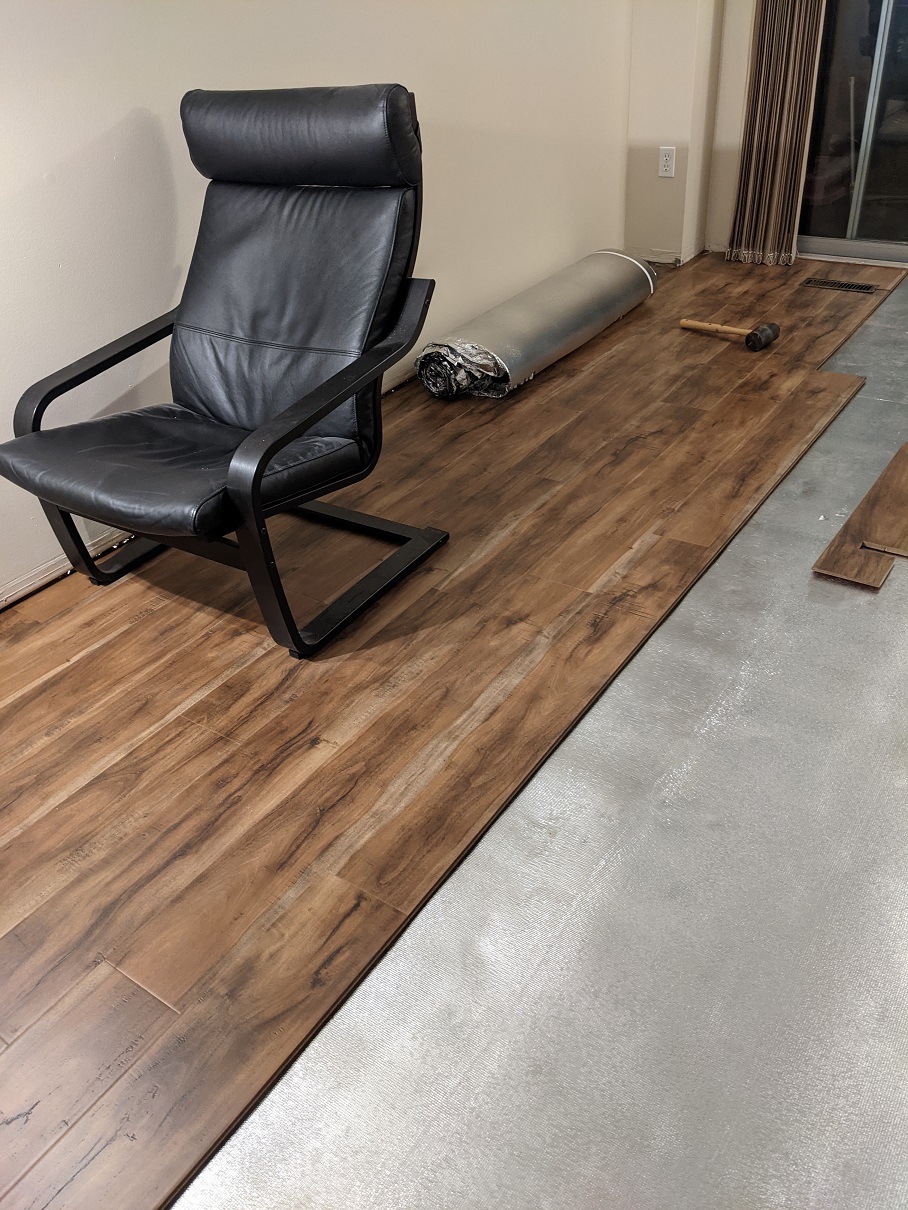
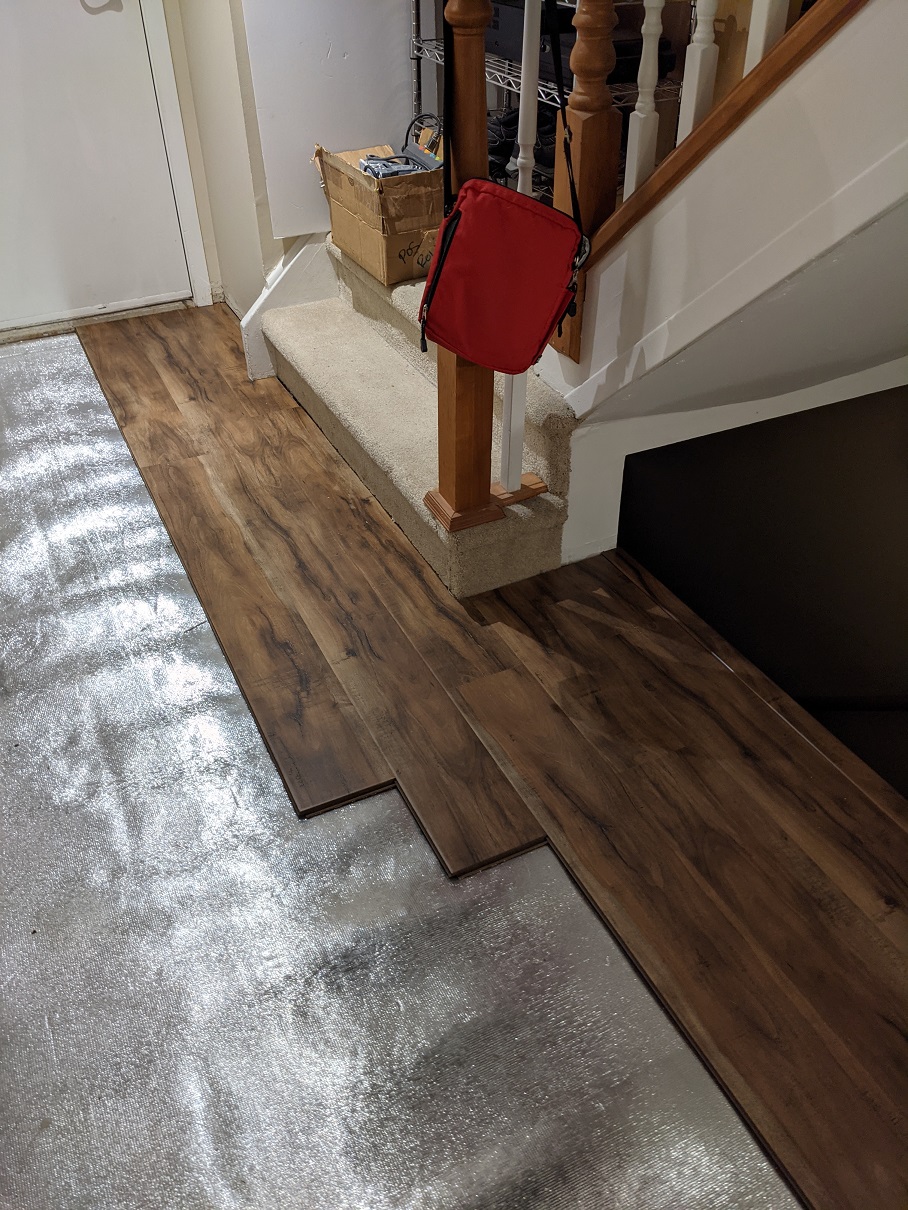
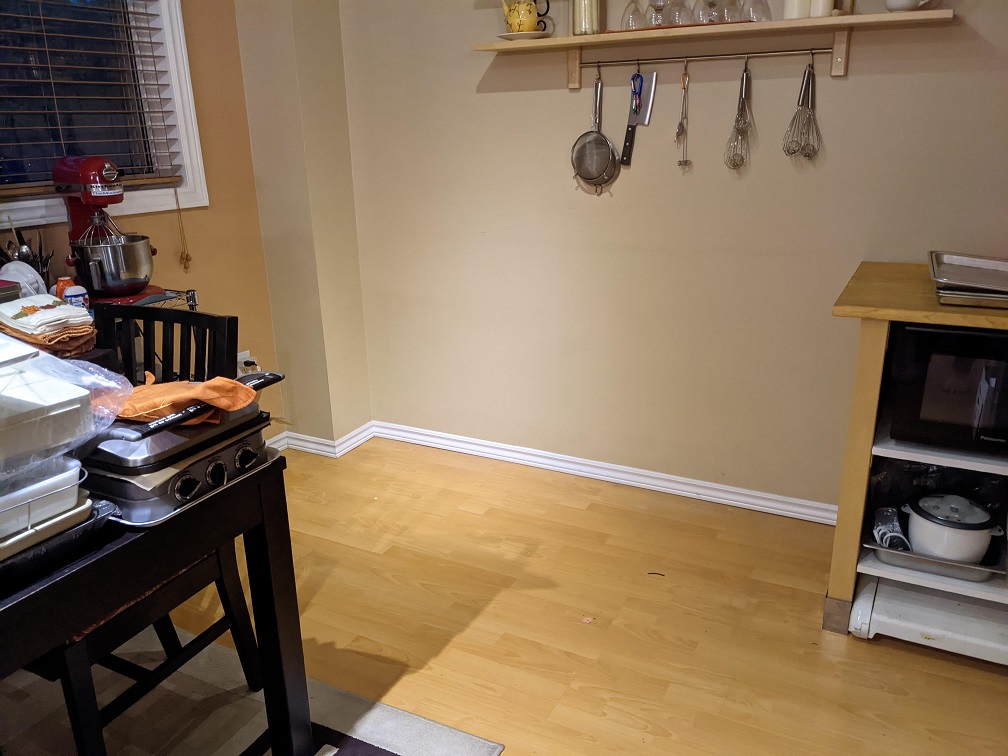
We then had to box up everything we could and shove the furniture around as we worked. Most of our stuff ended up upstairs, downstairs, and in the garage to make the whole process easier. And then we got to work on ripping up the old flooring down to the subfloor, the husband vacuumed and then laid down underpadding, and started figuring out the new flooring we bought in terms of where to start.

From this:

To this…

To this:

And this:

By the way, before all of this, we repainted the whole main floor using Linen by Benjamin Moore. Zoom into the wall behind the IKEA chair. I know it sounds boring, but it just works so well in this space, with our limited natural light, and with our furnishings.

This above picture was the one where I just knew we picked the right flooring for this house. It looked so good just barely laid in this foyer space with the carpeted stairs and the white staircase spindles (removed so I could paint them a brilliant white) that will be put back in place afterwards.

The husband probably did some damage to his body doing this flooring (he still complains about his knees and back), but we both think the new flooring worked out well. We are happy with it. Can’t say for sure we’d do this particular pattern ever again, but for now we’re content.