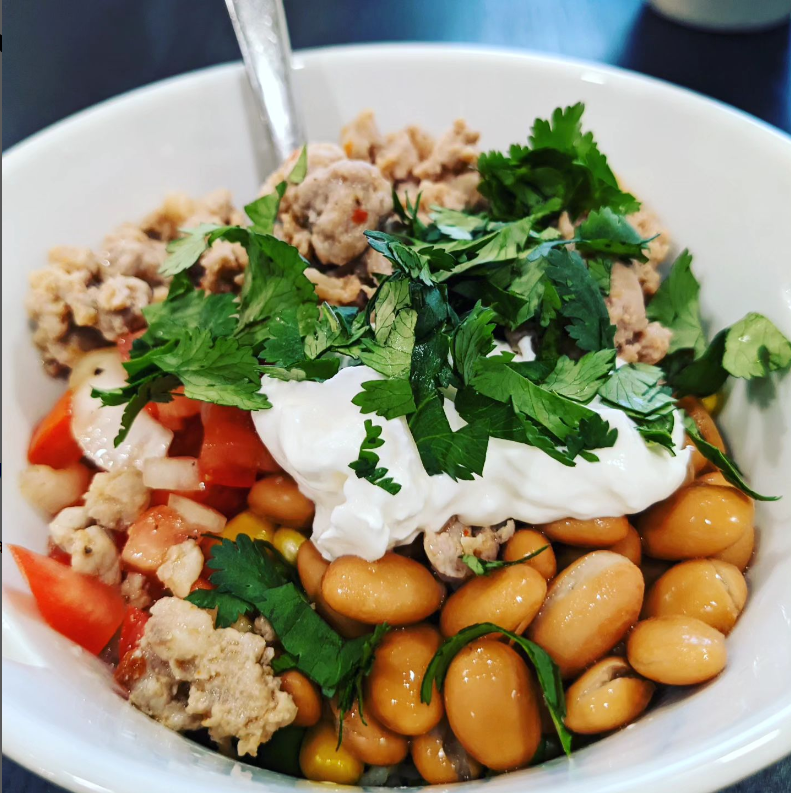
I hate to admit this, but sometimes I eat like a trash panda. My poison of choice will always be the trashy Taco Bell fare. Sadly, the only location this tiny town had closed about seven years ago, so I crave Taco Bell hard when I know we are going to other towns or I truck into the big city. It’s all I seek out. LOL I know, I know. It’s a gross habit!!
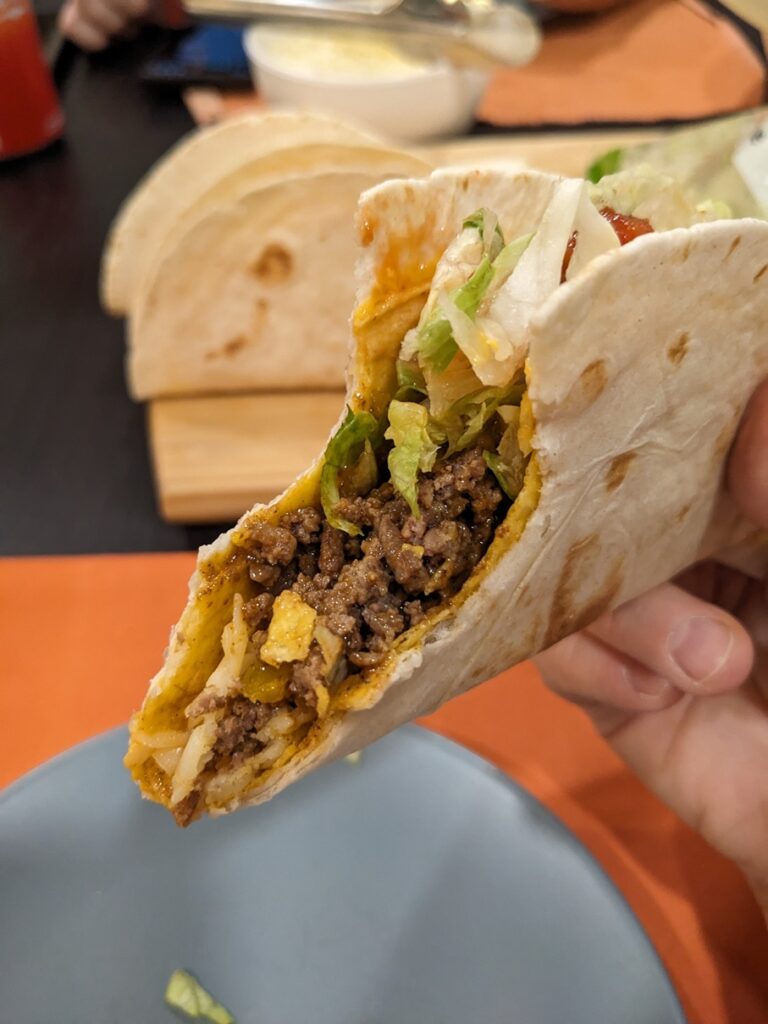
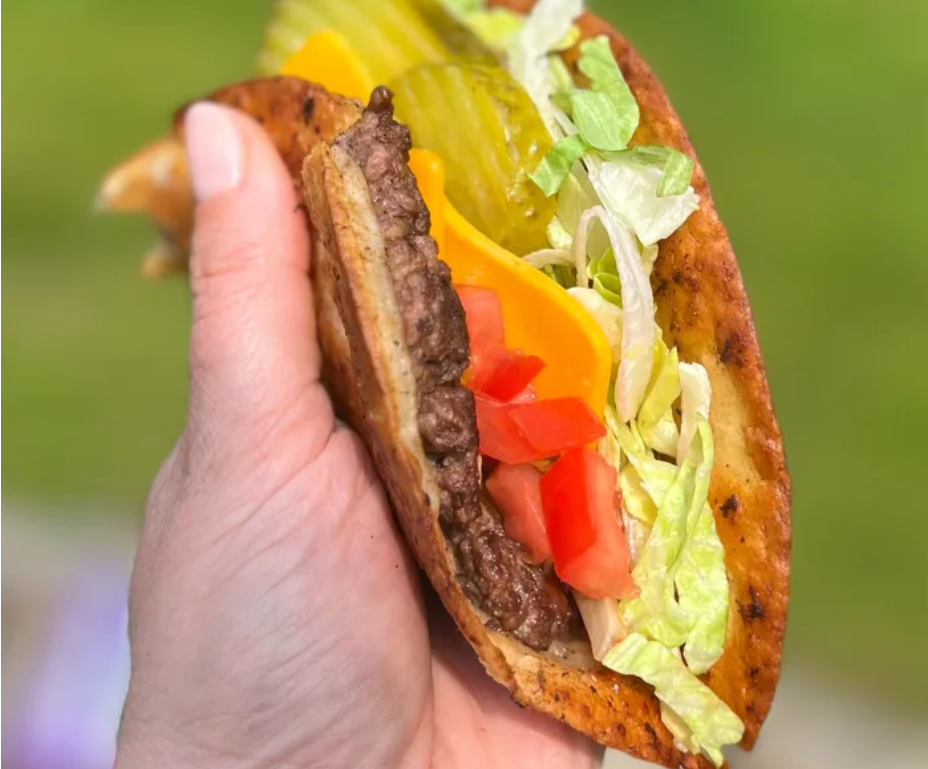
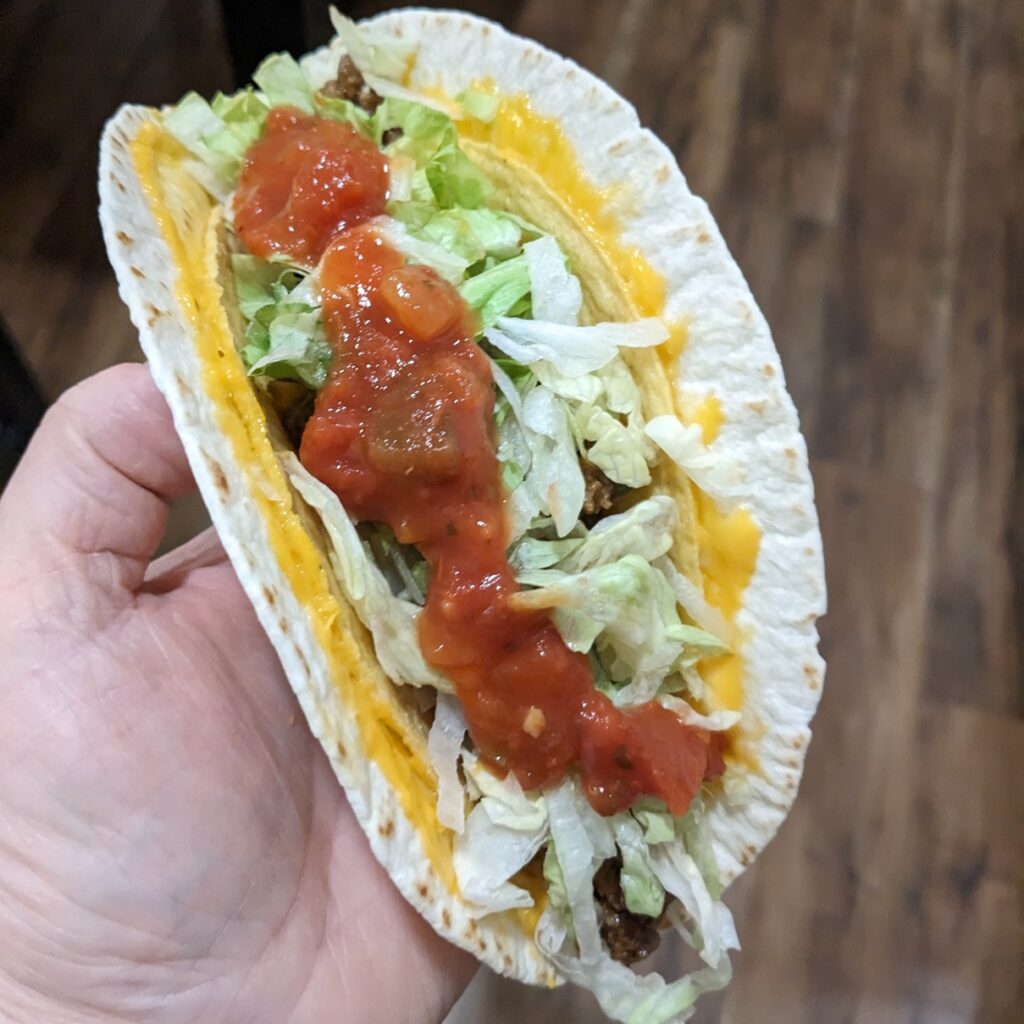
It was a good thing that I couldn’t get a fix anytime I wanted, but that’s all changed since a few weeks back I noticed the store I work at was now selling a full line of Taco Bell products. You know I HAD to try some of these to report back, right? (snort) I brought home their double taco kit (a great value based on the costing out of each product in the kit, even on sale, it’s cheaper in the kit, fyi).
The assembly was simply warming up the soft and hard tacos, along with the included nacho cheese sauce. The cheese holds the hard taco inside the soft taco as you fill it up and then eat it.
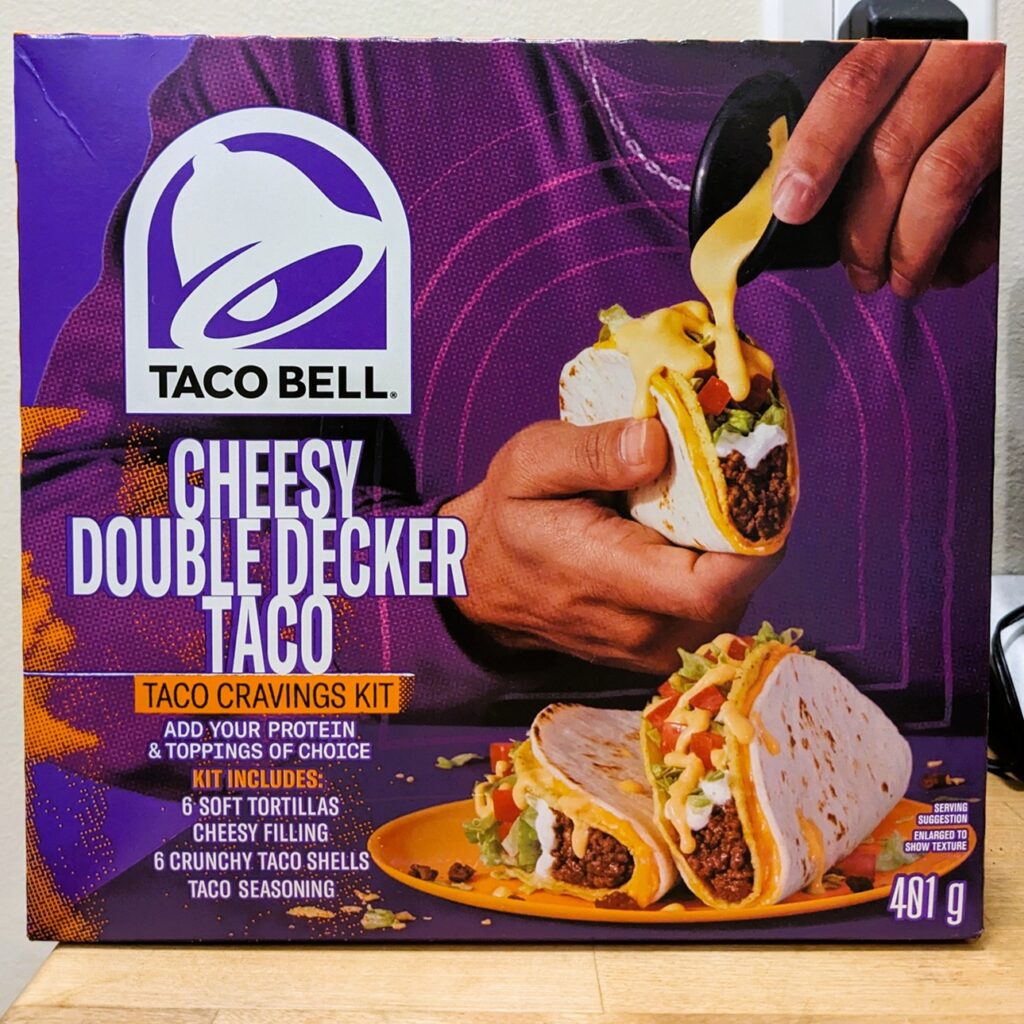
The materials were straightforward to use, and they tasted great. And I was full after two tacos. The husband ate three and used other tortillas we had on hand to eat a burrito using a lot of the leftover materials. I liked this kit. I’d recommend it for a weeknight meal when kids are impatient and just want to fill their pie holes fast.
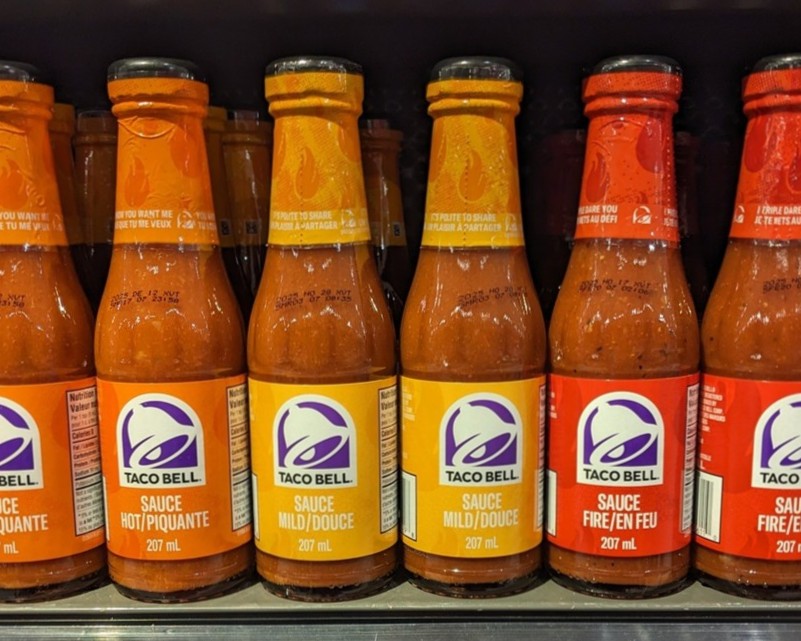
I mentioned the kits (three in total), but there is also three of their sauces for sale, two kinds of seasoning packets for the meat you also can buy if you happen to have taco shells and ground beef sitting at home, and you only need sauce or the seasonings to complete your meal.
Overall, this is a great product line. Taco Bell did it up correctly. I hope we have many years of their products on our shelves for families to enjoy as they would like.