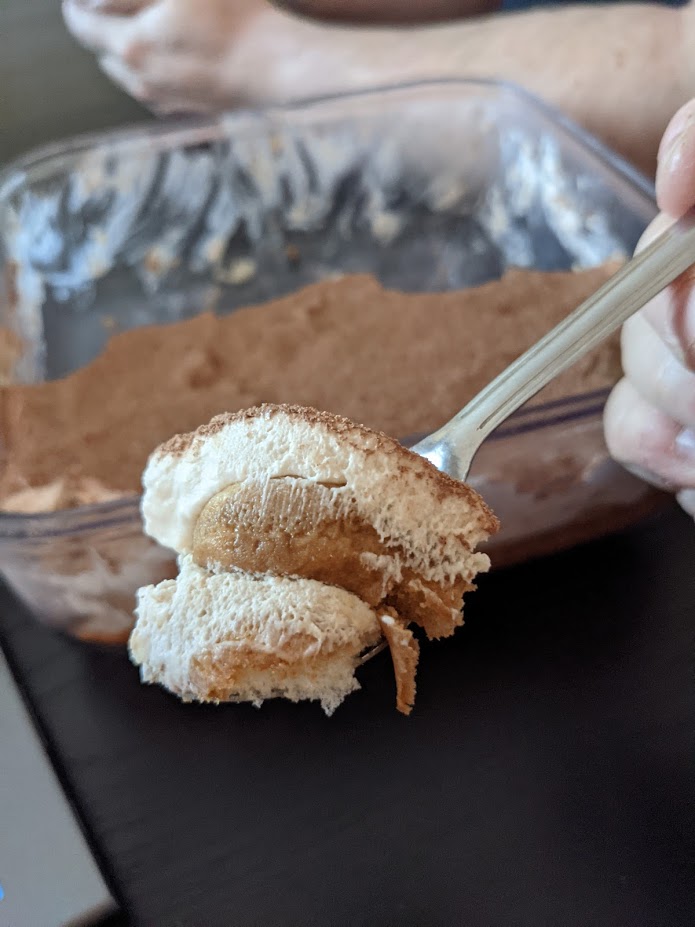
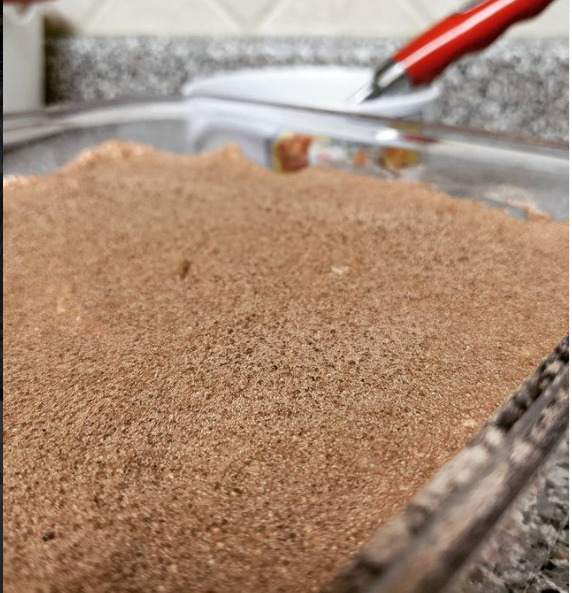
Tiramisu

Tiramisu Close Up

The hardest part of making tiramisu for me is parting with so much money for the mascarpone. It’s costs a fortune! Years ago, I found a little hack by Gemma over @biggerbolderbaking that allows me to make a fake mascarpone (that I now call fascarpone) that saves a LOT of money. Get your big girl panties on, ladies, and let’s get assembling!

The base is comprised of however many lady fingers you can manage to fit into each layer times two or three layers, breaking fingers in half if you have to, dipped in strong coffee. (Depending on the pan I use, I can make up to three layers using a bread loaf pan, or two layers using a 9″x9″ square pan.) It’s not an exact science, so if you run out of the coffee/liquor mix, just make a bit more until all of the fingers get a quick soak.


Tiramisu

20-30 Lady Fingers

1 C Strong Coffee Brew, room temperature (or cooled down hot chocolate)

1 tbsp Amaretto

The DIY Fascarpone is a two-step process. Here’s how to do it. (FYI: It’s probably best not to ever show this information to any actual Italians if you want any peace of mind.)

STEP ONE:

1C 35% Cream

1/3 C Sugar (white or superfine icing)
1 tsp Vanilla (this is the time to bust open the expensive stuff)

Using a whisk attachment in a mixer or a hand beater, whip this cream mixture on medium speed for about 5-8 mins, until the cream starts to thicken up. Then bump it to full speed for another 2-3 mins to incorporate a lot of air allowing the cream to fluff up.

Scrape the finished whipped cream into another mixing bowl. Set aside while assembling the second cream mixture into the used mixer bowl. No need to clean it out first.


STEP TWO:

6oz/168g Cream Cheese, room temp (small cubes speed up the temp change)

2 Tbsp Sour Cream (if you’re not using full fat, why are you even making this dessert?!)

3 Tbsp 35% Cream

Using a paddle attachment in a mixer or a hand beater, cream this mixture to a smooth consistency. You really don’t want any cream cheese lumps. Drop heaping spoonful of this mixture into the whipped cream bowl, and fold it in so the whipped cream thins out a bit. Add the rest and mix to incorporate both only.

ASSEMBLY:
Drop each lady finger into a shallow dish with the coffee mixture and quickly roll it over a full rotation. Immediately place each soaked finger into the loaf pan or the glass dish. When one layer of lady fingers is assembled, top it with a third of the fascarponey mixture. Smooth it out. Optional: dust the cream layer with coco powder or hot chocolate powder. I do this sometimes, but often I forget to do it. Oh, well.

Continue with more of the same two layers until you reach the top of the pan with fascarponey. Top that with either coco or hot chocolate powder. Cover and let the dish set itself up in the fridge.

Thoughts:

To be honest, you only need ten minutes for the lady finger to soften up from all of the moisture you rolled them around in and even more moisture from the cream mixture before you can dive in, but the longer it sits chilling the better it ends up tasting if you ask me. So, yeah – quick dessert for sure when you need something nice at a moment’s notice. Even a pan slapped together quickly can produce a lovely-to-eat tiramisu on a weeknight.

I’ve never tasted a shitty tiramisu. I simply refuse to believe one exists. And this speedy hacked version is no different. It’s is foolproof. If you find a way to screw it up, I need to be the first person you tell. And I will need a full explanation of just how you did it. Deal?

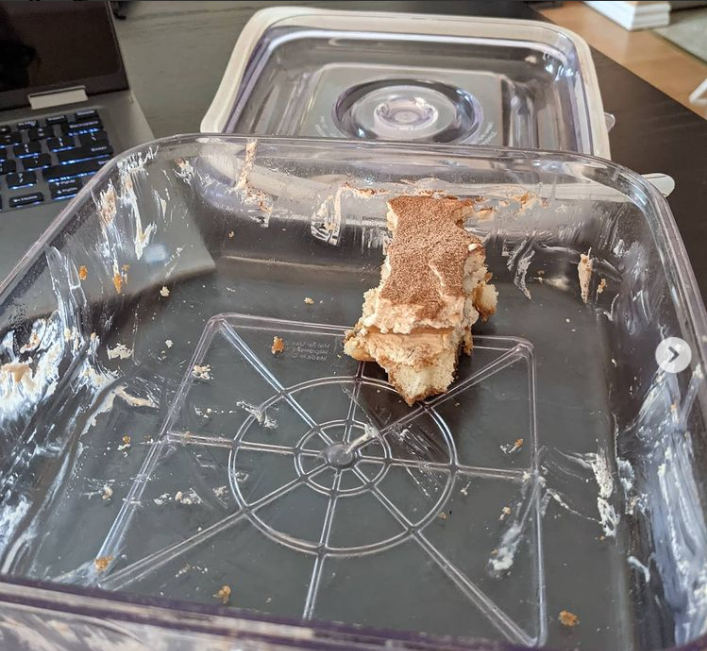
BWT, this is the typical portion of every pan of Tiramisu I make that the husband leaves for me. Every.single.time. I should just start making two pans instead of one.

Fall / Winter Drink Mixes

Summer gave way to Autumn last week, but this week I ran out of my expensive coffee that I only buy on sale, so for now I made a small batch of cappuccino “coffee” drink mix. It’s nothing more than a jar of dry ingredients that have been well whisked together for almost a full minute (for full incorporation and to break up all of the clumps).

Cappuccino Dry Mix:
1 cup Hot Chocolate powder
1 cup Non-Dairy Creamer powder (optional)
2/3 cup Instant Coffee powder
1/2 cup Sugar (or sweetener of choice)
1/2 teaspoon Ground Cinnamon
1/2 teaspoon Ground Nutmeg

I find the cost of the non-dairy product too high to pay in these parts, so I leave it out. I do add milk at some point to cream it up, but in liquid form. I store this in a 500 mL mason jar with a tight fitting lid.

Formula: 3 Tablespoons of mix per mug + 1/4 cup (not a precise measure each time) + 1 cup boiling water.

Instructions: As the water is heating up to a boil, run the mug under hot tap water for a few mins. Turn the water off and let what’s in the mug sit until the boiling water is ready. When the water hits boil, empty the mug into the sink and dump in 3 tbsp of the mix. Add your milk at this point and stir to make a somewhat slurry that allows the powders to start to blend into the liquid. At this point, add about 1/4 cup of the boiling water to the mug and stir vigorously until all of the clumps melt into the hot liquid. Add the rest of the boiling water. Stir a bit more and taste. If you need more creaminess, add a bit more milk.

Bonus mix recipe!

The other mix I like in the colder months when I’m bored of coffee or all out is my Mocha Mix. It’s pretty much the same as the above cappuccino mix without the warm spices and the addition of vanilla. Oh, and it’s the only one I have so far converted to metric for kitchen scales. I know, I know. I’m slower than a dinosaur. šŸ™‚

Mocha Dry Mix:
30g Instant Coffee
50g Cocoa Powder
100g Sugar (of choice)
110g Milk Powder (optional)
1 teaspoon Vanilla Extract

Again, like in the above mix recipe, the milk powder can be left out in favour of your fave liquid milk product. Same deal as above for whisking the mix together. I like to put mine in a 500 mL mason jar with a tight lid.

Formula: 2 Tablespoons of mix + 1/4 cup milk + 1 cup boiling water.

Instructions: Exactly as above for the cappuccino mix to set the drink up in a warmed up mug.

Japanese Sandwich Love

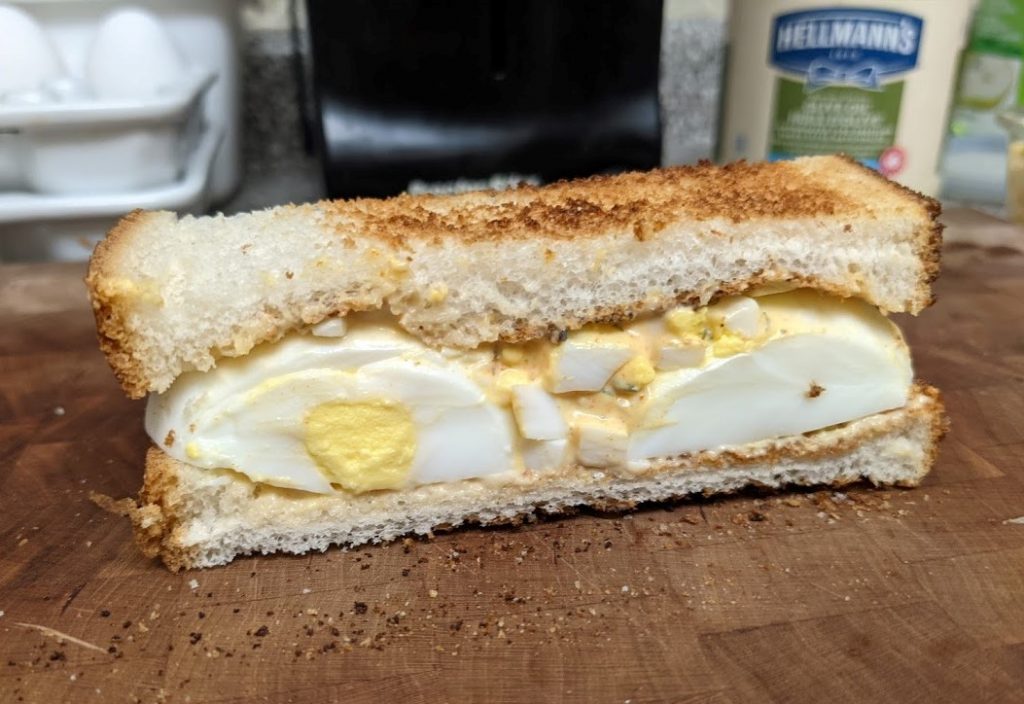
I’m about a year behind LA, and even further behind Japan, but I’m all over this. It’s not hard to make. It’s boiled eggs in a bit of baking soda (1/2 tea for 6-8 eggs). The first few eggs come out at the 6 min mark (aka jammy egg stage), iced bathed, and then peeled. The rest of the eggs continue to boil another 5 mins (aka hard boiled) before being iced bathed and peeled.

The jammy eggs get cut down the middle whereas the hard boiled eggs get sliced & diced and mixed with a classic deli pasta salad dressing. (I have a recipe for you all.) A bit of sauce (make it up as you go) drizzled over two big slices of thick cut bread that have been toasted on the outside only, and two halves of a jammy egg get laid down before big scoop of the egg salad is dropped and smeared out over top. Close and cut into thirds. Done!

Deli Style Salad Dressing:
1 C Mayo
1 1/2 tbsp White Sugar
1/8 C White Vinegar
2 tbsp Dijon
1-2 tea Salt
1/2 tea Black Pepper
1/6 tea Cayene
1/2 C Green Onions (white & green parts)
1 C Celery Dice
1/2 C Yellow Onion Small, Thin Chops

Typically this is enough for 4 C of cooked elbow macaroni to make pasta salad (adding in any dice peppers you want with some shredded carrot). Chill the dressing at least 2-3 hrs with cling wrap touching the surface so it doesn’t dry out before added pasta (or egg dice) with herbs. Toss together and serve cold.

Tilley Family Newfounland Buns

This recipe has been around longer than my late mother-in-law was alive, but her family loved making it. BTW, Newfie (what it’s called on the recipe card) Buns are what they call scones in Newfoundland.

Newfie Buns:
3 C AP Flour
3 tea Baking Powder
1/3 C Sugar
1/2 tea Salt
1/4 lbs Butter*, cold

Preheat oven to 425 degrees.

Whisk the dry ingredients together before cutting the cold butter into it to form a coarse crumble.

1 Egg
6 oz Milk

Beat the egg in a small measuring cup. Fill with milk to the 8oz mark. Stir together. Add to the dry butter mix with a fork just to combine. Shape the dough into a ball and then flatten into a disk before cutting up in 6 or 8 scones. Bake 15 mins.

OPT: 1 C Raisins or Currants. (Add at the end along with the egg-milk mixture.)

  • The typed out recipe card states you can use butter or margarine, but I believe my mother-in-law used both off and on in the 1980s, but preferred using butter.

Beloved Tilley Family Butter Tarts

My husband’s mother died yesterday. She was 93. She would want me to share this recipe above all of the ones she left behind. Enjoy.

TILLEY BUTTER TARTS:

Pie Pastry:
5 C AP Flour
2 tea Salt
1 lbs Tenderflake Lard
1 tbsp Vinegar
1 Egg, slightly beaten

Combine flour + salt. Cut in lard to coarse meal crumbles.

Combine vinegar + beaten egg in a measuring cup. Add cold icy water to this mix. Stop added water when egg/vinegar/water measures out to 1 cup.

Gradually add this wet mix to the dry mix with a fork. Gather combined batch up a ball. Wrap with plastic film and chill or freeze until needed, or roll out immediately into circles to make pastry shells to be placed in muffin tins.

Yield: 3 double 9″ pie crusts or 12 tart shells

Filling:
1/3 C Butter
2 tbsp Whole Milk or Cream
1 C Br Sugar
1 Egg, LG, beaten
1 tea Vanilla

Cream butter well before adding the cream. Add sugar; mix well. Add egg and vanilla. Mix to combine only.

If using raisins, drop a few into bottom of each tart shell placed inside large muffin tin wells, with sides of tart walls crimped to flatten out before being filled.

Dump filling into each pastry shell to about 2/3 full mark. Bake at 425 oven for 8 mins, drop the heat to 350 and bake tarts another 12 mins.

Yield: 12 butter tarts

I should’ve stayed in bed

Day off today. All I wanted was to make some jammy bars for the husband. That’s all. I swear! *sigh* But, what I got instead was a lot of grief. Grief from the new fridge, and from the oven. Have a look: 
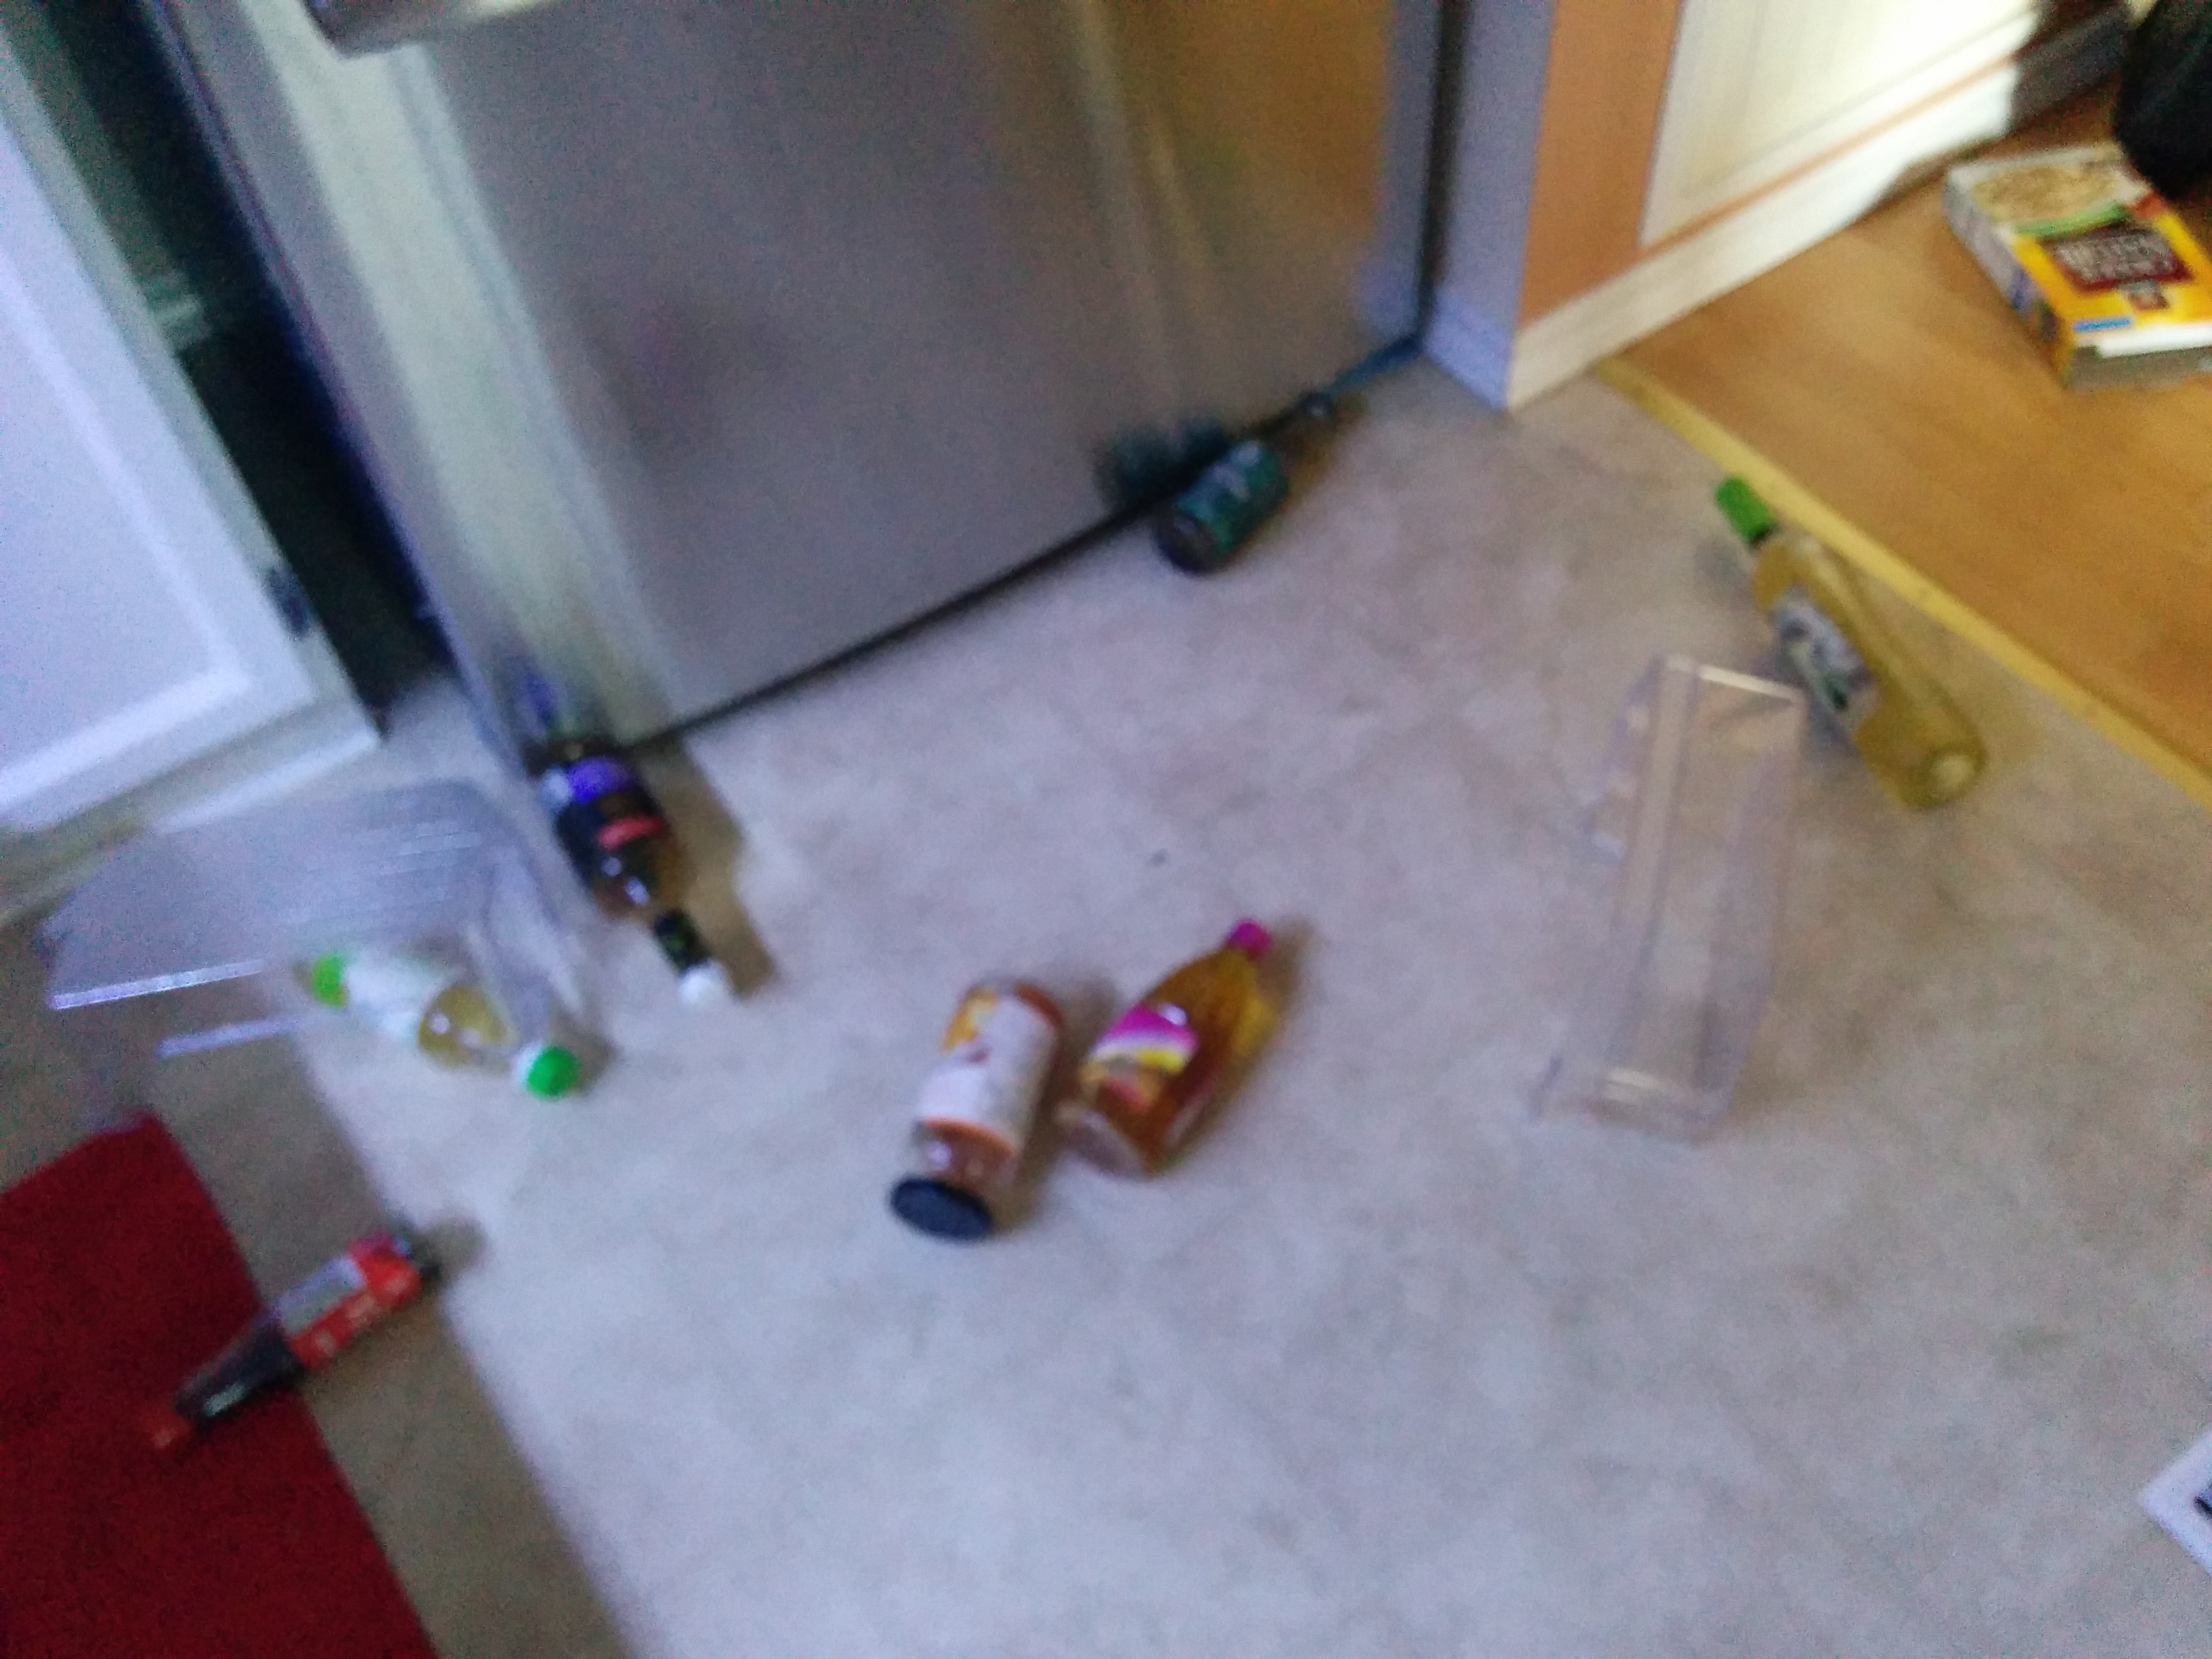
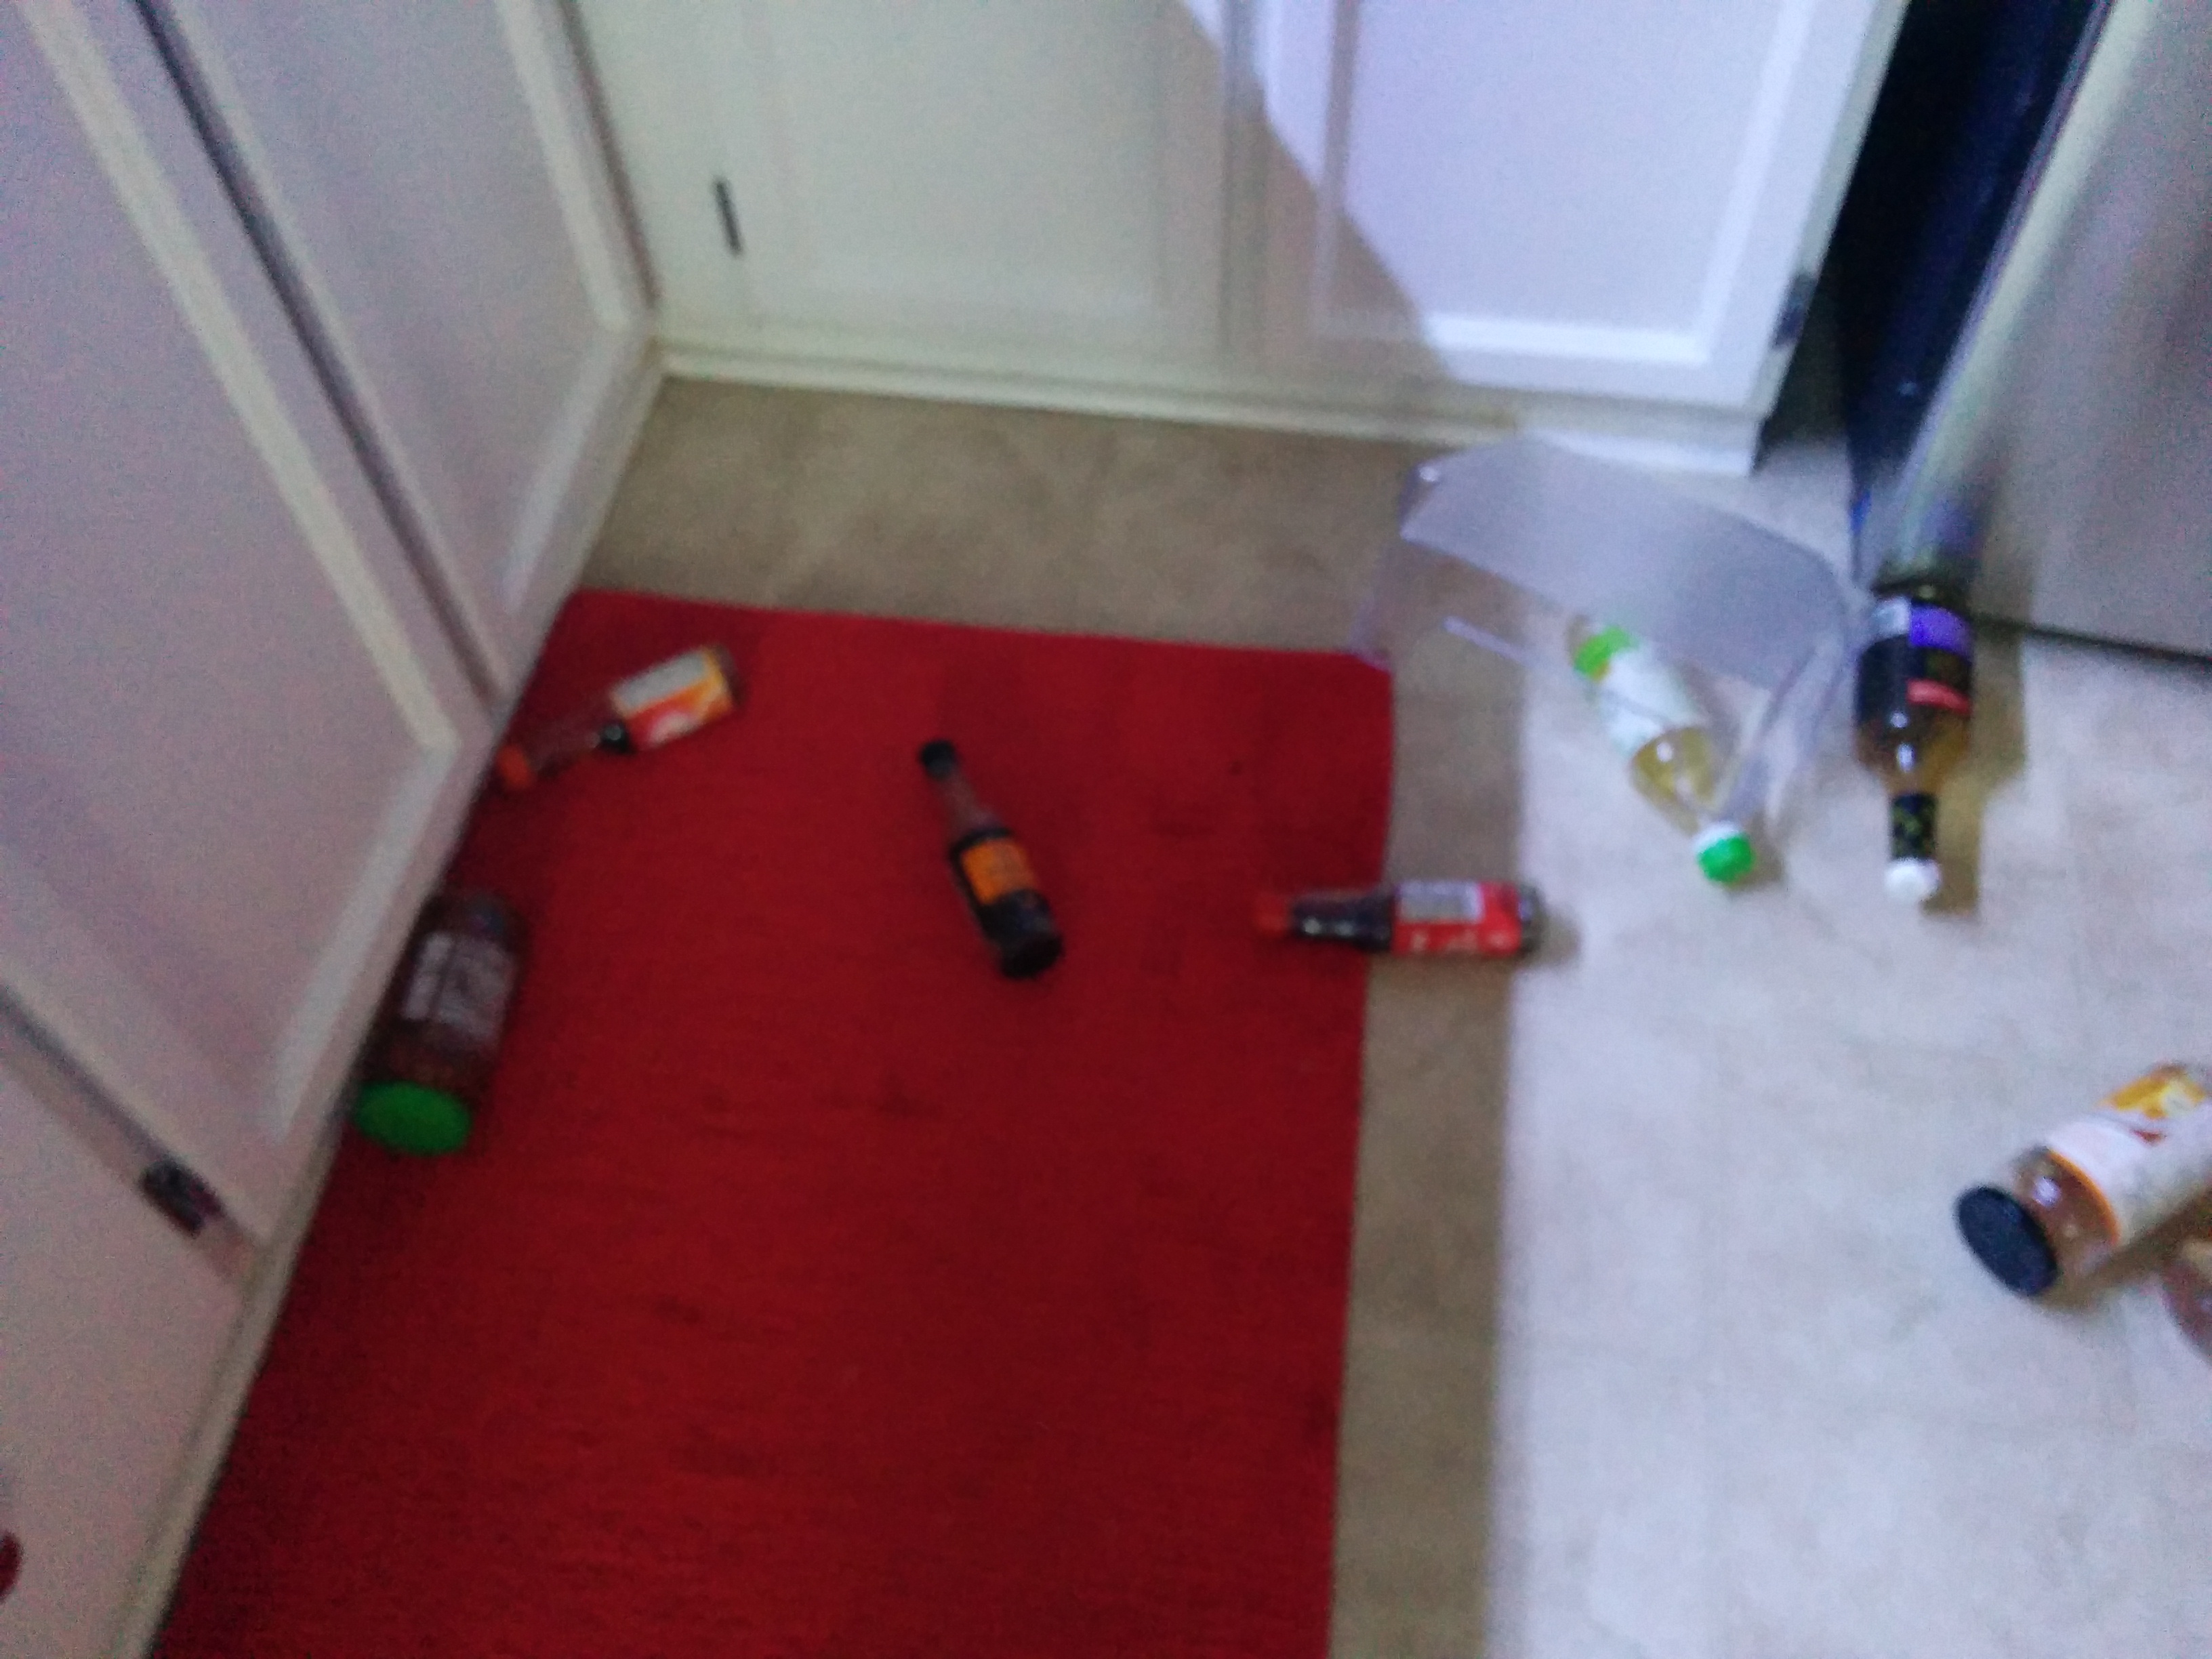
First up, we have the fridge which decided to puke out the door shelves and their contents all over the floor, but more importantly on top of my two toes. See the big bottles? They hit straight down on my big toe and its sidekick, my Morton toe, on my left foot. I thought for sure they were broken from the amount of pain, but they aren’t even achy or bruised anymore. My toes are in tact.

So, that happened when I was reaching in for the blueberry jam I was going to lay down as the middle layer of my jammy bars. I cleaned up this mess after I put the bars in the oven.

And that brings me to my next kitchen mishap:

Never in my life have I ever burned food like this that I can recall. These bars are burned from the top all the way down to the bottom of the base layer. Wow.

The oven was so hot when I reached it, it had already turned itself off to prevent a fire from starting inside its cavity.

I assume I was so distracted by the shelves and their contents falling out of the fridge onto my foot that I hit the broiler button instead of the bake button on the stove when I reached over to preheat the oven right before I dumped and smoothed the jam layer out, and continued on with the crumble topping.

I didn’t even noticed the oven temp was too hot. I was upstairs organizing a load of laundry when I smelt a burning fumes smell (I thought my husband had burned some pizza cheese in my oven again the other night as I cursed him while running down the stairs as the smoke alarm screeched out my open patio screen door.)

It was bad. Really bad. Worse than I thought it would be. I couldn’t open the oven for an hour after turning it off and letting it cool down, all the while running the range hood vent at full blast. And the smell took hours more with the front door open, too, to create some kind of cross wind to air out the house.

This is what I was faced with after I was finally able to pull the jammy bars out.

I just left them on top of the stove and turned out the kitchen light. The kitchen officially closed in the middle of the day. There would be nothing else happening in there today. I was over the urge to do some baking and cooking today, my only day off this week.

Ugh. I should’ve stayed in bed.

Jammy Oatmeal Bars

This is a riff on a recipe I used to have to make at work when I worked in a college cafeteria. It’s a lovely bar, and it’s extremely versatile. It makes a great lunch snack for kids.

The original bar was called Cranberry Overload because it calls for making a cranberry jam filling. I do that version sometimes, but I tend to leave the cranberry jam version for Christmas and stick to seasonal jam fillings throughout the year. I will often use jammed jar when pressed for time, just like I’m doing here right now with this post.

You will need the following three main ingredients to pull this bar together:
450g Oatmeal Muffin Mix
200g Oatmeal Granola Cereal (with nuts is a great option if you don’t have an allergy)
200 g Jam (any kind will do)

120g Water

Measure out the muffin mix and top it with measured out cereal. Mix them together in a medium size mixing bowl, and dump in 126g of water. Mix with a gloved hand or with a spatula until all of the dry ingredients are wet and a ball forms. Split the ball in half, and then half again. in the bowl.

Grease a 8″x8″ or so baking dish. Line it with parchment that’s been clipped down with small bulldog clips. Place 3/4 of the oatmeal mix into the bottom and push it into all four corners and even it out working towards the centre with a clean floured hand. This will be the base of the bar.

Pour out the jam over top and spread with a knife or offset spatula. Taking the last quarter of the oatmeal mix, start to place it over the jam layers in small blobs or chunks until it’s all used up. Break it up with your fingers. Pull it apart gently.

Bake at 350 for 30 mins. Cool completely on the counter before removing from the pan using the sides of the parchment paper. Sprinkle top with a dusting of powder sugar before serving.

Optional: make a quick drizzle using 1C icing sugar + 2 Tbsp milk. Let the icing dry completely before cutting into bars and serving.

Deconstructed Cabbage Rolls

2 tbsp Oil, neutral like veg or sunflower
1 Onion, medium, diced
1 Garlic clove, cut in half or thirds
1 lbs Pork or Beef, ground

Heat oil in a large skillet. Add garlic chunks; cook in oil until they brown, and then discard. This will flavour the oil nicely. Add the onion dice; cook to translucent. Add the grown meat in one large patty over the onions. Brown both sides in tact before using a potato masher to beak the meat into chunks in the pan as it cooks all the way through.

Add S&P to the pan and mix it in well. Once fully cooked, remove ground meat out of the hot pan and onto paper towels to drain.

1 C Jasmine rice
1.5 C Water
1/4 C Chicken Broth powder

1 Egg, room temp

Cook the rice in either a pot on the stove, or in a rice cooker off the stove. When the rice is done cooking, remove it into a large mixing bowl and dump the cooked meat in with it. Add the egg and mix everything together.

1/4 lbs Bacon

In the large skillet, cook the bacon. Rest cooked bacon on paper towels to drain and cool down before finely chopping up. Do not discard the bacon fat in the pan. Add the bacon bits to the meat mixture and stir to combine.

1 Cabbage Head, finely chopped

Bring a large stock pot to rolling boil. Gently ease the cabbage head into that pot. Cook until the leaves are tender. (~ 5-8 minutes) Remove the cabbage head and place it in a deep bowl or a large soup bowl to cool down long enough to pull the leaves off for chopping.

2 C Passata sauce
1 Bay Leaf
2 tea Dry Basil
S&P to taste
1 oz Butter, cut into small cubes for faster melting

In a small sauce pot, heat up the passata sauce with the bay leave fully emerged in it. After five minutes, add the seasonings and continue to bring it to a slow rolling boil. Remove from the heat. Set it aside and add the butter. Let those flavours comeĀ  together after a bit of stirring.

Chopped Cabbage
2 tbsp Bacon Fat
Salt, smallĀ  pinch to help draw out moisture from the cabbage
2-3 tbsp Herbs de Provence (or Italian seasoning if you have that)

After the leaves are cool enough to handle, chop them into a fine dice. Add it all to the still hot skillet with the bacon fat. Add salt over top and stir. Cook the leaves down a bit longer to make sure all of the cuts have softened to a tender stage. Add the seasoning and continue stirring as it browns a bit.

Add the cooked cabbage to the meat mixture and stir it around to incorporate everything nicely and to cool the cabbage a bit. Taste test to see if the mix is to your liking.

Spray or grease the bottom of a small hotel or roasting pan. Dump the cabbage-meat mixture into it. Spread it out evenly. Top that with all of the passata sauce, smoothing it out all around for full coverage.

Optional: Top casserole with breadcrumbs and a bit of parm if desired.

Bake at 375 for 20 minutes.

Notes: I made this in stages over two days as I had the time and materials. (I originally wanted to make classic cabbage rolls, but this cabbage was too thick to roll even after a lengthy boiling time.) I would not expect anyone to have time to do all of these moving cooking parts for a weeknight dinner unless they have the day off or have all of the materials prepped ahead of time. But I could see this being a nice seasonal Sunday casserole.

Week Night Banana Bread

Yah, yah – I get it. Not everyone is into breads of any kind (EW, CARBS!!), or you hate bananas (Blech!), or you ate too many slices of this bread growing up (Never again!). I’ve heard all of the reasons.

I happen to love a good banana loaf. This is the one I make in case you’re interested.

2 C Flour, a.p.
1 tea BP
1/2 tea Salt
1/2 C Sugar, white
1 oz Butter, melted
2 Eggs, r.t.
1 C Bananas, mashed
1/4 C Water, r.t.

Legend: a.p. = all purpose, r.t. = room temp, BP = baking powder

Whisk all of the dry ingredients together. Mix all of the wet ingredients in over top of the dry. Don’t overmix.

1/2 C Mini Chocolate Chips
2/3 C White Chocolate Chips

Gently fold these into the bread batter. Spray or lightly oil and dust a bread loaf pan. Drop the batter into the pan. Bake at 350 for 75 mins. Let it cool 90 mins before cutting into it at the very least, or wrap it in plastic wrap to sit out over night. Makes a great lunch snack.

Note: I threw this loaf in the oven as our main course came out. In the time it took me to cook dinner in the oven, I started and finished making this banana bread batter.