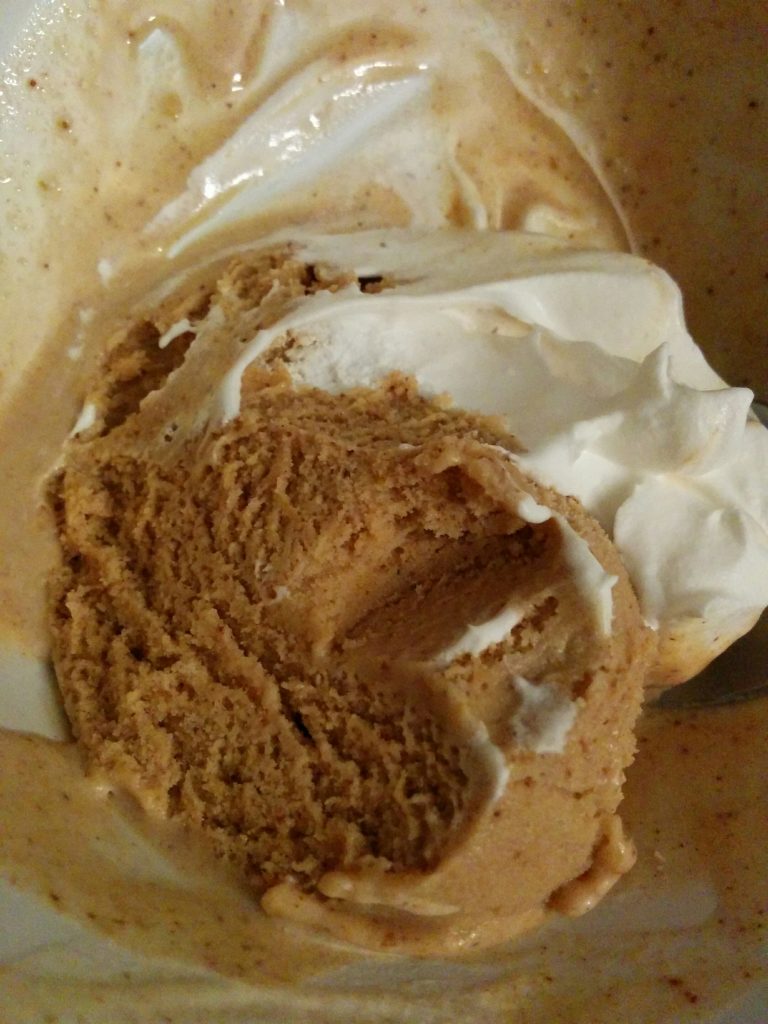
Tilley Family Newfounland Buns

This recipe has been around longer than my late mother-in-law was alive, but her family loved making it. BTW, Newfie (what it’s called on the recipe card) Buns are what they call scones in Newfoundland.

Newfie Buns:
3 C AP Flour
3 tea Baking Powder
1/3 C Sugar
1/2 tea Salt
1/4 lbs Butter*, cold

Preheat oven to 425 degrees.

Whisk the dry ingredients together before cutting the cold butter into it to form a coarse crumble.

1 Egg
6 oz Milk

Beat the egg in a small measuring cup. Fill with milk to the 8oz mark. Stir together. Add to the dry butter mix with a fork just to combine. Shape the dough into a ball and then flatten into a disk before cutting up in 6 or 8 scones. Bake 15 mins.

OPT: 1 C Raisins or Currants. (Add at the end along with the egg-milk mixture.)

  • The typed out recipe card states you can use butter or margarine, but I believe my mother-in-law used both off and on in the 1980s, but preferred using butter.

Beloved Tilley Family Butter Tarts

My husband’s mother died yesterday. She was 93. She would want me to share this recipe above all of the ones she left behind. Enjoy.

TILLEY BUTTER TARTS:

Pie Pastry:
5 C AP Flour
2 tea Salt
1 lbs Tenderflake Lard
1 tbsp Vinegar
1 Egg, slightly beaten

Combine flour + salt. Cut in lard to coarse meal crumbles.

Combine vinegar + beaten egg in a measuring cup. Add cold icy water to this mix. Stop added water when egg/vinegar/water measures out to 1 cup.

Gradually add this wet mix to the dry mix with a fork. Gather combined batch up a ball. Wrap with plastic film and chill or freeze until needed, or roll out immediately into circles to make pastry shells to be placed in muffin tins.

Yield: 3 double 9″ pie crusts or 12 tart shells

Filling:
1/3 C Butter
2 tbsp Whole Milk or Cream
1 C Br Sugar
1 Egg, LG, beaten
1 tea Vanilla

Cream butter well before adding the cream. Add sugar; mix well. Add egg and vanilla. Mix to combine only.

If using raisins, drop a few into bottom of each tart shell placed inside large muffin tin wells, with sides of tart walls crimped to flatten out before being filled.

Dump filling into each pastry shell to about 2/3 full mark. Bake at 425 oven for 8 mins, drop the heat to 350 and bake tarts another 12 mins.

Yield: 12 butter tarts

I should’ve stayed in bed

Day off today. All I wanted was to make some jammy bars for the husband. That’s all. I swear! *sigh* But, what I got instead was a lot of grief. Grief from the new fridge, and from the oven. Have a look: First up, we have the fridge which decided to puke out the door shelves and their contents all over the floor, but more importantly on top of my two toes. See the big bottles? They hit straight down on my big toe and its sidekick, my Morton toe, on my left foot. I thought for sure they were broken from the amount of pain, but they aren’t even achy or bruised anymore. My toes are in tact.

So, that happened when I was reaching in for the blueberry jam I was going to lay down as the middle layer of my jammy bars. I cleaned up this mess after I put the bars in the oven.

And that brings me to my next kitchen mishap:

Never in my life have I ever burned food like this that I can recall. These bars are burned from the top all the way down to the bottom of the base layer. Wow.

The oven was so hot when I reached it, it had already turned itself off to prevent a fire from starting inside its cavity.

I assume I was so distracted by the shelves and their contents falling out of the fridge onto my foot that I hit the broiler button instead of the bake button on the stove when I reached over to preheat the oven right before I dumped and smoothed the jam layer out, and continued on with the crumble topping.

I didn’t even noticed the oven temp was too hot. I was upstairs organizing a load of laundry when I smelt a burning fumes smell (I thought my husband had burned some pizza cheese in my oven again the other night as I cursed him while running down the stairs as the smoke alarm screeched out my open patio screen door.)

It was bad. Really bad. Worse than I thought it would be. I couldn’t open the oven for an hour after turning it off and letting it cool down, all the while running the range hood vent at full blast. And the smell took hours more with the front door open, too, to create some kind of cross wind to air out the house.

This is what I was faced with after I was finally able to pull the jammy bars out.

I just left them on top of the stove and turned out the kitchen light. The kitchen officially closed in the middle of the day. There would be nothing else happening in there today. I was over the urge to do some baking and cooking today, my only day off this week.

Ugh. I should’ve stayed in bed.

New Normal

(I’m not really sure how I feel about this cartoon.)

So… A lot’s happened. A lot. In just the last week, but more or less it’s been happening before our eyes while we day slept. COVID-19 is real, and it’s here. It’s not showing any signs of going away any time soon, or playing nice (much to the chagrin of many of certain gender, age and generation).

A lot has changed. Daily when I get into work, I’m like a captain of a Star Trek ship asking for the status update and damage report. New policies are being introduced every day. Things are fluid; subject to change mid shift as head office fires off another email to all the locations to implement.

We’re confused, the customers are confused, and generally it’s just all around confusing. For about a day. Humans are, thankfully, adaptable. Some people are willful and refuse change, and others need a lot of time to get used to changes. We get it.

But, we all need to work together in this little corner of our world in order to survive. We need to pull together, now more than ever, to survive this pandemic with as many as we can save.

I dislike the term Social Distancing. I much prefer Personal Safety Space. It’s more accurate in terms for what we’re trying to do – save persons, or rather ensure everyone’s personal safety is respected and maintained for the time they are in our store getting their food supplies.

All we ask is customers do their bit like we do ours when we show up for work every day. Those who continue to push back won’t like being forced to walk away from their groceries and leave the store when they only think about themselves. We haven’t done that yet… But, I feel it wouldn’t be out of the question in the very near future.

Customers, by and large, have been great about helping us to help them in light of the pandemic announcement over a week ago, but I can already see the honeymoon phase has worn off of people who hate being inconvenienced. Hence the push back I have gotten in the last day.

Like I said, welcome to the new normal. Yours, ours, and mine. (Note the order. I’m always going to put others’ needs ahead of mine at work.)


Jammy Oatmeal Bars

This is a riff on a recipe I used to have to make at work when I worked in a college cafeteria. It’s a lovely bar, and it’s extremely versatile. It makes a great lunch snack for kids.

The original bar was called Cranberry Overload because it calls for making a cranberry jam filling. I do that version sometimes, but I tend to leave the cranberry jam version for Christmas and stick to seasonal jam fillings throughout the year. I will often use jammed jar when pressed for time, just like I’m doing here right now with this post.

You will need the following three main ingredients to pull this bar together:
450g Oatmeal Muffin Mix
200g Oatmeal Granola Cereal (with nuts is a great option if you don’t have an allergy)
200 g Jam (any kind will do)

120g Water

Measure out the muffin mix and top it with measured out cereal. Mix them together in a medium size mixing bowl, and dump in 126g of water. Mix with a gloved hand or with a spatula until all of the dry ingredients are wet and a ball forms. Split the ball in half, and then half again. in the bowl.

Grease a 8″x8″ or so baking dish. Line it with parchment that’s been clipped down with small bulldog clips. Place 3/4 of the oatmeal mix into the bottom and push it into all four corners and even it out working towards the centre with a clean floured hand. This will be the base of the bar.

Pour out the jam over top and spread with a knife or offset spatula. Taking the last quarter of the oatmeal mix, start to place it over the jam layers in small blobs or chunks until it’s all used up. Break it up with your fingers. Pull it apart gently.

Bake at 350 for 30 mins. Cool completely on the counter before removing from the pan using the sides of the parchment paper. Sprinkle top with a dusting of powder sugar before serving.

Optional: make a quick drizzle using 1C icing sugar + 2 Tbsp milk. Let the icing dry completely before cutting into bars and serving.

DIY Sauerkraut

I’m currently making a micro batch of sauerkraut at home. I have always wanted to do this. I love sauerkraut, but I’m the only one in the house who does, and stores only seem to sell big jars of it. The second I open a jar, it goes brown within a week in my fridge.

I figure this way, I can play around with the flavouring and the amount of cabbage on a shoestring budget. And if it turns out tasty, I and eat it all before it turns bad, that will be a win my books.

You might be wondering about the glass pebbles. Well, turns out they are easy to sterilize, and heavy enough to keep the cabbage submerged in its own juices as it ferments on the counter for the first three days. From there, I can let the sauerkraut finish its thing in the fridge. In two weeks, I should be able to dig in. šŸ˜€

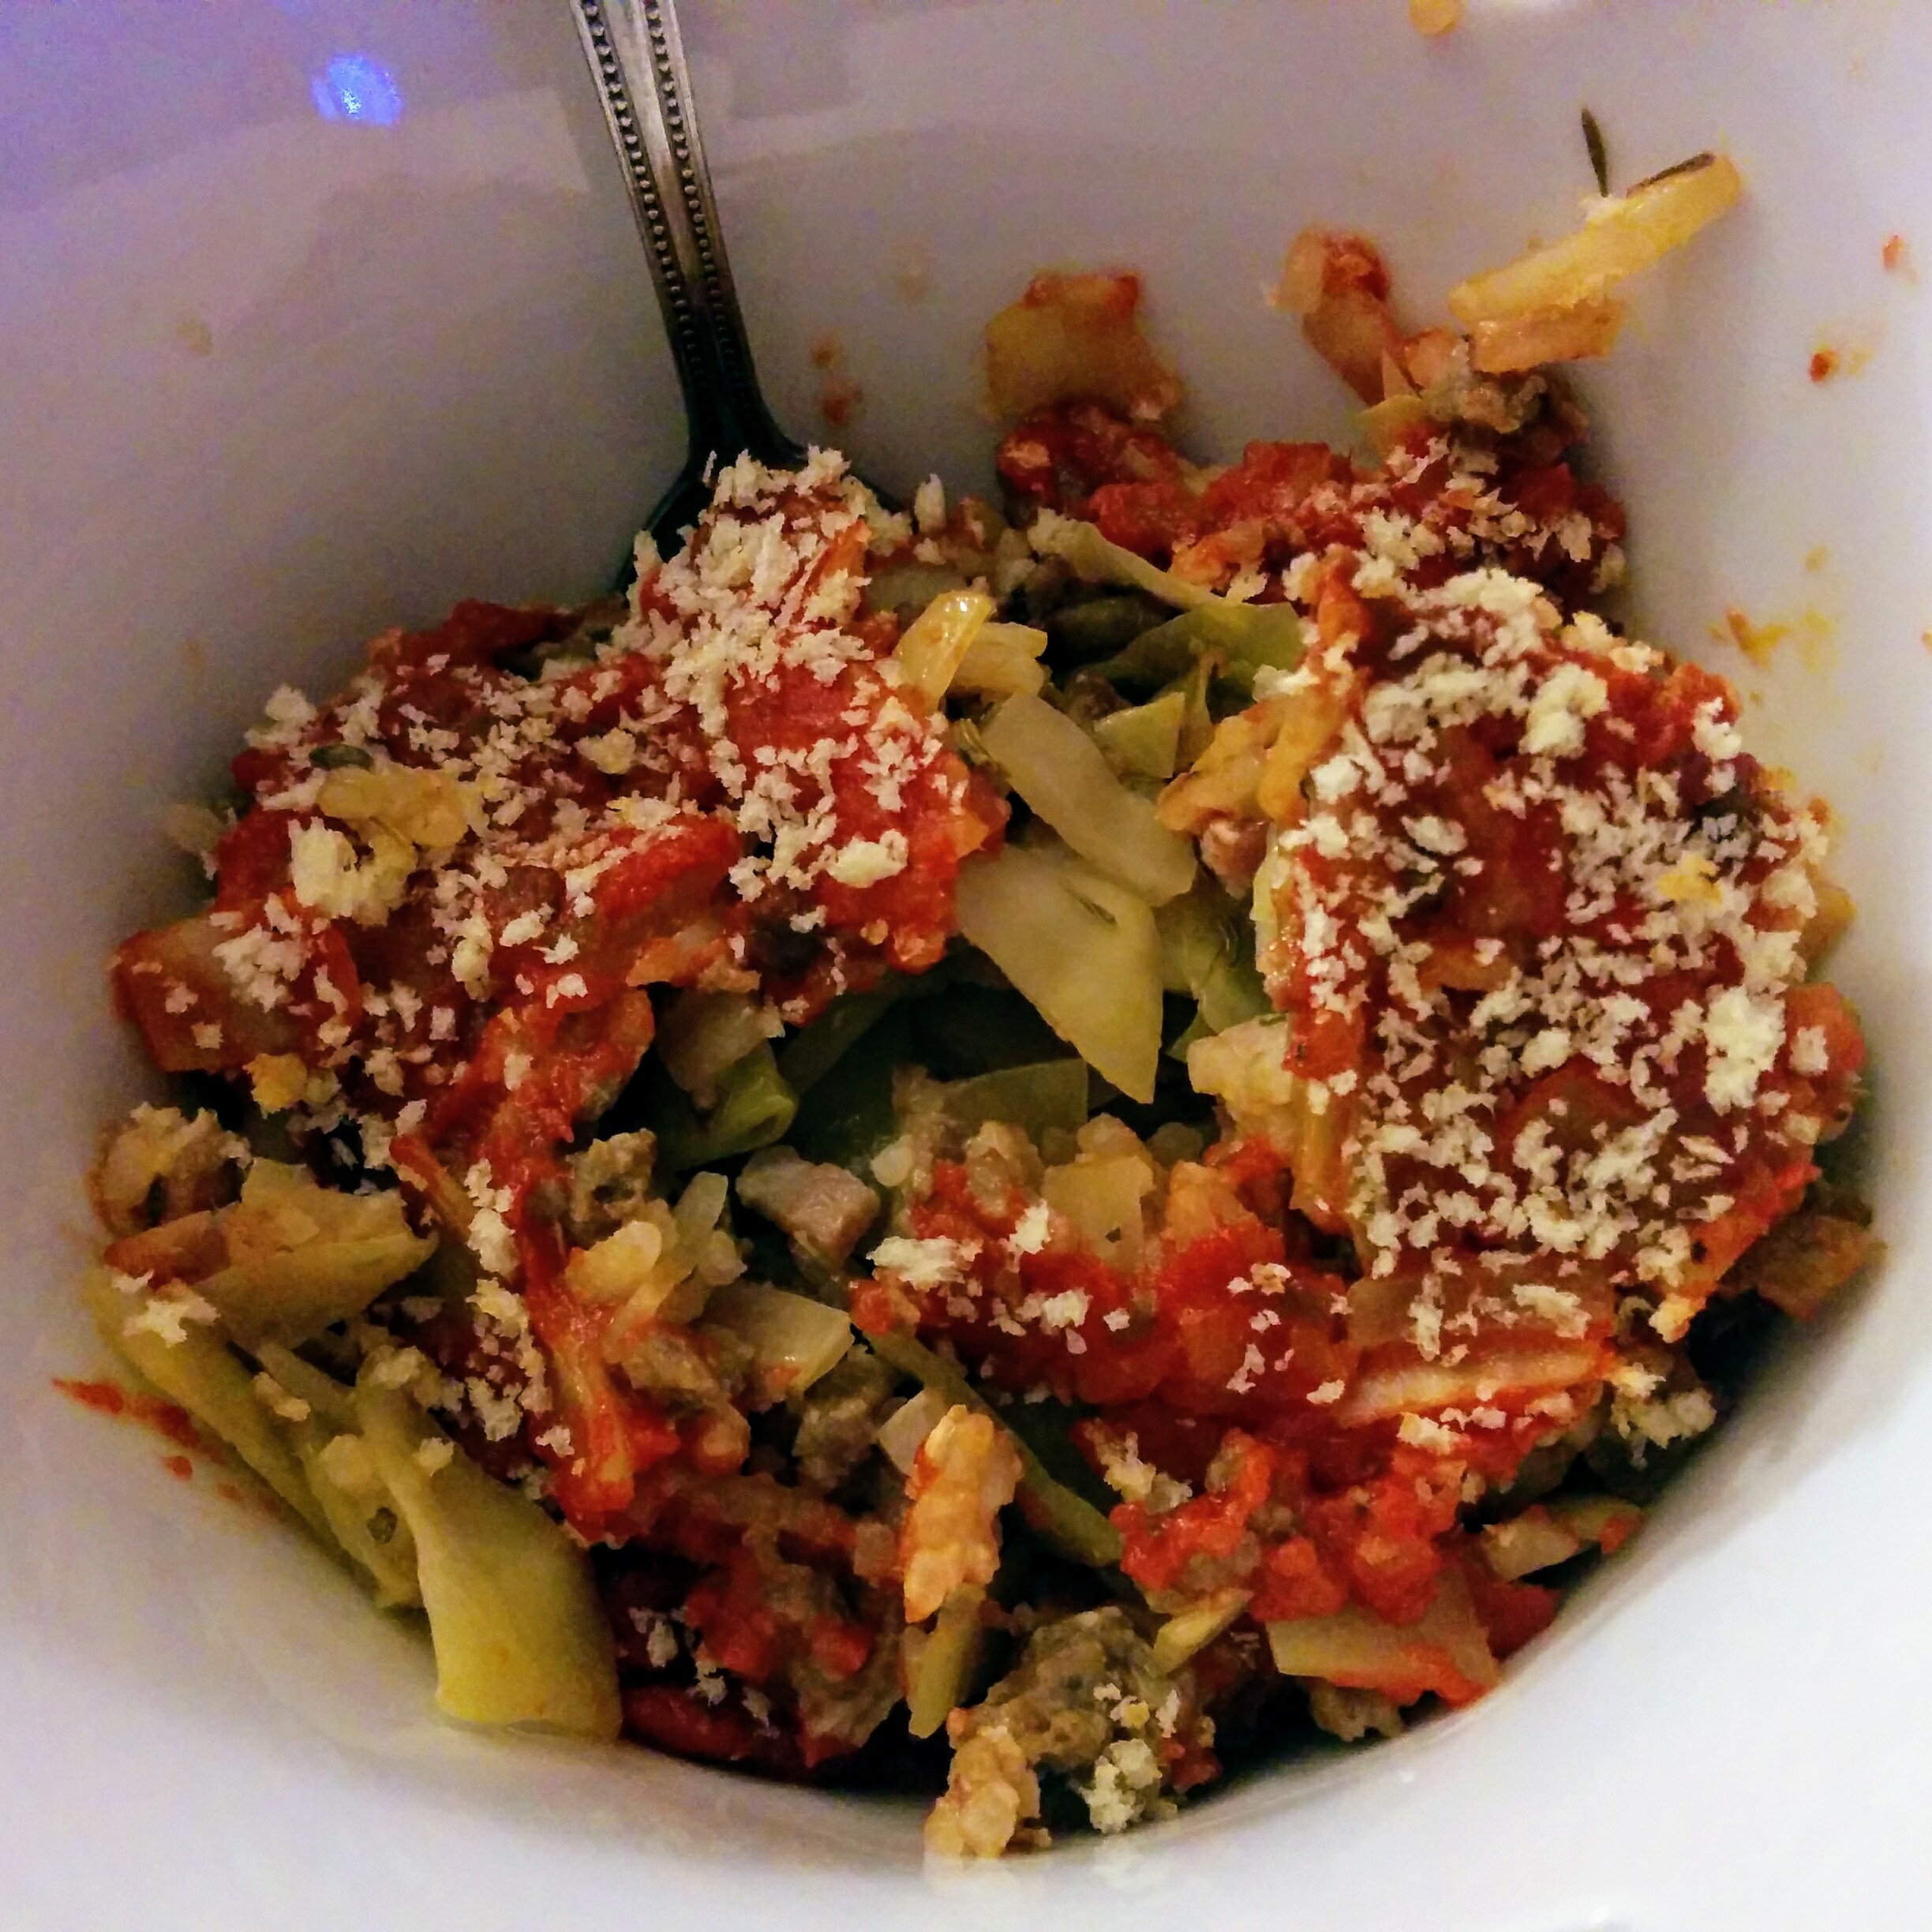
Deconstructed Cabbage Rolls

2 tbsp Oil, neutral like veg or sunflower
1 Onion, medium, diced
1 Garlic clove, cut in half or thirds
1 lbs Pork or Beef, ground

Heat oil in a large skillet. Add garlic chunks; cook in oil until they brown, and then discard. This will flavour the oil nicely. Add the onion dice; cook to translucent. Add the grown meat in one large patty over the onions. Brown both sides in tact before using a potato masher to beak the meat into chunks in the pan as it cooks all the way through.

Add S&P to the pan and mix it in well. Once fully cooked, remove ground meat out of the hot pan and onto paper towels to drain.

1 C Jasmine rice
1.5 C Water
1/4 C Chicken Broth powder

1 Egg, room temp

Cook the rice in either a pot on the stove, or in a rice cooker off the stove. When the rice is done cooking, remove it into a large mixing bowl and dump the cooked meat in with it. Add the egg and mix everything together.

1/4 lbs Bacon

In the large skillet, cook the bacon. Rest cooked bacon on paper towels to drain and cool down before finely chopping up. Do not discard the bacon fat in the pan. Add the bacon bits to the meat mixture and stir to combine.

1 Cabbage Head, finely chopped

Bring a large stock pot to rolling boil. Gently ease the cabbage head into that pot. Cook until the leaves are tender. (~ 5-8 minutes) Remove the cabbage head and place it in a deep bowl or a large soup bowl to cool down long enough to pull the leaves off for chopping.

2 C Passata sauce
1 Bay Leaf
2 tea Dry Basil
S&P to taste
1 oz Butter, cut into small cubes for faster melting

In a small sauce pot, heat up the passata sauce with the bay leave fully emerged in it. After five minutes, add the seasonings and continue to bring it to a slow rolling boil. Remove from the heat. Set it aside and add the butter. Let those flavours comeĀ  together after a bit of stirring.

Chopped Cabbage
2 tbsp Bacon Fat
Salt, smallĀ  pinch to help draw out moisture from the cabbage
2-3 tbsp Herbs de Provence (or Italian seasoning if you have that)

After the leaves are cool enough to handle, chop them into a fine dice. Add it all to the still hot skillet with the bacon fat. Add salt over top and stir. Cook the leaves down a bit longer to make sure all of the cuts have softened to a tender stage. Add the seasoning and continue stirring as it browns a bit.

Add the cooked cabbage to the meat mixture and stir it around to incorporate everything nicely and to cool the cabbage a bit. Taste test to see if the mix is to your liking.

Spray or grease the bottom of a small hotel or roasting pan. Dump the cabbage-meat mixture into it. Spread it out evenly. Top that with all of the passata sauce, smoothing it out all around for full coverage.

Optional: Top casserole with breadcrumbs and a bit of parm if desired.

Bake at 375 for 20 minutes.

Notes: I made this in stages over two days as I had the time and materials. (I originally wanted to make classic cabbage rolls, but this cabbage was too thick to roll even after a lengthy boiling time.) I would not expect anyone to have time to do all of these moving cooking parts for a weeknight dinner unless they have the day off or have all of the materials prepped ahead of time. But I could see this being a nice seasonal Sunday casserole.

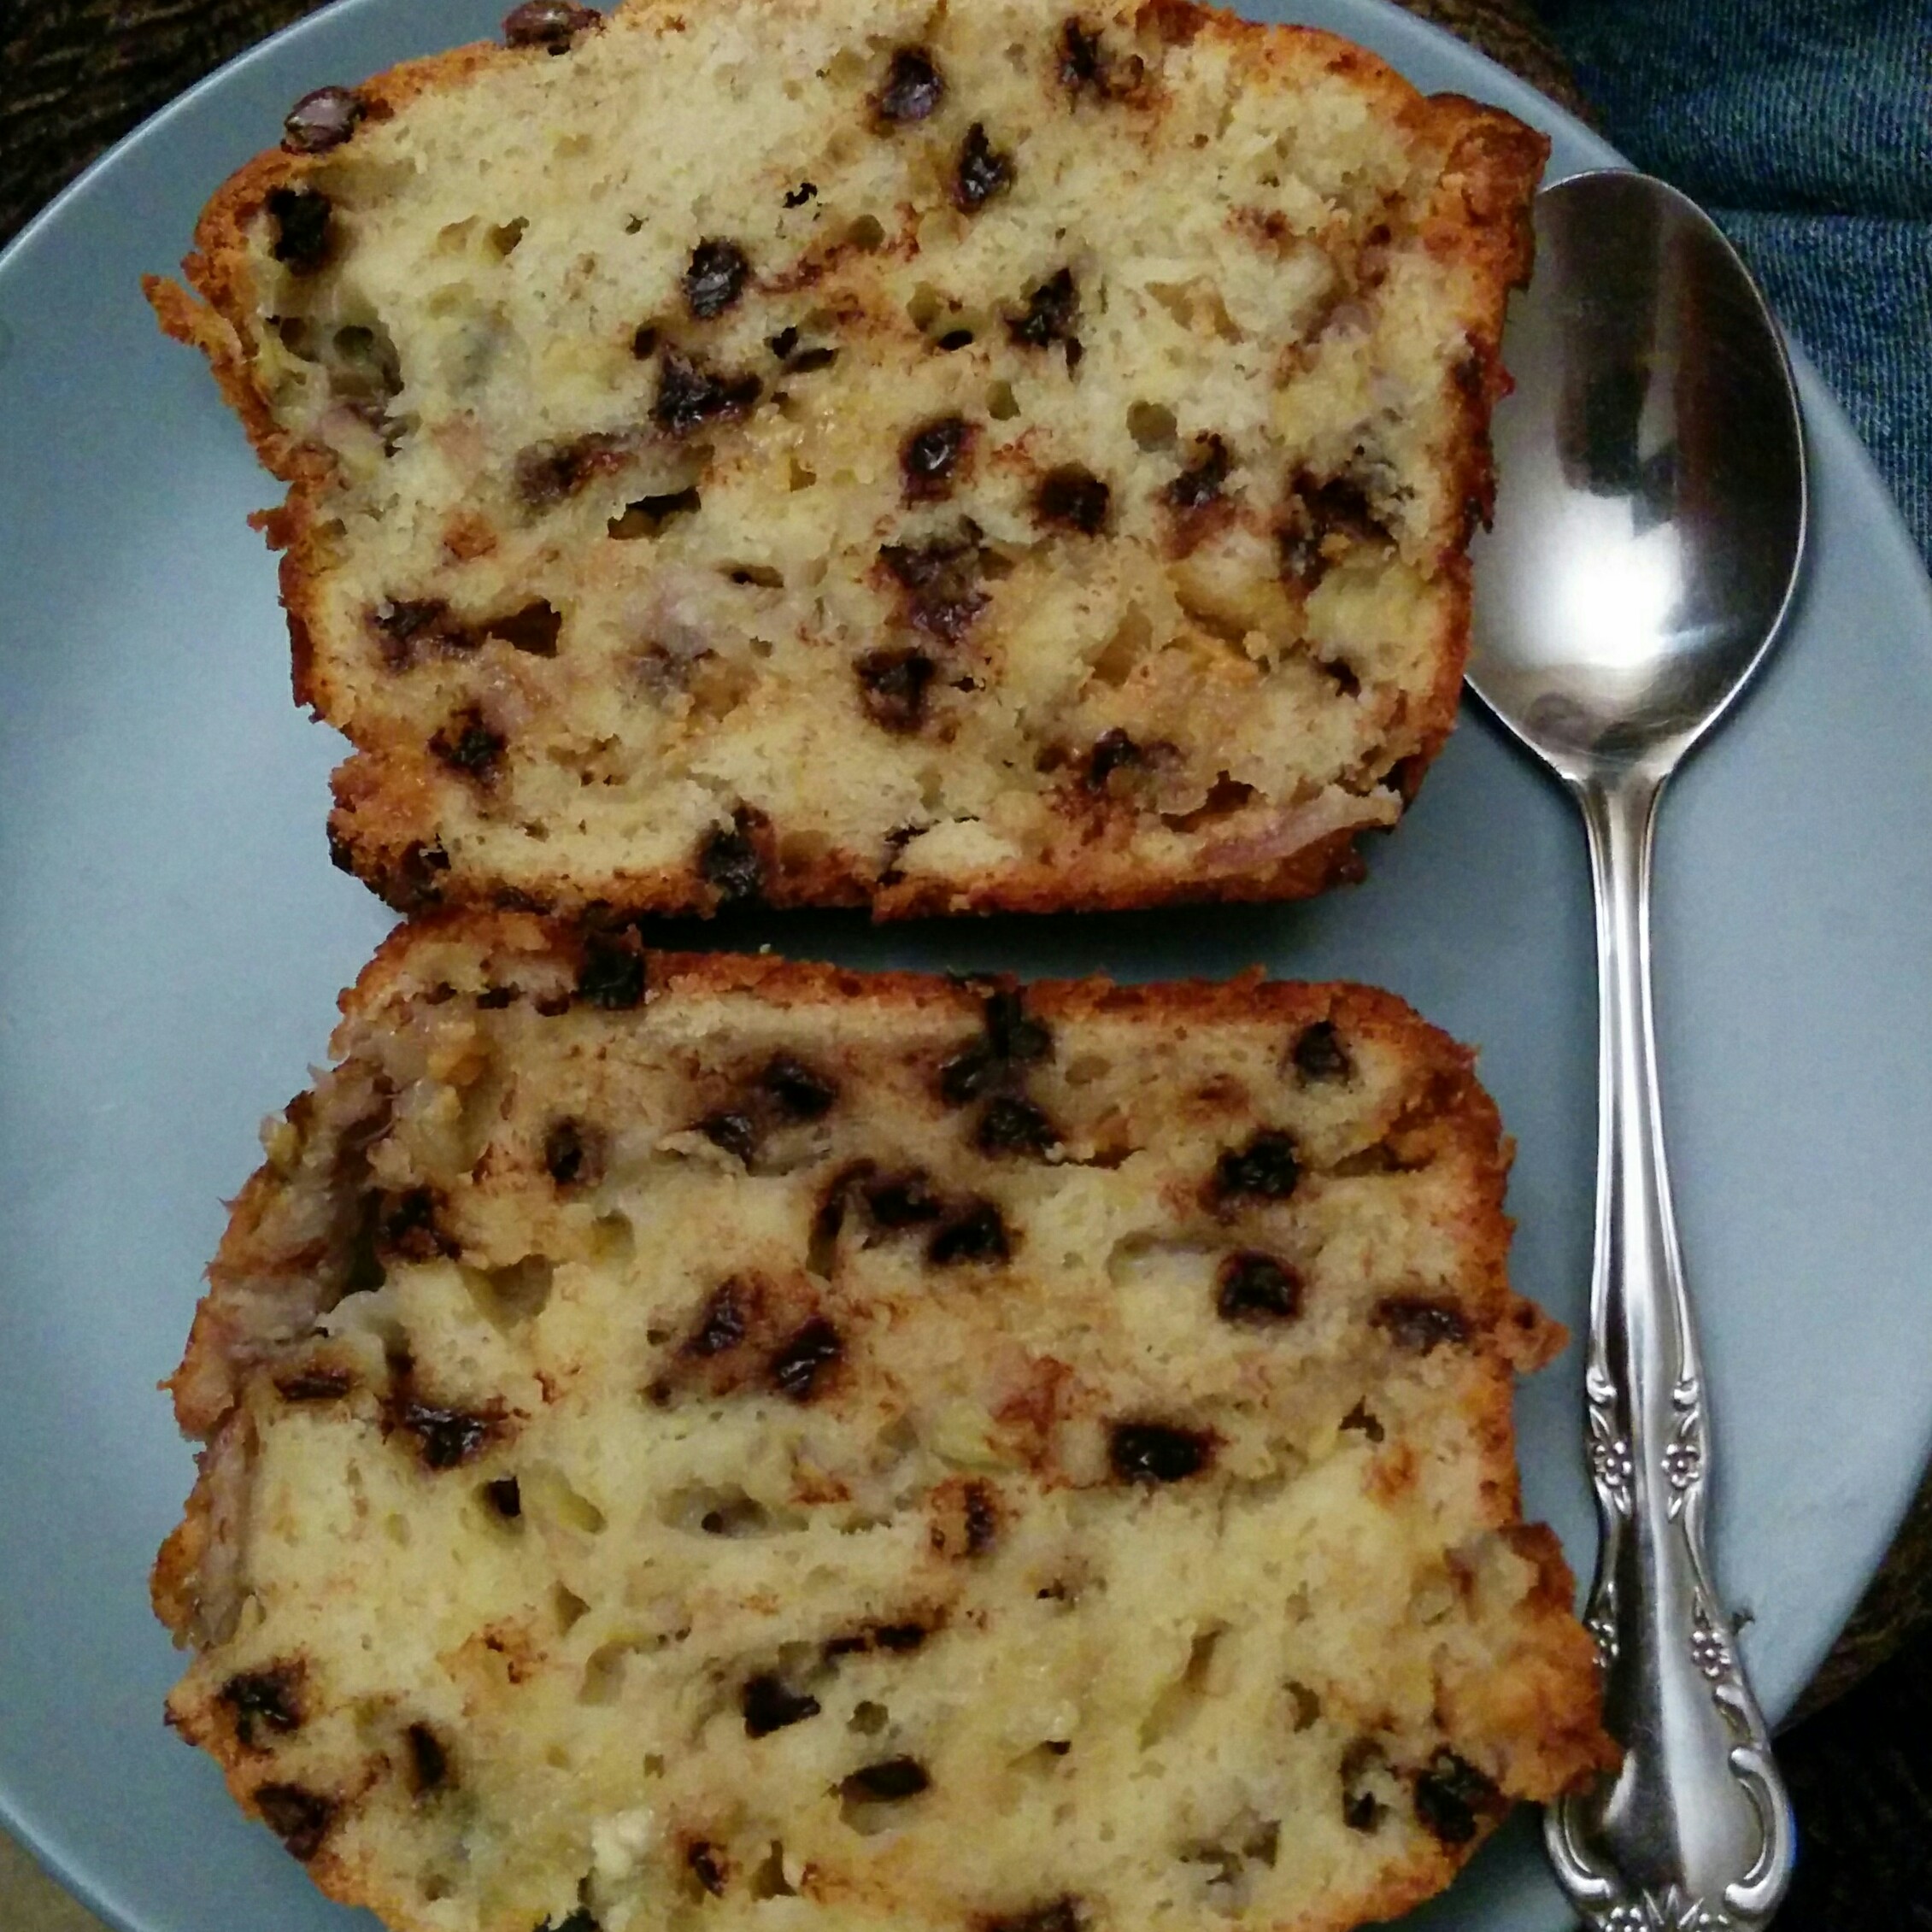
Week Night Banana Bread

Yah, yah – I get it. Not everyone is into breads of any kind (EW, CARBS!!), or you hate bananas (Blech!), or you ate too many slices of this bread growing up (Never again!). I’ve heard all of the reasons.
I happen to love a good banana loaf. This is the one I make in case you’re interested.

2 C Flour, a.p.
1 tea BP
1/2 tea Salt
1/2 C Sugar, white
1 oz Butter, melted
2 Eggs, r.t.
1 C Bananas, mashed
1/4 C Water, r.t.

Legend: a.p. = all purpose, r.t. = room temp, BP = baking powder

Whisk all of the dry ingredients together. Mix all of the wet ingredients in over top of the dry. Don’t overmix.

1/2 C Mini Chocolate Chips
2/3 C White Chocolate Chips

Gently fold these into the bread batter. Spray or lightly oil and dust a bread loaf pan. Drop the batter into the pan. Bake at 350 for 75 mins. Let it cool 90 mins before cutting into it at the very least, or wrap it in plastic wrap to sit out over night. Makes a great lunch snack.

Note: I threw this loaf in the oven as our main course came out. In the time it took me to cook dinner in the oven, I started and finished making this banana bread batter.

Downside of Aging

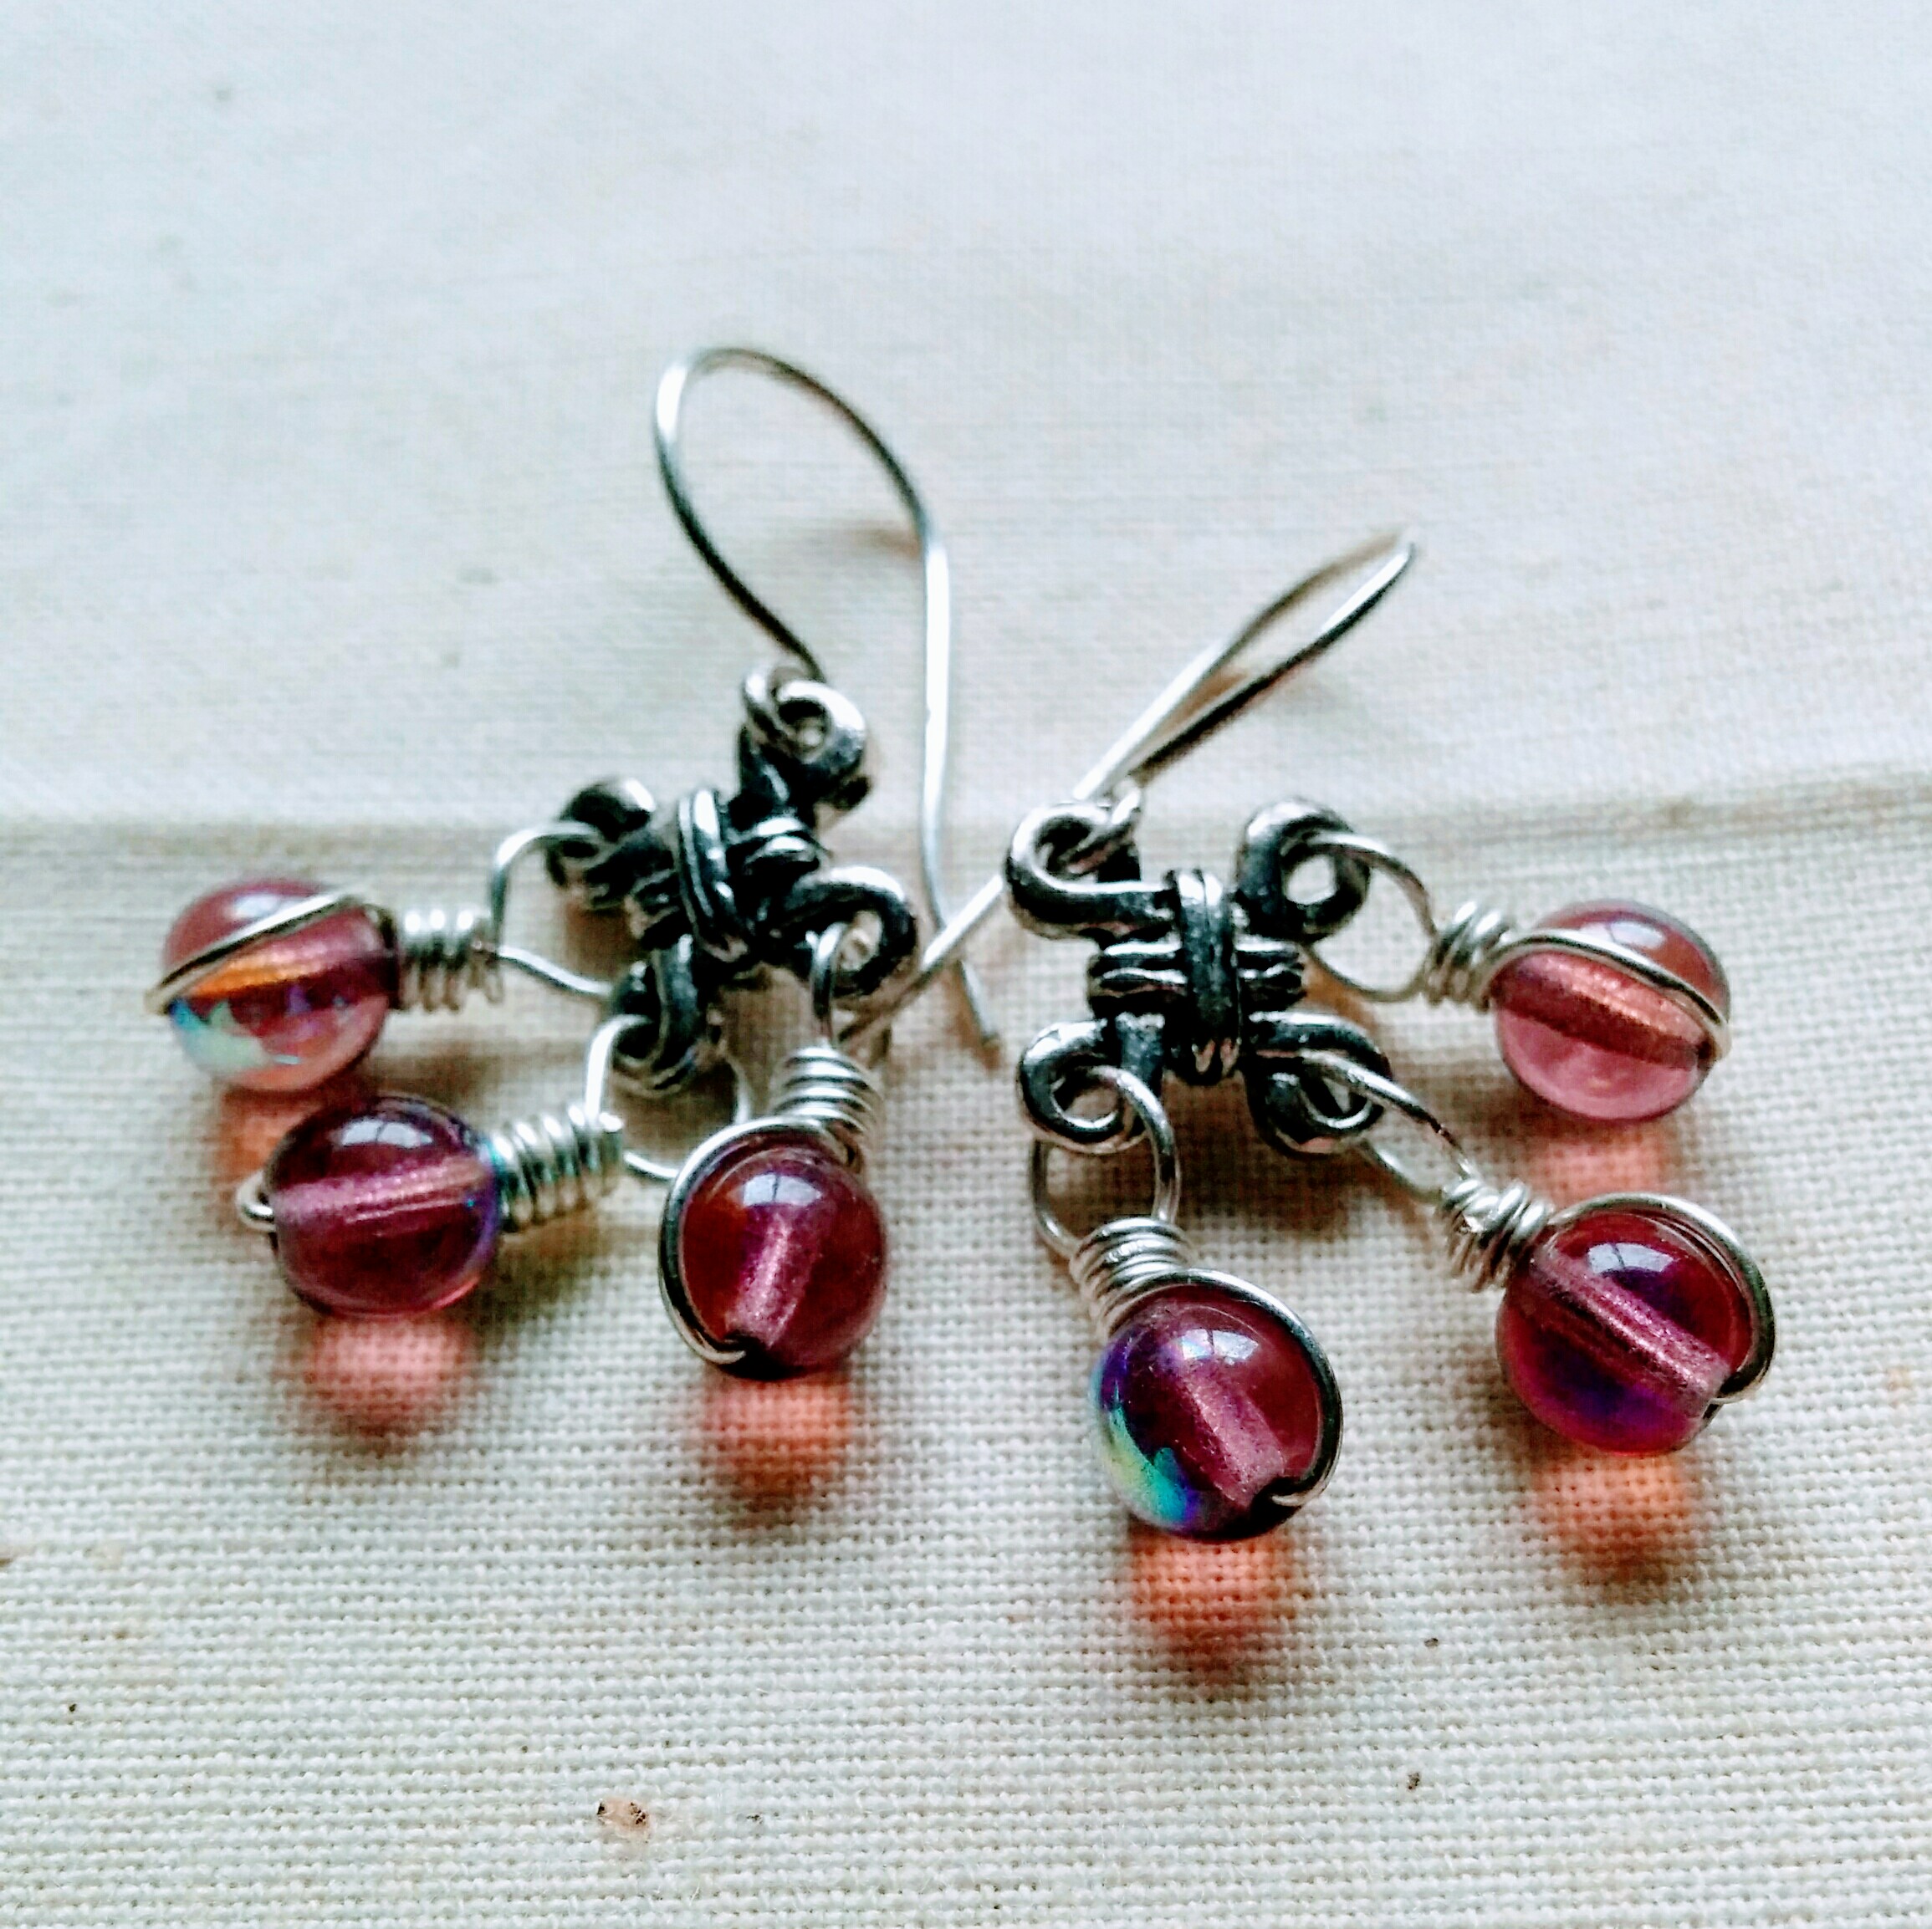
This time last year (give or take six weeks), I turned the big 5-0. So far it’s been great. I feel better and better each year I grow into my skin, but one thing that changed that I really want to find a way to change back is the ability to wear earrings.

In a former life, I made jewellery. I still own a lot of the custom pieces I couldn’t bear to sell in my personal collection, but in the last few years, I have noticed I can’t wear earrings anymore. It’s too painful – no matter what metal the hook or stud is made with. I can get the earrings in, but immediately the searing pain starts. The longest I have been able to keep earrings in has been an hour, and that’s after a week of working my ear lobes up to that amount of time.

*whimpering*

I really want to wear earrings again. I’m not sure if I need to pay someone to pierce my ear lobes in the same place the holes are located now, or give up forever. In the end, I have a feeling I might have to bite the bullet and convert all of my earrings over to clip-ons like a blue hair granny.

*more whimpering*

Jalapeno Boats

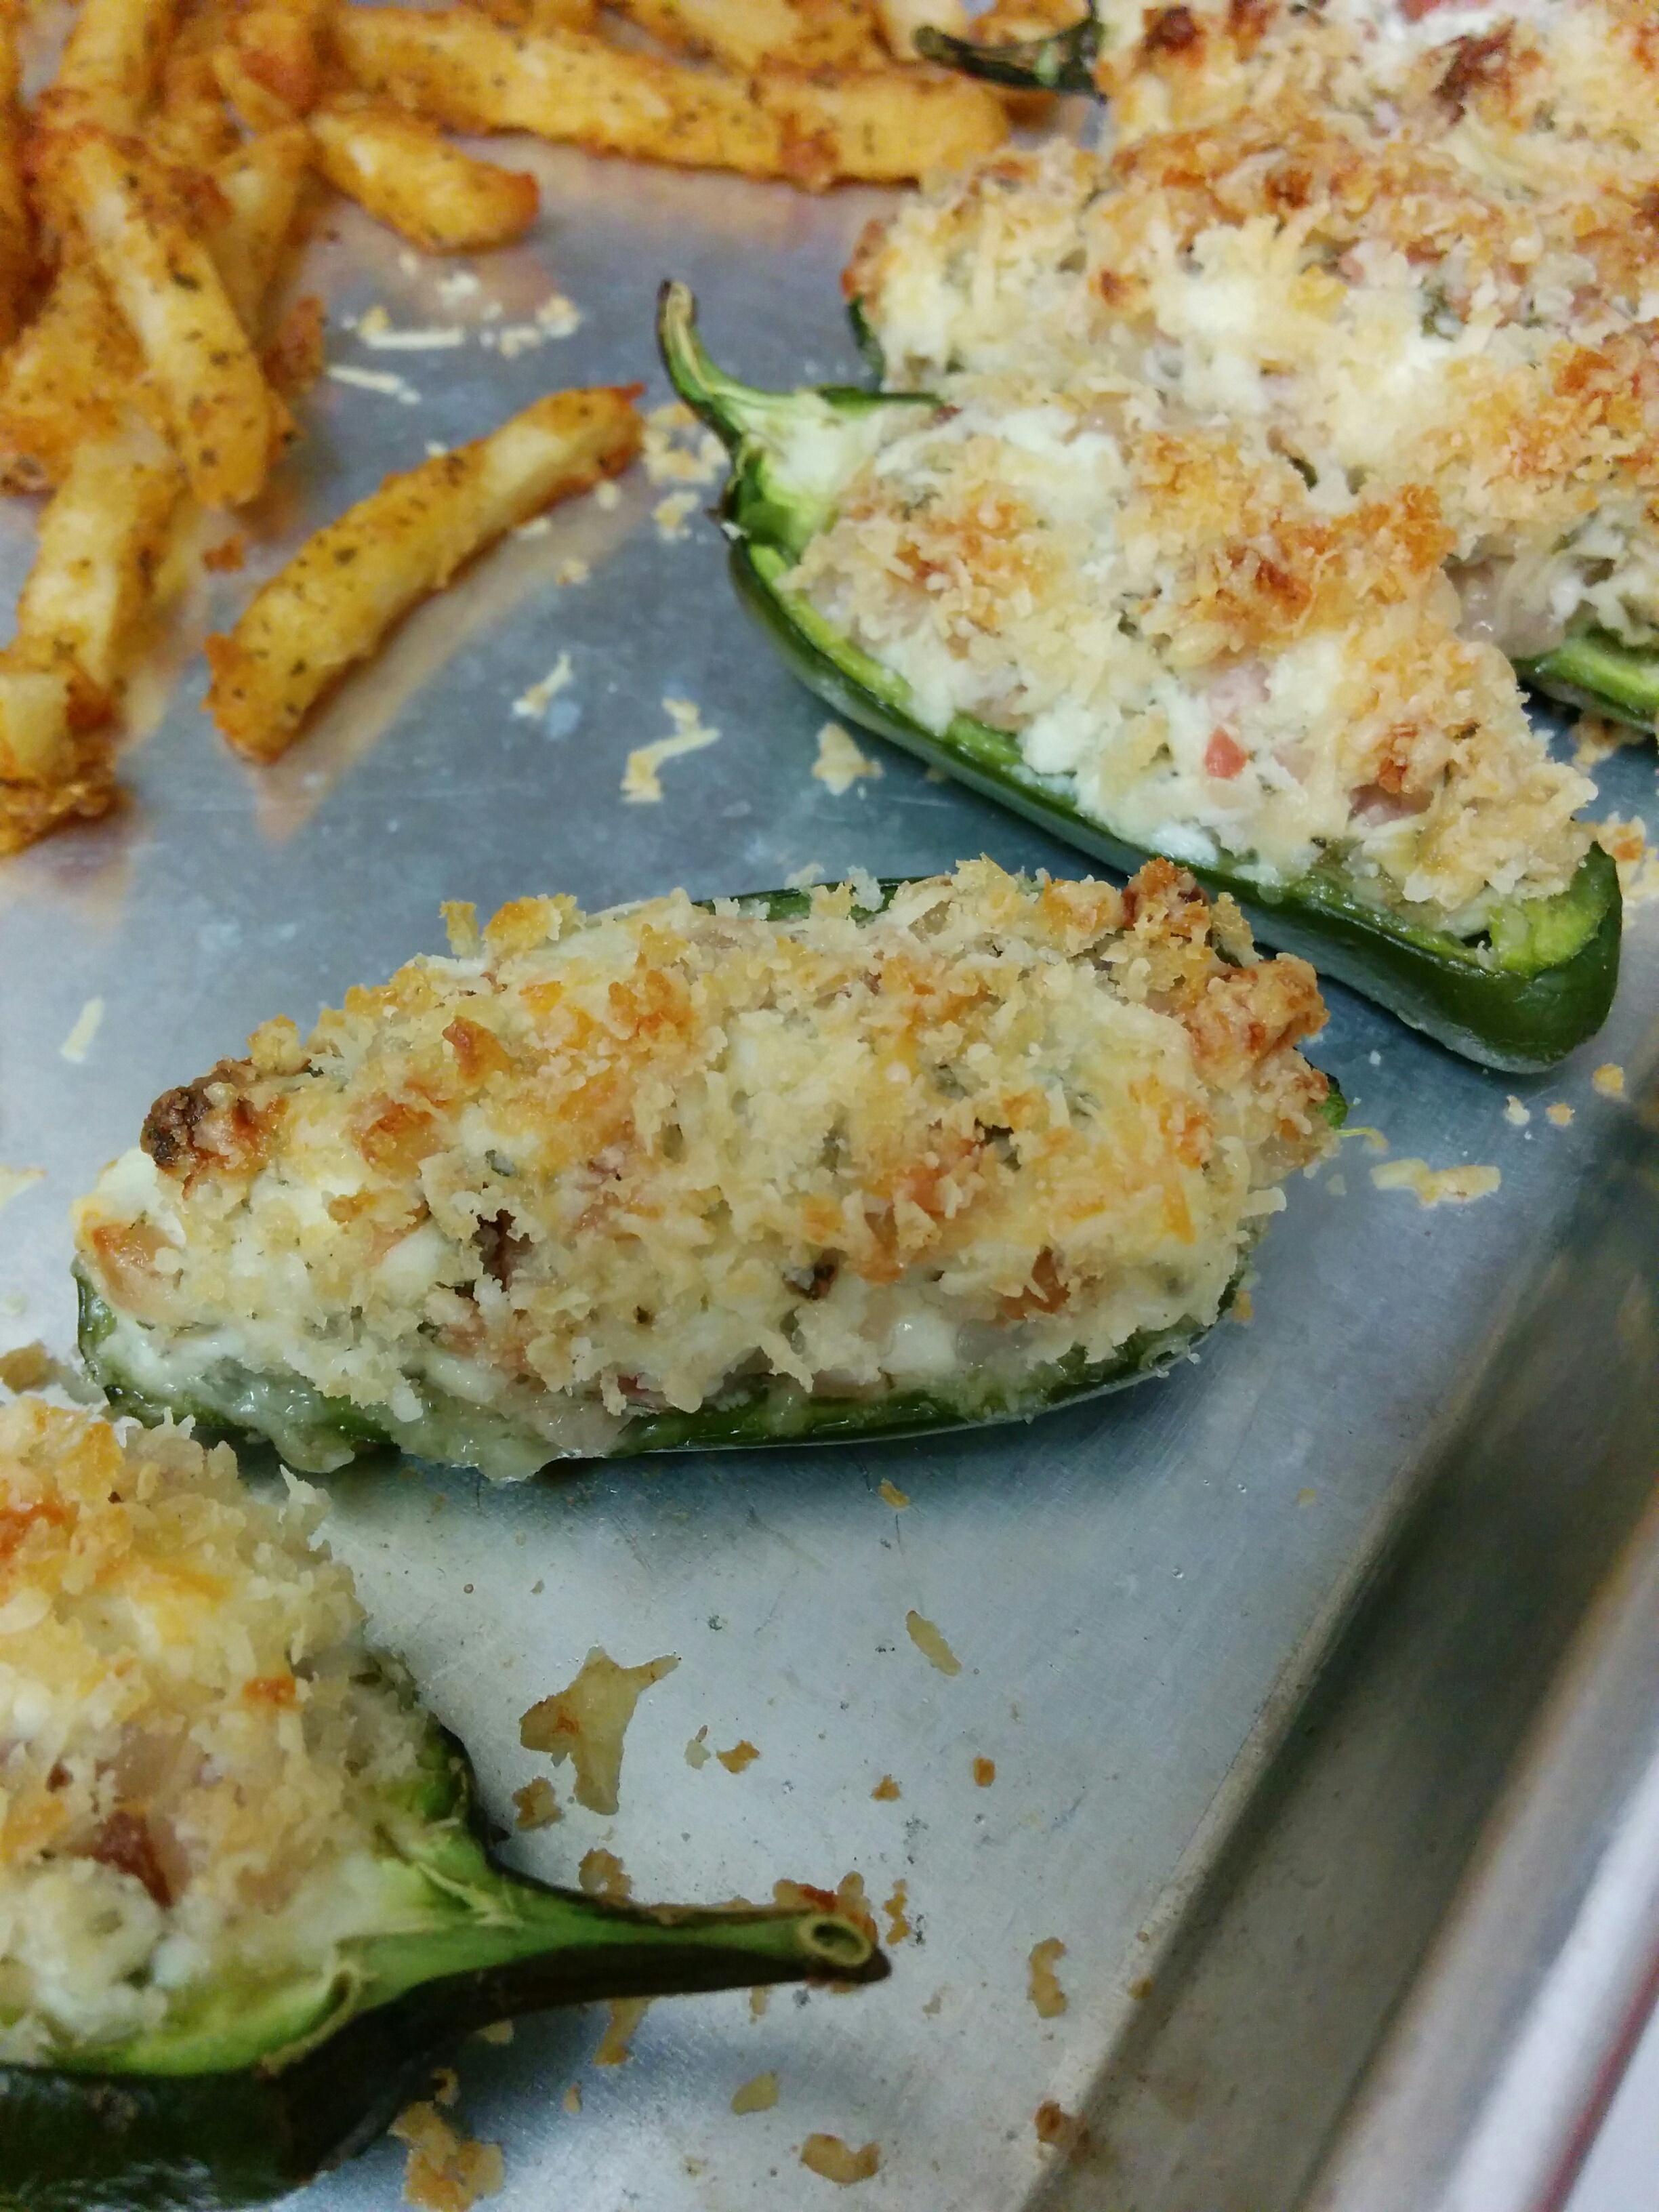
I love making these little boats as part of our ‘Pub Night’ meal, or as a starter to a longer cooked meal. Easy to make, easy to fill, easy to bake.
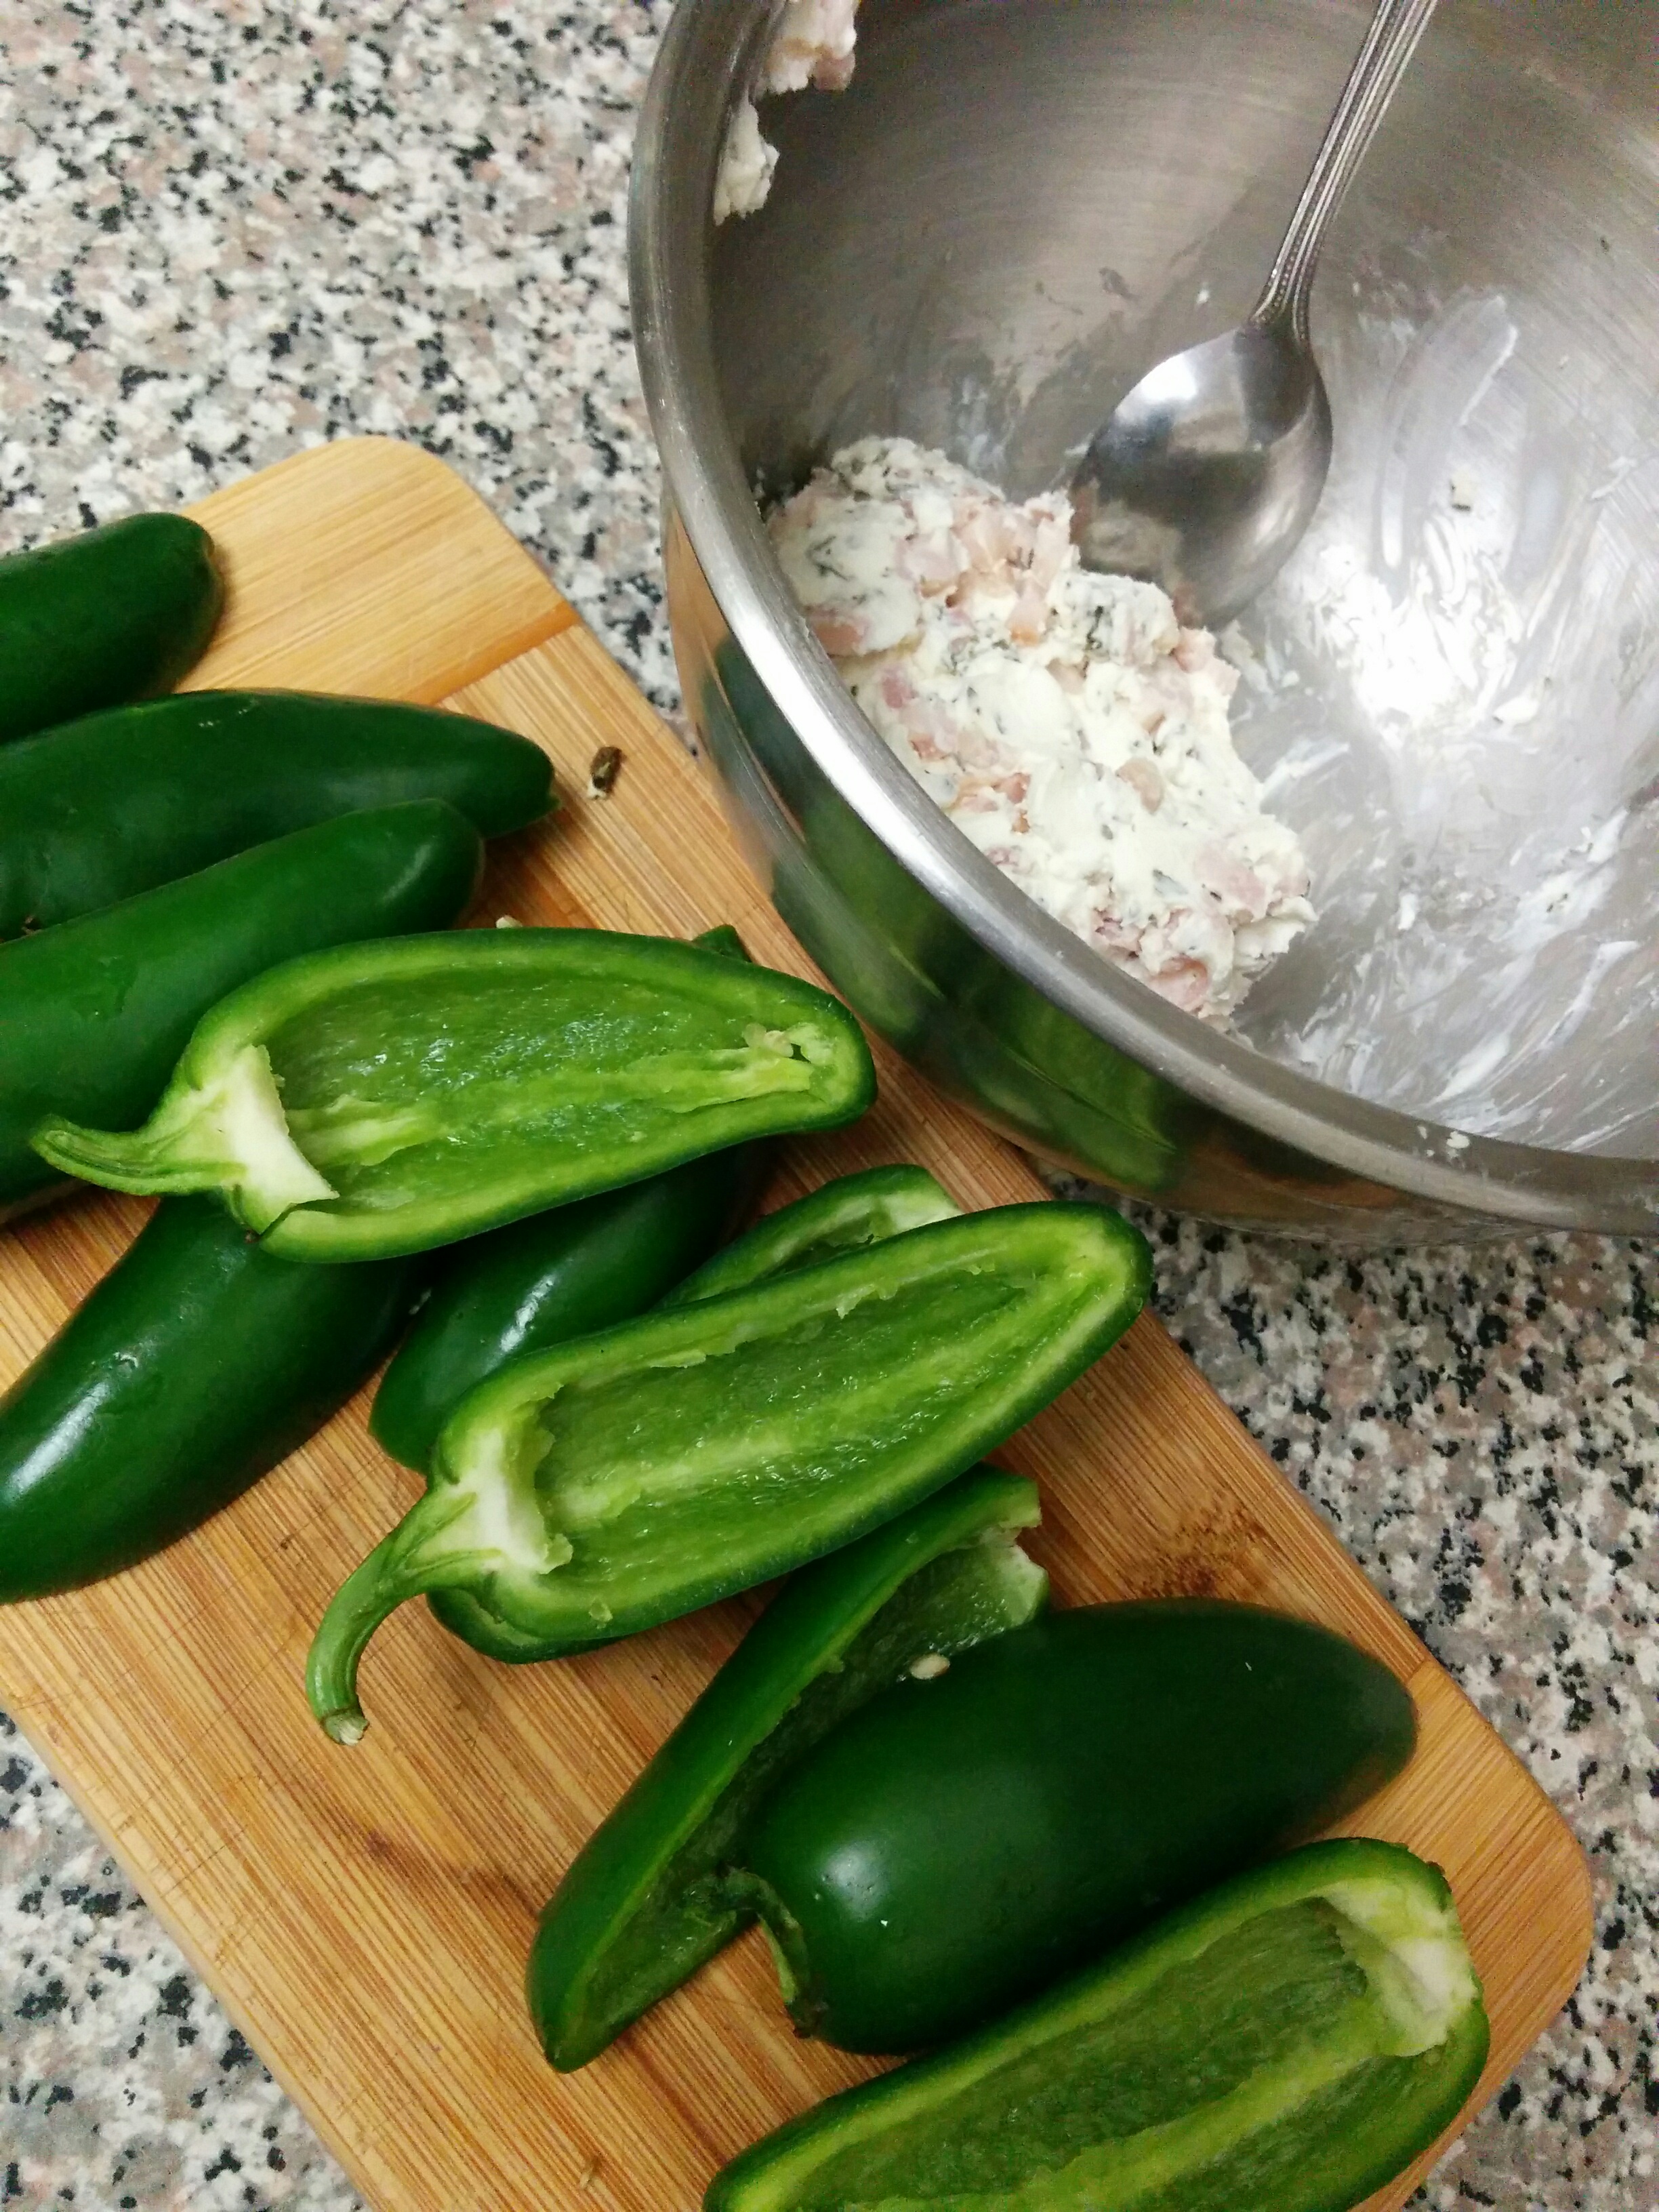
Jalapeno Boats:
6 Jalapenos, washed, stem end cut off, halved, and hallowed out
1 Bacon Strip, cooked, tiny dice
4 Tbsp Cream Cheese, tiny dice
1/4 Cheese Shred of choice
S&P

Wear gloves when working with the jalapenos, and I tend to wash my hands three times after I take the gloves off. Add everything but the jalapenos to a small bowl. Squish it all together with one gloved hand, making sure everything gets evenly smushed together. This is your filling.

Take a half jalapeno at a time and using the back of a spoon, add a bit of the filling to each cavity at a time. Using the hand holding the jalapeno being filled, start molding the filling to the cavity so it stops trying to fall out. I tend to make each filling flush with the tops until I get to the end of the jalapenos I need to fill. If there’s extra left over – depending upon how much is left – I may store the rest in the fridge for more jalapeno boats the next day or simply plump up the ones in front of me.
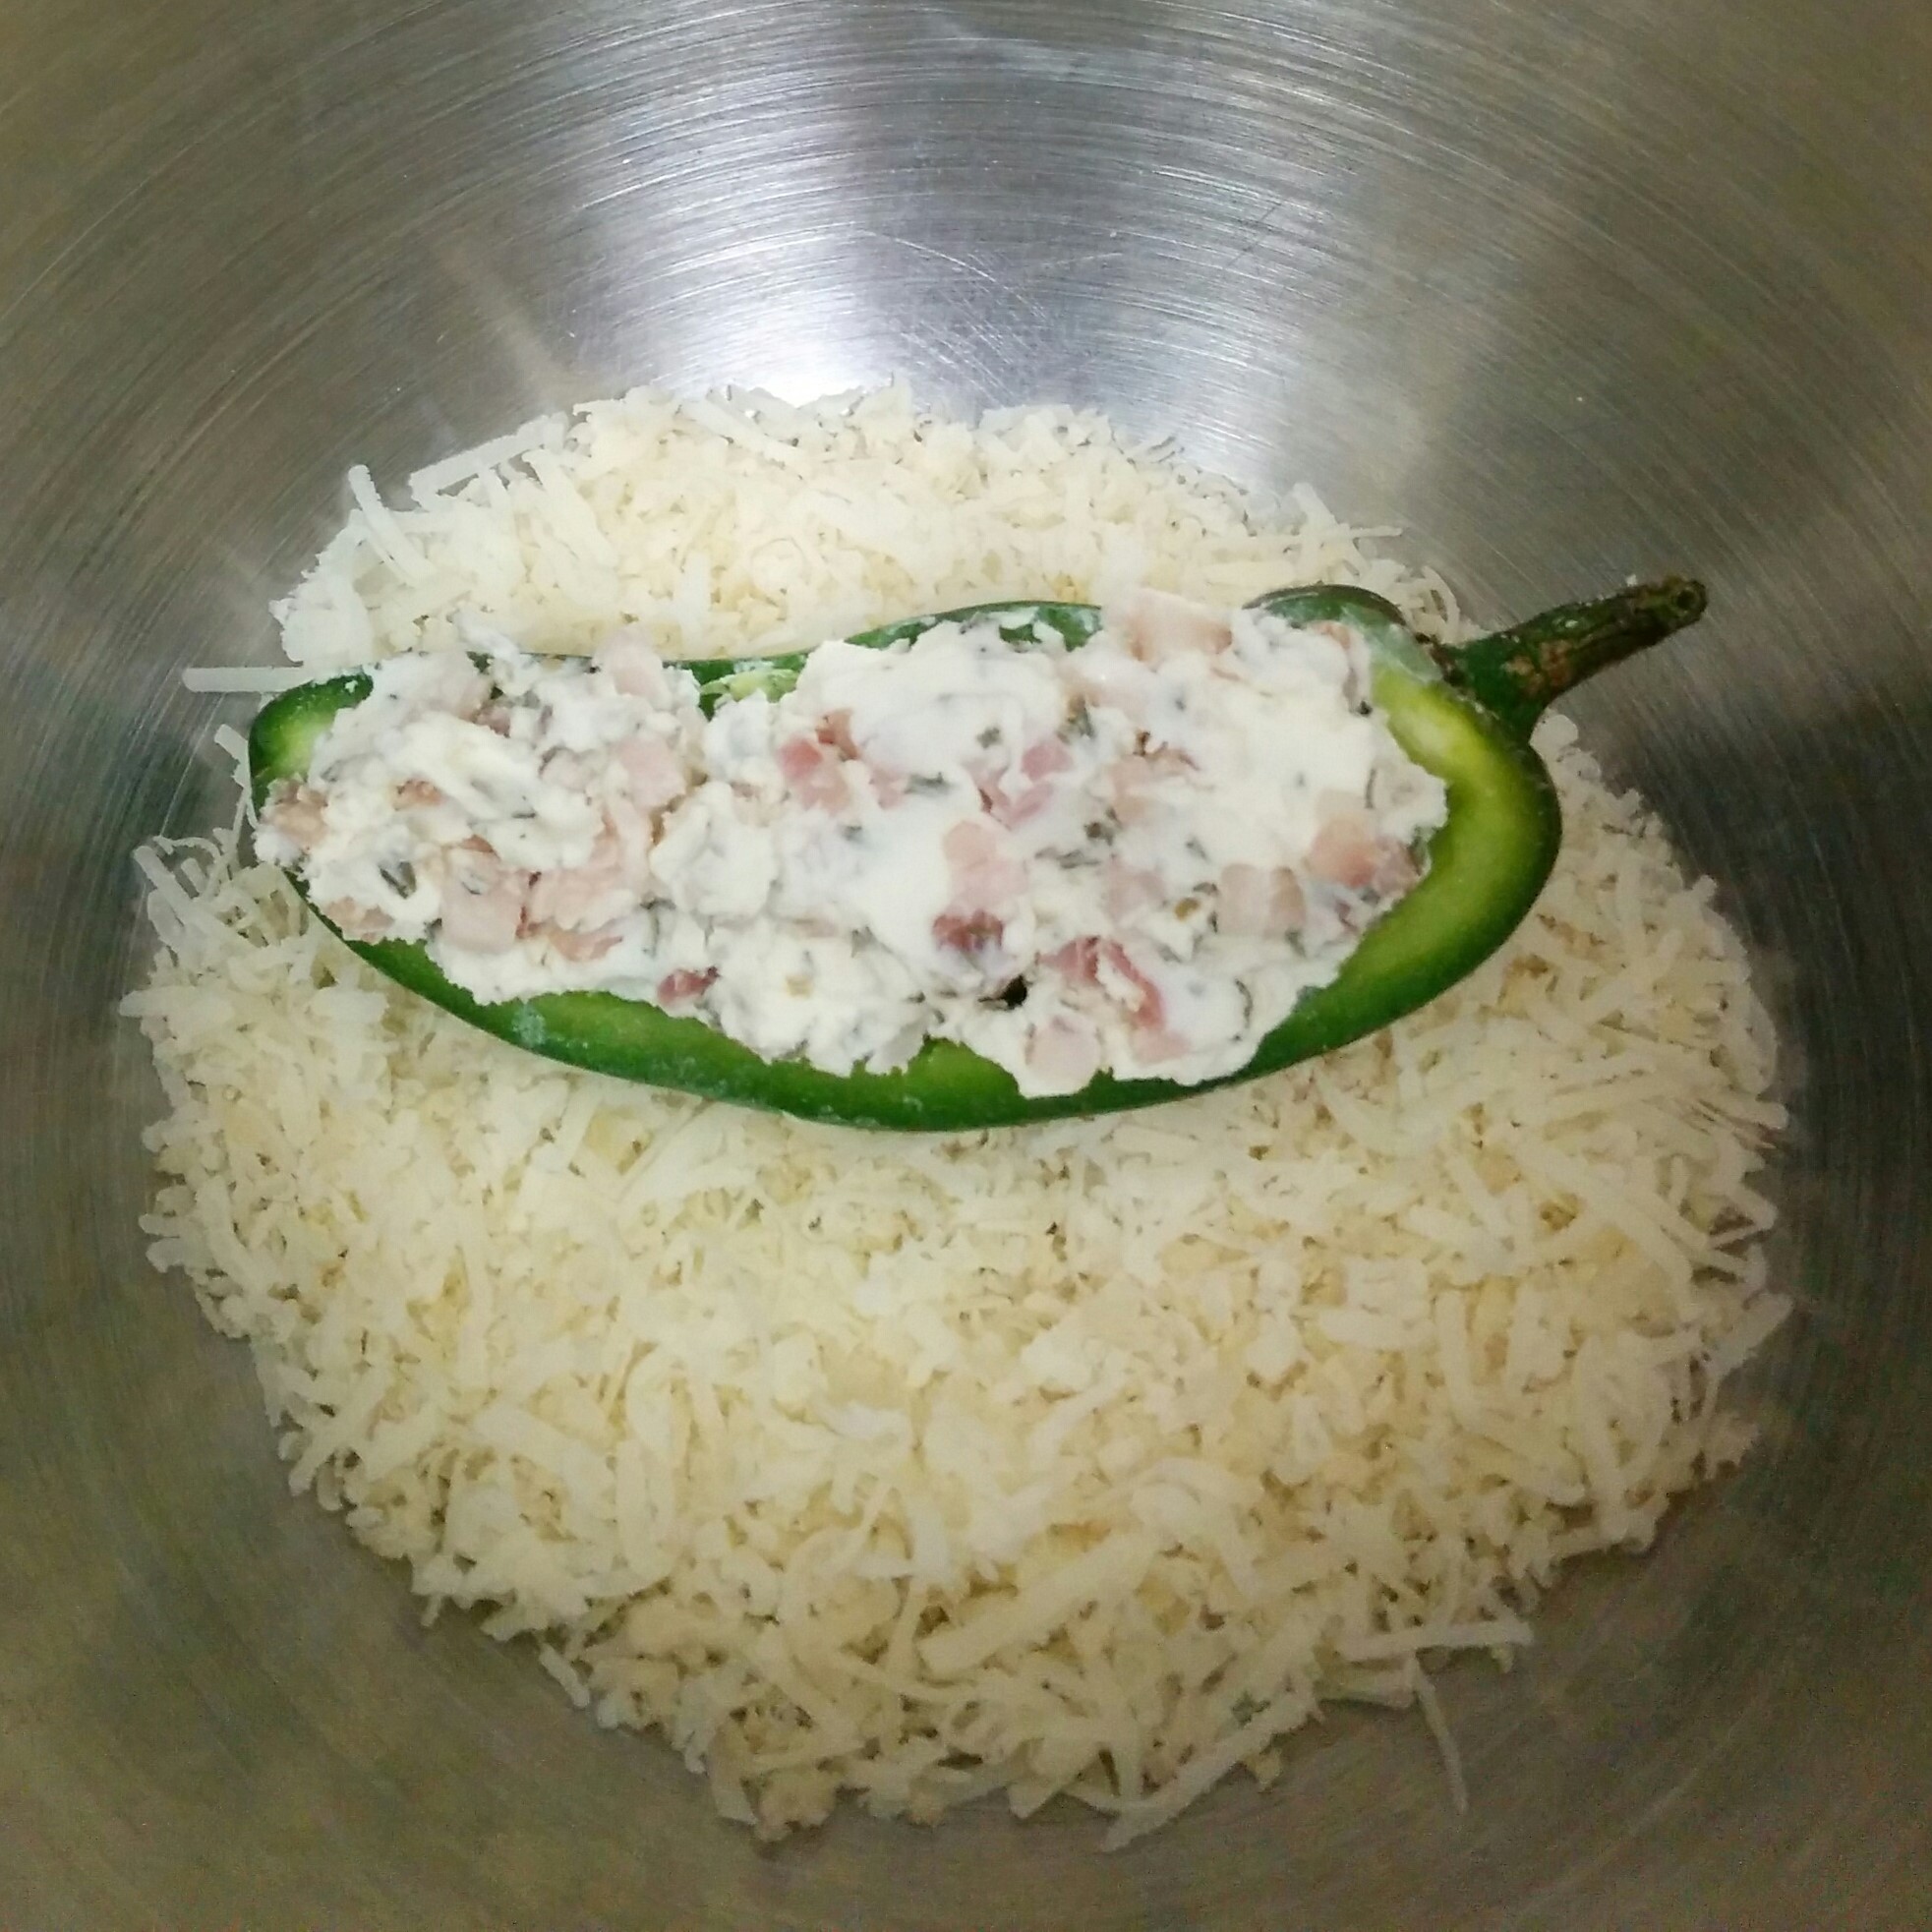
1/4 C Breadcrumbs (optional: with seasonings and grated parm cheese)
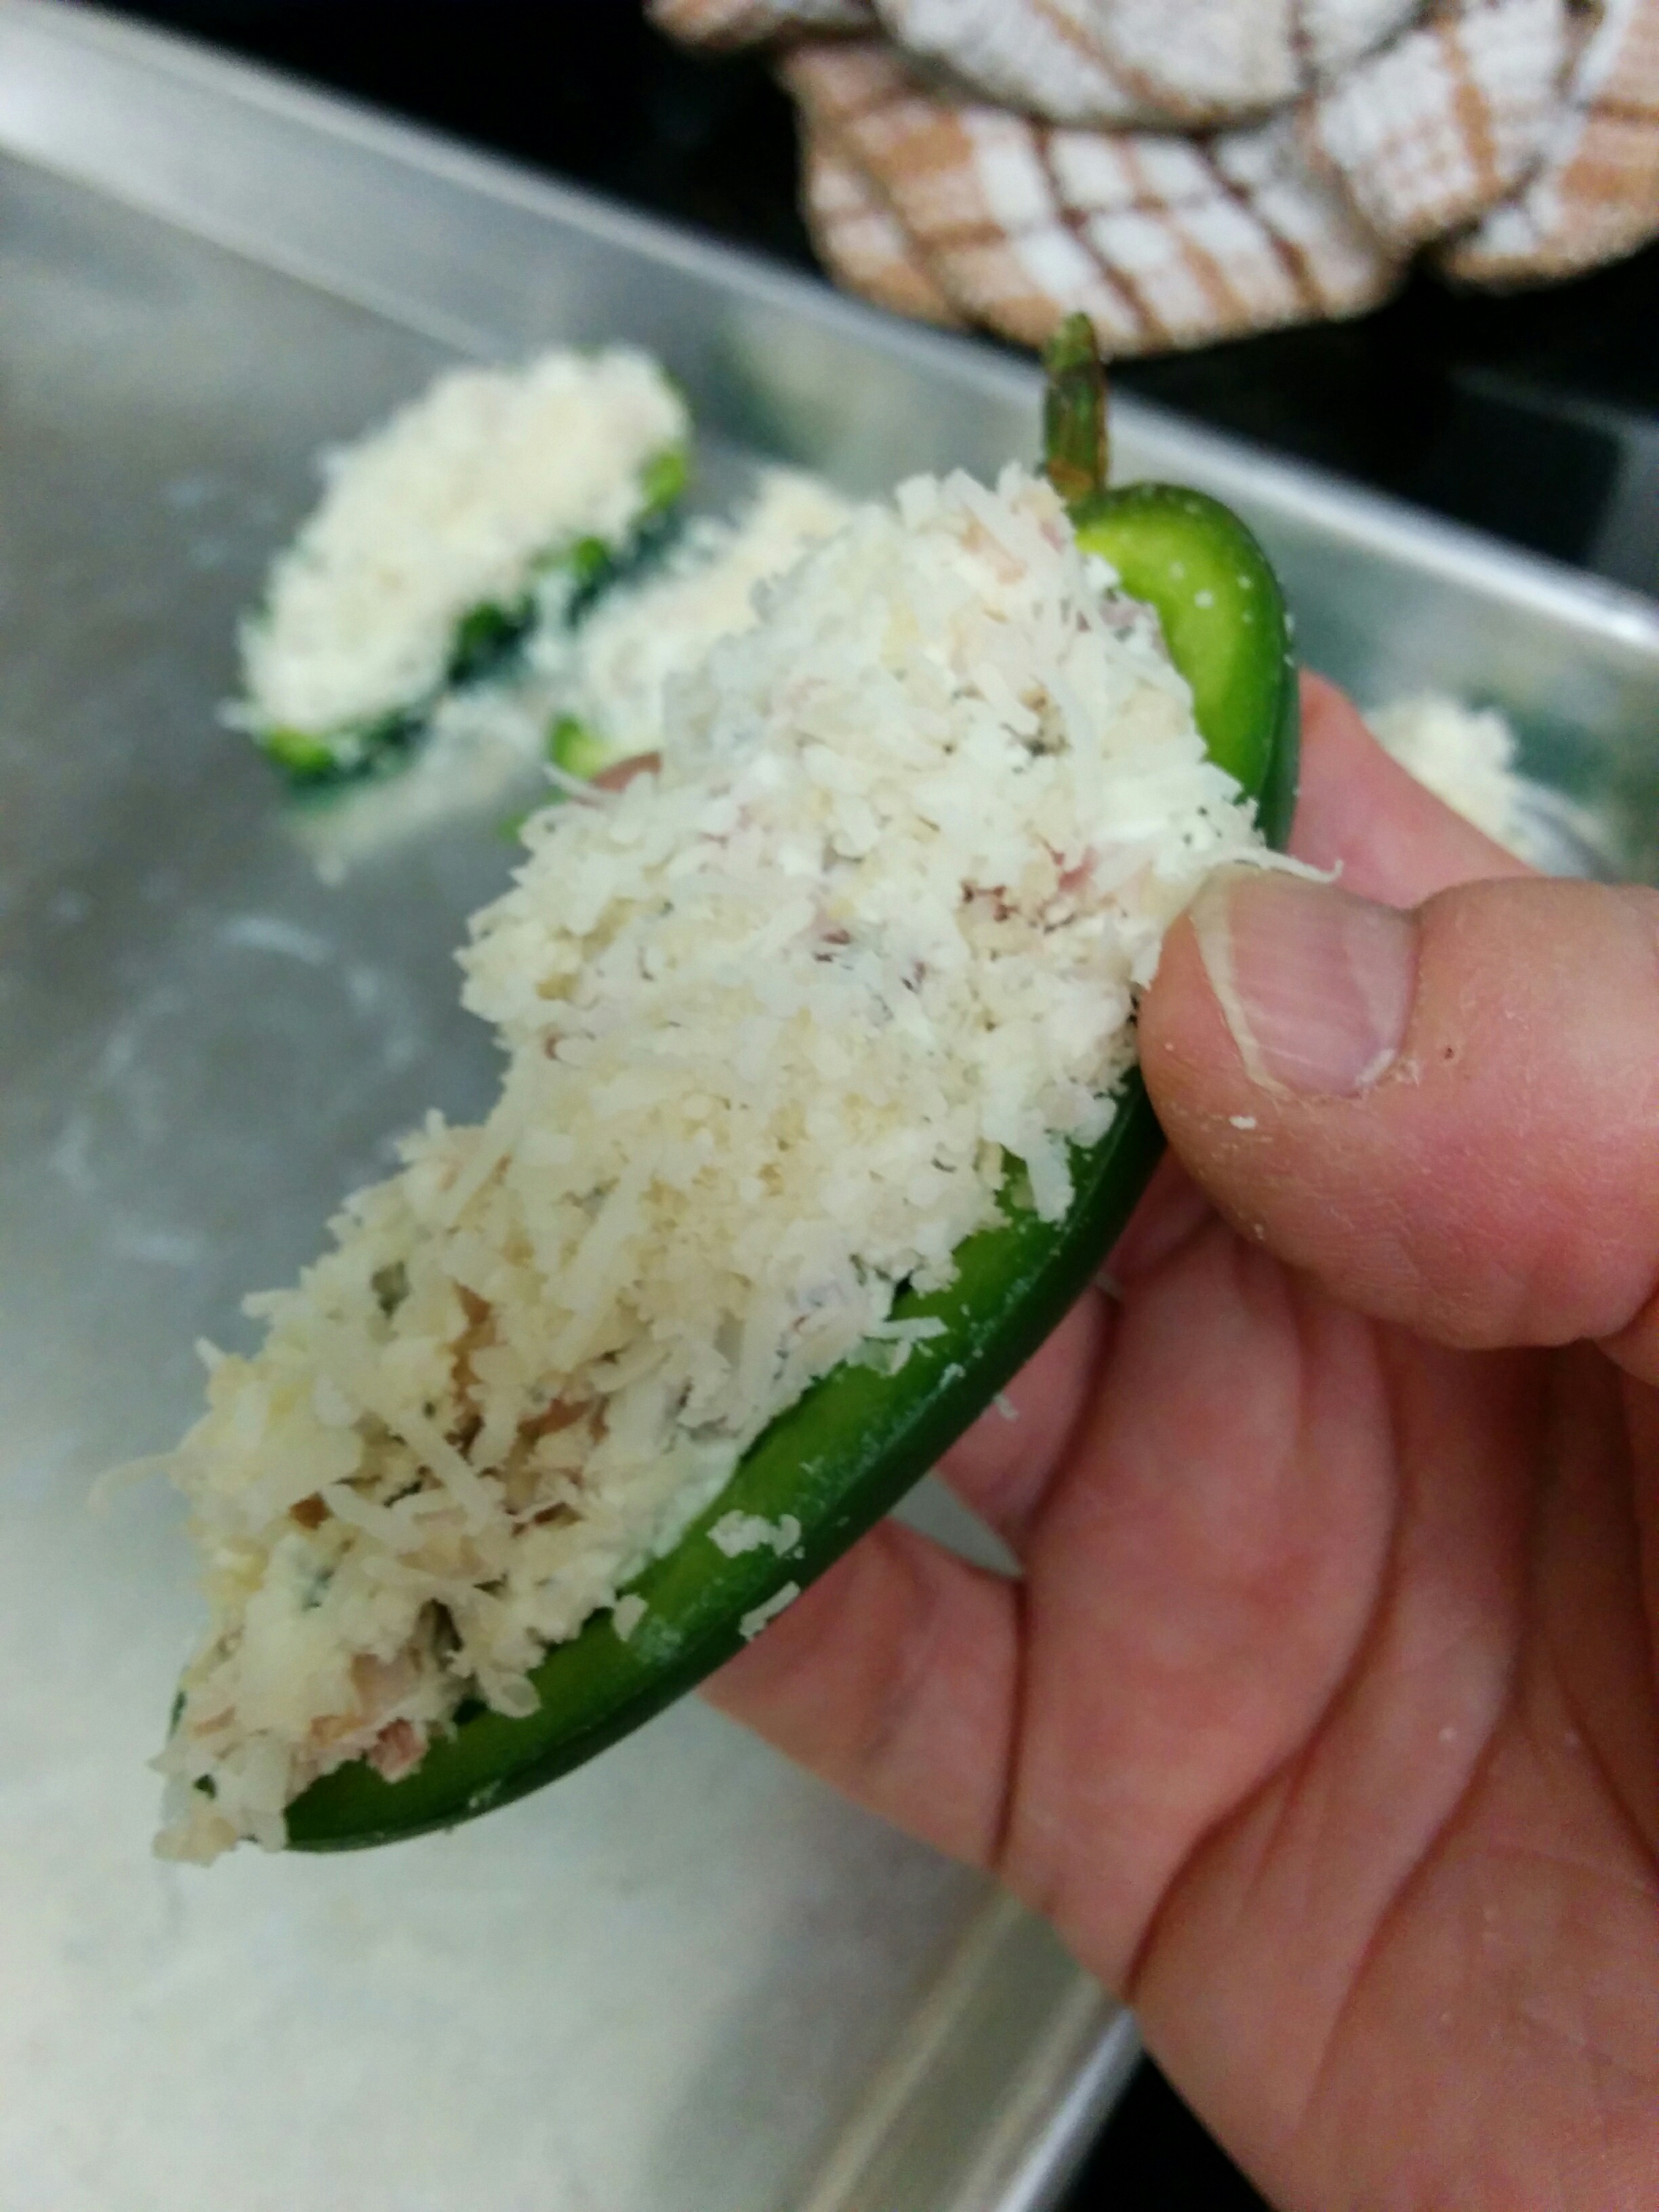
Dip each jalapeno boat into a small bowl filled with the breadcrumbs. Gently push down so the breadcrumbs stick into the filling.
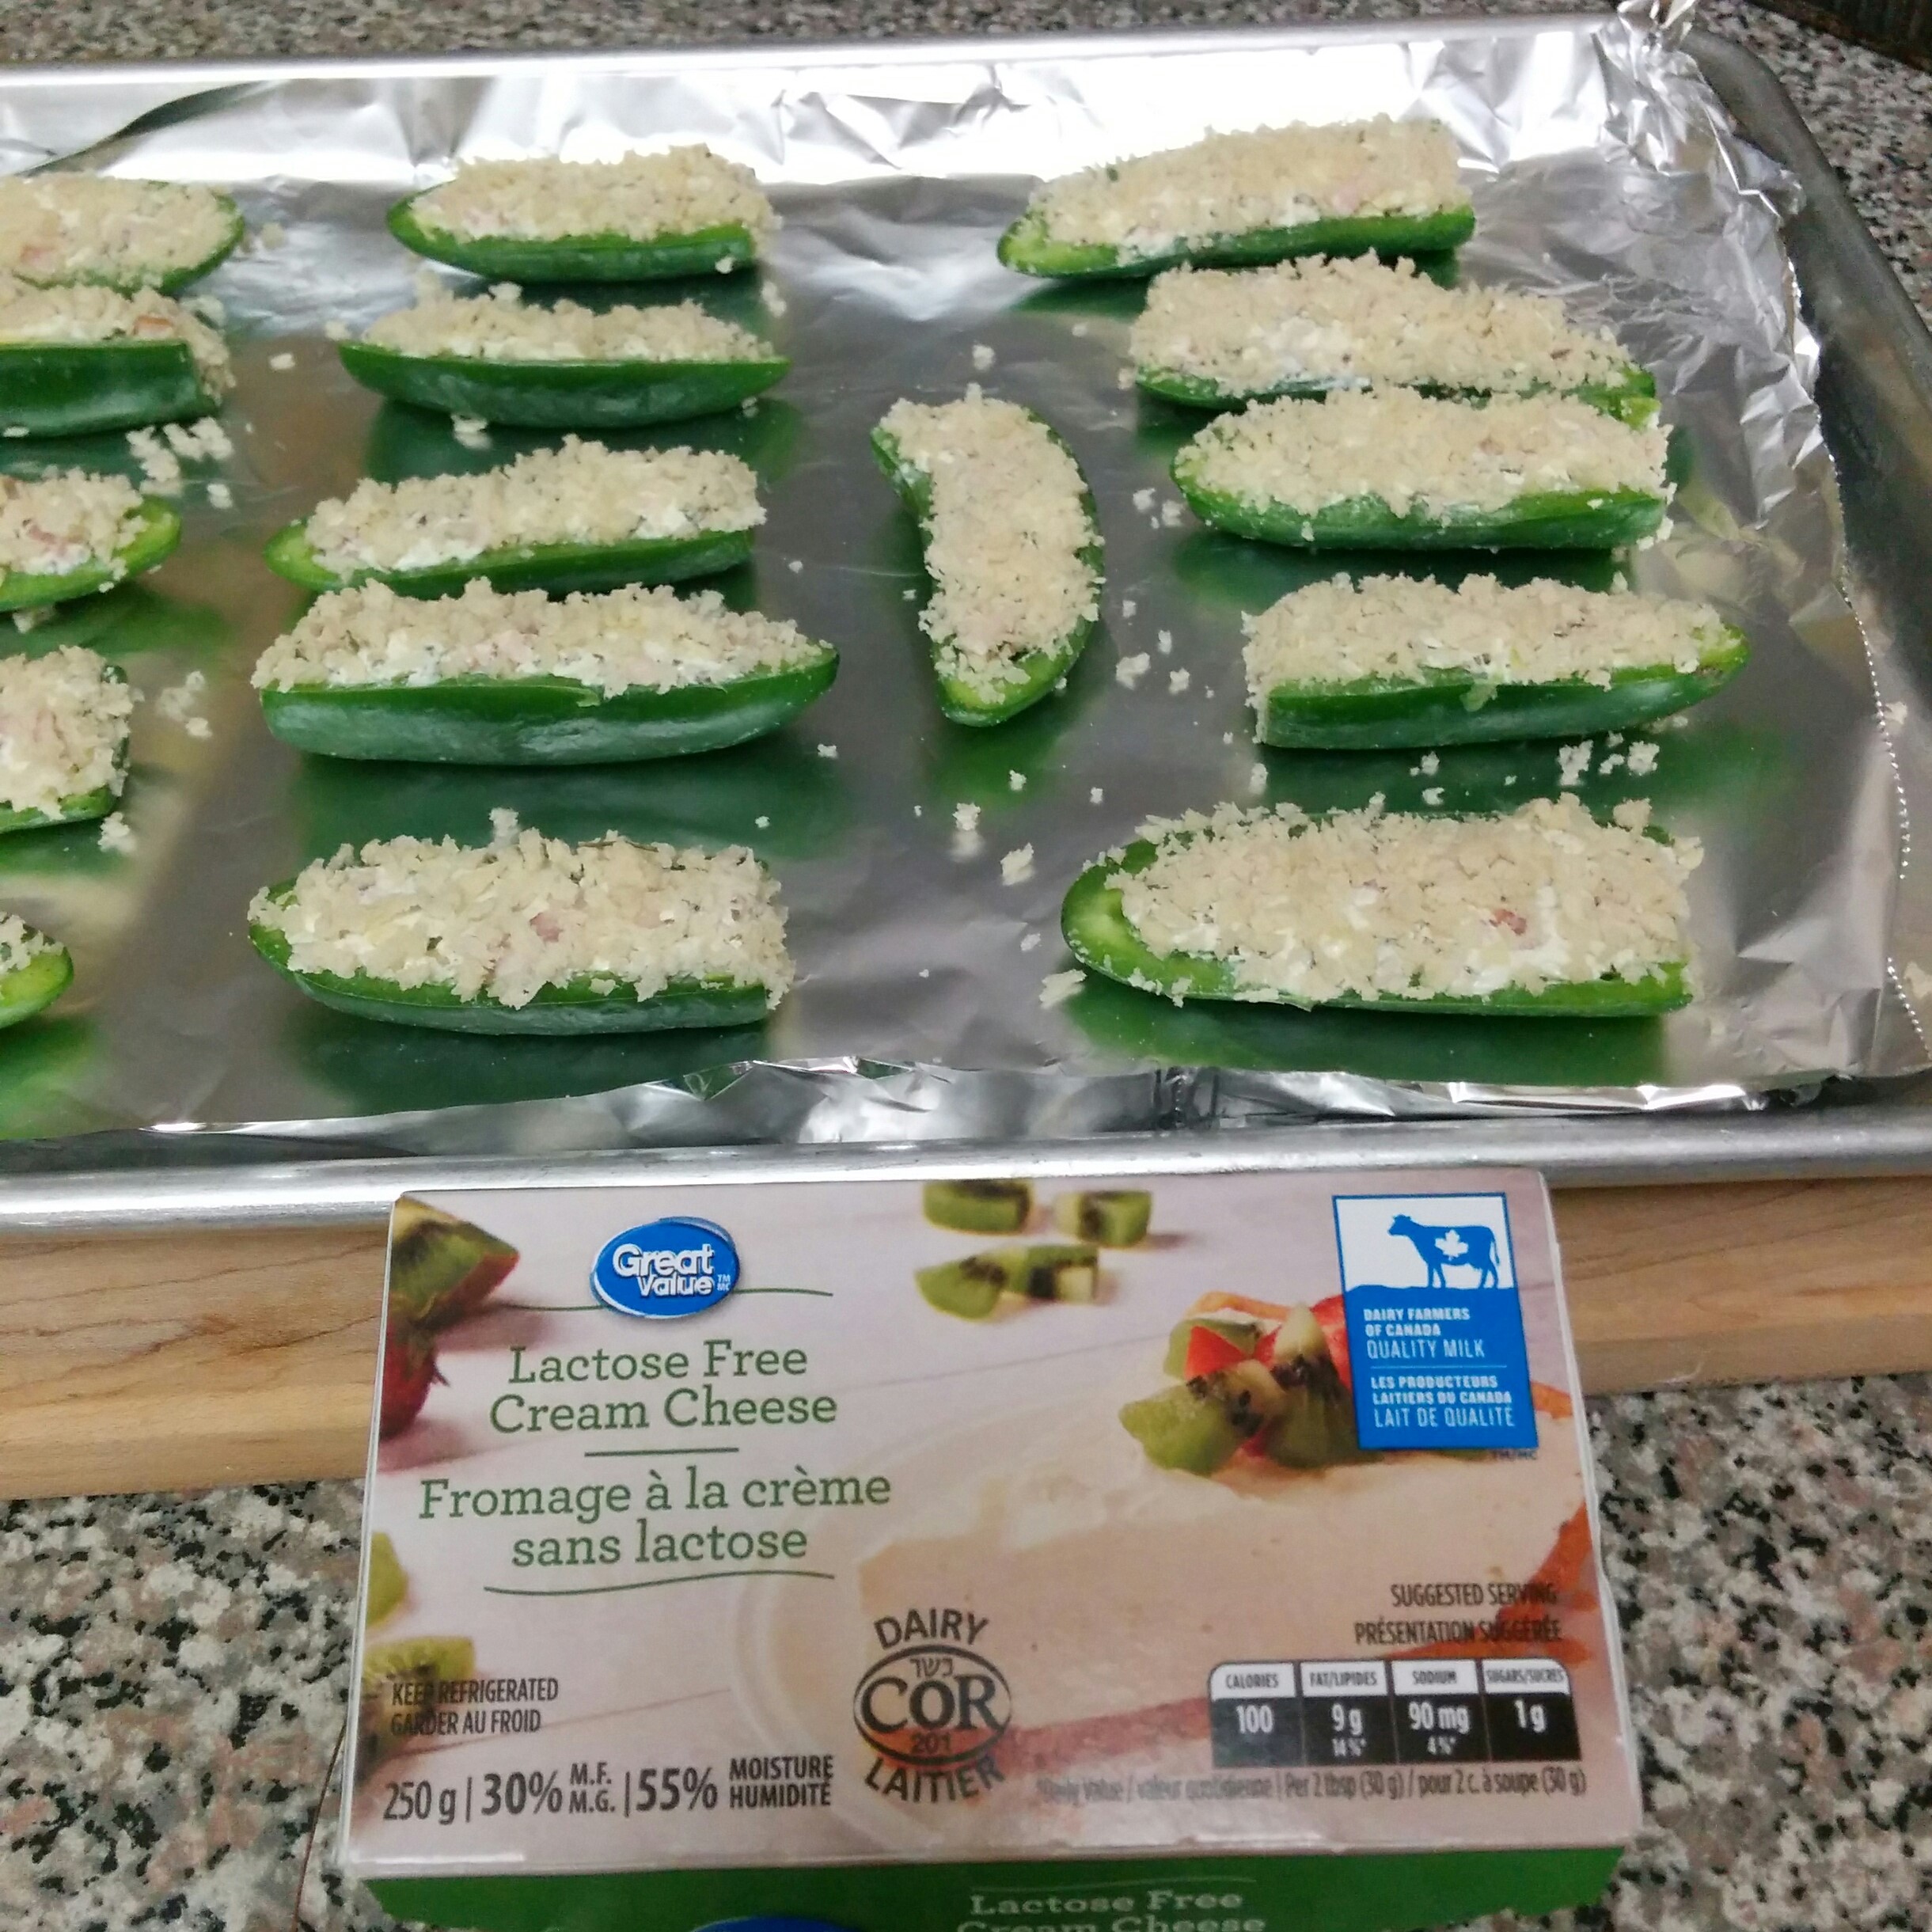
Place each finished boats onto a baking tray and pop into a pre-heated oven set to 400 degrees. Bake for 20 mins. Let them rest on the tray on top of the counter for another 10 mins. Serve hot, but not blazing hot straight from the oven.
Note: If you’re like me, lactose intolerant, good news. Walmart sells their own lactose free cream cheese now, and it totally works in these jalapeno boats. And the price is on par with regular cream cheese, which, btw, is almost unheard of for a specialty product!