Bowtie Ballsagna:
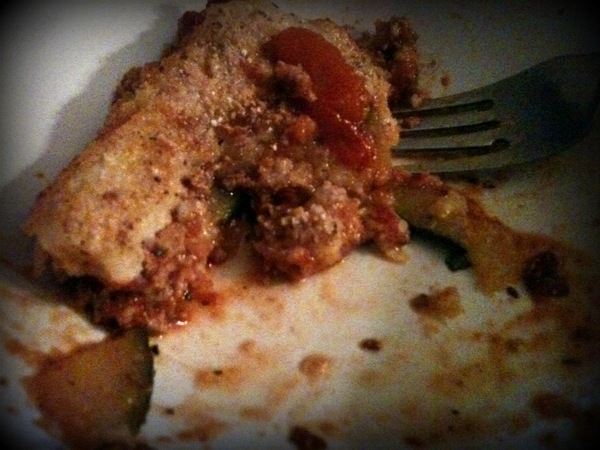
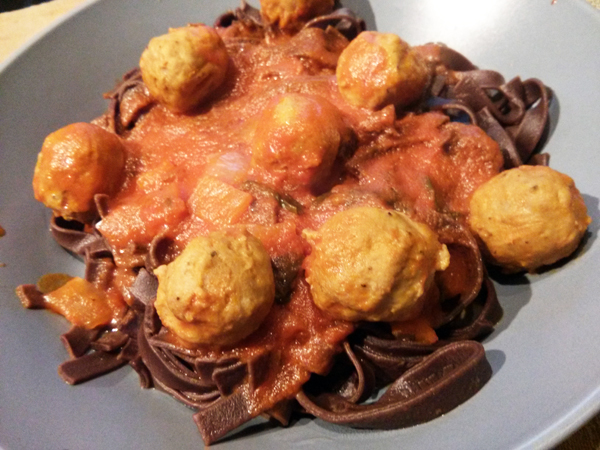
( Placeholder for new picture )
2-3 C bowtie noodles
2-3 C fresh spinach
3 C homemade pasta sauce + 12oz of tomato puree
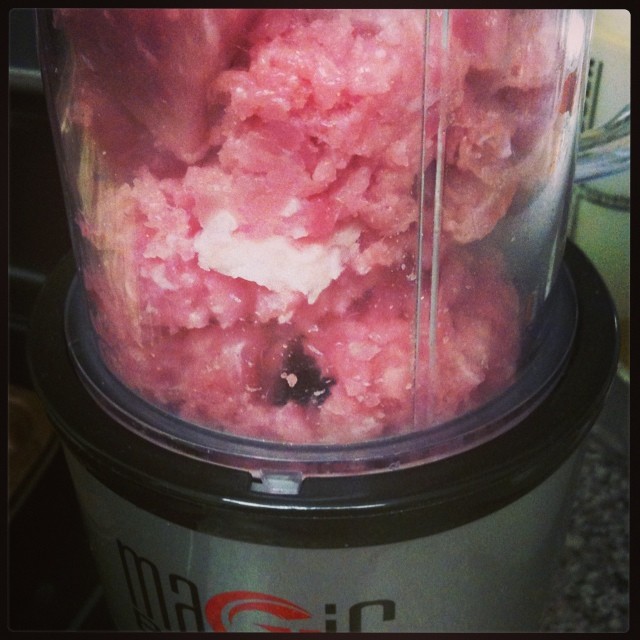
24-36 mini meatballs
6-8 fresh Thai basil leaves
2 C ricotta cheese with S&P to taste
2 C grated mozzarella and parmesan cheeses
2 C toasted breadcrumbs (optional)
Layering from the bottom up:
Thin coating of pasta sauce (no meatballs)
Cooked bowtie pasta noodles
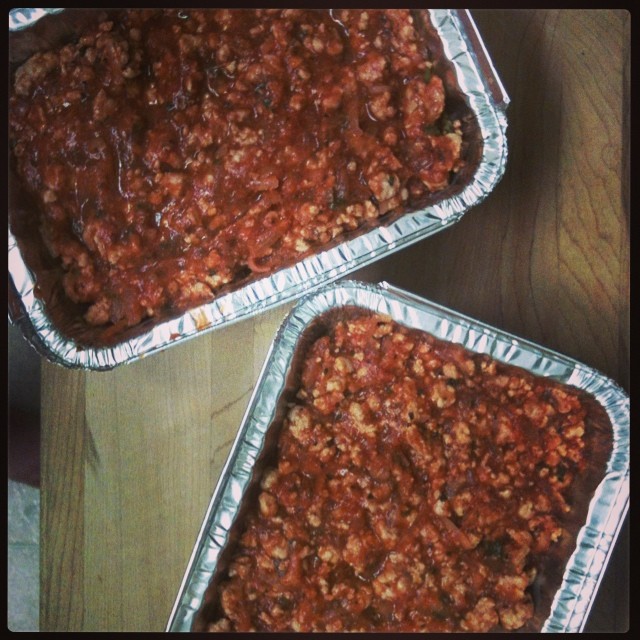
Pasta sauce with meatballs
Wilted spinach (in a thin covering)
Ricotta cheese
Cooked bowtie pasta noodles
Pasta sauce with meatballs
Wilted spinach (in a thin covering)
Ricotta cheese
Pasta sauce (no meatballs)
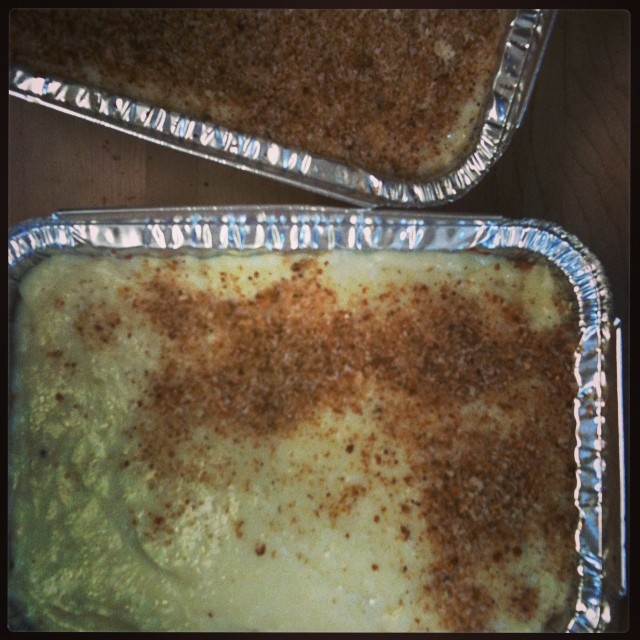
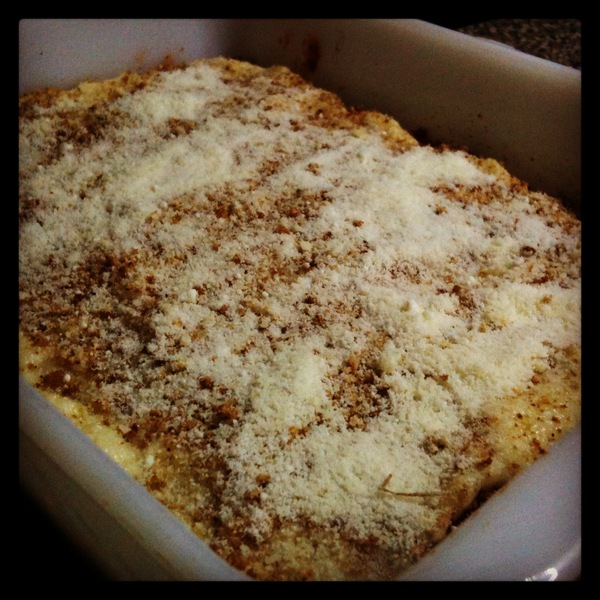
Mix of grated parmesan and mozzarella cheeses
Breadcrumbs (toasted, and optional)
Start by cooking your bowtie noodles in water that’s been generously salted. In a large non-stick pan, start wilting down the spinach with a small pinch of salt and a teaspoon of oil (your choice); set aside to cool when it’s all cooked down.
As you cook the pasta and wilt the spinach, reheat your prepared or jarred pasta sauce in a deep sauce pot. To this, add your freshly cooked (if you had time to make any, of course) or frozen meatballs, the tomato puree, some freshly picked and cleaned Thai hot basil (if using dry leaves, half the called for amount; whole or chiffonade) and freshly cracked black pepper. Let that cook long enough to heat the meatballs all the way through.
Note: If you don’t have fresh or dried out Thai hot basil leaves, fresh sweet basil will be fine in the sauce. We like a bit of zing in our lasagna sauce, so that’s why I grow Thai hot basil in my garden.
Scoop out a bit of the pasta sauce to spread all over the bottom of your lasagna pan thinly. Scoop out a few more spoonfuls of the pasta sauce and set aside (this is for the topping). When your pasta is done cooking, drain it well. Layer more or less than half of the cooked pasta over the sauce in the lasagna dish. (Only use enough to cover the sauce, otherwise this lasagna will become very bulky.) Over the pasta, place a generous amount of sauce with half of the meatballs to cover the pasta noodles, but not much more.
Over the sauce and meatballs layer, lay half of your wilted spinach all over and top that with a few blobs of ricotta cheese; (I use a medium size offset spatula to) spread the ricotta over the spinach in an almost opaque layer. Top the ricotta with the second half of your pasta noodles and top them with the last of the sauce and meatballs. Top those with the last of the wilted spinach, and then top the spinach with the last few blobs of ricotta spread out and the reserved pasta sauce before finishing the lasagna with your two grated cheeses (and toasted breadcrumbs if you like).