Home Renos – Electrical Panel

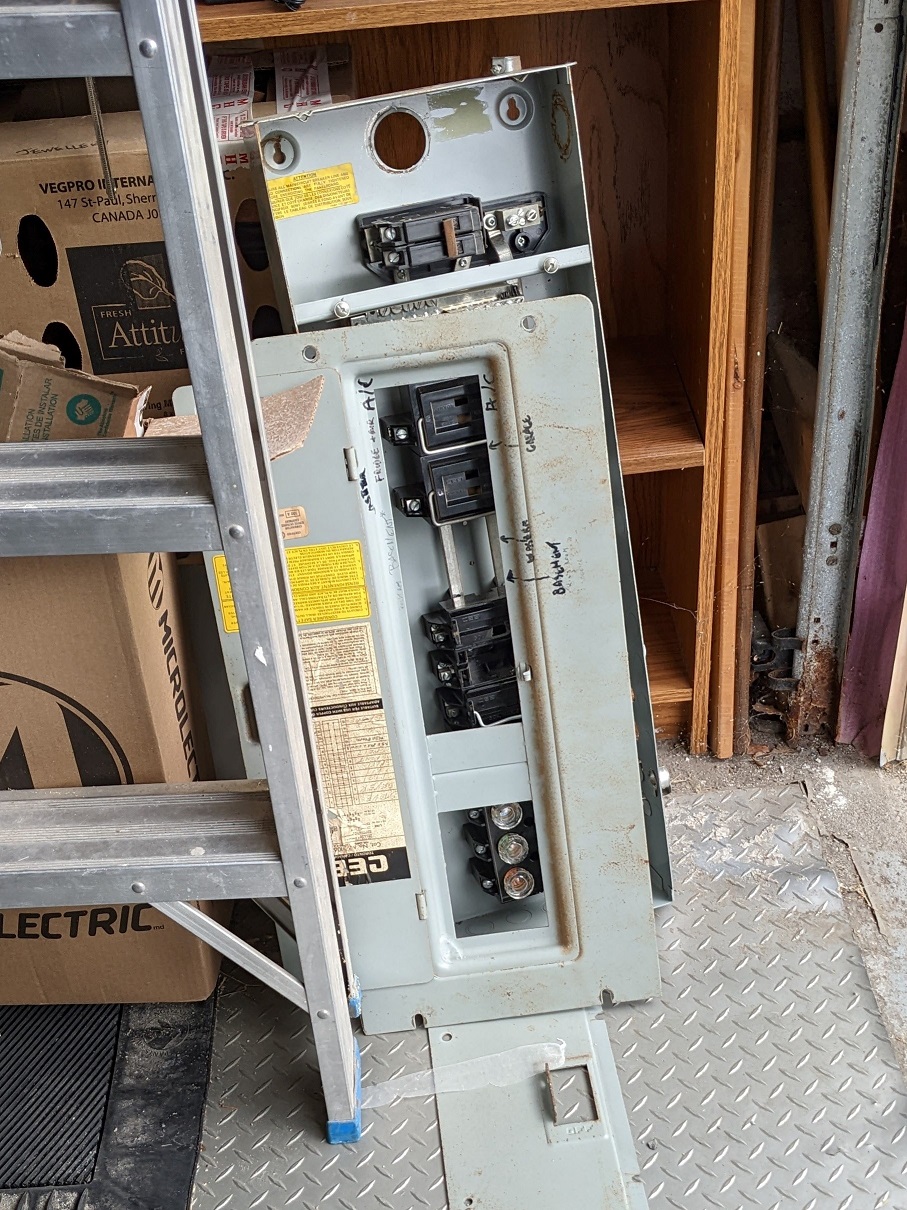
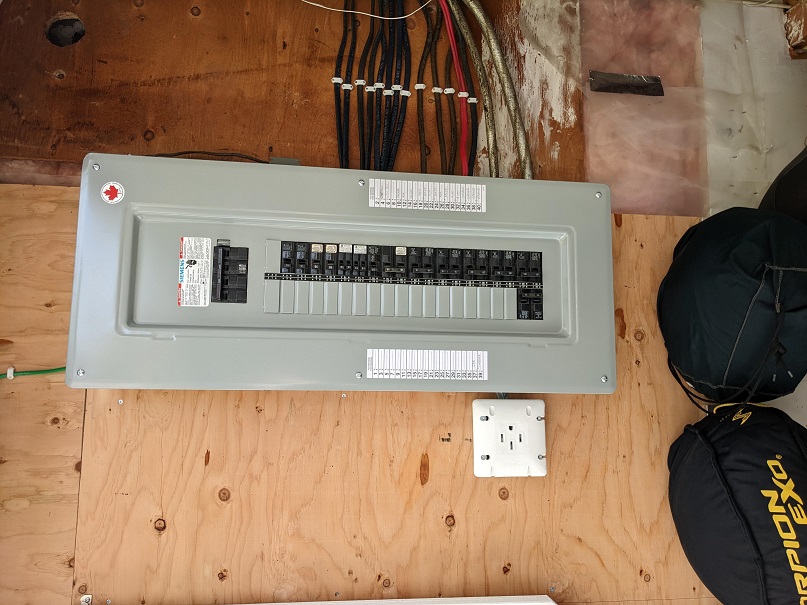
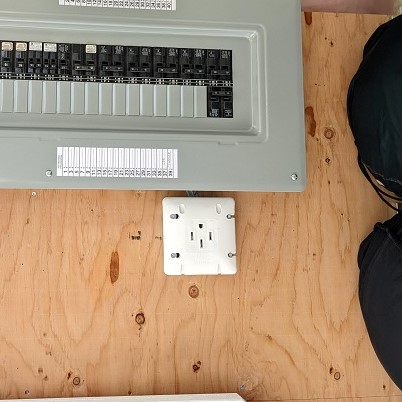
The husband has been looking at electric cars for awhile now, but getting serious about it just this year because of, well, gas prices. And the technology. And the future. Setting up a home charging station for an EV car in the garage dovetails nicely with the swap out of our old fuse based electrical panel in the breaker style panel that we’ve been talking about having done since we bought his house over a dozen years ago.

So, he pulled the trigger on it in September after finding someone who could and would do the work for us. If not for the pandemic, this would have been a swap we did two years ago even though we wouldn’t have thought about the EV component in any serious way. I’m happy he lobbied me for it. Now we are ready for the future of cars!

And this is this is the crown jewel of this reno. The item that will help us, or whomever owns this house, when EV cars are finally affordable. The future is closer now. The whole project was worth every penny (SO many pennies).

Home Renos – Bathroom / Kitchen

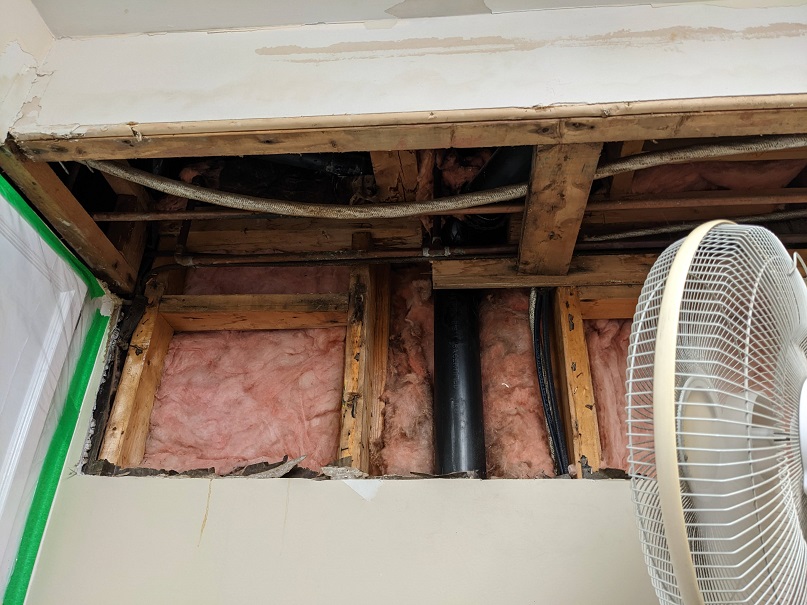
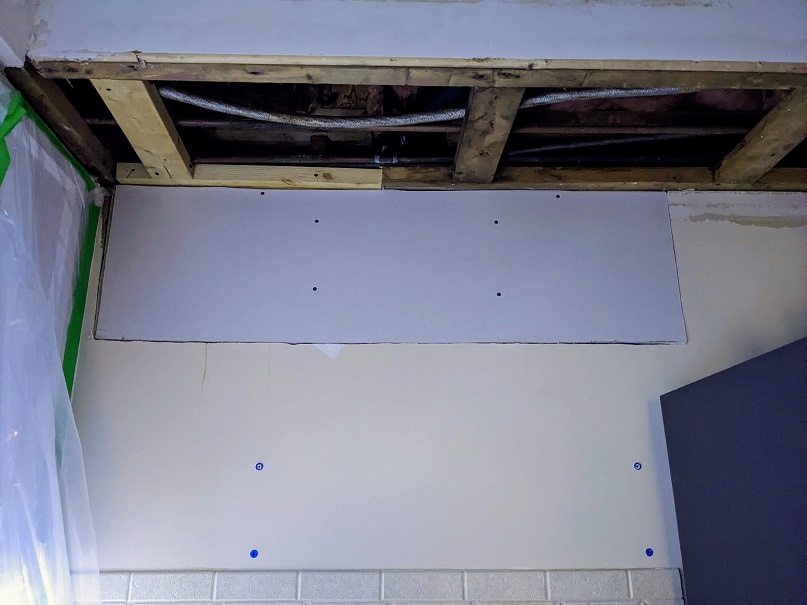
For the last three months, we have been in home reno mode. We were already talking about doing something in some areas of the house (the dining room space, specifically) when we had an issue with the bidet attachment on our upstairs toilet leaking and cracking a few of the floor tiles from the water damage. There is no way of telling how long it was leaking based on the damage we saw after opening up the bulkhead, but we did see it wasn’t the first leak that toilet had, and ours was just the latest. The new wood planks in the pictures are replacements for any of the moldy, rotted out old planks that suffered from past toilet leaks.

How we discovered this problem was one day there was a gross rust colour water on my kitchen counter that I couldn’t trace at counter height after moving all kinds of stuff out of the way, so I started to look around, and then up. EEK.

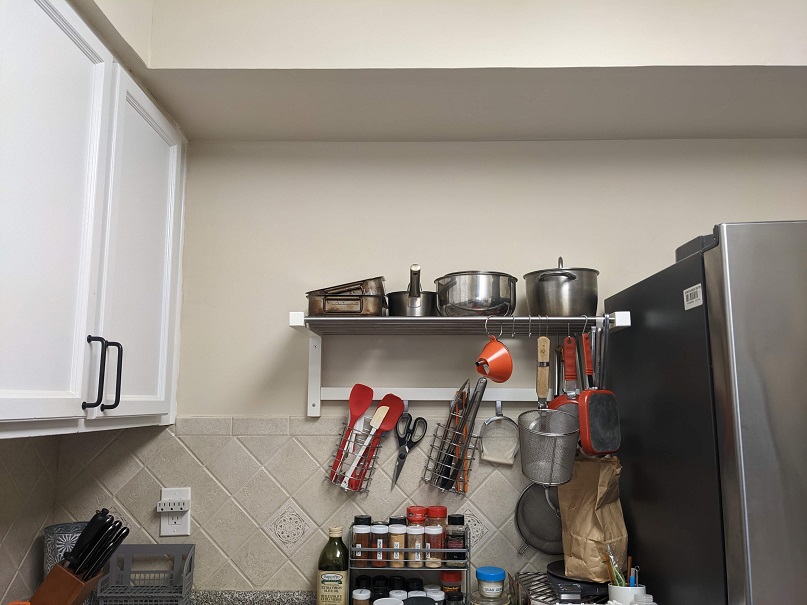
I turned on all the kitchen lights, and that’s when I saw a huge wall bubble of water behind the paint where the ceiling/bulkhead/wall meet. The paint I just put on those walls four months earlier. Ugh. I pointed it out to the husband, and he started poking around. While at work the next day, the husband used his staycation time to literally poke the bubble to empty it. All over my barely covered counter and cooking tools/spice racks. *sigh*

But that’s not the only thing he poked open. I came home to this above pic visual. So after a quick text consultation with my contractor brother, we set up a big fan and let it air dry for a few days while we assessed the damages and bought materials to replace and fix up the ceiling, wall, wood, drywall, and paint. Luckily the husband was able to do all of this while I worked that week, so I wasn’t in his way and he had loads of time to get it done properly without feeling like he needed to rush this job. That was the last thing I wanted, but at the same time, being without a full functioning kitchen for almost 1.5 weeks was a bit tiresome. I was glad to have my cooking space back, let me tell you.

And I couldn’t be happier with the work my husband did in there. I honestly have to look hard to see where this all went down on that wall and along the bulkhead. We stopped the leak for now, but eventually we will need to rip up our bathroom tiles. Issue there is those tiles match the ones on the shower walls, so… It will be a job, for sure.

There are touch-ups that need to be done in the kitchen, but now he’s eyeballing the light fixture as something he wants to replace with pot lights, and well, that just means more painting in the future, so we’ll leave the corners and edges for then.

But in the meantime, I was getting continually frustrated with lack of storage space in my kitchen and dining room to fully store all of my ‘kitchen shit.’ So, the husband finally cracked and created something for me in the IKEA building planner, and after I signed off on it, he went shopping. That’s a post for another day very soon. And I took pix. 🙂

And we did a few other projects that I will post about when I have some time this week.

What I Air Fried This Week

I made a lot of the same things I’ve already made, and I also went back to try the Chocolate Croissants again because I wanted to play with the times.

Instead of the typical 350-400* bake, I dropped it down to 300-320* for ten mins using a can of Pillsbury Crescent Rolls and a crushed up Flaky chocolate bar. Nailed it!

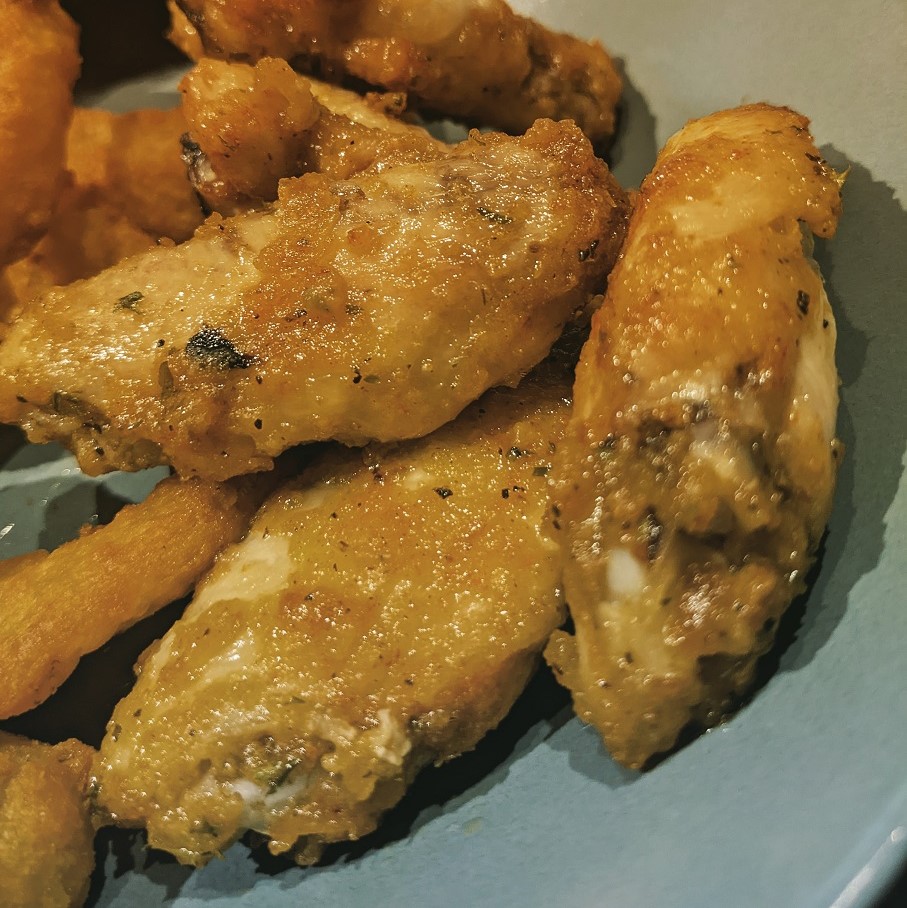
I also saw this video recipe for Lemon-Pepper Wings and decided I needed to try it since the flavourings were right up our alley. I mean, lemon and pepper? C’mon! So I used frozen chicken parts that I coated in seasonings and then in flour. I dropped them in the basket and flipped once half way, cooking them at 400* the whole time ( 8 mins + 8 mins).

The recipe called for rolling them around in some melted butter with the lemon-pepper blend, and they were fantastic. What I didn’t like was how the butter made the crisp texture straight from the air fryer soggy. :-\ I will definitely make these wings again but I will roll them in the lemon-pepper dry seasonings before I cook them and forgo the butter bath altogether.

And if that doesn’t work, I will dust the crispy wings in the lemon-pepper seasonings as a rub after they come out of the air fryer all hot and crispy.

Yes, I know. I need better lighting for my pictures. I agree. I have a ring light but my kitchen is still largely a mess from the unexpected repairs the husband had to do in there, and my ring light is buried in a corner right now. Oh, well.

Air Fryer Round Up

Sorry, been busy at home with some home projects that came up unexpectedly, and work, and… air frying everything that’s not nailed down, of course! LOL

Here are a few things in picture form. I’ll do posts for each item but it’s getting late tonight, so here is round up to look at for now:

Sausage
Pumpkin Pie (warmed up only)
48 Mini Meatballs
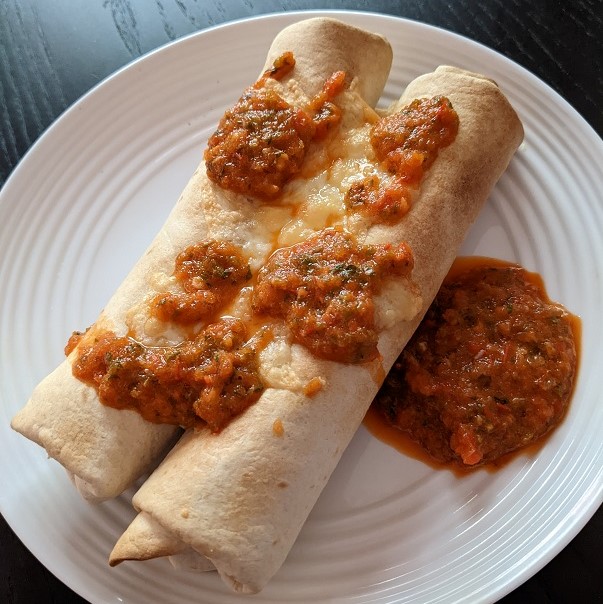
Chicken Enchiladas
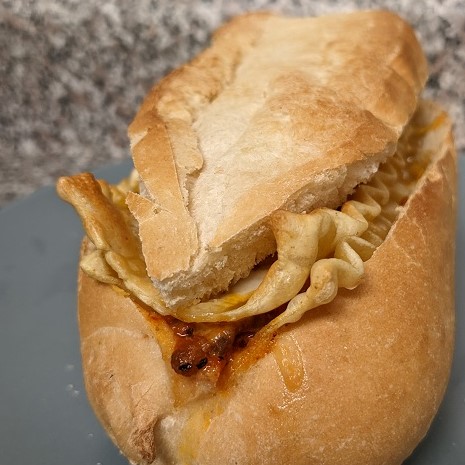
Lasagna Sandwich
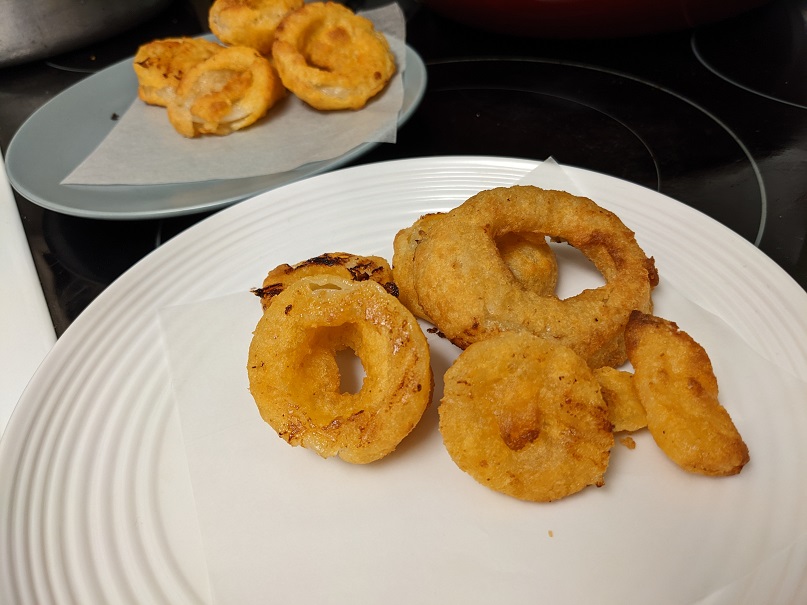
Onion Rings
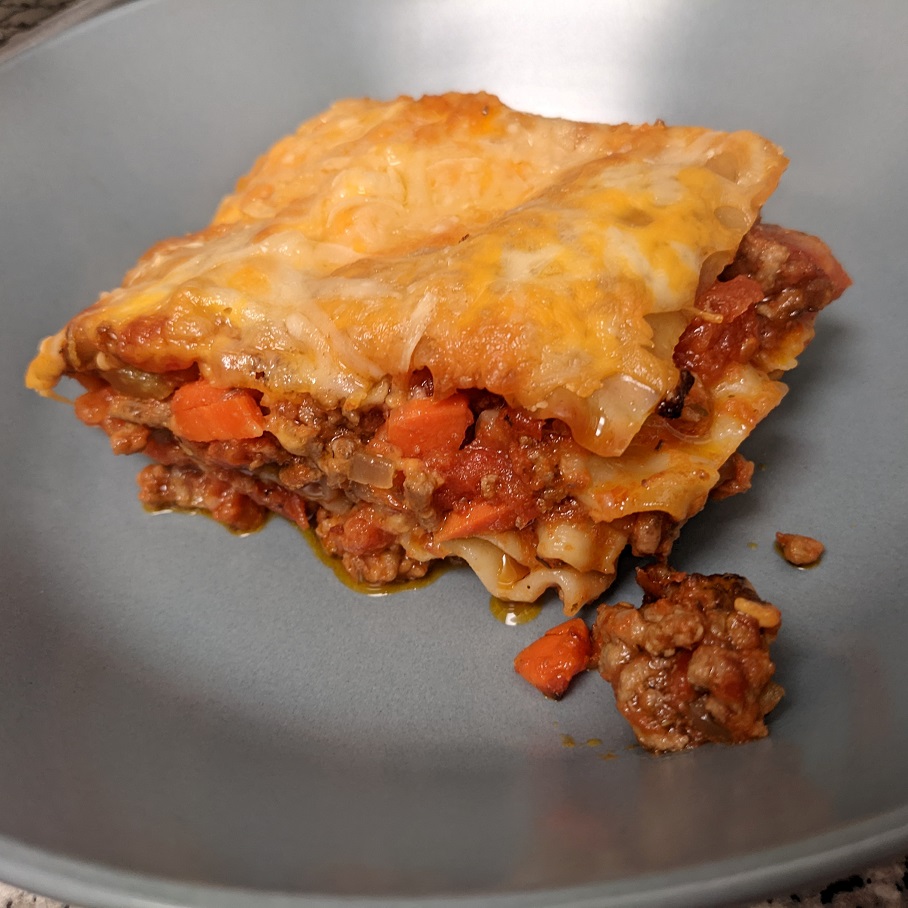
Lasagna
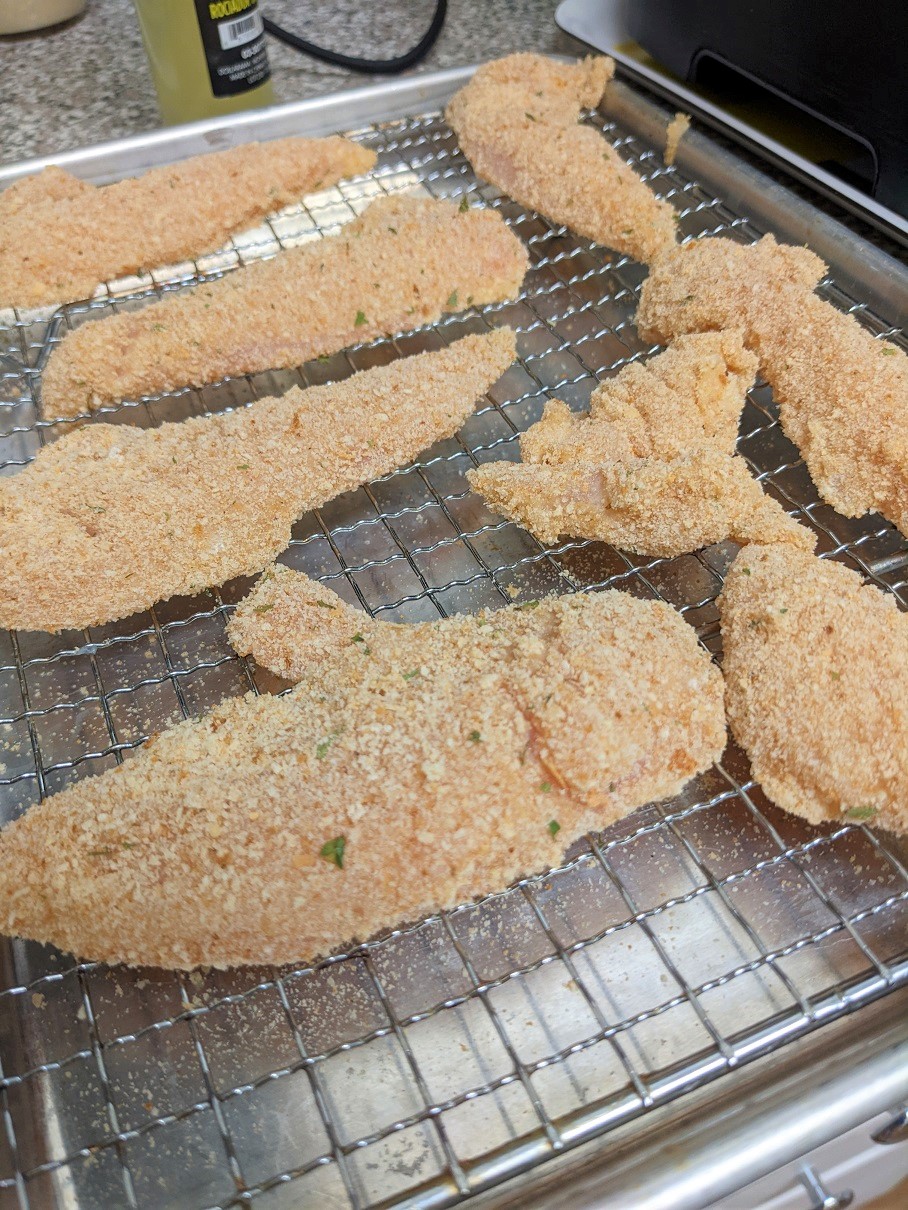
Crispy Chicken Strips

This was a great sausage, cooked perfectly in the air fryer at 350 for about…12 mins.

This store bought pie was cold when we brought it home, so I dropped it in the basket after I made dinner and unplugged it, just to warm up using the residual heat. Lovely.

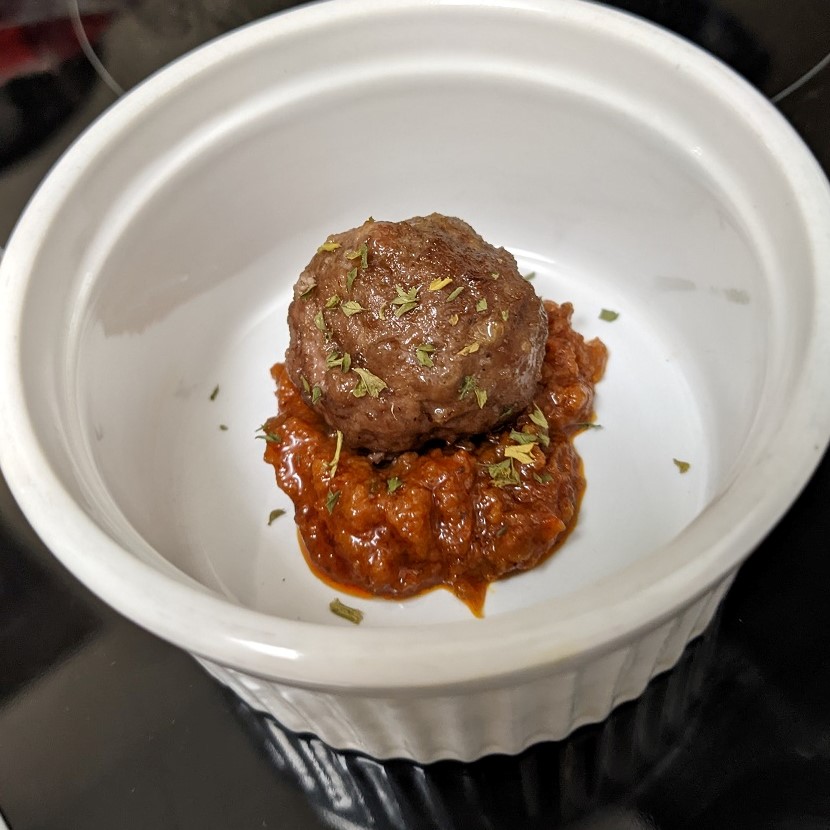
Homemade Italian meatballs, cooked at 320*F for about 10 mins, shaken a bit once, temped at about 158*F before being blasted at 400*F for another five mins to finish them off perfectly giving them the deep colour I was looking for.

These chicken enchiladas were the bomb! I loved how fast these came together, and how tasty they were. I made a lot of them over a few days to use up all of the materials and to get it out of my system before turning to other things I want to try in the air fryer.

I saw this idea for a lasagna sandwich on Tik-Tok, so of course I had to make them. I regret nothing! 🙂

These store bought frozen onion rings took me two tries to nail. I sprayed them the first time as I dropped them in the basket, and they were soggy after 20 mins at 400*F. The second time, I dropped them frozen in the basket and cooked them for 10 mins at 350*F, and then flipped them and cranked the temp up to 400* for the last 7-ish mins.

I made a LOT of lasagna sauce for the lasagna sandwiches, so I baked a lasagna in the foil pan to use it all up. The thing I learned was a thick lasagna is NOT the way to go. Two shallow pans of lasagna cooked back-to-back for something like 20 mins at around 350*F would have been a better idea. I will have to test this again in the future.

I love my chicken nuggies, so of course I love chicken strips, too. I love them breaded and crispy, on a bun, with lettuce/tomato/sauce. So good. 🙂 These were also really good dipped in fridge door sauce whipped up on the fly.

Air Fryer Intro

So, I bought an air fryer.

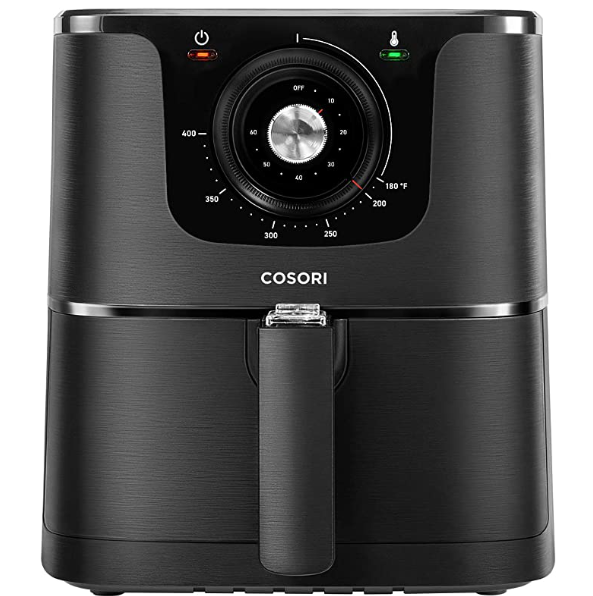
I picked up a 5.8Qt basket style Cosori Air Fryer from Amazon.ca, and so far, I’m liking what it can do. I’ve only figured out three things (four if you include ice cream making) things you can’t do with an air fryer (cook pasta noodles, make rice, and pop popcorn properly), so the world is still my oyster. 🙂

I resisted getting another air fryer for years but after I realised they had changed so much, I was open to the idea of getting one. This time, instead of someone else picking a hot new small kitchen appliance for me as a gift, I wanted to do some research, set a criteria, and find a machine that satisfied my budget of the $100-150 mark. And I did it.

I was looking for a small in height, but big in capacity, machine that allows me to do loads of different food types and to do a lot of each in one go. I love to cook once, and eat at least three times.

I was also looking for something with easy dials I could move with my hands versus pushing buttons. Pushing buttons all day at work has me longing for the old days of dials for some reason. And I wanted a basket versus a toaster oven style. I wanted to shake up my food at the half way mark, not take a whole tray out and flip food. I also carefully looked at the clean up for both styles out there, and for me, the basket was a no-brainer. This machine is very easy to clean. And I have loads of accessories kicking around I can use in the basket when it comes to food types like baking an egg in a silicone muffin cup as I roast tater tots in the basket around it.

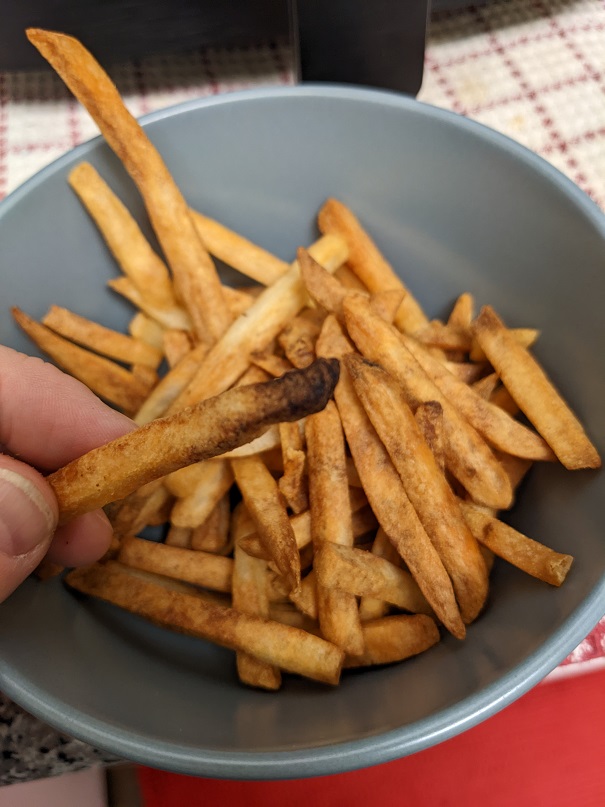
First night I had it, I made toast first (to check out any hot spots, and to rid me of that new machine smell. After that, of course I made frozen French fries in it. D-uh! I managed to burn AND dehydrate them because I’m not a big fan of cooking or baking fries, so I got the temp and time all wrong. Hee.
And then I tried my hand at the only recipe in the manual that interested me: apple fritters. There weren’t bad, but they could be so much better! The don’t store well, so if you make these, share them with others as soon as you pour your glaze over top. Tasty. the texture needs work, but the flavours are good enough.

I’ve had this fryer for just shy of two weeks, and I tend to do things like grilled cheese sandwiches (a fave in this house), roasted tots using smoked baked potatoes the next day (amazing), and muffins using a mix and some add-ins (dead easy). I also tried to cook dumplings in it but I overshot the temp and time, and it came out like so frail Pavlova cookies. Ugh.

A couple of days ago I tried my hand at jammy and hard boiled eggs. The first attempt didn’t produce fully cooked yet jammy eggs, and the hard version had brow spots on the egg white after the shell was cracked open. I am not deterred. I will crack this mystery. (See what I did there? Oh, you did? I’ll show myself out now.)

Today I made enchiladas after I roasted a jalapeno, a Shepard’s pepper, and a yellow pepper to make a very good salsa. I used the salsa to hold the filling together and then I smeared a bit on each tortilla before laying down the filling and cheese. I will do a post on this separately soon.

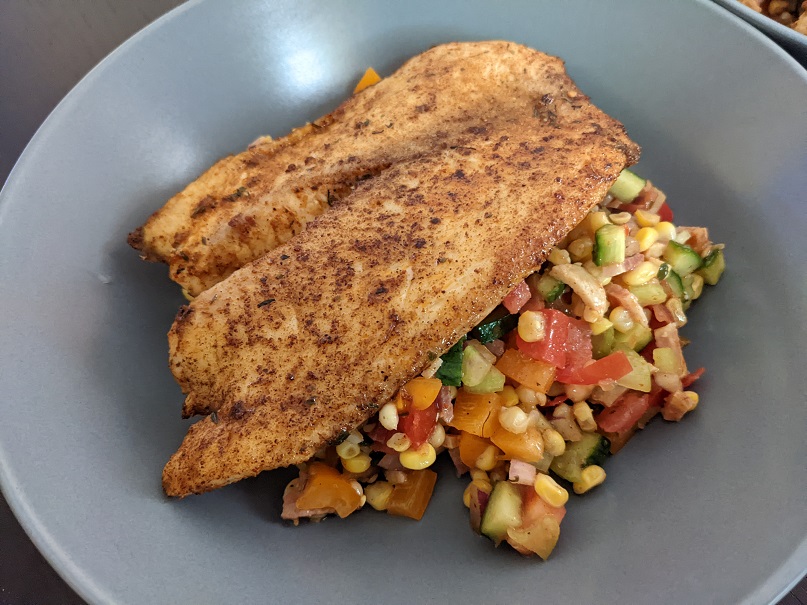
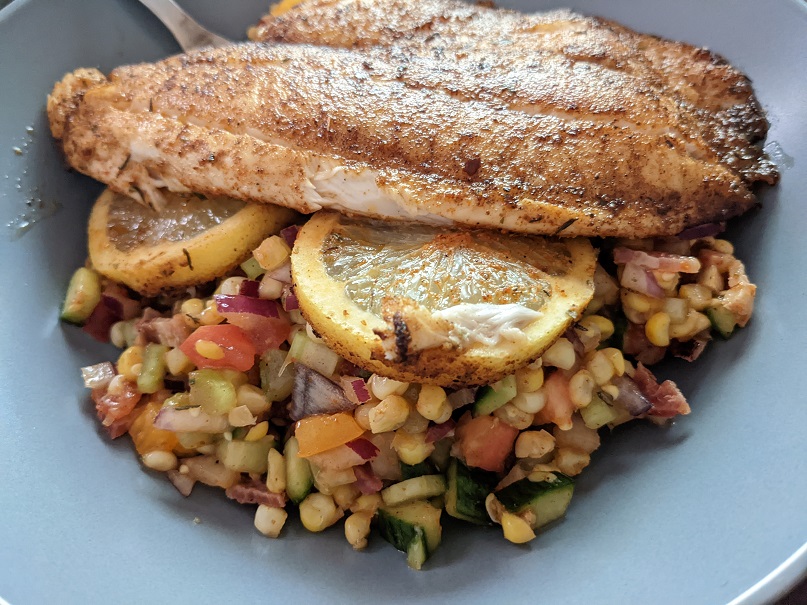
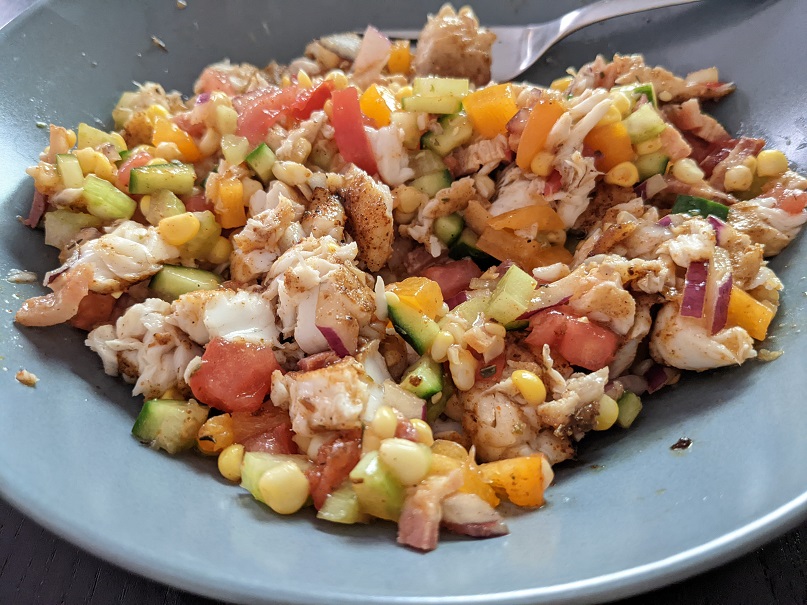
Tilapia & Chopped Corn Salad

As the last breath of summer days gasp out (for me, at least), I’m still obsessed with my corn salad. Today I made what might be the last one of the season (we’ll see), and I paired it with some delicate tilapia white fish. Perfectly seasoned and cooked, it flaked into lovely chunks easily before I tossed it with my beloved chopped corn salad for a nice summer lunch with the husband.

I swear, this is going to be the last meal I request on my deathbed. 🙂

Coffee Go Boom

(Sad Face emoji)

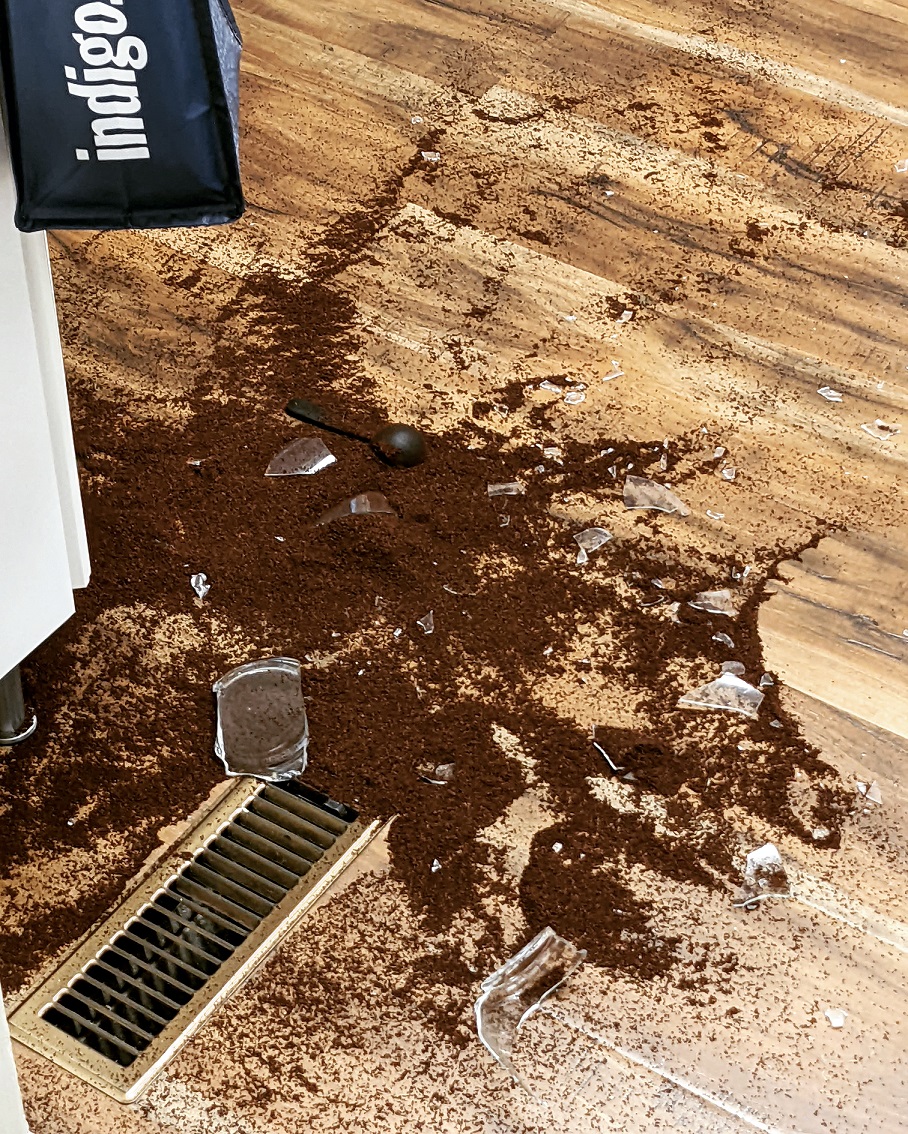
I was reaching backwards to for the glass jar I kept my coffee grinds in that has a glass topper that has a rubber gasket seal to keep it all fresh, but I noticed a few weeks back it was starting to feel loose but it still held up if I pushed down on it to ensure it was fully sealed closed.

The other day I was listening to a podcast with my headphones on, running around the kitchen, and forgot to push the topper down before I picked it out by the lid to bring it across the floor to the other counter.

Fatal mistake. I paid the price for that. F**k.

And if that wasn’t bad enough… and it is, I was in bare feet at the time. I had to gingerly back out of the kitchen scanning the floor for shiny glass fragment before putting each foot down.

I have never been so happy to have such a small kitchen (7.5′ x 7.5′) in my life!

Better Weed Killer

It’s that time of the year. It’s finally killing season!

And by killing, I mean killing pesky garden & grass weeds, of course. I’m not a monster, but I hate dandelion weeds pushing out grass, plants and flowers that I am taking care of. Since I didn’t plant these weeds, I figure I don’t have to put up with their bullshit. Here is how I do it without using hard chemicals that bug my lungs and nose. And it’s cheap!

Better Weed Killer:
4C Distilled Vinegar
1/4C Salt (any)
1 1/2 teaspoons Dish Soap (any, but I always use blue Dawn)

Dissolve the salt in the vinegar fully before adding the dish soap. Pour directly on the weed at the base so it has a chance to go right down to the root. Feel free to give it a second go if I doesn’t wilt and die in an hour or so.

Baked Brie Pasta

A new version of the internet infamous Baked Feta Pasta is floating around called Baked Brie Pasta and I thought I would try it. I figured, I like brie, and pasta. It should be a natural.

Right?

Turns out, I don’t like baked brie. I like raw brie on deli sandwiches and nothing else. Blech. I’ve never not finished a plate of pasta outside of the few times I tried baked ziti (it’s god awful in its blandness), This pasta drizzled with oooey-gooey baked brie is going on my rarified list of pasta no-gos.

But, by all means, if you like baked brie, this recipe was otherwise easy to make and tasted fine. I would make this pasta again (and probably will next week), just minus the brie.

I do like the presentation of the baked brie. I thought that turned out well if nothing else did. 🙂