I love coffee. I love flavoured coffee. I also love saving loads of money by making these dead easy coffee syrups at home for pennies. I kid you not. Pennies.
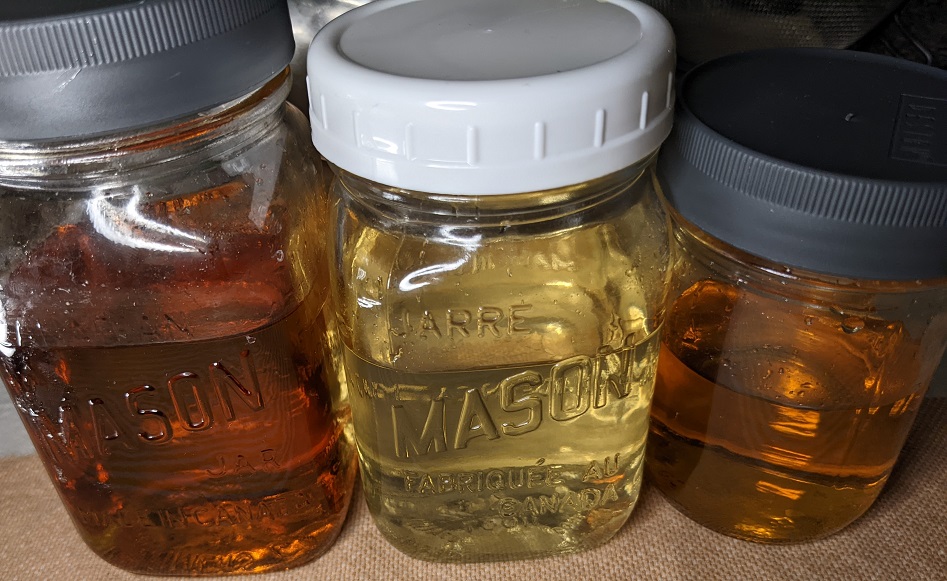
Syrup batches I made this week: Caramel, Hazelnut, and Vanilla
Here are but a few of my faves, and a few new-to-me kinds I recommend making at home yourself. And they all have the same two starter ingredients: water + sugar (or sweetener of choice) in a 1:1 ratio to form a simple sugar base. Here we go.
Bar Cart Simple Syrup:
1C Water : 1C Sugar (any)
Bring water and sugar to a boil on med-high heat, stirring constantly until the sugar is fully dissolved. Once at the boiling point, drop heat to a simmer and let it low boil 10 mins. Cool completely off the burner. It will thicken up if you chill it in a storage jar.
Caramel Syrup:
1C Water : 1C White Sugar
Over a less than medium heat, stir the sugar often and alone in a bare pan, until it hits a lumpy liquid stage. Heat up the water in the microwave so it’s hot, but not boiling.
CAREFULLY dribble the hot water into the sugar a bit at a time, whisking when it’s safe to have you hand near the pot. The water + sugar will cause a steam reaction initially that will burn your hand if you pour it all in at once. Resist that urge.
Keep stirring the mixture until all of the sugar is smoothed out (don’t worry if some of it hardens – that will melt eventually as you continue stirring).
If you need more control of the sugar from hardening or burning, you can slip the pot halfway off the burner as you stir, returning the pot fully to the burner when you feel the sugar is melting needs more heat to finish.
Cool completely off the burner. It will thicken up if you chill it in a storage jar.
Hazelnut Syrup:
1C Water : 1C Sugar (not brown sugar; it will overwhelm the final flavour)
1 tea Hazelnut Extract
I went to many stores, but Michael’s was the only one that had this extract product.
Like the above two recipes, dissolve the sugar in the water fully, bring to a gentle boil, drop heat and let it simmer 10 mins before adding the extract off the heat and cooling completely. Store in a jar in the fridge to thicken it, or on the counter to use as is.
Brown Sugar Syrup:
1C Water : 1C Brown Sugar
3-4 drops or 1/4 tea Vanilla Extract
This syrup was the hottest new thing last year at Starfakes, and it looks like they are going to make it a big player in the summer coffee drinks game this year, too. Add this to some whipped cold milk foam, and pair them with some cold coffee, and you will have the summer heat licked before it starts.
Make the same as any of the previous syrups: bring to boil, drop to simmer for 10 mins. Cool completely. Jar and store in fridge for thicker or on the counter.
Mint Syrup:
1/2C Water : 1/2C Sugar (any)
2-3 Drops Mint Extract
This is a great version of the bar cart simple syrup for sweetening your summer drinks. Make the same as any of the previous syrups: bring to boil, drop to simmer for 10 mins. Cool completely. Jar and store in fridge for thicker or on the counter.
Coffee Syrup:
1C Water : 1C Sugar
3 Tbsp Instant Espresso or Instant Coffee Powder
Make the same as any of the previous syrups: bring to boil, drop to simmer for 6 mins. Skim off the foam as it simmers or strain into a cheese cloth when off the heat. Cool completely. Jar and store in fridge for thicker or on the counter.


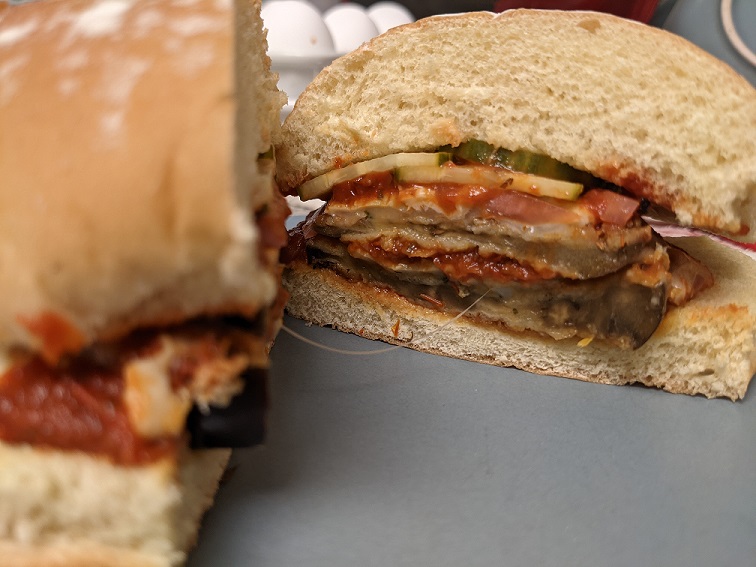 For the coming months when it’s too hot to turn on even the broiler for five minutes, I bring you Eggplant Parmesan made on the stovetop.
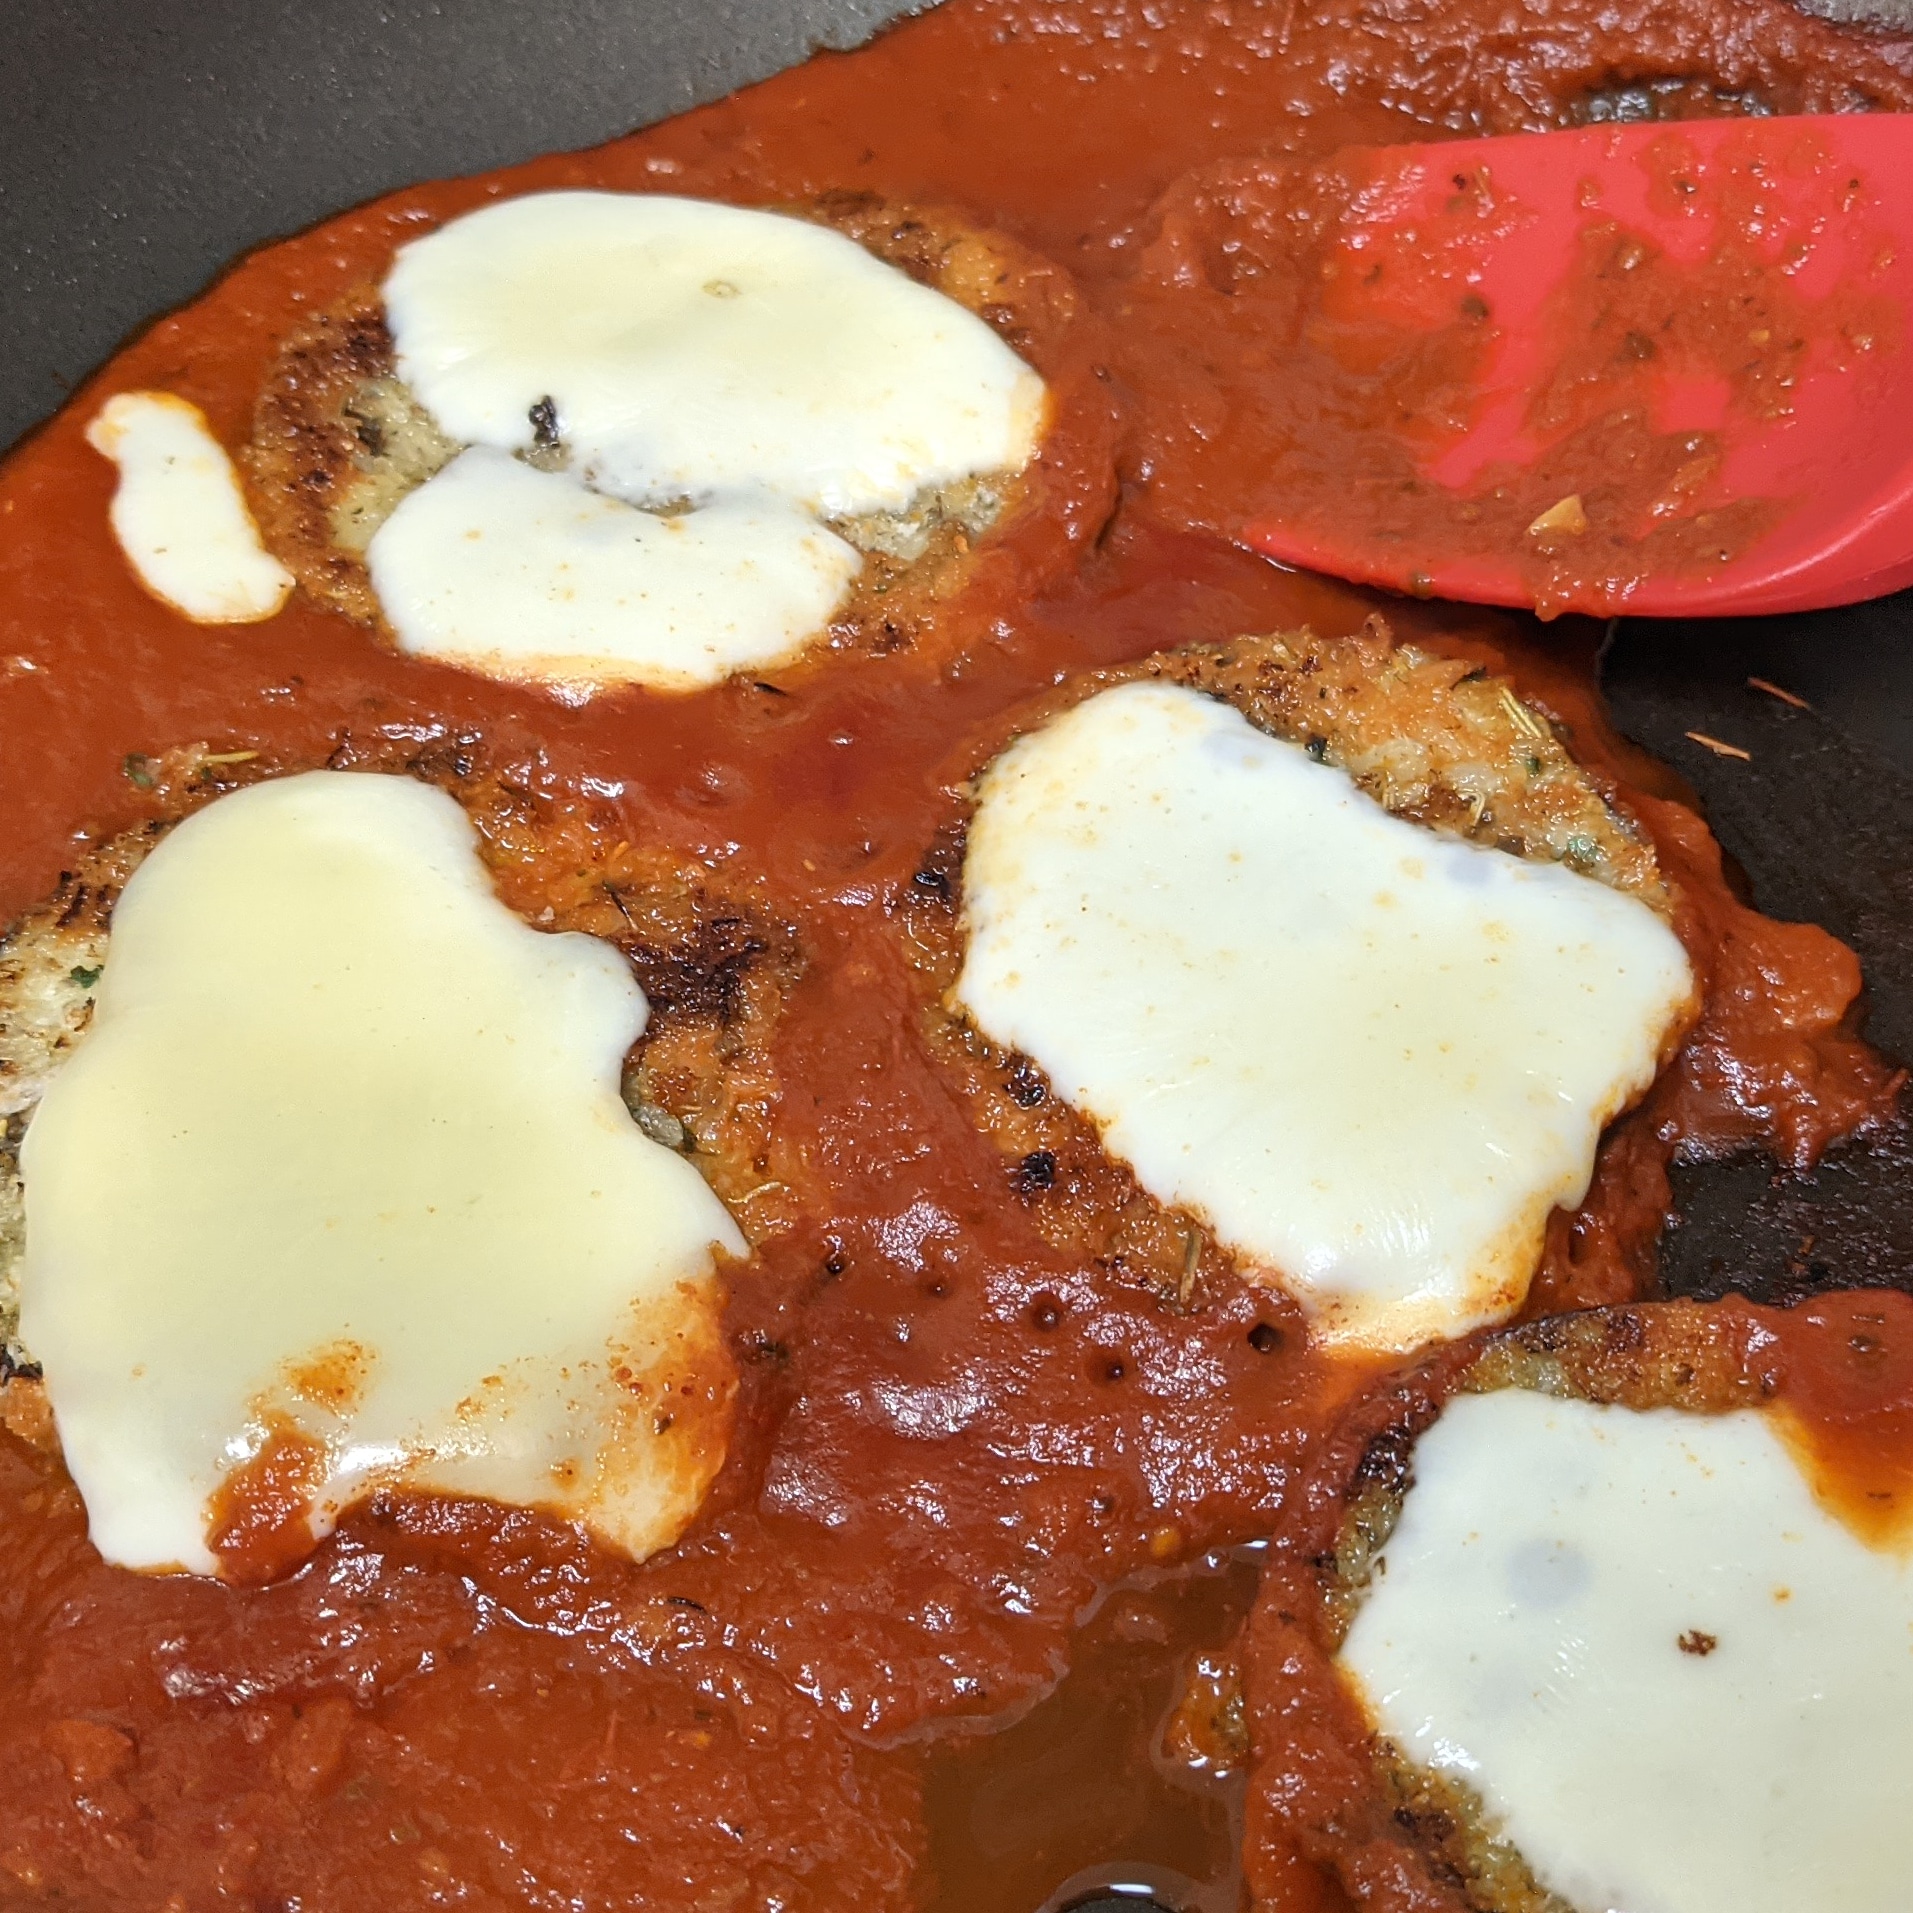 Place a lid (or a big sheet pan if you don’t have a matching lid) over top of the pan to let the cheese melt as everything hits the same temperature.
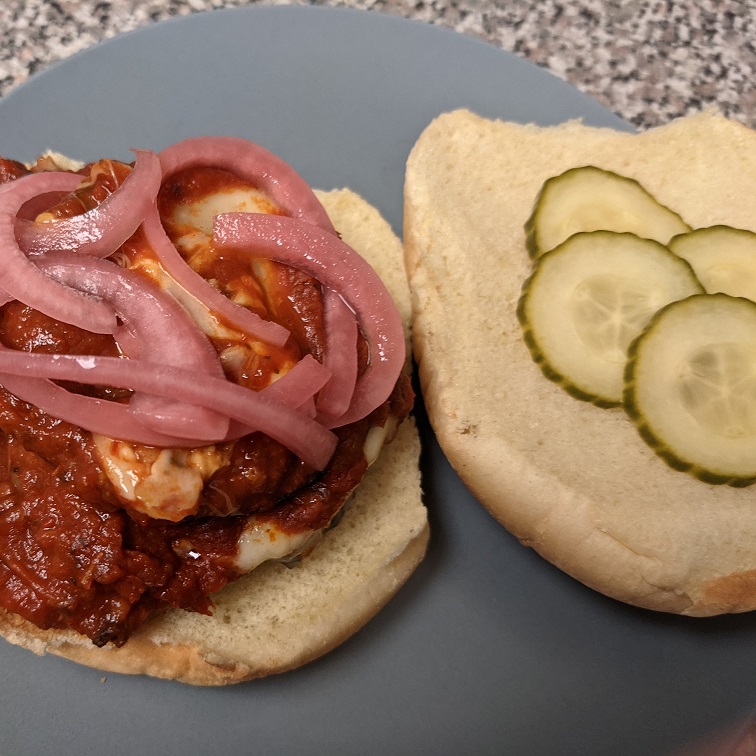 Fish out two slices and place them on lovely fresh bun. Top them with a bit of the ragu, and if you like some lettuce and roasted peppers or pickles (I love the crunch and taste contrast here), and EAT!