Philly Steak Sandwich Inspo

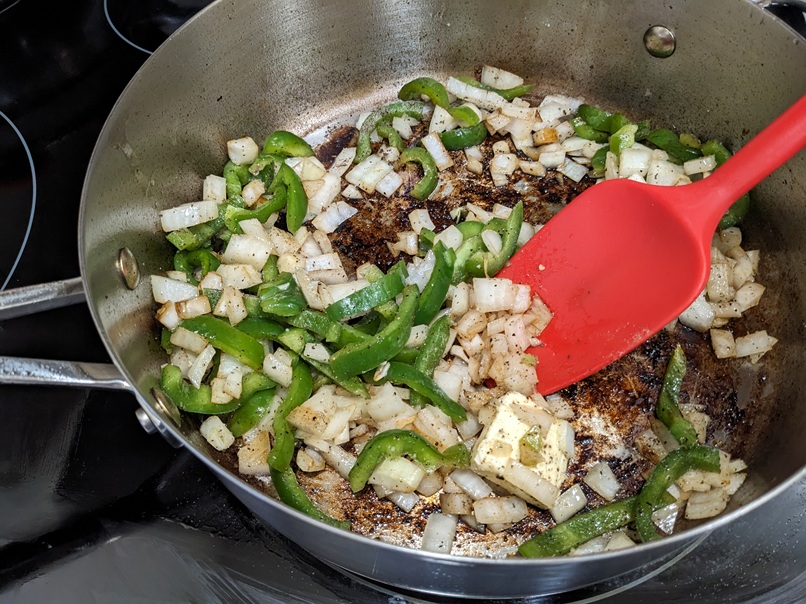
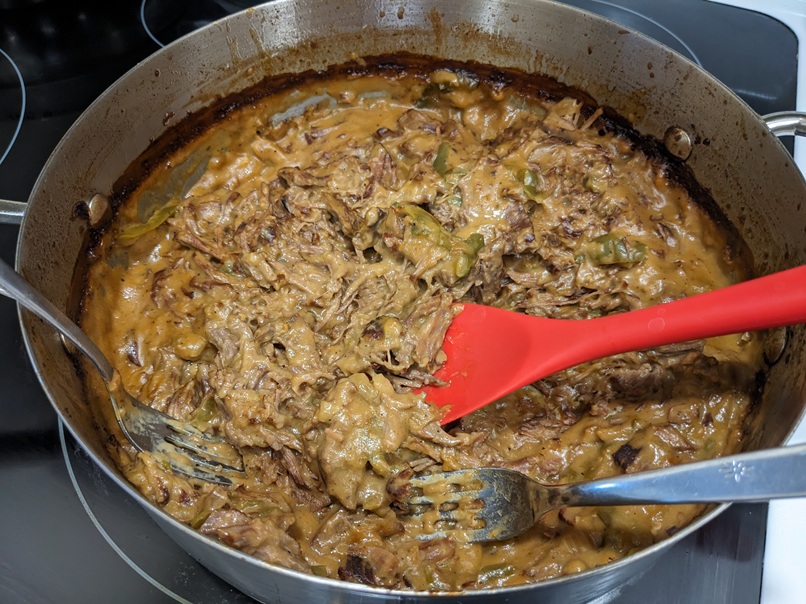
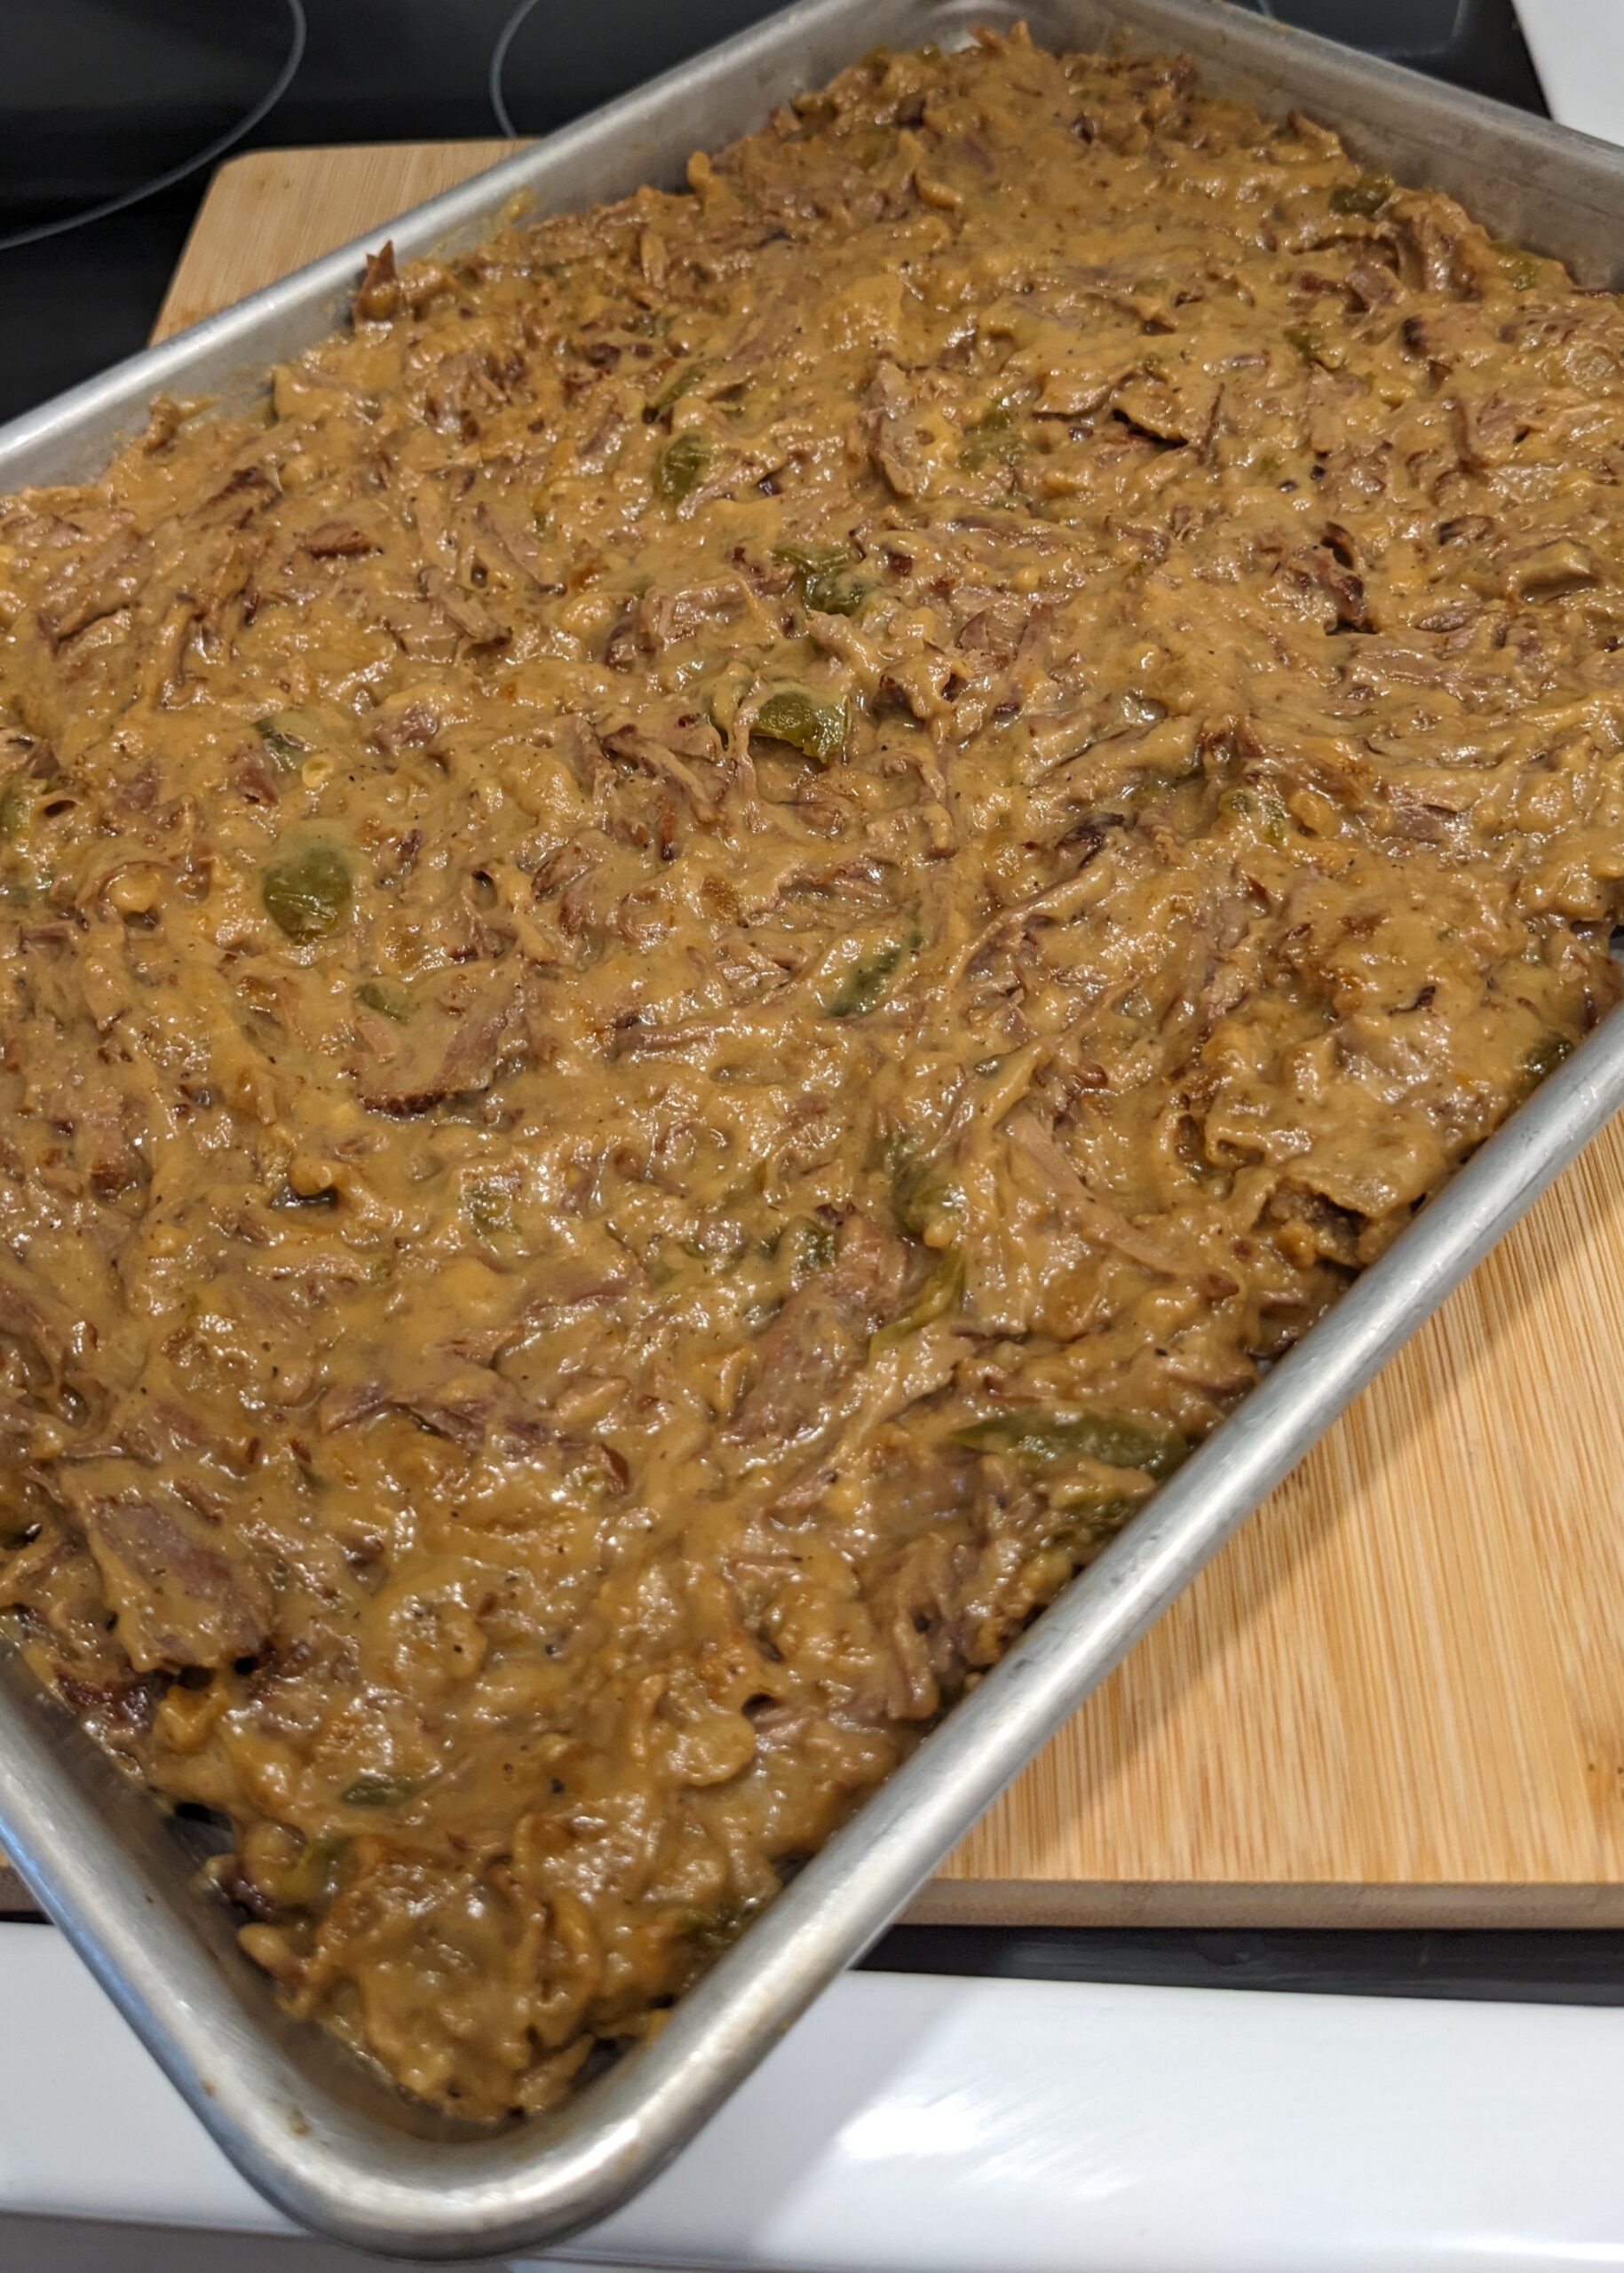
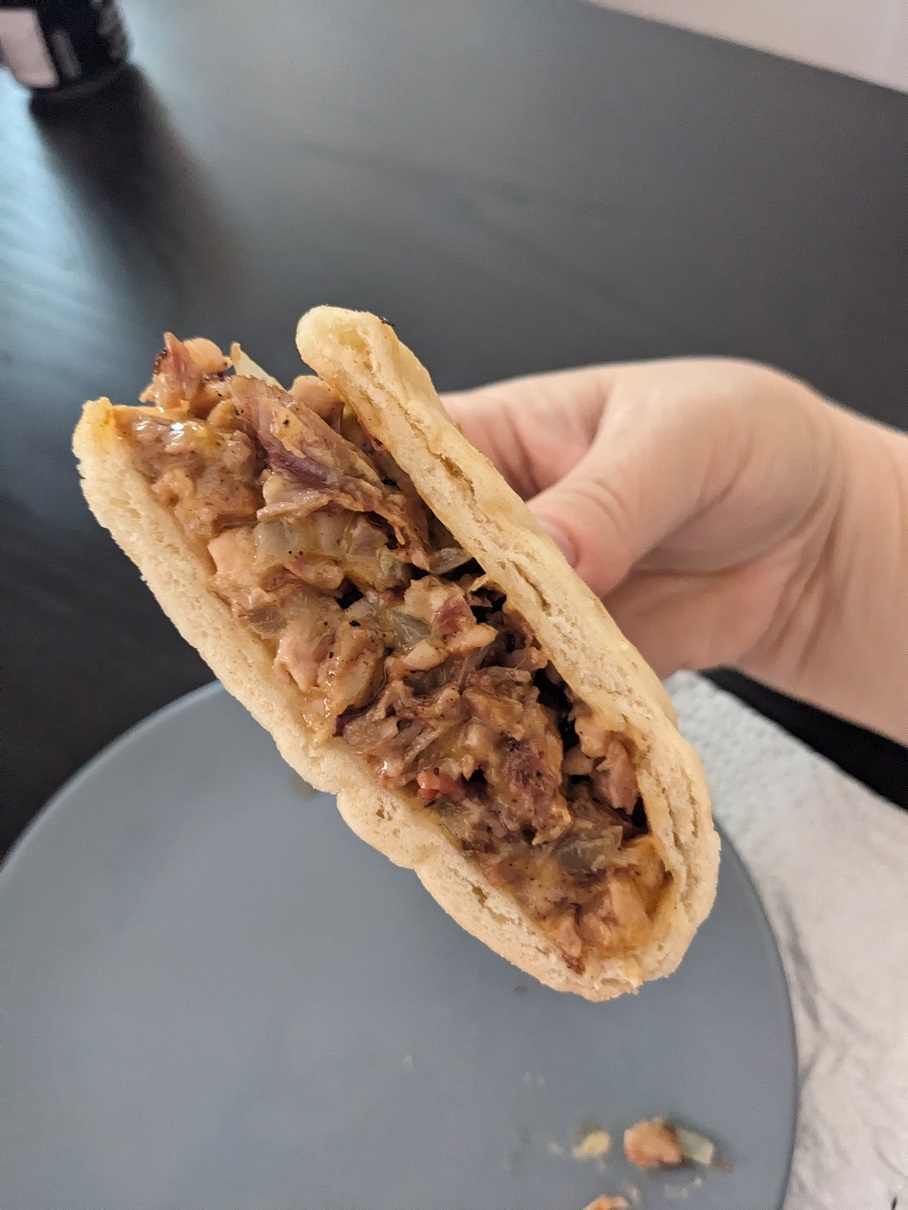
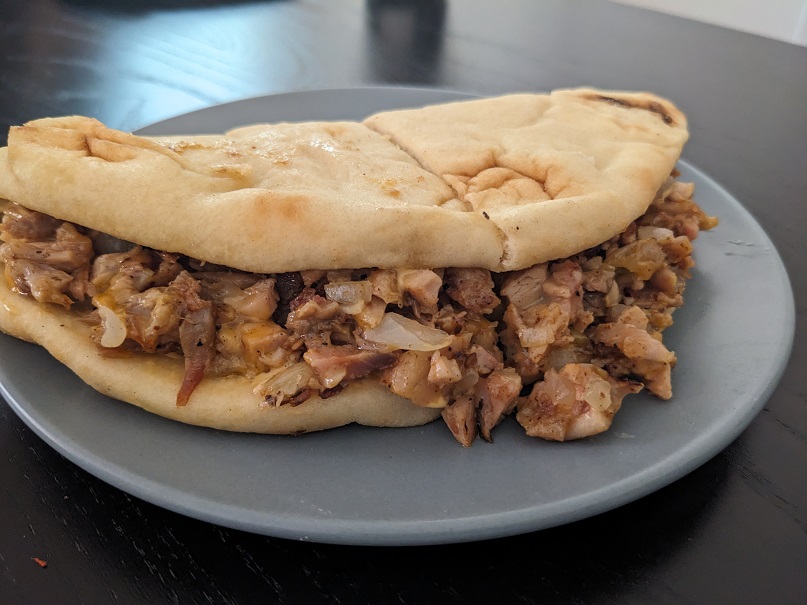
I can’t find the video I watched a week ago that gave me this idea. In the video, they used chopped up steak, but I had leftover smoked ribs and chicken, so I chopped up both into a mix and used that instead.

I started by frying some chopped onions, and then I added the meat to heat all the way through. Near the end of that, I added some marble cheese shred, gave it a toss and then scooped it into naan bread I steamed to make them pliable.

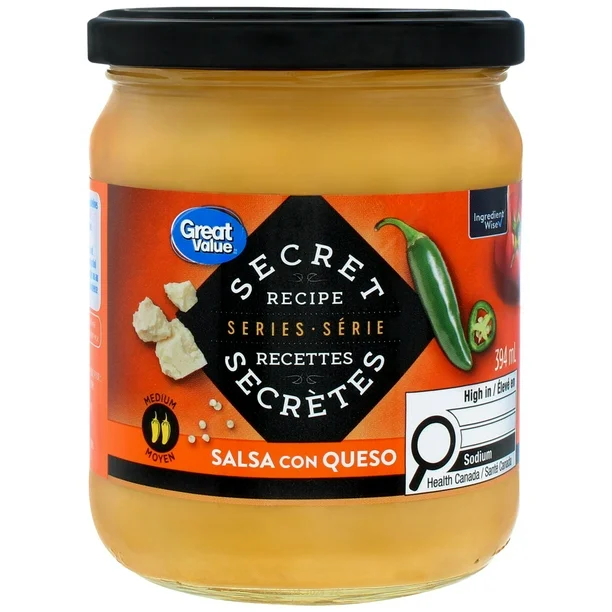
I added some Poke sauce to the naan and took a bite. I was so good. It will be better when I make this again when I add some veg (I didn’t have any left at this point in the week), and following the traditional Philly Steak, I will add fried green peppers, some lettuce and tomato slices, and then top it all with melted Provolone (or Swiss) cheese and hit with some Kewpie mayo. I can’t wait.

Straight from the Smoker

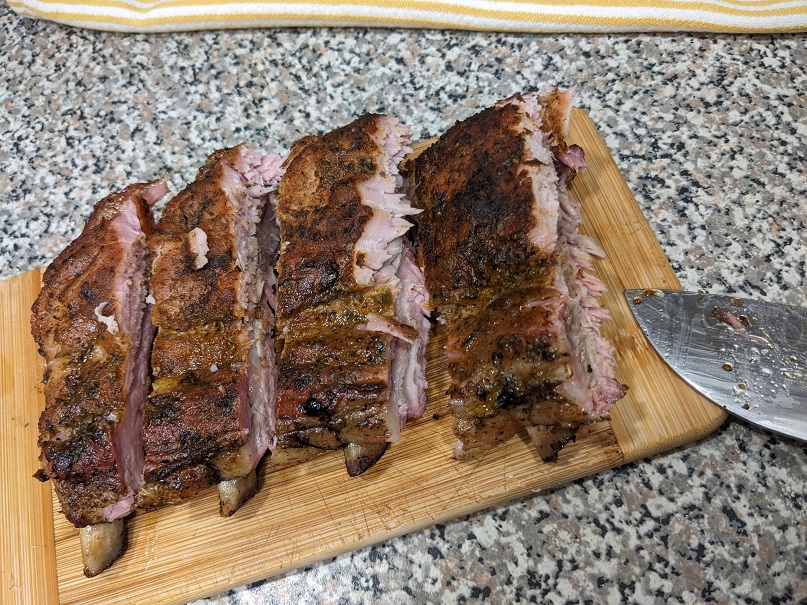
It was a beautiful clear day yesterday, so I decided I needed to BBQ some food for the week. I thawed some back ribs I had in the freezer when I woke up, and while that was doing its thing, we headed out to buy some groceries for other items I was planning to smoke.

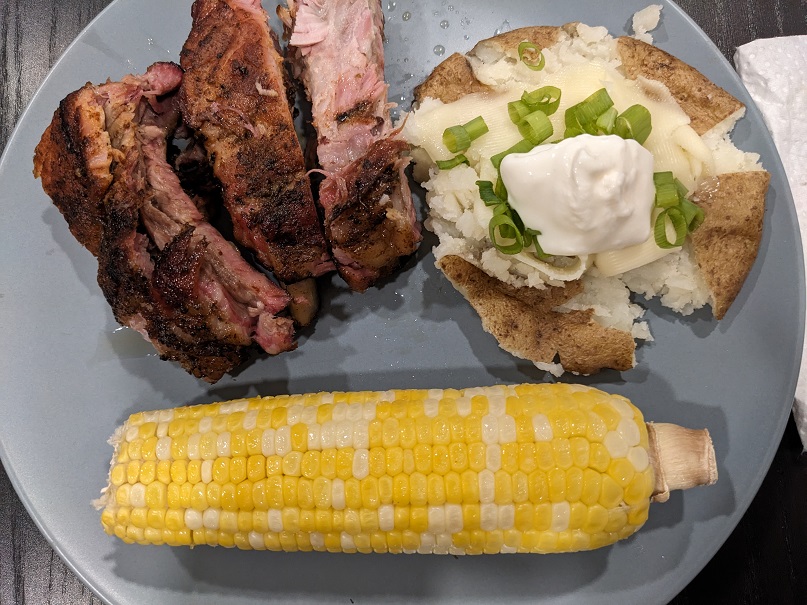
When we got back, the husband took off on the motorcycle (a rare luxury for him these days), while I fired up the charcoal. I prepped all the food as the fire heated up the coals. I slapped down some pepper cuts, potatoes, chicken breasts, and the ribs to get some colour on the top side before I rolled it over and shoved it over to the indirect side to slow smoke.
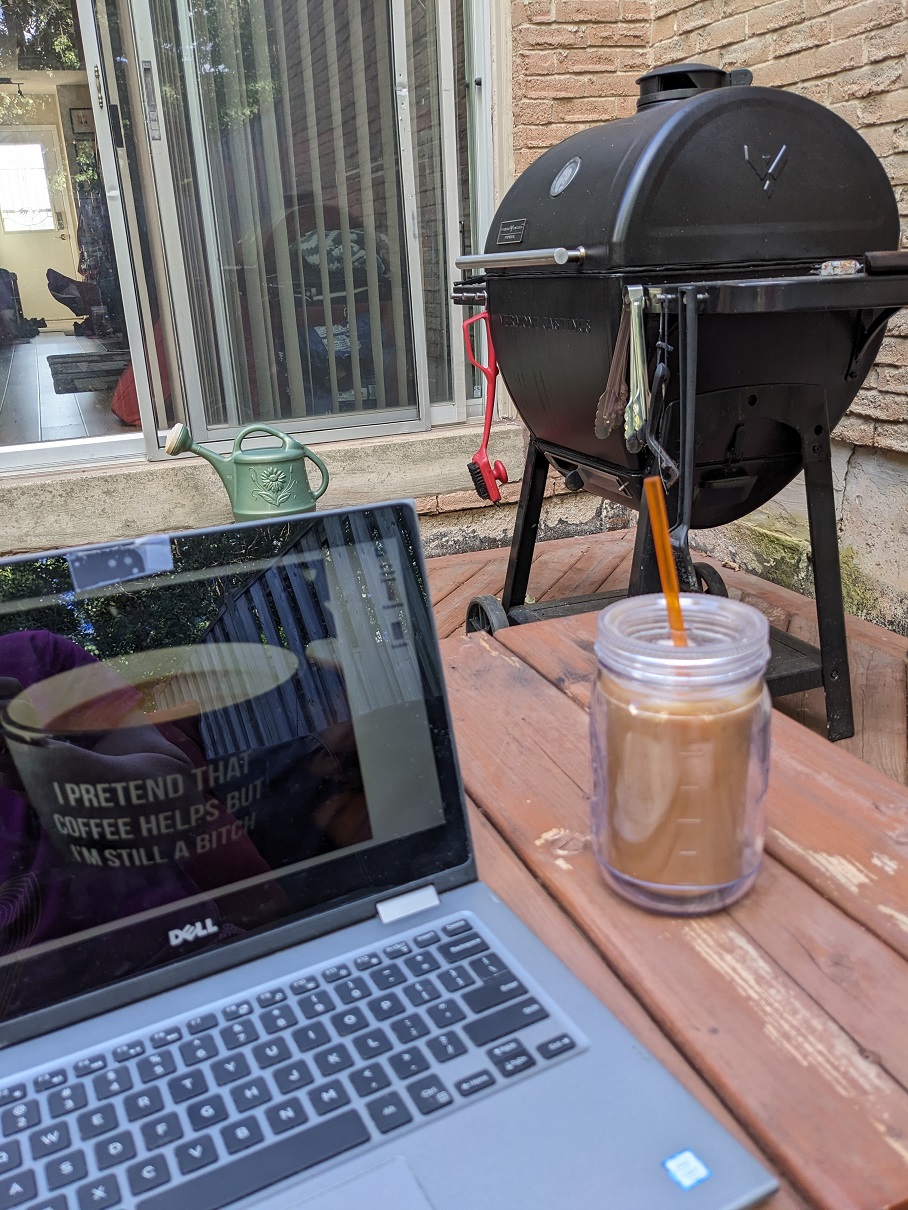
While this was happening, I got to enjoy a few hours out on the patio playing on the computer and drinking cold coffee. Ahhh… I was a happy camper. After the food was finished cooking, I brought it all in and get the table ready as the husband was walking in the door. The corn also got smoked but it was the last night I smoked a few mins on each side after microwaving them in their husks for 6 mins to speed everything up.

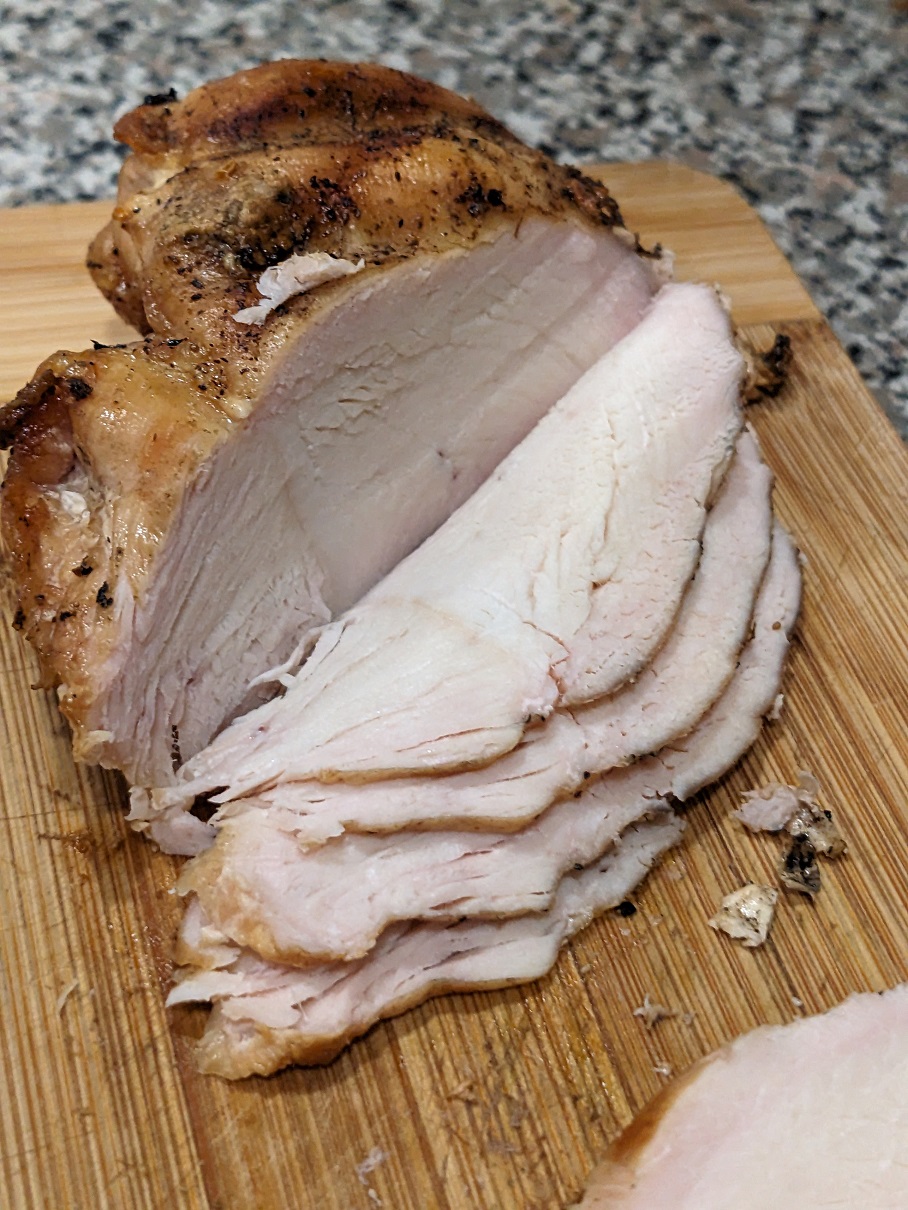
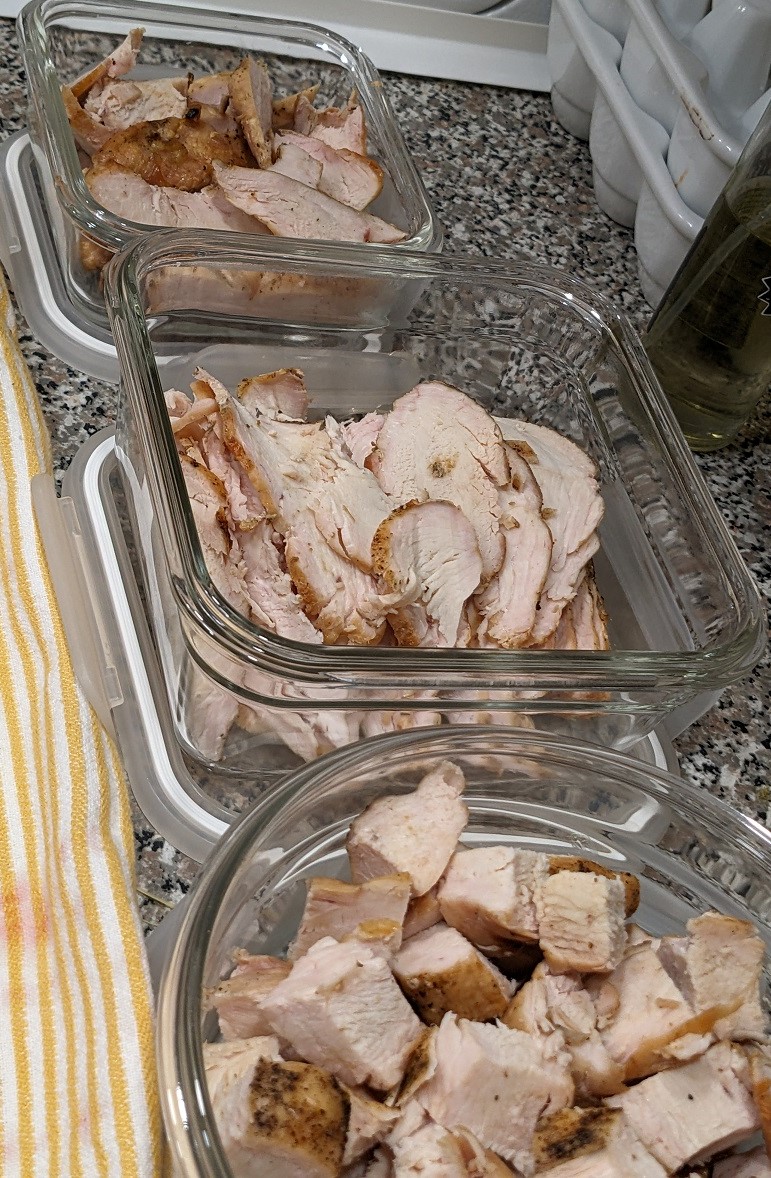
When the chicken was cool enough to handle, I cut all five breasts differently to target meals for the week. I sliced one and a half breasts into thin slices for the express of making my favourite sanny ever, the Chicken Club. 🙂

The rest of the chicken got cut up into thicker chunks for a Caesar salad for one, and cubes to drop into a pot of hot Butter Chicken sauce tomorrow night for dinner. Yes!

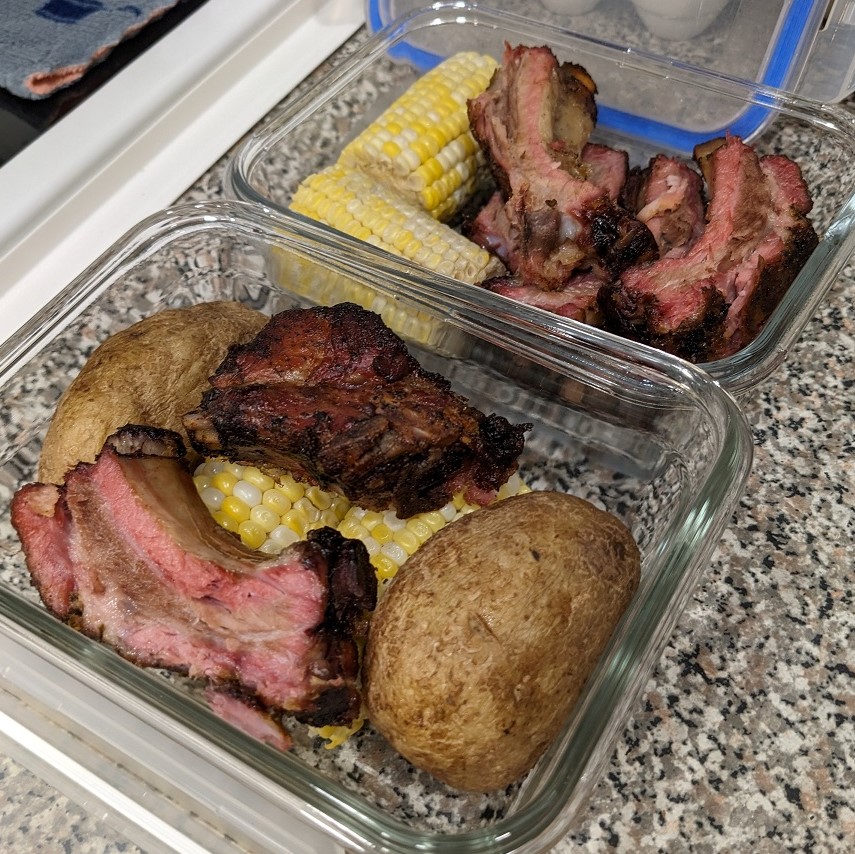
After dinner, I got making up a few meal kits for our lunches the next day. When the corn was fully cold, I dropped a bit of salt over them as well as a small butter pat, so after the corn is heated with the meat, we could roll our corn sections in the salt + butter inside the dish. Worked like a charm.

And the potato in my kit got pierced in a lengthwise line as was as a cross line. I didn’t think it was enough, so I stabbed the rest of the potato top and then used the fork to push it all down to a smushed mash before topping it with some cucumber salad dressing and green onion chops like I did the night before (see above dinner plate).

All in all, I’m liking this bbq weekend stuff. I just wish the weather was more consistently night as opposed to one bbq day every three fricking weeks. Ugh,

Smash Taco Burgers

I watched a few Tik-Tok videos on these little Smash Taco hybrids since it’s all the rage this week, and they looked easy enough. Of course these videos tend to skip a lot of helpful information for the platform format that gets them the most view. Views = impressions, impressions = reach, and reach = virality. And somewhere a long that string is a spot for monetizing the content. But, fear not – I’ve got you covered.

On my journey to make some at home, I quickly discovered the content creators either use extra lean ground meat, resulting in far less grease (but also far less flavour) than my preferred medium ground beef. I don’t understand anyone eating lean and extra lean beef. Why not eat cardboard instead? It would taste about the same IMO.

Anyway, if you made these smash tacos from start to finish without stopping or resting the food, you will end up with a soggy, greasy, unpleasant final product. But, by cooking and then resting the meat on the tortilla, AND wiping out the grease of out your pan, you will notice the meat and tortilla will feel less moist/soggy as you eat it. The other side of the tortilla will them crisp up nicely in the pan better. I burned a few of these tacos in my first test run, but I nailed them in the second test run by keeping the pan clean and at a slightly lower temp in the last stage.

TIP: Season your meat well before you mix it up and divide them into the ~2 oz balls.

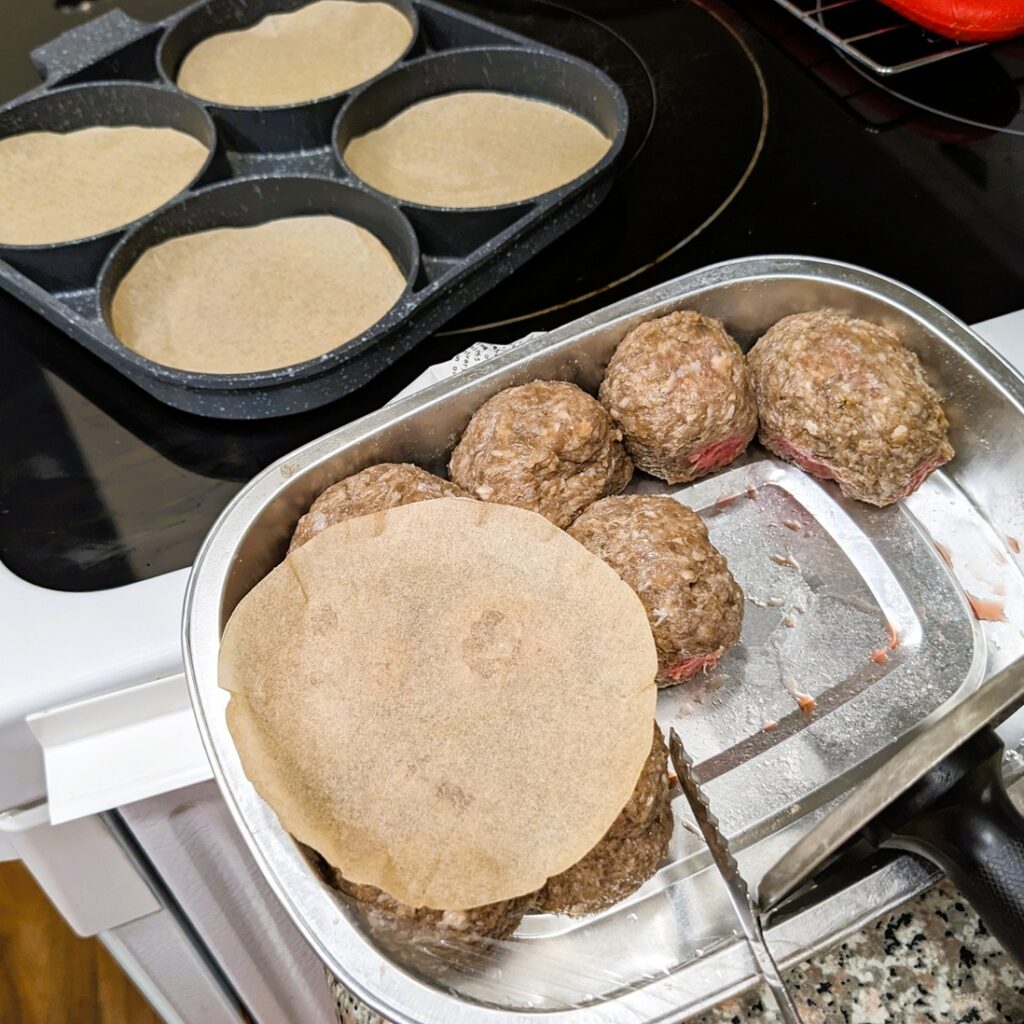
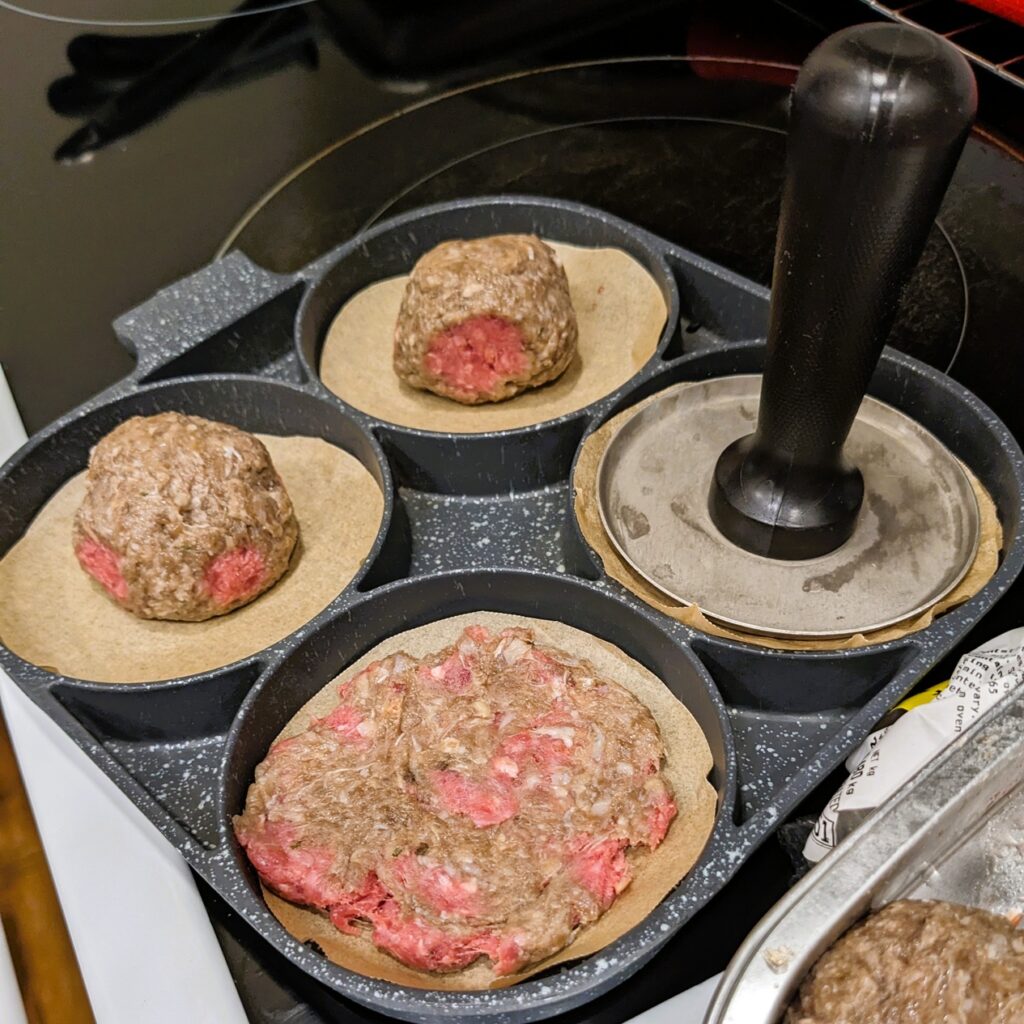
TIP: Use a square of parchment over top of the ball when smashing them down with whatever tamping instrument you have on hand all over one side of the tortilla. (I have the tamper that came with my slider pan.) I like to pick up the paper square and move it where I wanted to flatten the meat, and keep doing that until the meat is thin and evenly spread out.

TIP: Put the taco in the bare pan smashed out meat side down. I gave each one about three mins with me pushing them down into the pan for some lovely charred edges.

TIP: Let each taco REST on a wire rack face up for about 3-5 mins while you cook the meat side of any other smash tacos you’re making. REST that damn meat, people!

After you finish cooking the last smash taco on the meat side down, lay the first rested taco one back down into the pan, meat side up. Lay a slice or two of cheese on top at this point, drop the heat a bit, and cover it. Trust me.

It only needs about 1-2 mins to get gooey. Rest the smash tacos back on the wire rack for another 3-5 mins as you top them all with things like pickle slices, special sauce, caramelized onions, lettuce, etc. Whatever you like.

Resist the urge to fold them too early to serve them. The liquids will leak out of the corners instead of redistributing themselves in the meat, the cheese, the toppings, and tortilla. Patience will reward you when you wait to dig in.

I didn’t wait long enough, and there was grease and special sauce left on my plate, whereas the husband’s was made first and rested longer, and well, his plate was practically spotless when we finished eating.


Tuna Burgers

I’m slowly weening myself, and by extension the husband, off of red meat. We tend to eat a lot of red meats all year, but in the summer, we tend to go bonkers smoking every thing we can get our hands on. I haven’t figured out what this summer will look like for us yet, but if Mother Nature has her way, she’s not into giving us many long weekend bbq/smoking sessions. 🙁

Sidebar: Doesn’t this Smoke warning look like a suggestion to smoke some bacon??

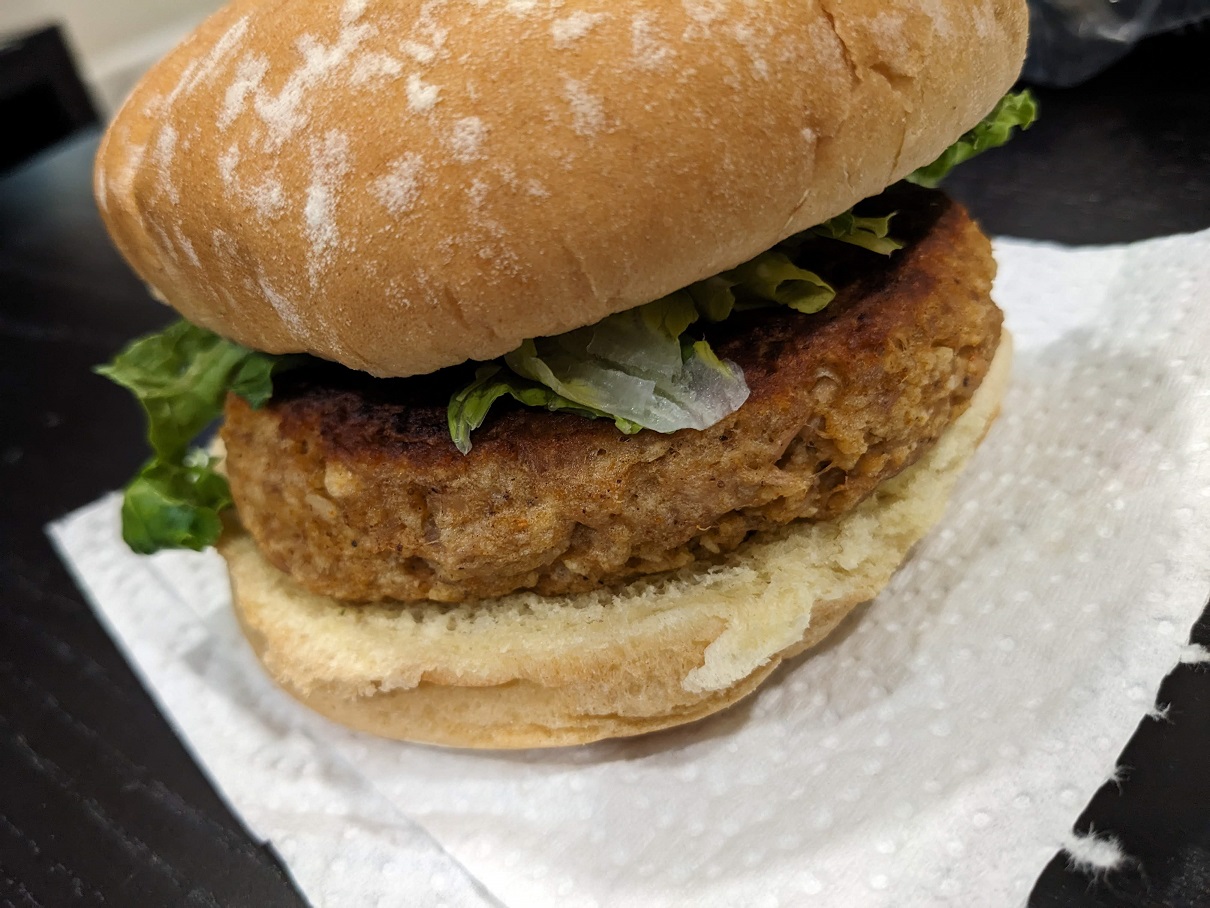
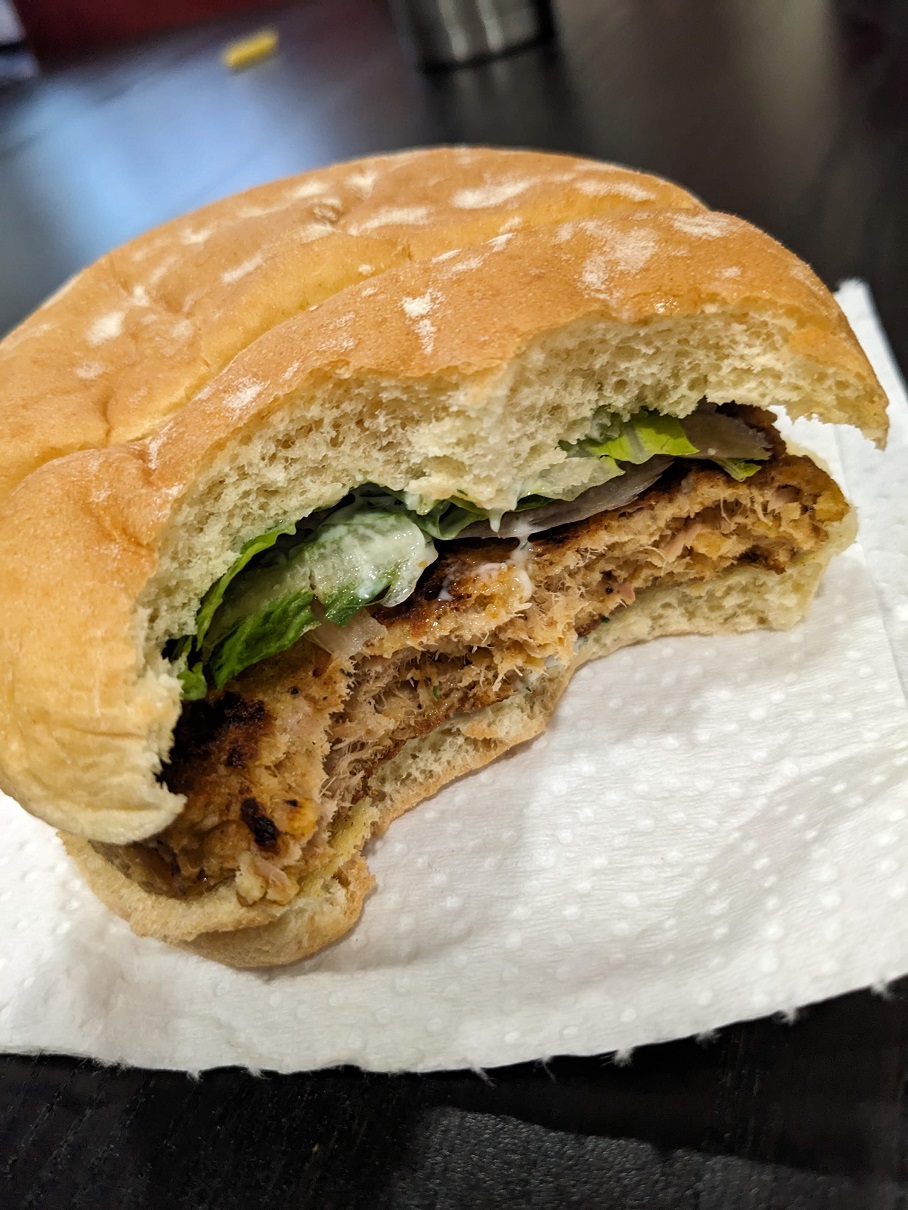
Anyway, I found this online recipe for Tuna Burgers, and having noted I have two cans of tuna collecting dust (not really) in my pantry just this morning, I instantly knew what to make for dinner tonight. I love tuna melts and tuna burgers. This recipe wasn’t far off of what I would have dreamt up had I had enough mental clarity to do so. I had a long day at work, so I needed a recipe geared towards the living dead tonight. 🙂

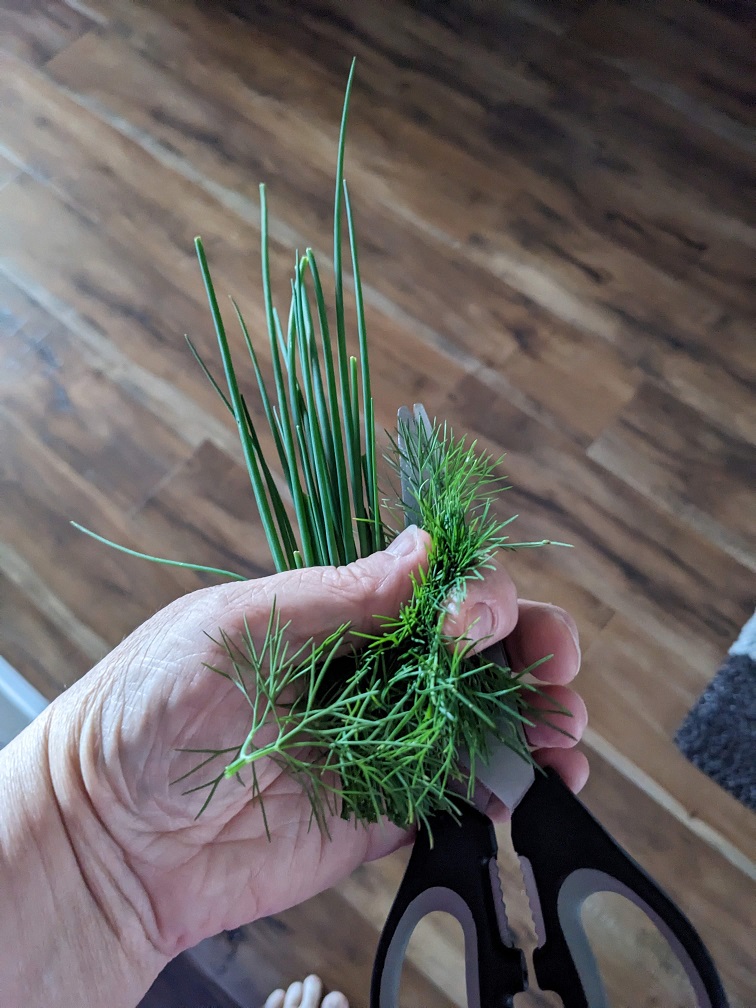
The burgers turned out nicely, too. I used some herbs from my garden in the patties as well as in the burger sauce, so that worked out nicely for me. I have to keep using them so they keep growing back and all that jazz.

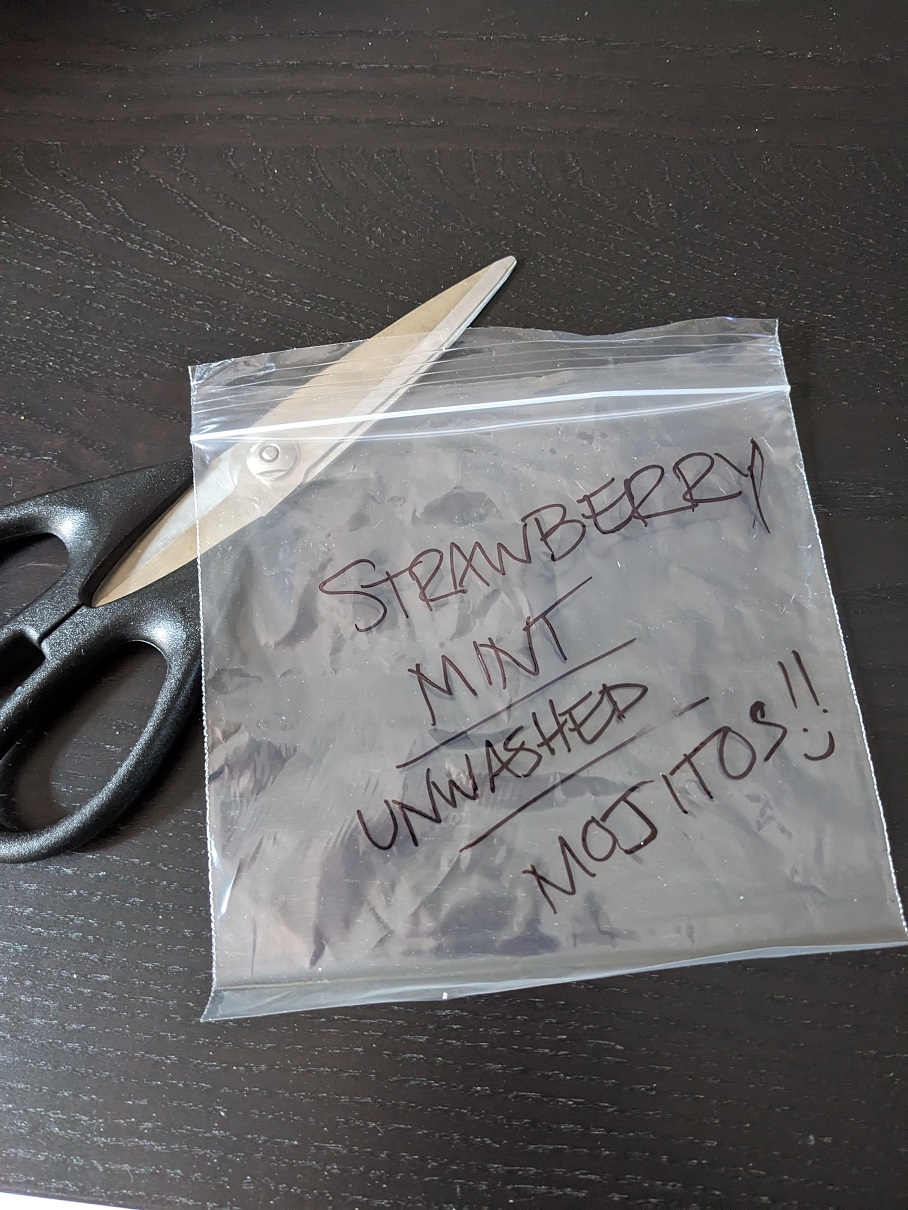
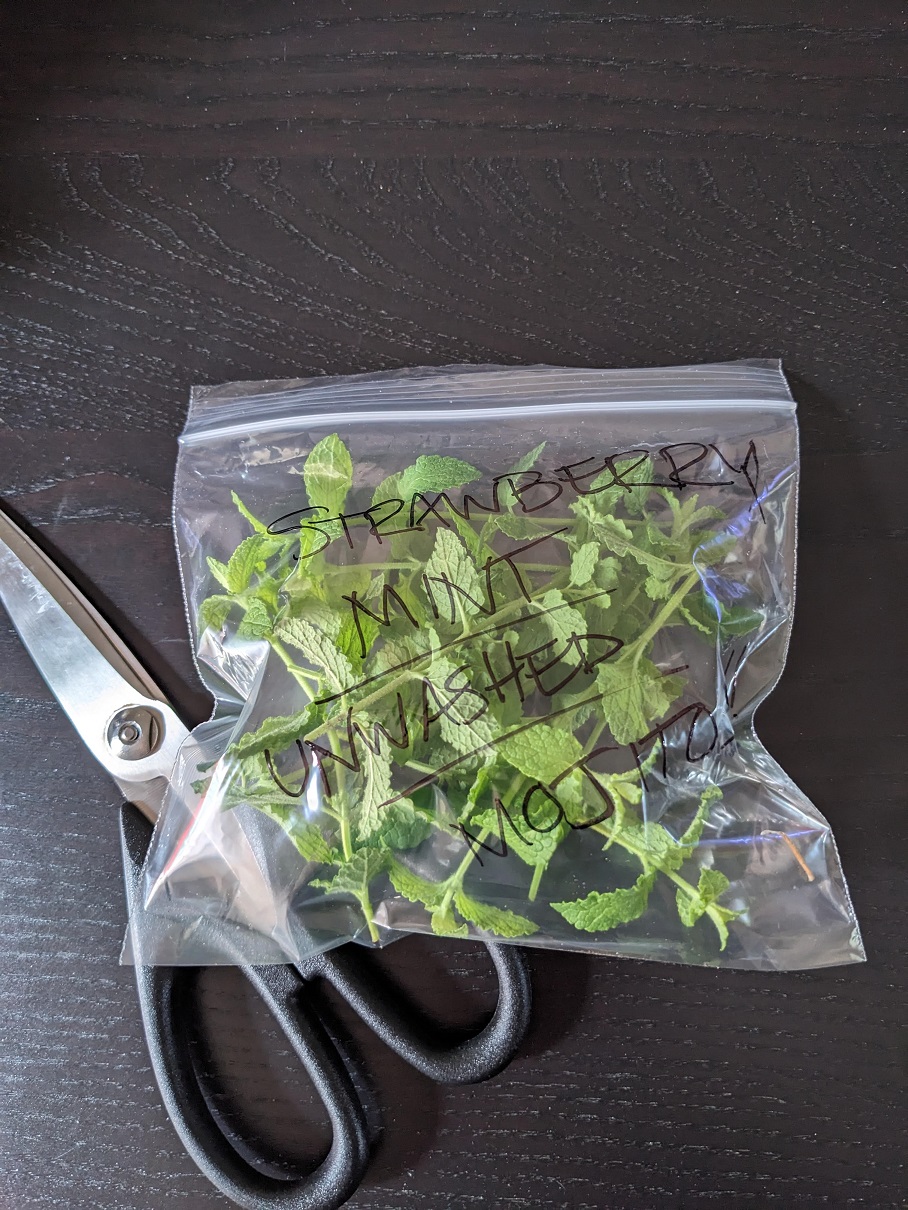
Speaking of herbs, I am growing a small bunch of Strawberry Mint to use in simple syrups and to mottle down for faux mojitos. Fojitos?

I clipped a bunch the other day and whipped it over the fence for my neighbours who love to make summer drinks for their endless parade of visitors in their backyard. I really should have added a few rocks to the bag because it only just got over the fence, and then landed behind their bbq grill. LOL I quickly texted her and she grabbed it after they came back from walking the dog.

Like the other herbs, the more I harvest, the more it regrows. I should have a lot by this time in July. Woot.

Rice Bowl Upcycling

So, the other day I made this lovely quasi Tex-Mex rice bowl for our Taco Tuesday dinner. The next night I still had so many materials leftover, plus all of the other ingredients I forgot to prep and add (salsa, cheese, deep fried onions), so I made another better version to make the true taco rice bowl I envisioned all week.

Both looked great, but the second one worked better because it had some moisture and heat the first attempt didn’t. Oh, and I found a squeeze bottle of some cheesy chipotle sauce I bought specifically for this taco meal and had forgot all about, the following Friday in my pantry. D-oh!

So, what was in my taco bowls?

Rice
Lettuce shredded up
Ground Chorizo Meat
Pinto Beans
Homemade Pico de Gallo
Sour Cream
Cilantro Leaves
Lime Juice squeezes
Cheese shredded up
Deep Fried Onions

That’s just a list of what I had on hand prepped to use in them. Your list might be different, and that’s ok. Cooked chicken shred or cooked ground beef also works, as does pickled onions and pickled jalapenos. You can use some Mexican cheese if you have it, as well as some broken up tortilla chips if you like.

Go crazy, or keep it pared down to five items. It’s your bowl, your way.

Air Fryer Pork & Reduction Sauce

I tried air frying some pork loin the other night. It came as a two pack, so I marinade both at the same time and cooked them at the same time. They were, *chef kiss*, fabulous. This is my new go-to pork marinade.

My biggest gripe about pork is that it’s bland without any a quasi brining step before cooking it. I have tried a lot of marinades for pork, but none of them were worth repeating. This one is. I’ll be using this one again and again.

Pork Loin Marinade:
1/4 C Soy Sauce
2 tbsp Ketchup
1 tbsp Fish Sauce

This was enough for both of the loins. I rested them in the fridge for 4 hours before dripping the marinade off before dropping the meat in the air fryer. While they were cooking, I poured the marinade out into a small sauce pot and heated it up and let it roll boil until it thickened up. I poured this sauce over the meat that I cut on the diagonal.

So tasty, so easy, and so cheap to pull together. I love hearty meals that aren’t a million dollars to put together. I know this marinade is simplistic and pared down, but when you hit the right ratio of a few ingredients that really gets the job done, why overdo a recipe?

The saying, ‘Less is more,’ exists for a reason. Simple is better when it comes to meat.

Garlic ‘Pasketti & Balls Bread

My husband’s loves this spin on a childhood fave food. It consists of a hollowed out bread loaf that’s been brushed with garlic butter, topped with cheese and spaghetti & meatballs. I put more cheese on top and bake it for 10 mins at 350*F. I let it cook for 10 mins, pulled it to rest 10 mins, and then cut it into slices to serve.

Garlic ‘Pasketti & Balls Bread:
1″ Bundle of Spaghetti
Pasta Sauce, of choice
Frozen Meatballs, of choice
Half Bread Loaf, cut lengthwise and middle mostly hollowed out
Garlic Butter
1/2 C Marble Cheese, either slices or grated, or both
1/4 C Parmesan Cheese, grated

Serves two.

Hollow out the bread and brush the cavity with the garlic butter. Lay down half the marble cheese and top it with half of the parm cheese. Roll the cooked pasta in the pot with the hot sauce and balls. (I cut the meatballs in half to make eating them easier.)

Carefully lay the spaghetti & balls over the cheeses and top with more meatballs. Push it down as you add more to condense it and really get that hot sauce melting the cheese to trap the spaghetti in place. Top with the last of the cheeses, and bake on a sheet pan.

It’s a real challenge to eat this without losing any of the balls or strands of the spaghetti, but that only makes it more fun to eat on some random night when you need something fast to make and filling to consume.

Sunday Dinner – Meatloaf & Beans

Made a late simple dinner tonight. I cooked a lovely meatloaf in the air fryer. And as that rested, I cooked some green beans with canned mushrooms, and fried onions as the side. I have made many different meatloaves over the years, but this one is up there with my favourite ground turkey meatloaf that I keep craving.

Here’s what I put in mine:

Jalapeno Meatloaf:
1+ lbs Ground Beef
1/4 sm Yellow Onion, grated finely
1/4 Bell Pepper, any on hand, fine diced
1/2 med Jalapeno, seeded and fine diced
Cracks of Pepper
Pinch of Salt
3 tbsp Everyday Seasoning Rub
1/2 C Panko
1/2 C Dry Breadcrumbs

Everyday Seasoning Rub:
1 1/2 tbsp: Garlic / Onion Powders
1 tbsp: Salt / Paprika
2 tea: Black Pepper / Mustard Powder

(Despite only needing a bit of the rub mix for the meatloaf, the above will net you enough to fill a small mason jar. You can use it with any kind of food group.)

Mix all of the meatloaf ingredients in a mixing bowl by hand. Place fistfuls of meat into a greased pan, and press the meat into the corners first. Add the rest to the middle and spread it all out evenly across the surface.

Place the pan into the air fryer (or on a sheet tray) to cook at 375*F for about 18-20 mins. Pull the loaf when it temps at 158-160* and let the residual heat finish cook the meat. Let it rest on a cutting board in the pan for about 15 mins as you work on the green beans.

Green Beans:
1 tbsp regular Olive Oil
S&P, to taste
1/2 can Mushrooms (for cooking speed), drained
1+ tbsp Dried Onions

Clean out the mixing bowl with soap, and drip dry it. Run your green beans under cool water to rinse off any dirt. Drain them and dump them in the bowl. Assemble the other ingredients over the beans. Roll everything around nicely. With tongs, move the mixture to the air fryer basket (or dump it onto a sheet tray to cook them in the oven, or in a skillet to pan fry). Cook the beans at the same temp as the meat for about 5+ mins.

They are done when you can hold one bean with the tongs and bend it over in a soft V shape. Plate it all and decide if you want any sauce to top the meat with or not. Enjoy.

Air Fryer Smash Sliders

A few weeks back, I made some cute mini smash burgers at home that, although tasty enough, were a huge pain the butt to make on the stovetop. They had too much clean up time attached after the onions invariably burned while the thin meat patties resting over them steam cooked, and the cheese on top of them finally melted and the bun warmed up. Ugh.

I vowed never to make them that way again. They make a cute pub grub meal, but honestly, I wasn’t into making them the Alton Brown way again. What he does, he does well. But, I’m not Alton. I’m me. And me is really good at figuring out ways to streamline production and assembly methods at work, and at home. Work smarter, not harder!

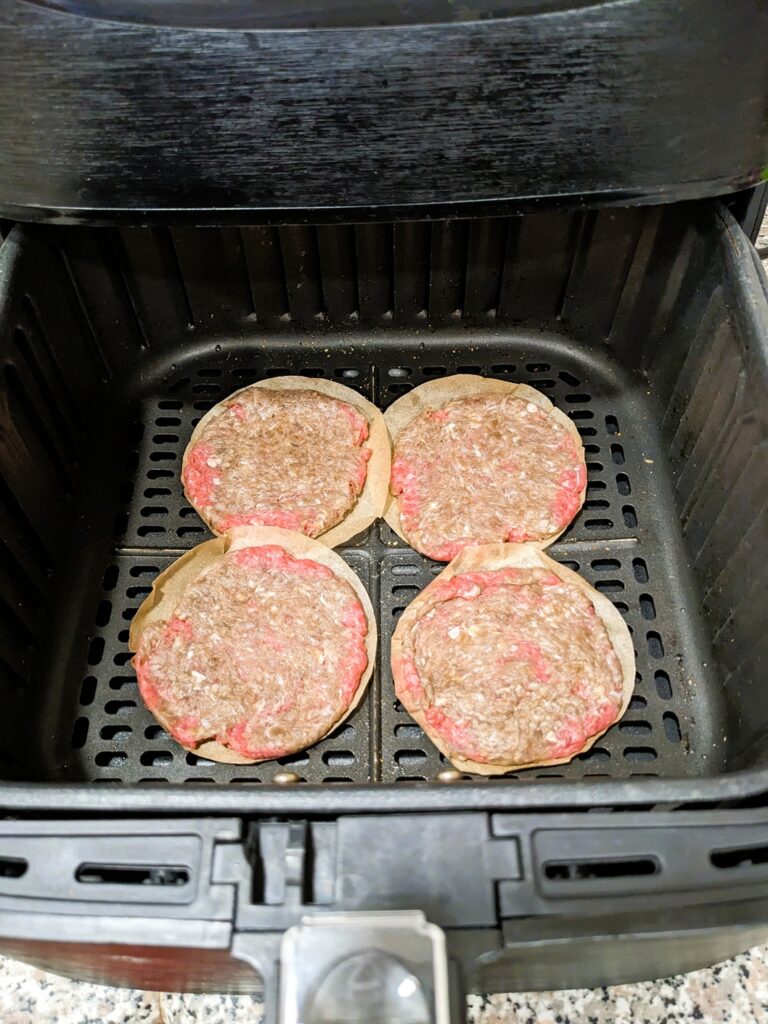
So with that, I turned to my air fryer. In the back of my head, I was only going to cook down the onions in it (so they didn’t burn) while I pan fried the patties on one side before flipping them and adding the cheese on the second side as the meat finished up.

I ended up poo-pooing the idea of using the stovetop all together when I remembered how fast cooking onions in the air fryer is at 350*F for about 10-12 mins. I could just wait ten minutes and add the patties after removing the onions. From there, 4 mins on the first side, flip, add cheese and cook another 4 minutes while I prepped the buns.

I chose a small dinner roll pack because the grocery store stopped getting the slider buns I was going to buy during the pandemic. I assume the bread maker axed this from their streamlined product line for supply chain issues. Oh, well. The dinner buns were the perfect size in the end.

I laid the onions on a platter in small nests so I could drop a cheesy patty on each when they came out of the air fryer. I placed the tops on each patty so they melded together. On the bottoms, I laid down some somewhat spicy burger/dip sauce I had in the fridge.

We then scraped up each pile off the platter and laid them down onto each bottom, and viola! Done. I really like how these turned out, and how fast they came together. And it was about as much clean up as cooking bacon strips in the air fryer. And none of it irritated me like doing these smash sliders on the stovetop did.

I’m calling this one as a win! Will do smash sliders this way from now on. Recommend.