Yesterday was my day off. On my days off, I like to linger in front of the open fridge looking at items I have in there that may be on the verge of turning. And I like to turn some or all of these items into a completely new meal. I hate food waste.
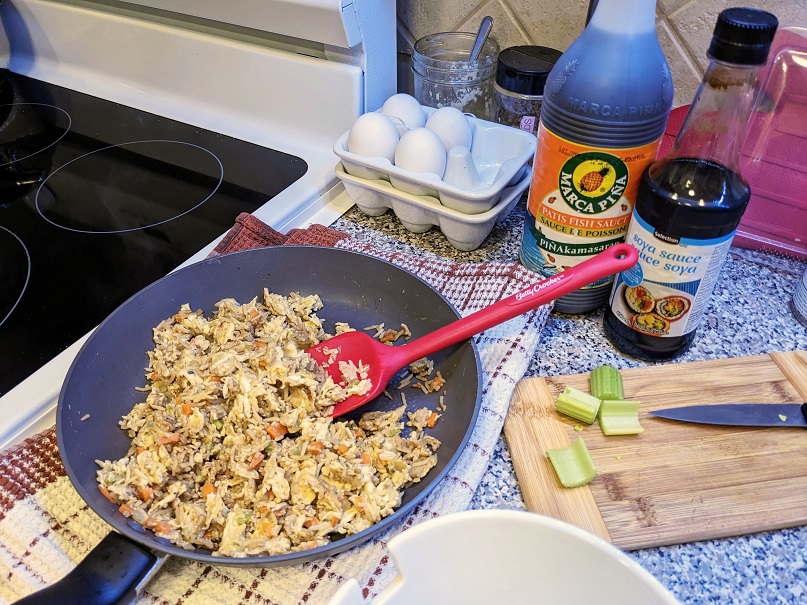
Yesterday’s upcycled meal was a fried rice breakfast dish. I used up the last of the cooked rice, and some of the bits and bob veg I had in the crisper drawer (a bit of yellow onion, a bit of a carrot, some celery chops). This was the holy trinity that would be the base for my dish. I threw it in the frying pan with bacon fat and got it going.
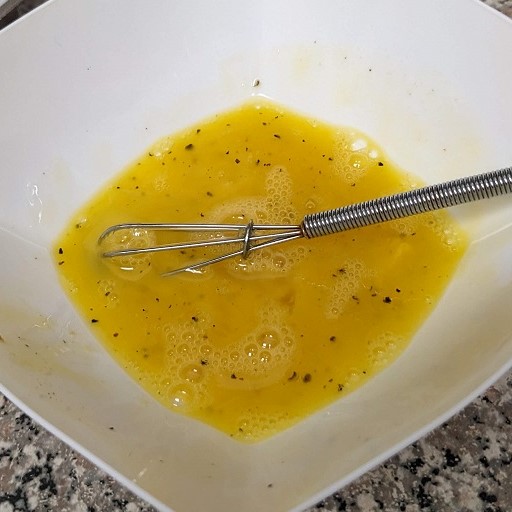
I found a container with egg whites in the back from the last time I separated yolks to make the husband a lovely pasta carbonara. I added whisked in another egg and dumped the rice in to combine it all.
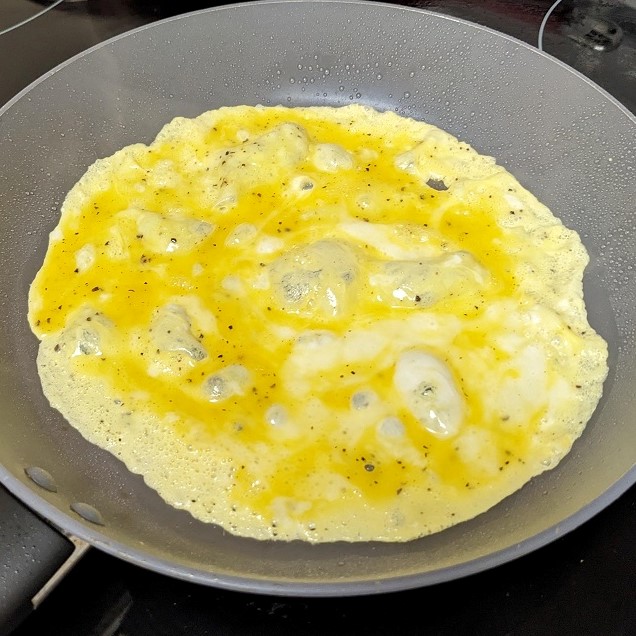
When the veg mix was softened enough, I added the rice-egg mixture and moved it all around in the pan, picking up the veggies as I fried up the egg to a solid state. That was long enough for the cold rice to heat all the way through.
I added a splash of soy sauce and a dribble of fish sauce, rolled it around, and then scooped it into a bowl. I also sprinkled sesame seeds on top for good measure. So good.
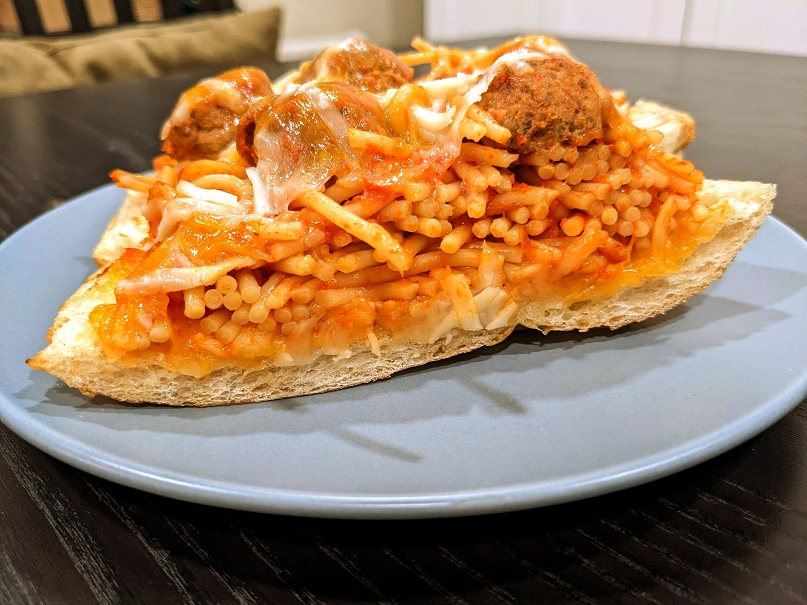
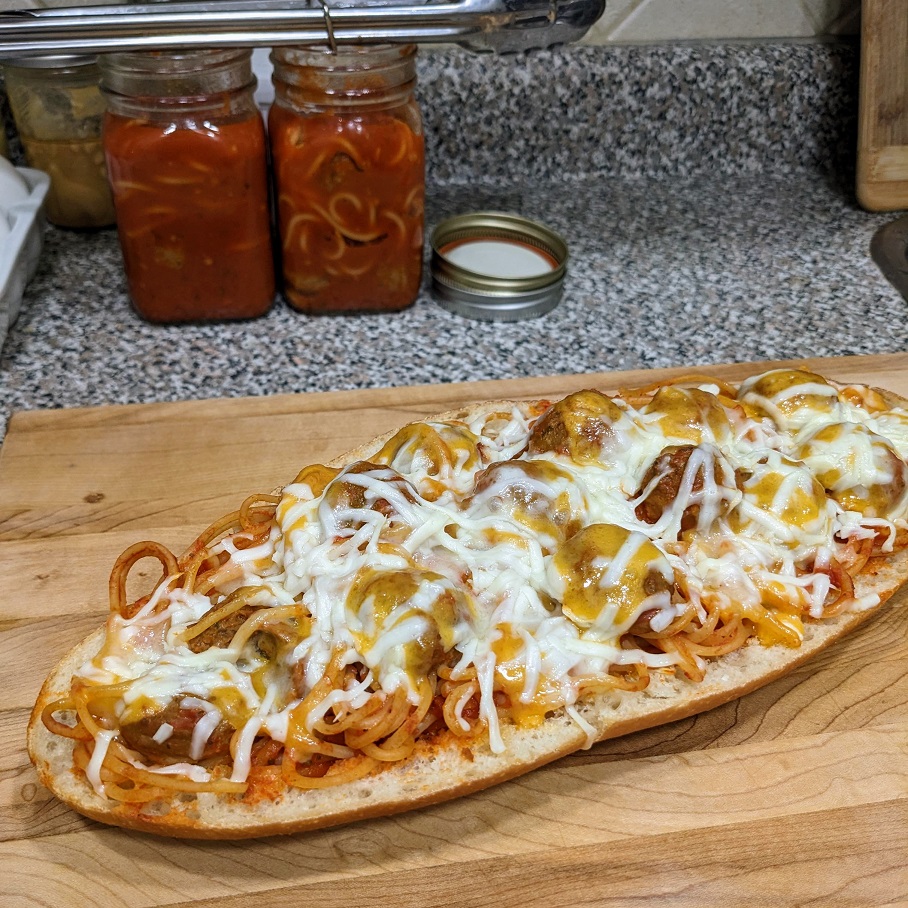
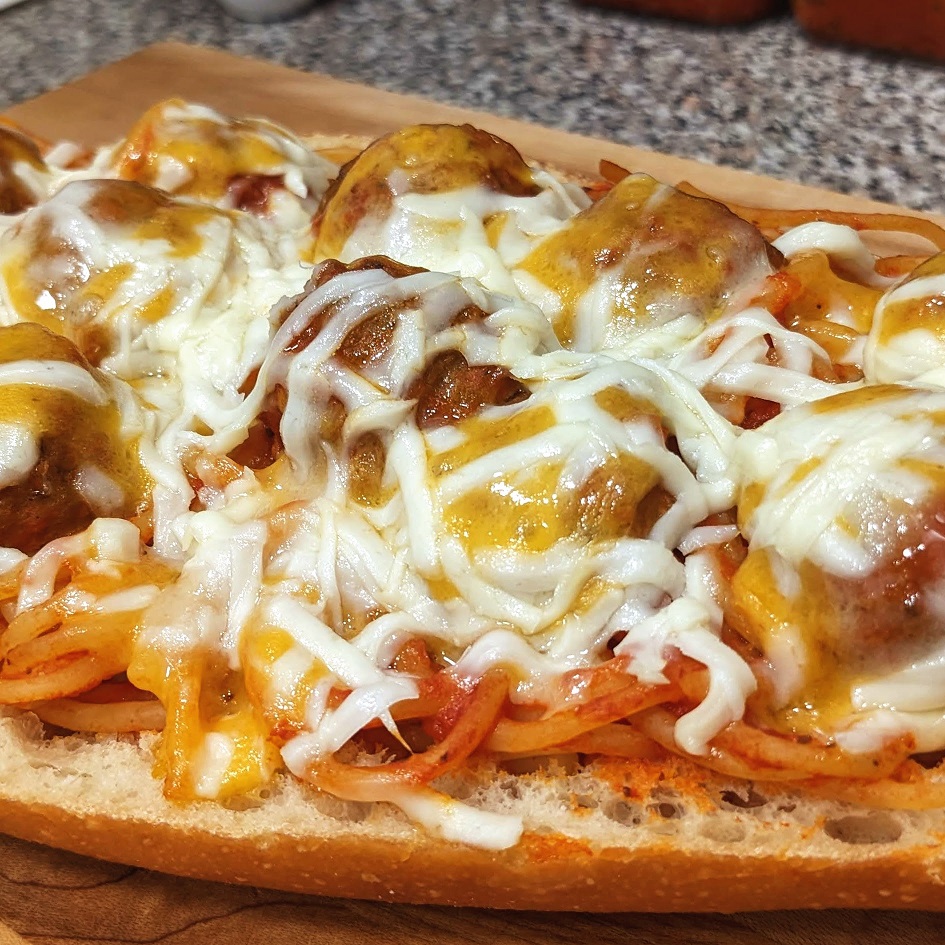
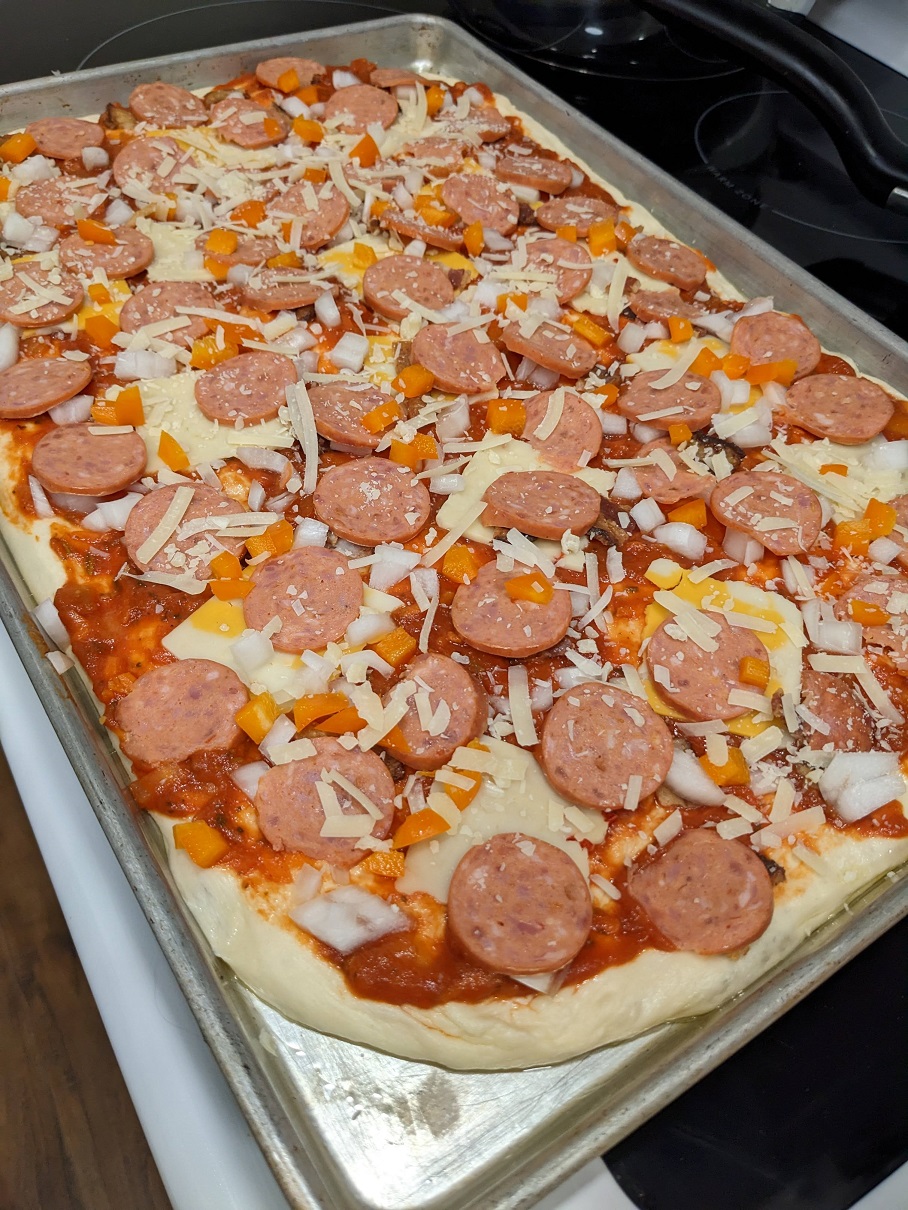
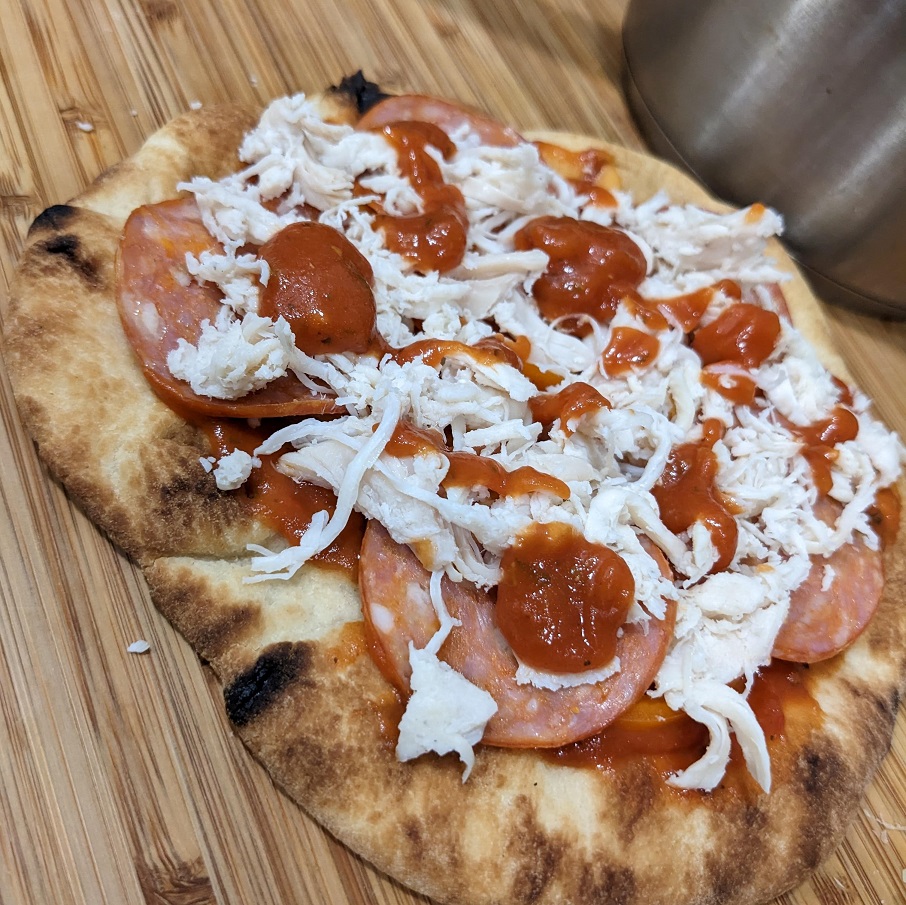
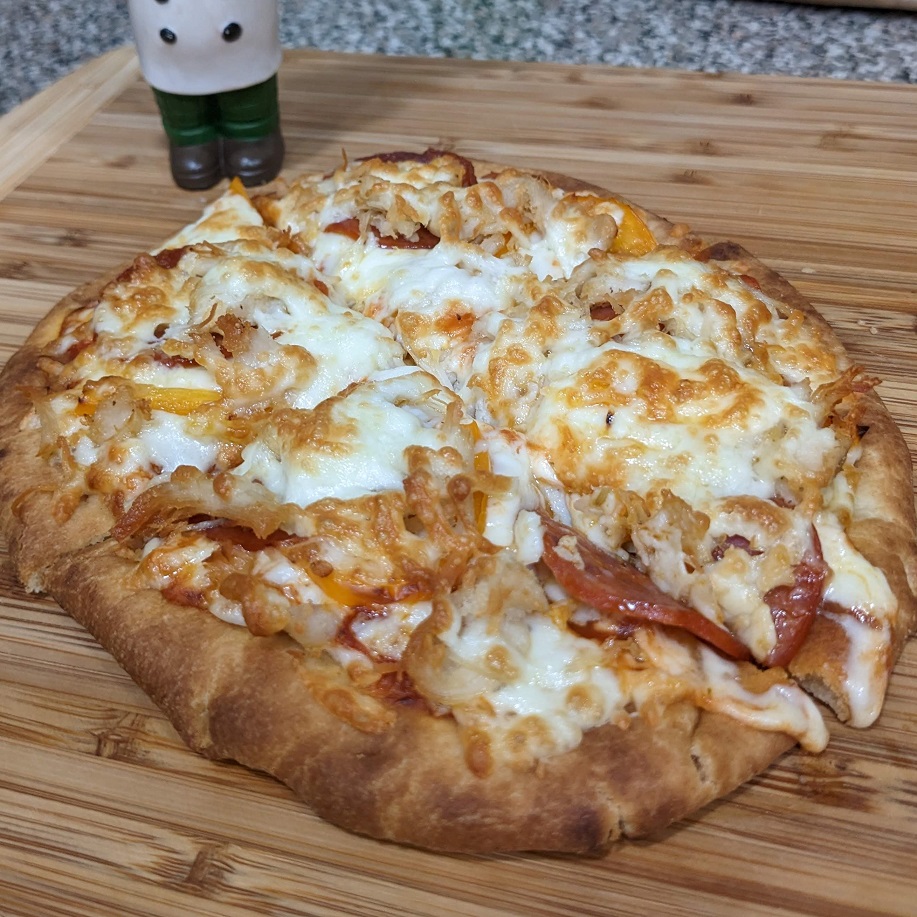
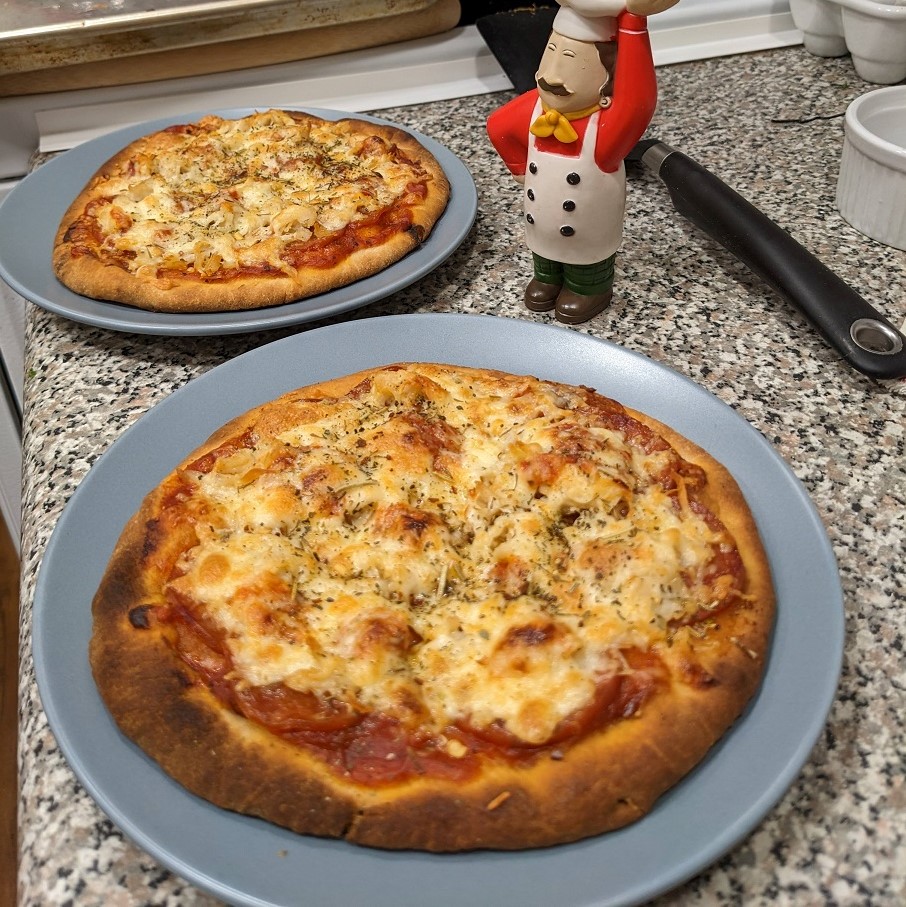 This is a spin on the Subway Pizziola we used to make back in the day. I love the idea of chicken and pepperoni in the same sandwich, so it seems like it would translate nicely to an actual pizza version. And I was right. This might be the husband’s new favourite.
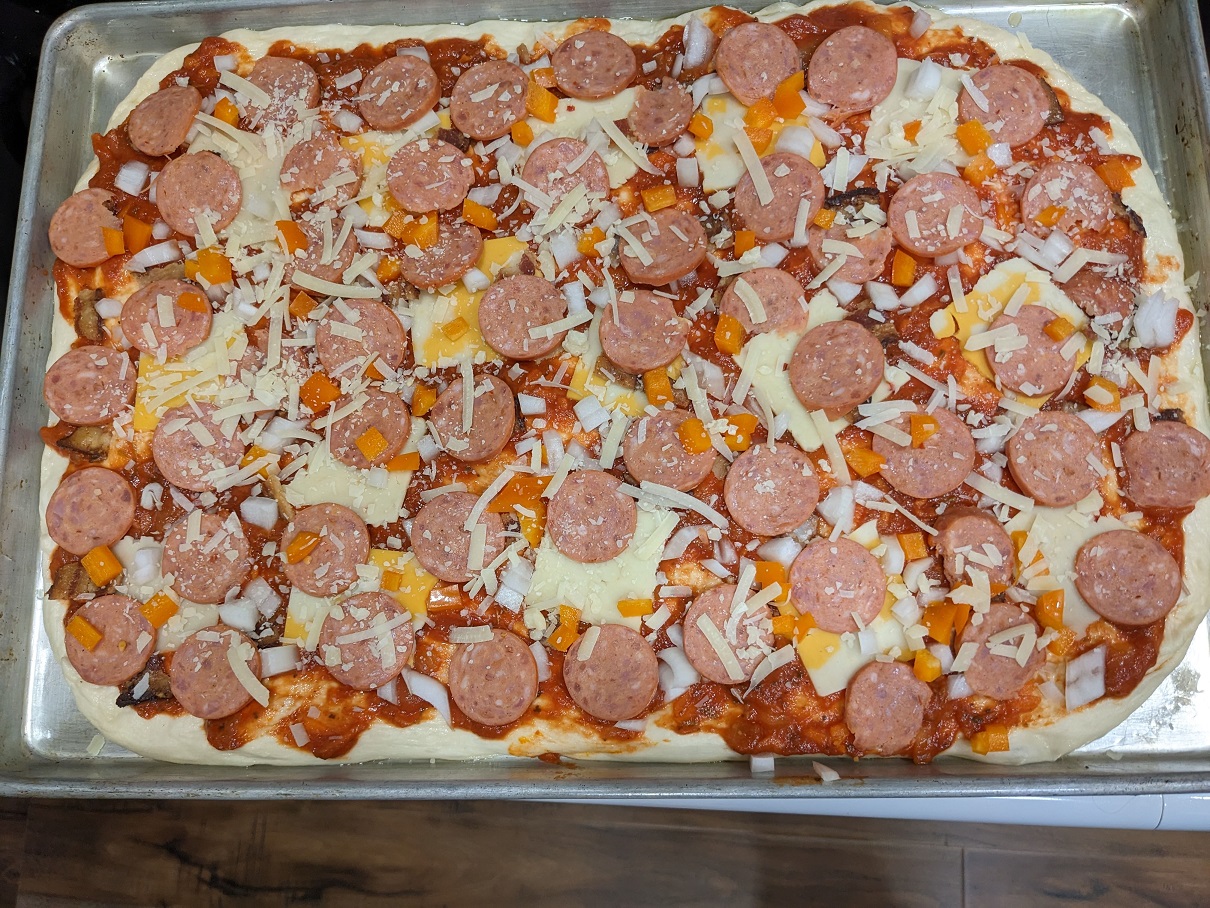