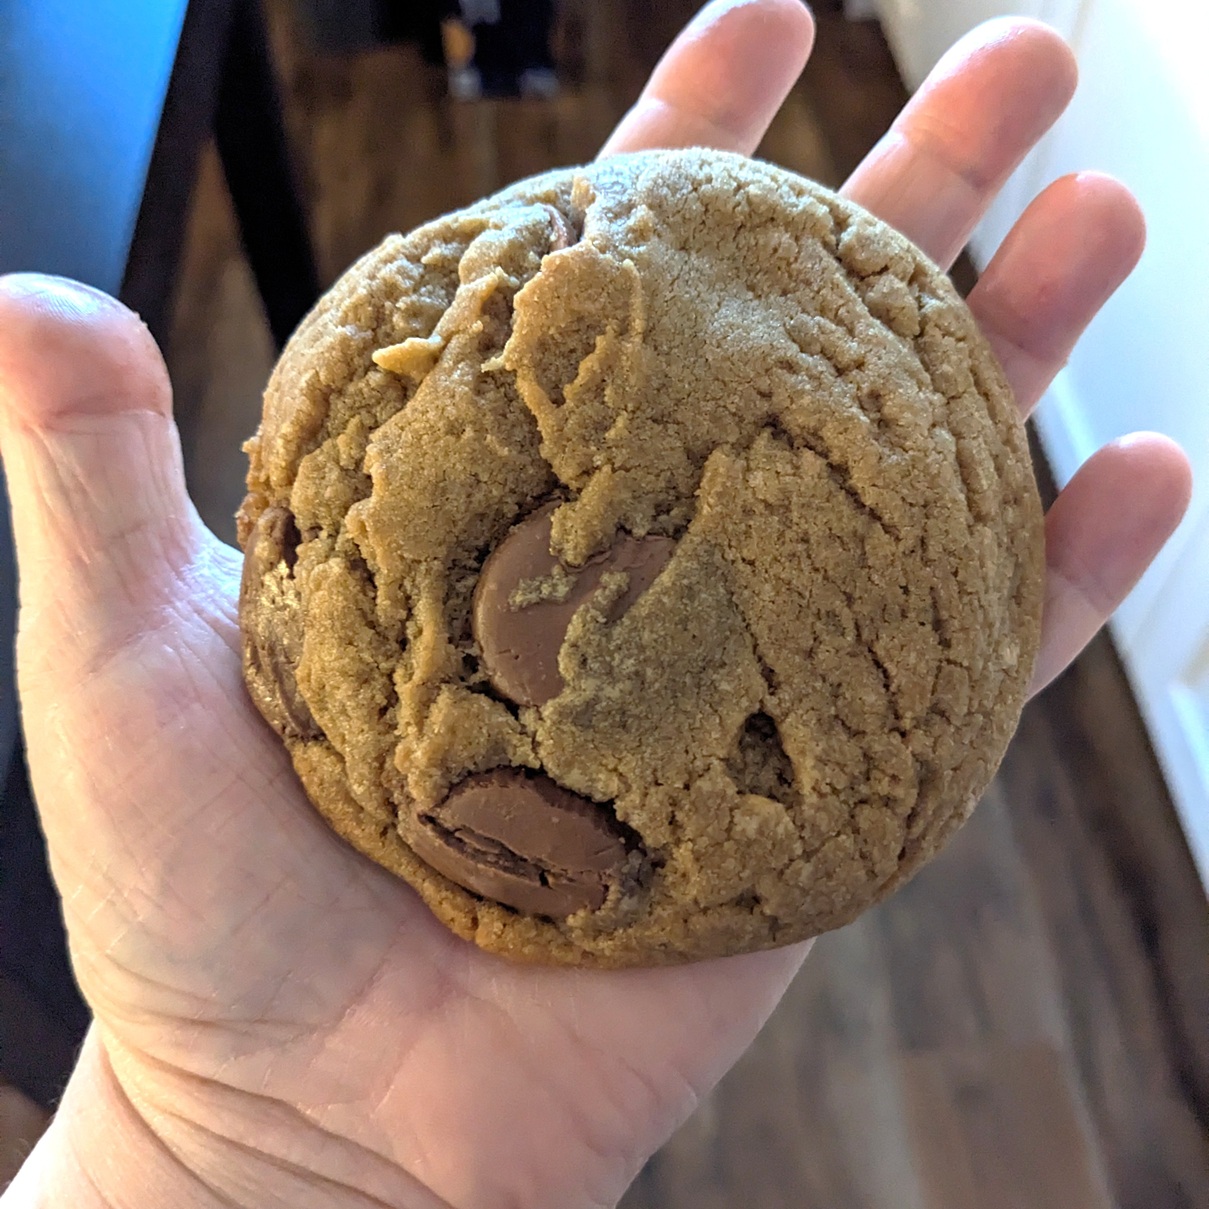
Thick Chewy Chocolate Chip Cookies

The new retail cookie craze is Crumbl. There are a few other companies selling their own version from store fronts as well. But honestly, if I am going to spend $6.50 for a single cookie, it better blow my mind while it blows my budget and bank account! I can also just as easily buy the ingredients to make this knock-off cookie (minus the icing topper) for that much money. And so can you.

I really like a crispy exterior with a softer chewy centre. If you like the same cookie texture, you will love this recipe. Give it a test drive by halving all of the ingredients.

Thick Soft Chocolate Chip Cookies:
1 C Bread Flour + 3/4 C AP Flour *
2 Tea Salt
1 Tea Baking Soda

1 C Butter, melted
1 C Dark Sugar + 1/2 C White Sugar

2 Tbsp Vanilla
1 Tbsp Instant Espresso Powder
1 Egg, room temp
1/2 C Chocolate Chips (or 4 oz Chunks)

Melt the butter and let it sit on the counter about ten mins before stirring all of the wet ingredients together in the same bowl. Whisk up the dry ingredients in another bowl.

Add them together with a spatula to form the dough. Fold in the chocolate chips last. Scoop the dough out into balls onto a lined sheet tray to chill for at least 24 hours. This is a key step. Don’t skip it!

Bake at 355*F for 20 mins. Rest the cookies on a wire rack after a ten min rest out of the oven. Cool completely before topping with an icing if using.

* Bread flour is too expensive and takes up too much room in my pantry, so here’s how I do make my own at home: I mix 1 cup AP flour (minus 1 tbsp) + 1 tbsp Wheat Gluten. *

Awhile back I bought a bag of Bob Mills Vital wheat gluten when it went on sale for making my own bread flour so I can bake proper loaves of bread. Each batch requires so little that I have been storing it in my freezer all year since. It barely takes up space.

I made these 5 cookie test batch a week ago using my biggest 3 oz disher but I found by the time I got well past the halfway point, I started to feel gross in the gut. I figure one half size cookie should be the ideal size for me.
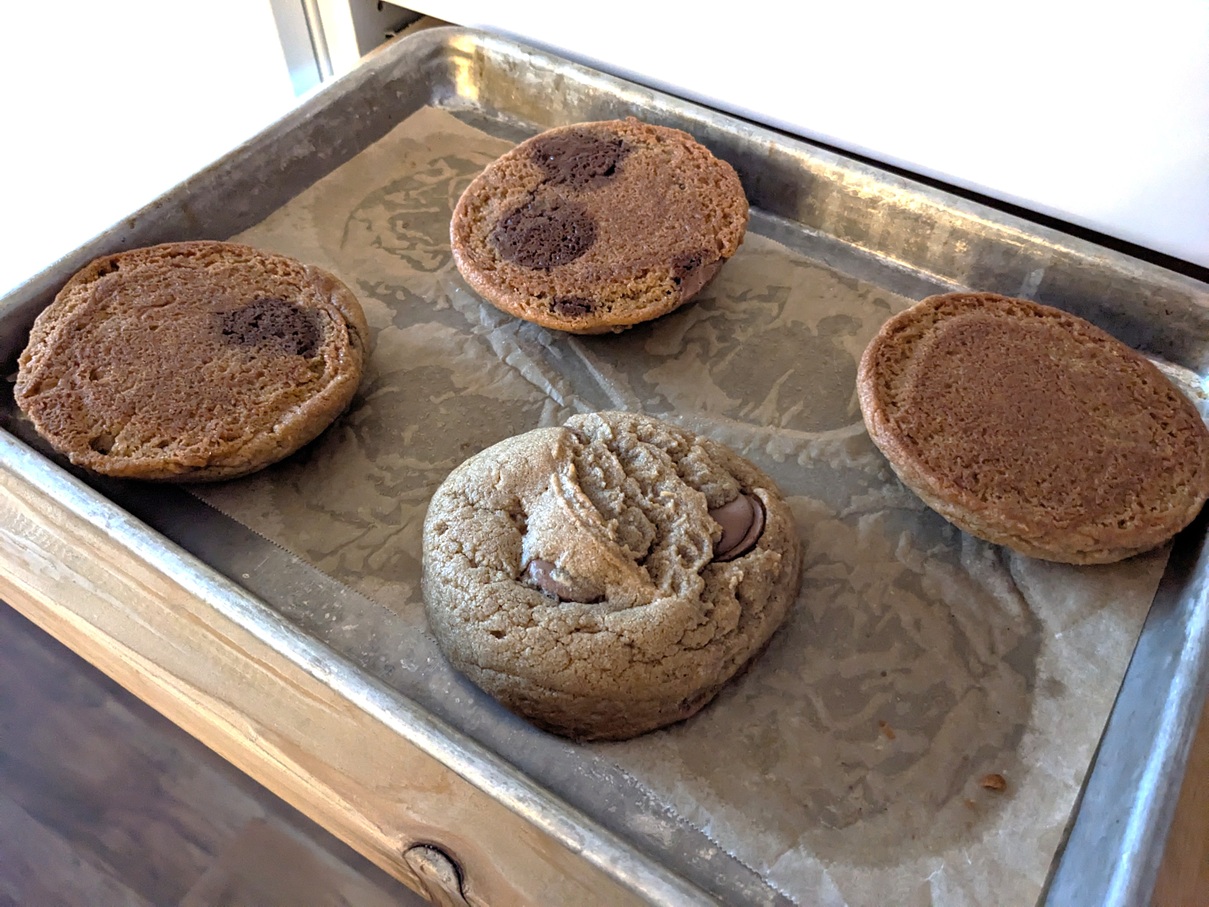
Going forward, I will be using my half-ish size 2 oz disher from now on for more reasonable sized cookies. I also have a smaller 1 oz disher for a mini cookie version.
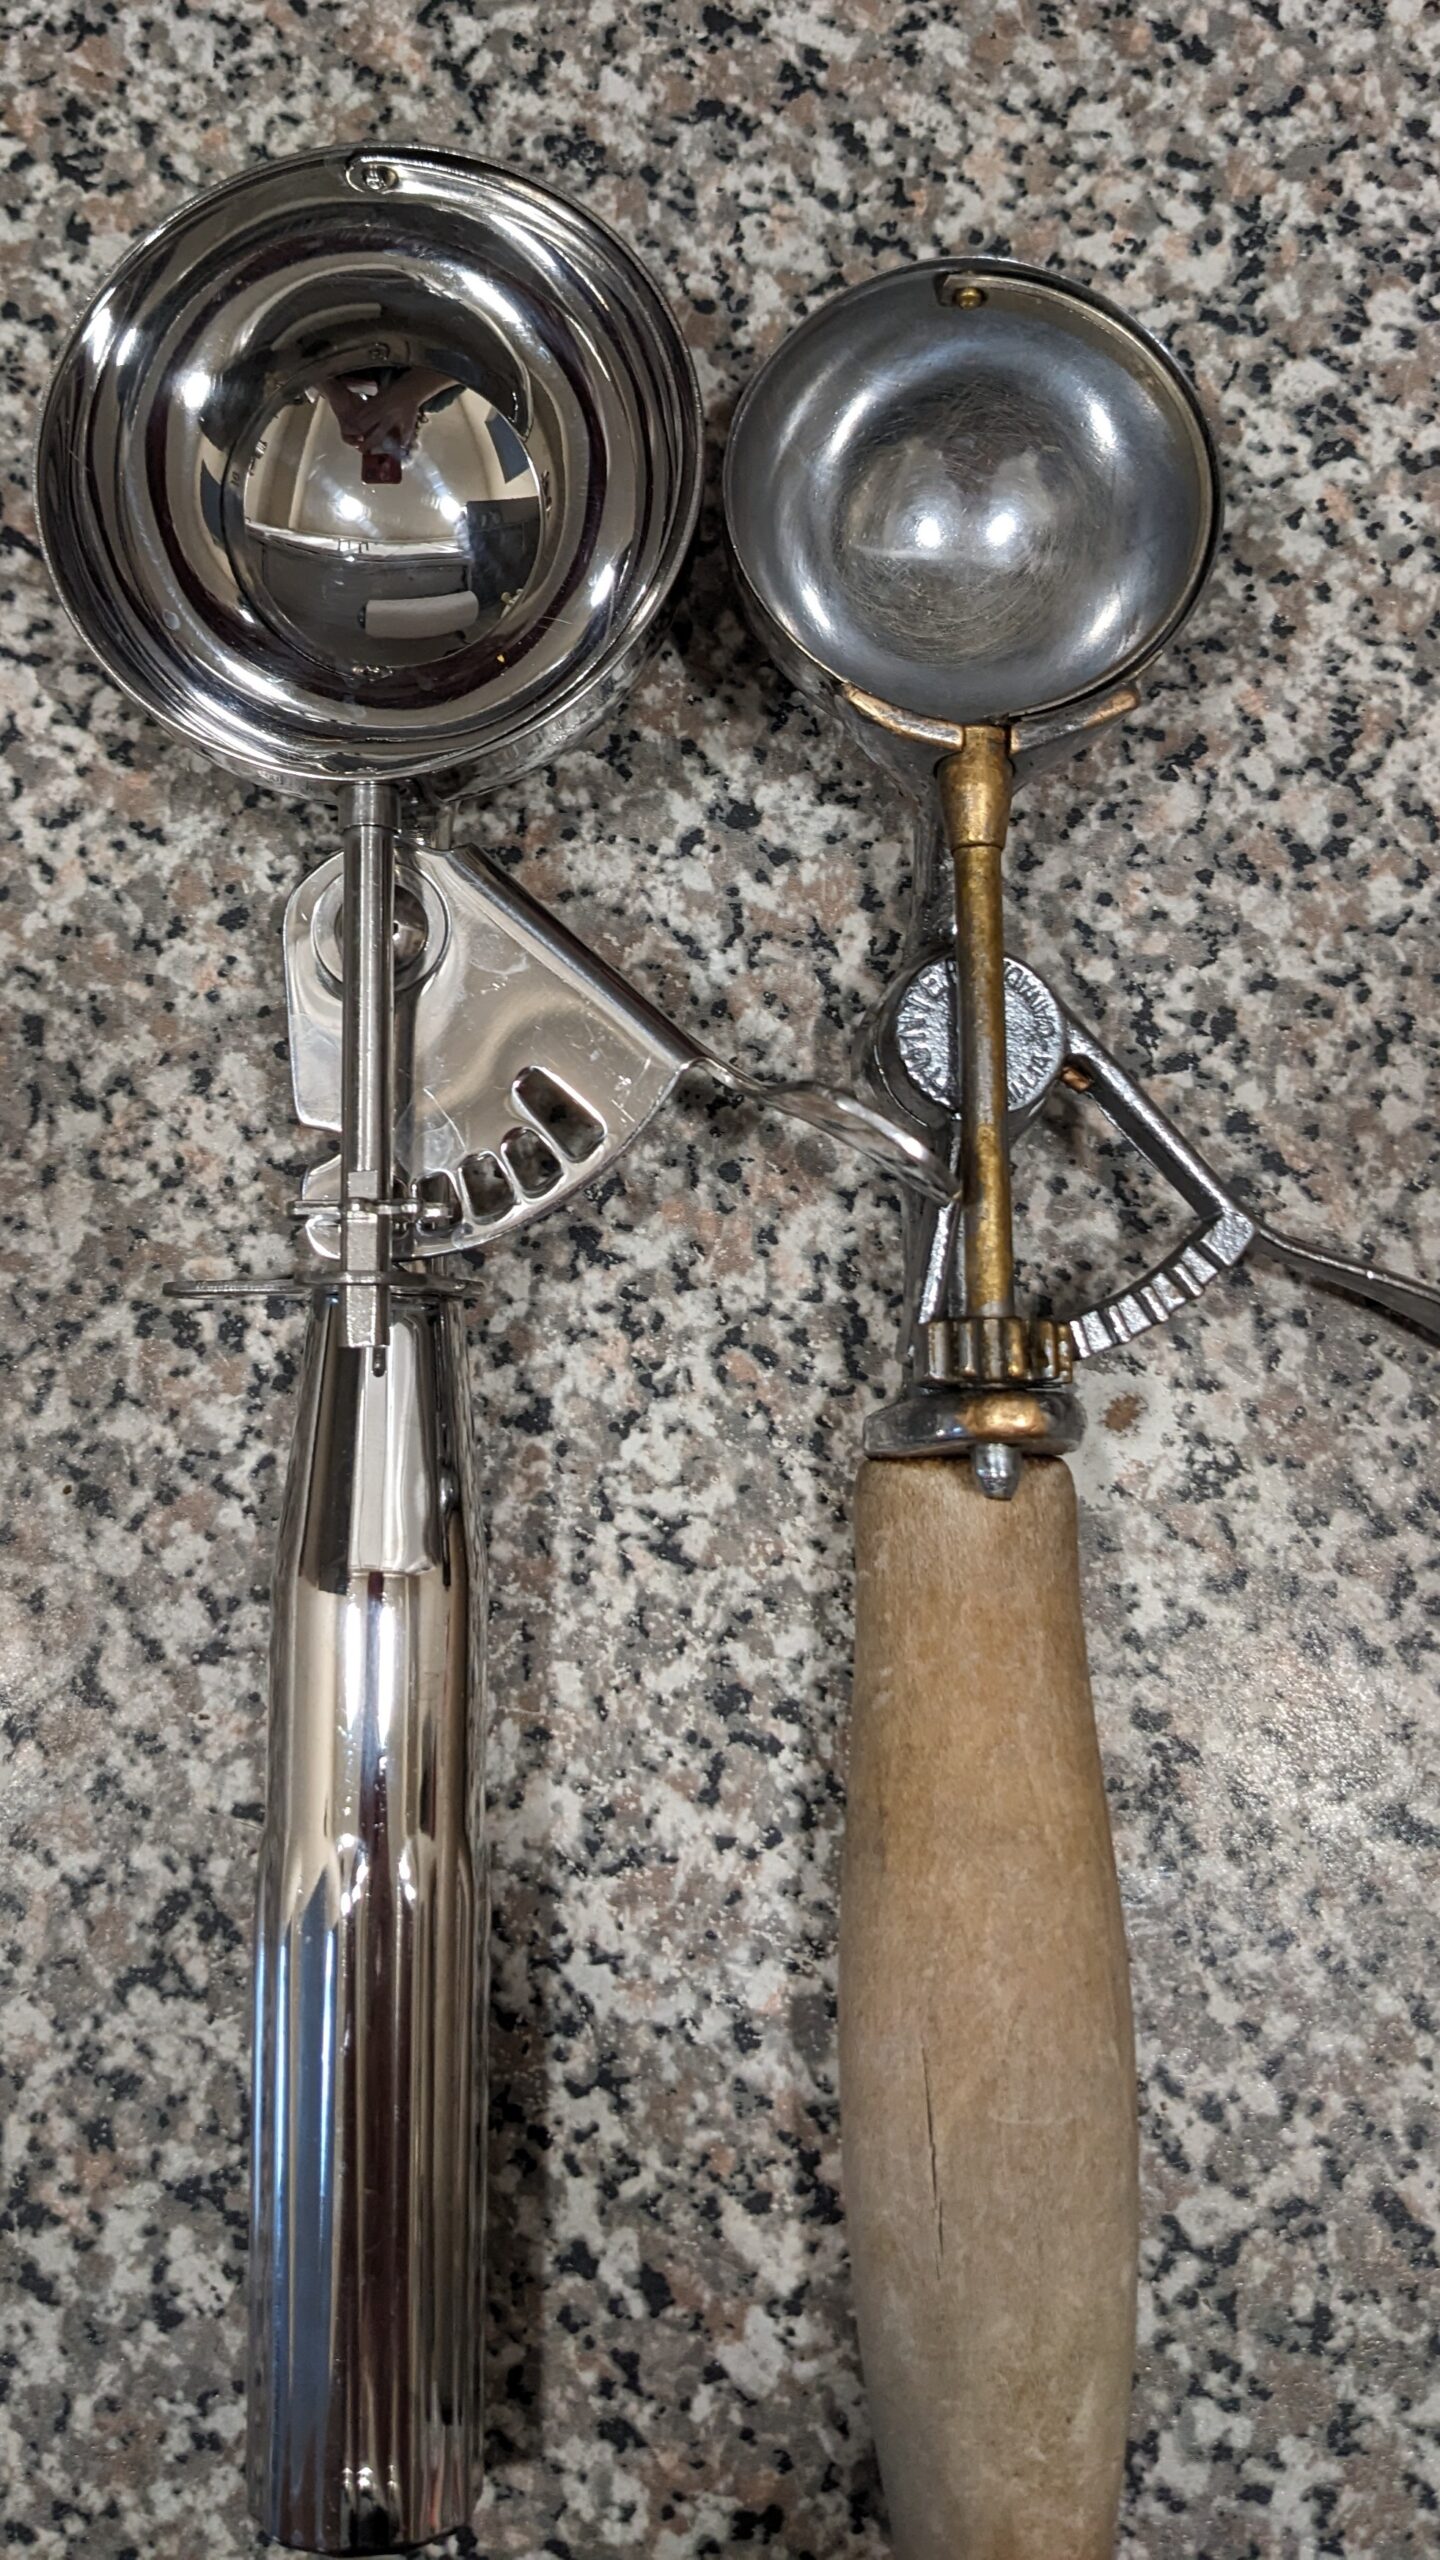
This wooden disher is an antique. I was given to me by the master baker I used to work for something like 18 years ago. It still works beautifully, unlike its modern version that doesn’t hold up scooping out thick doughs or frozen ice cream. I’ve broken a few modern dishers over the years. These two are my standard for loaded cookie doughs, and the smaller size not shown does a great job on softer plain cookie doughs.

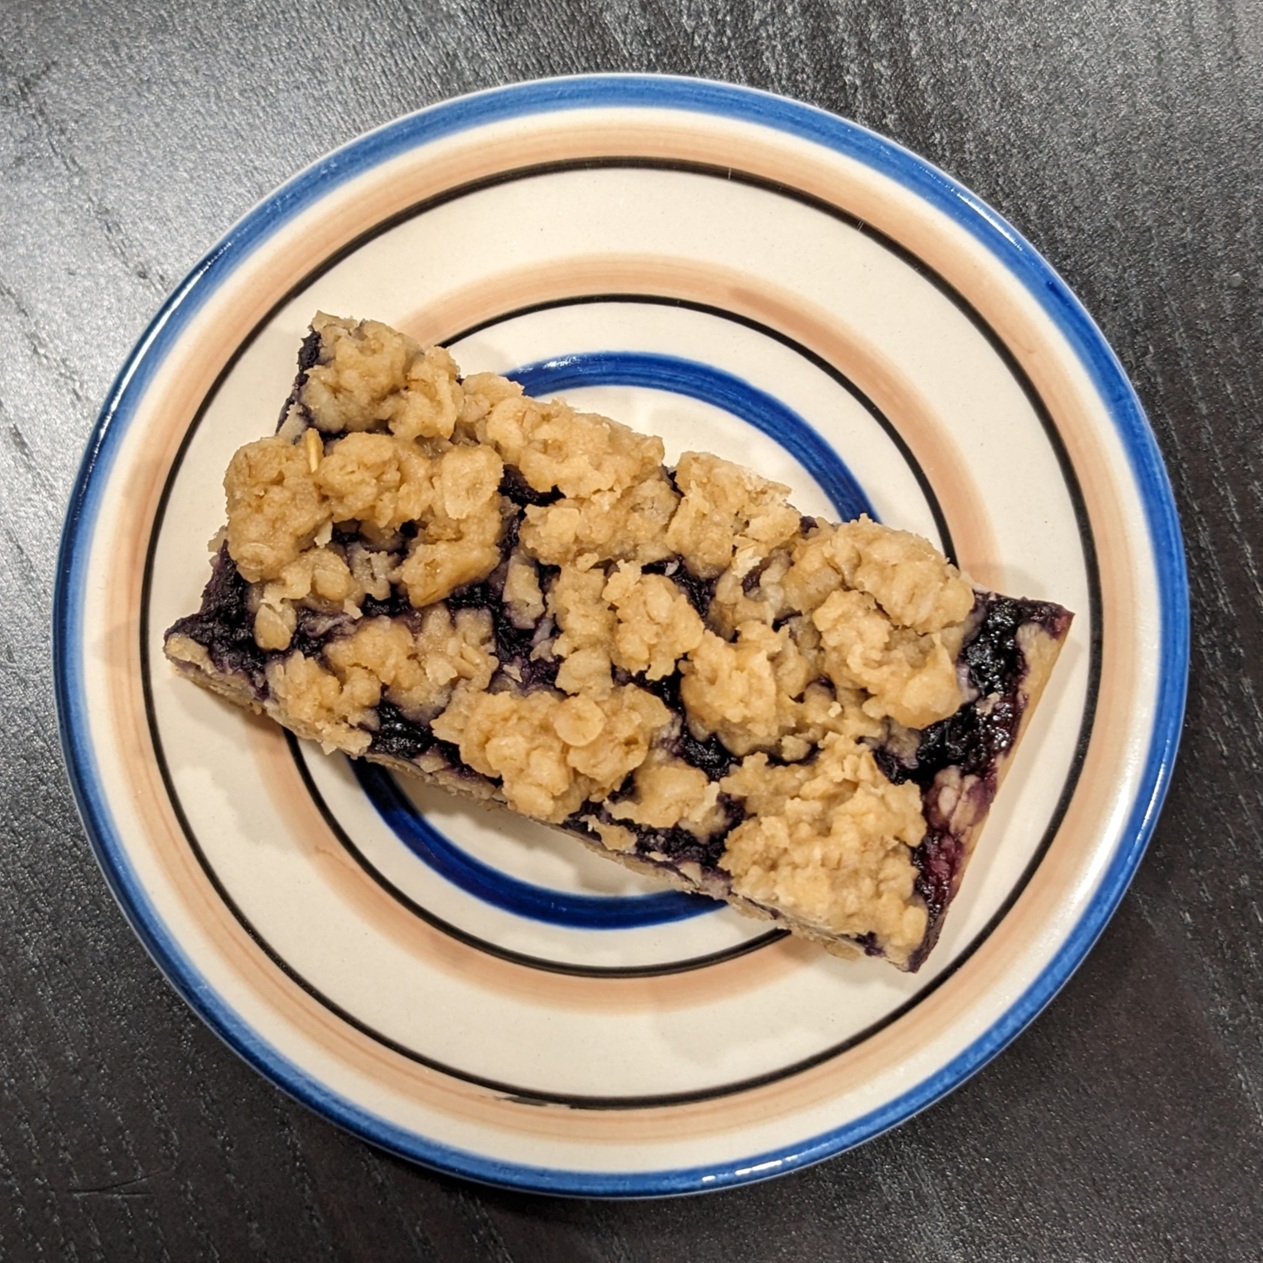
Blueberry Oat Bars

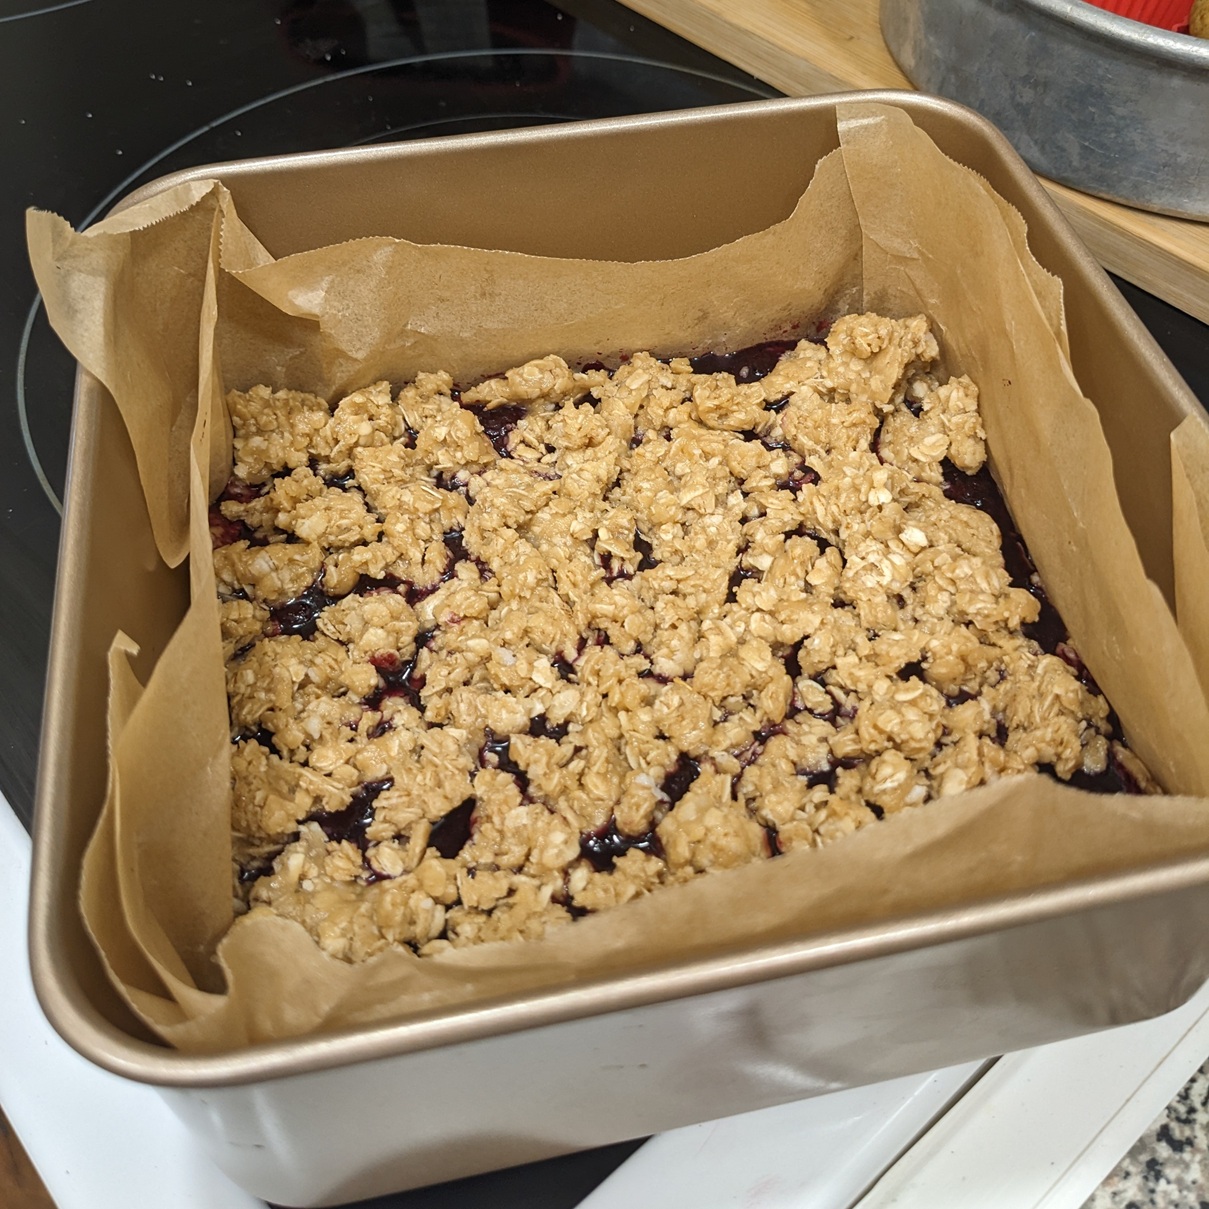
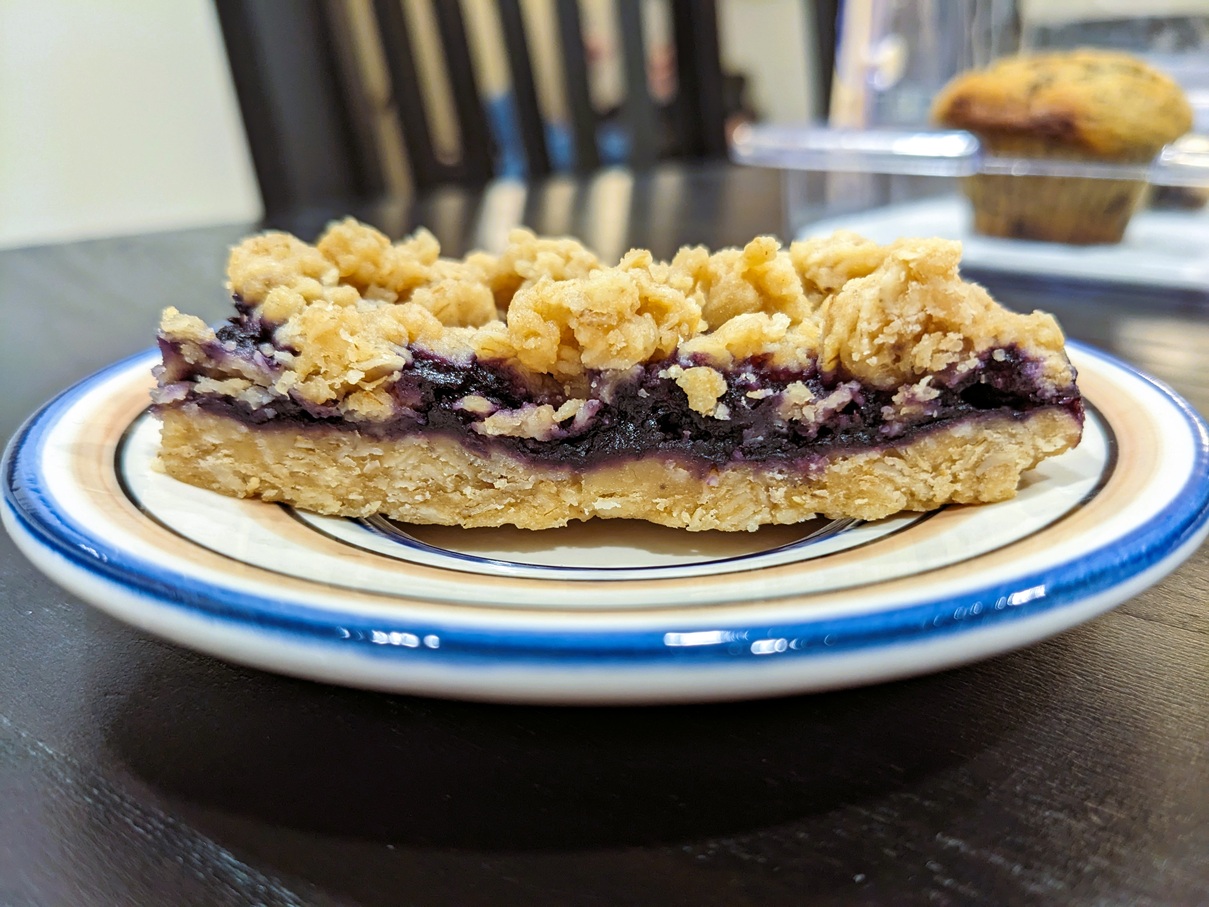
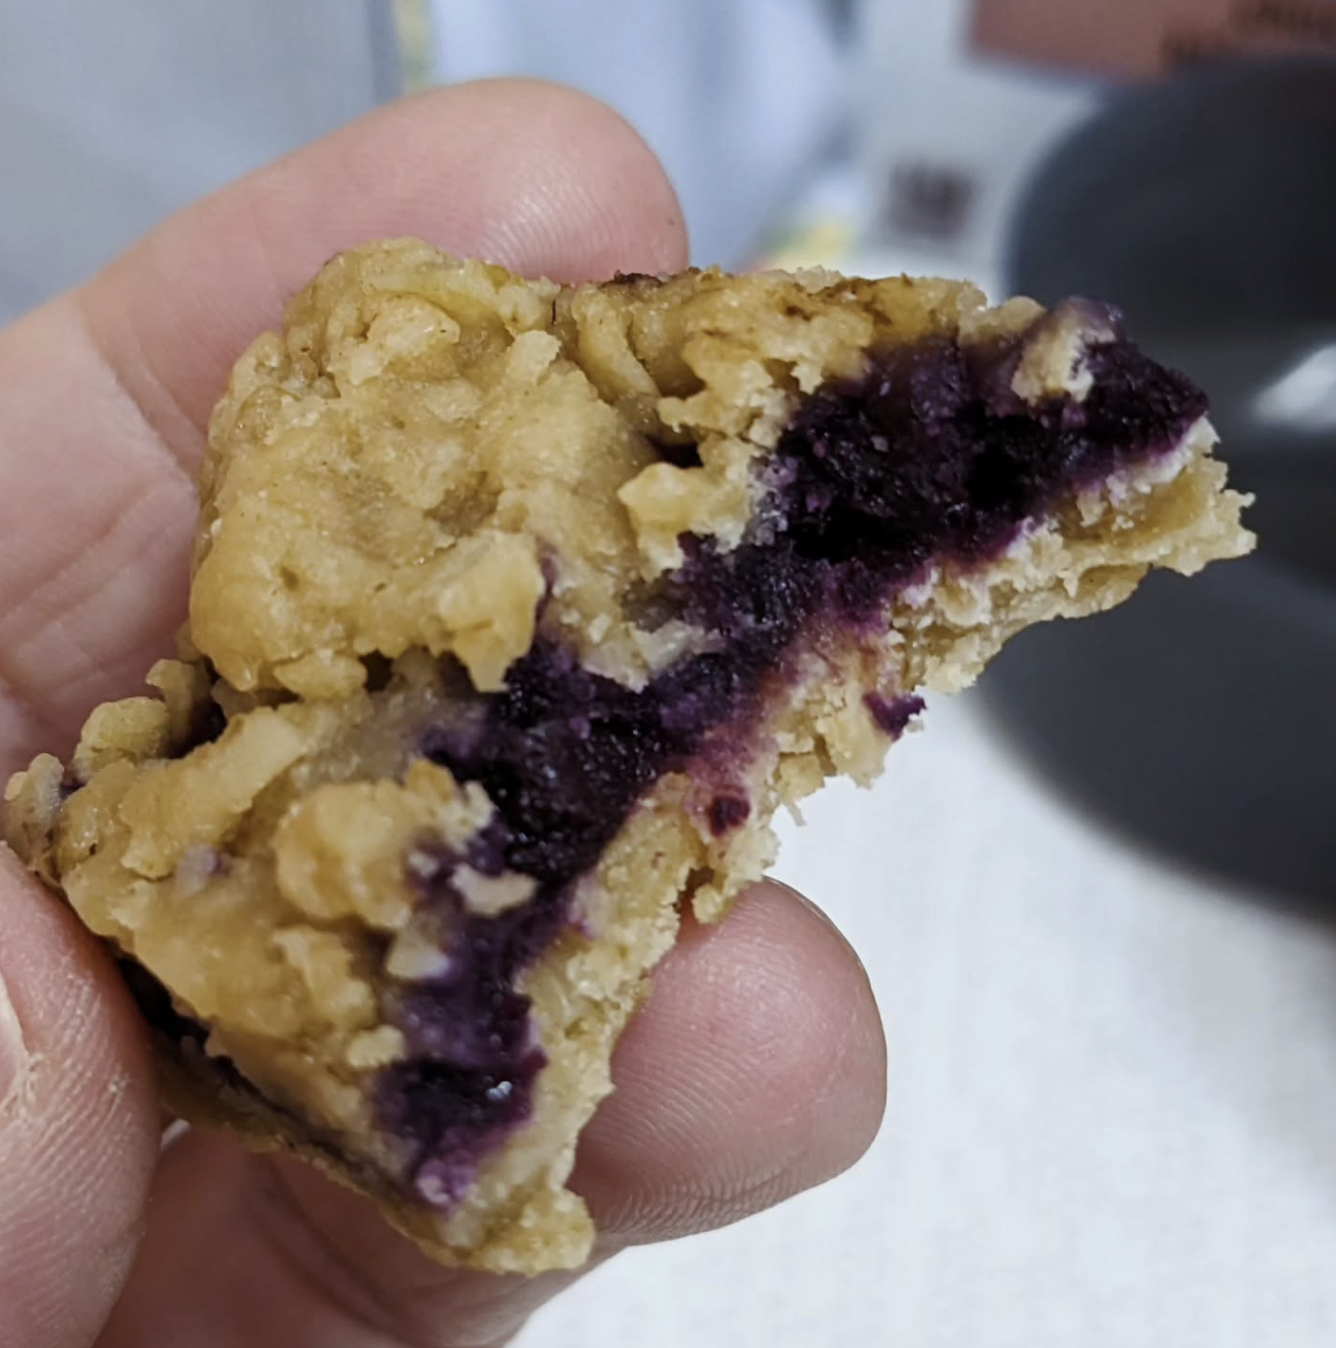
This is an internet provided version of the Jammy Oatmeal Bars I used to make when I worked in the cafeteria. Those bars required more ingredients but they are the same idea: a solid oat base, a jam filling, and a crumble oat topping.

Blueberry Oat Bars:
1 C Frozen Blueberries
1/3 C Water
2 Tbsp Sugar

1 C Quick Oats
1 C AP Flour
1/4 Tsp Salt

1/3 C Peanut Butter (any)
1/3 C Maple Syrup
2 Tbsp Coconut Oil

Cook the blueberries and water down over a med-low heat until it starts to bubble. Mash down the berries at this point and continue to cook down on a lower heat for 5 mins longer. Cool off the burner while assembling the bottom and top layers.

Whisk together the dry ingredients in a mixing bowl. Mix the wet ingredients together in a small bowl before dumping it over the dry ingredients. Fold the wet into the dry to form a ball. Cut the ball into two portions.

Place one portion into a small lined baking dish by pressing a bit of the mix into all the corners first, and flattening out the rest across the bottom evenly using a spoon or a small measuring scoop with a flat bottom.

Pour the blueberry jam over top, pooling the mixture all over by tilting the pan. Pinch off small irregular chunks of the remaining mixture to drop on top of the jam layer. It doesn’t have to be evened out like the bar’s base.

Bake at 350*F for 20 mins.

Cool down almost completely before chilling two hours still in the parchment paper before cutting into eight small bars, or six medium bars, or four large bars.

These bars keep for a few days wrapped and chilled, I think. They don’t last long enough in this house for me to tell you for sure. 😉 Oh, and the jam can be store bought if you have some to use up instead. And I’ve made these with a few different fruit jams to change it up when the mood strikes me.
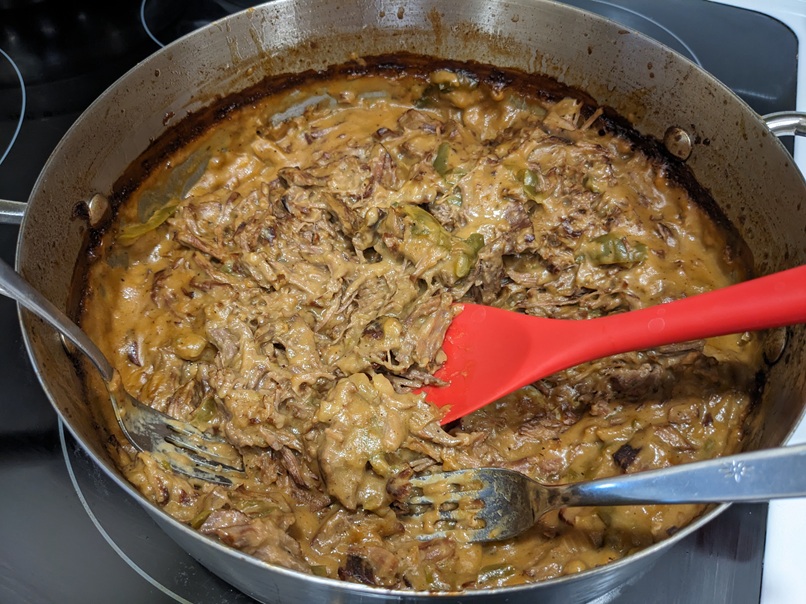
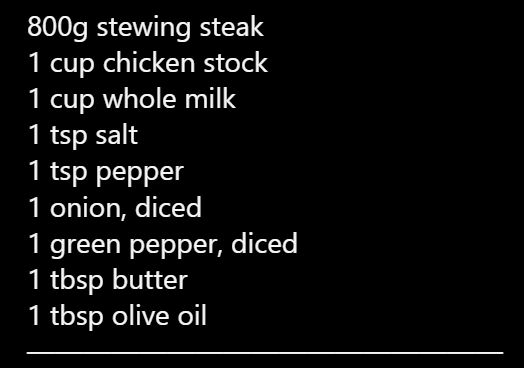
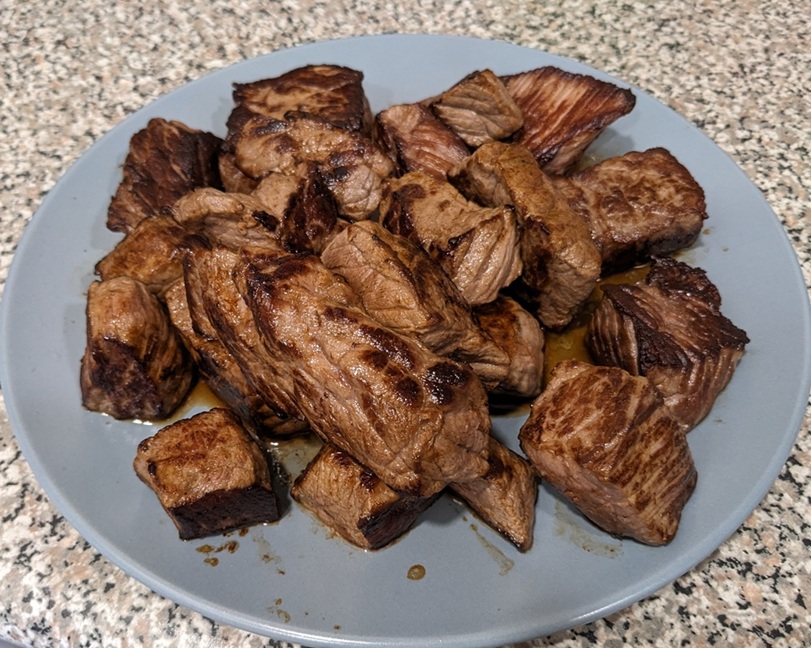
Hey, I just found this link of that time I burned a pan of these bars. Ooph!

Slow Braised Steak Cheese

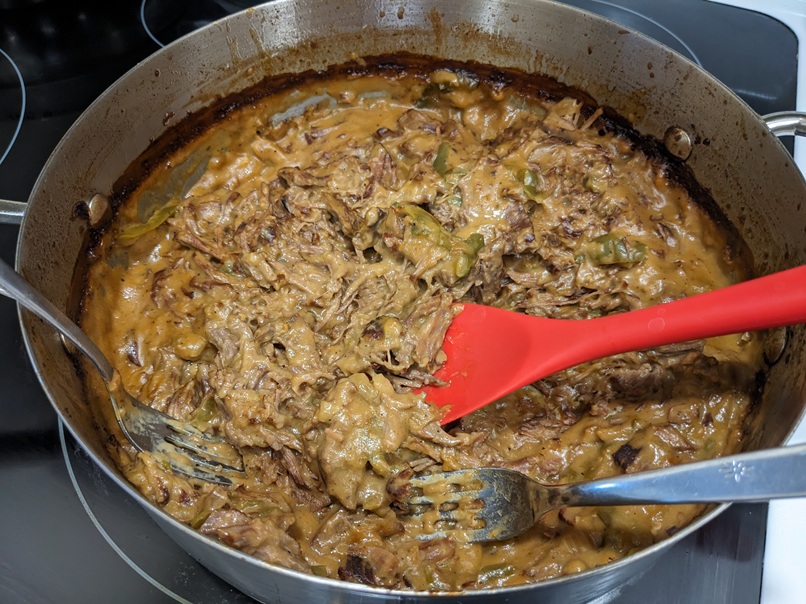
This is a loose version of the classic Philly Steak sandwich meat that’s typically cooked on a flattop. But since we don’t have one, I decided to make something in the oven instead. While looking into my Insta saved food videos, I found this one from Tasty that they put out in August of 2018.

I didn’t deviate from their recipe much beyond swapping out the chicken broth for beef broth, so my version was a bit darker overall. But, boy! The flavours were great together.

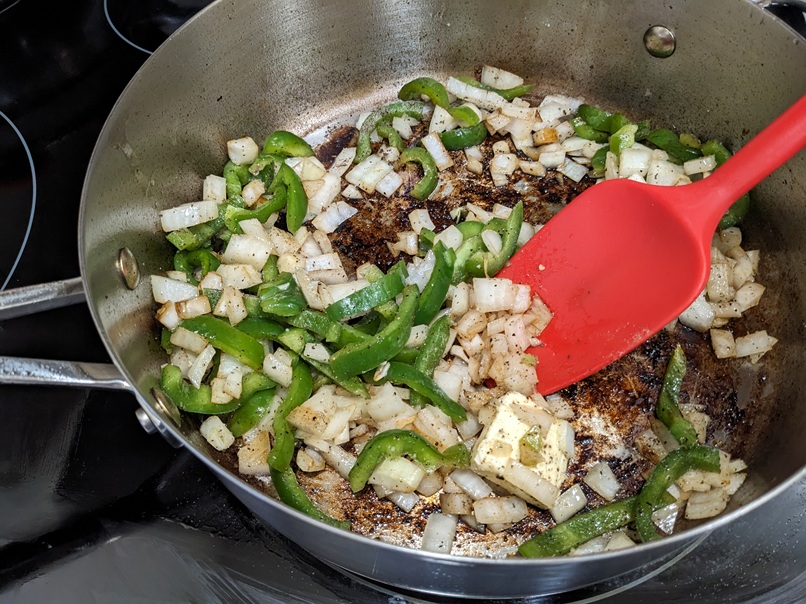
Sear the meat hunks in oil. Rest them on a plate while working on softening the onion and green peppers in the same pan with the knob of butter and minced garlic.

Drop in some S&P and start adding your hot broth. Give that a good stir before adding the meat back to the pan and dropping in the milk. Give it another good mixing and cover to bake in the oven for 3 hours at 334*F. Now sit with a bevvy while waiting. This is the best part of this recipe. 🙂

When your timer goes off, carefully remove the pot from the oven and let it rest uncovered on your stovetop for five mins before grabbing two forks. I used one to hold the pot in place (it wanted to move around on the glass top) and the other to smush the meat chunks down into shredded meat. Top with 1/2 cup cheddar shred + 1/2 cup Parm grate. Stir to combine and lift all of the shredded meat off the bottom of the pot.

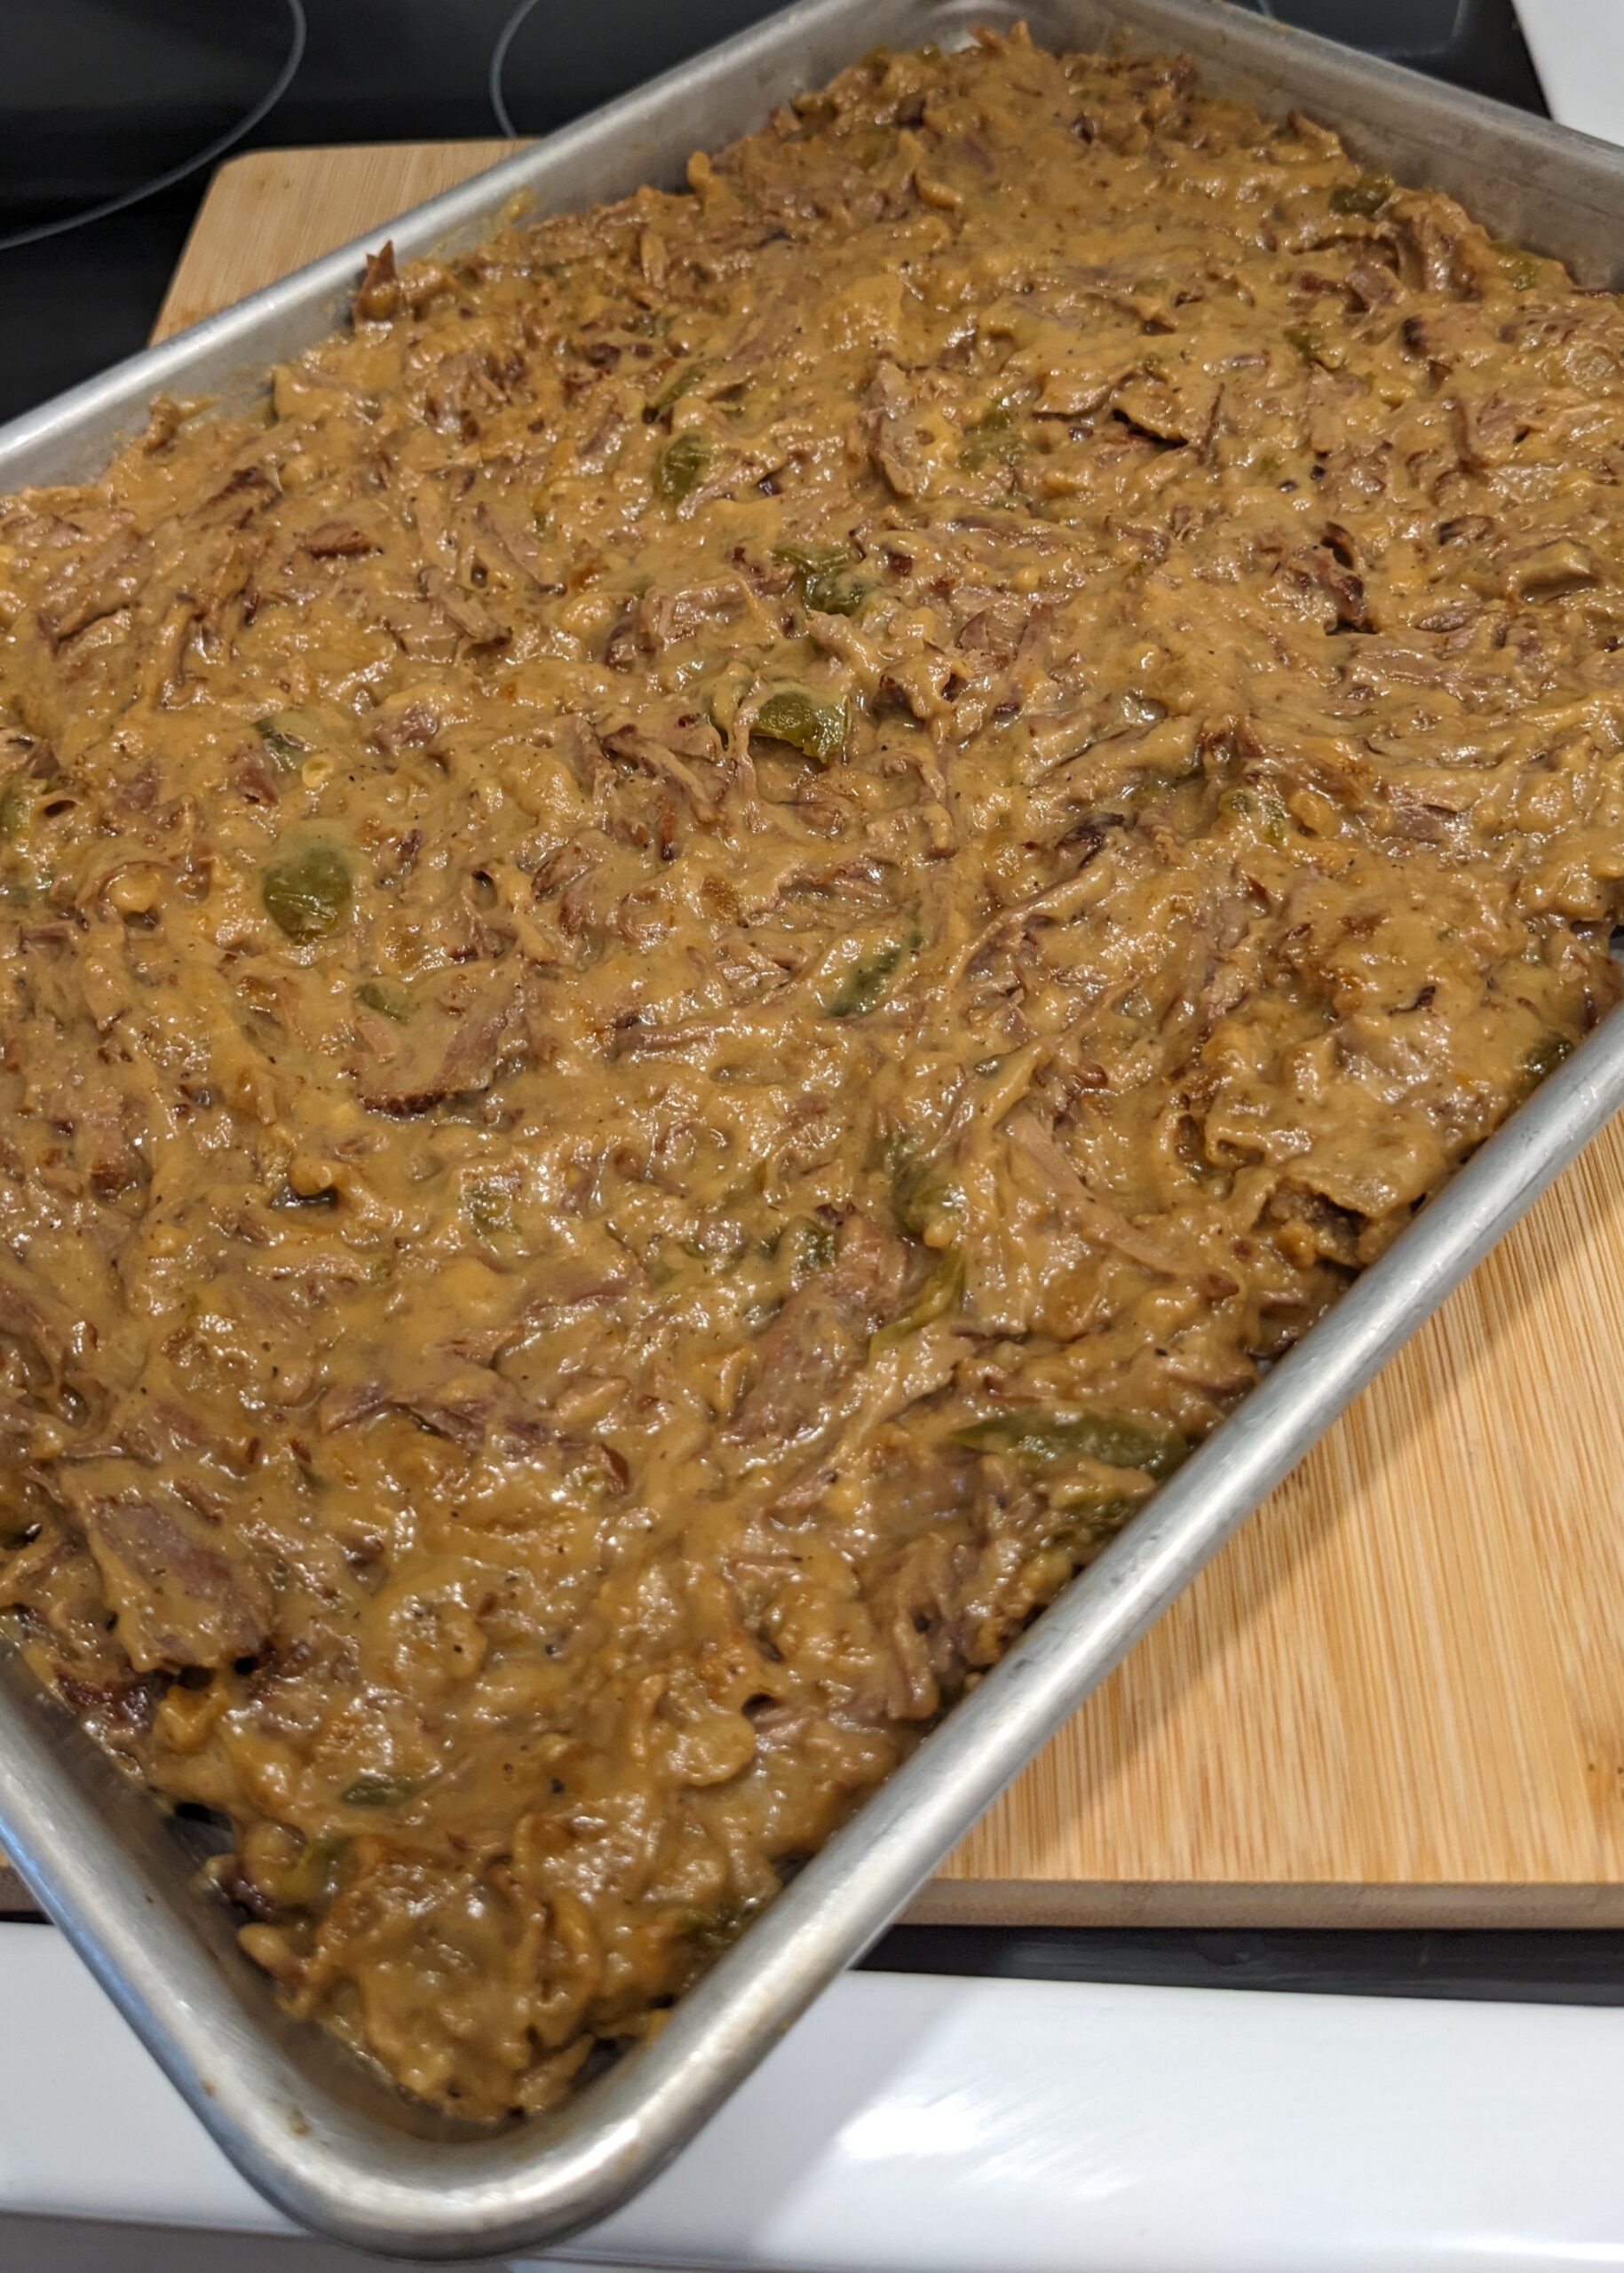
I reserved a bit before laying the rest out on a sheet tray to rapid cool before storing in the fridge to magically turn it into tomorrow’s pasta dinner. I topped today’s reserve with slices of marble cheese and some Frank’s Red Hot Garlic Parm dressing to make us Hawaiian bun sliders.

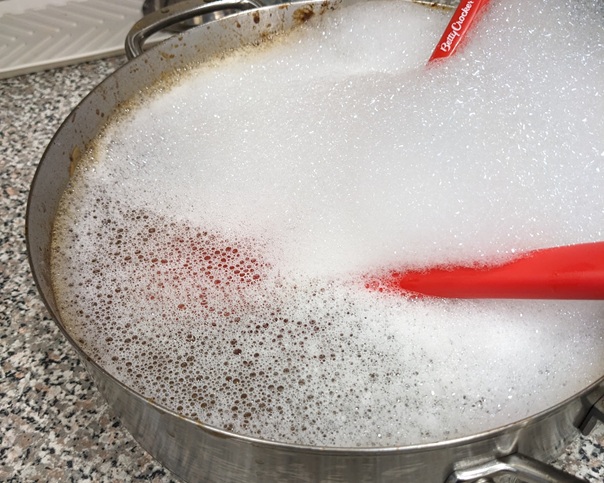
Don’t forget to show your pots and pans the love they deserve so they last you forever.

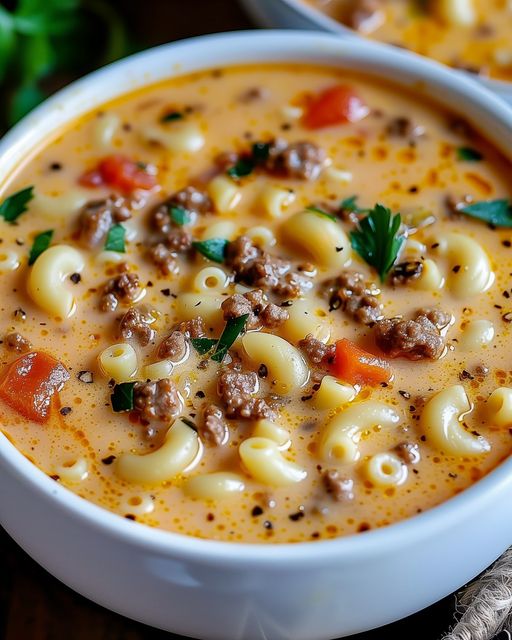
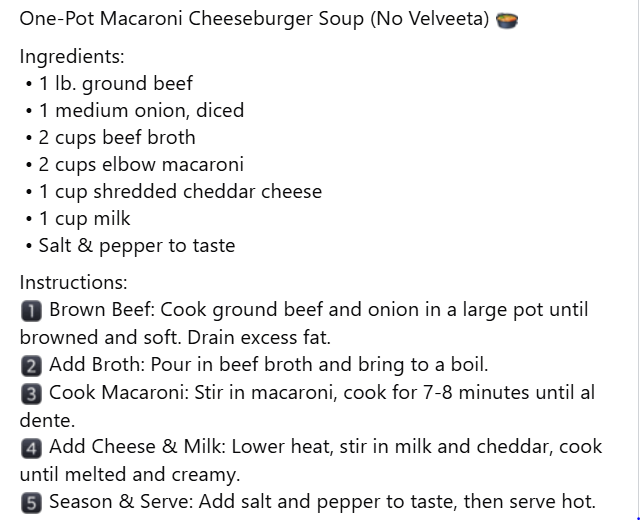
Burger Mac & Cheese Soup

While tooling around online, I came across this Big Mac & Cheese Soup idea that was perfect for using up some stuff I have kicking around in my fridge. Namely two leftover burger patties, and half a jar of spicy cheese sauce (soo good).

You know I love to play around with recipies to make it my own if I can, but more importantly, I need to make it simple enough to be both fast & dirty, and tasty as hell. I think I nailed this one. Check out what I came up with:

I started by cooking the pasta in water with a beef cube together from the jump. As this pot boiled, I heated up water and chicken stock powder in a small sauce pot off to the side.

When the pasta was done, I reserved about 1/4 cup of the flavoured starch water and drained the rest. While the cheese sauce and ground up burger meat heated through mixed into the pasta, I diced up a dill pickle to stir in as well to keep the Big Mac burger theme going.

I gave it all a good stir together and spooned heaping amounts of the mac & cheese into bowls, and then ladled the chicken stock over top to turn it into a soup. This dish stands on its own without the chicken stock if you’re not into soup. My husband loved this dish as a straight pasta + meal meal.

The original recipe above called for milk in the sauce mixture, but I wasn’t into that idea today, so this is all I used to make this meal:

Burger Mac & Cheese Soup:
2 C Macaroni Pasta
I Beef Bouillion Cube

2 C Chicken Stock

2 leftover Burgers (with an dry onion soup powder in the mixture)
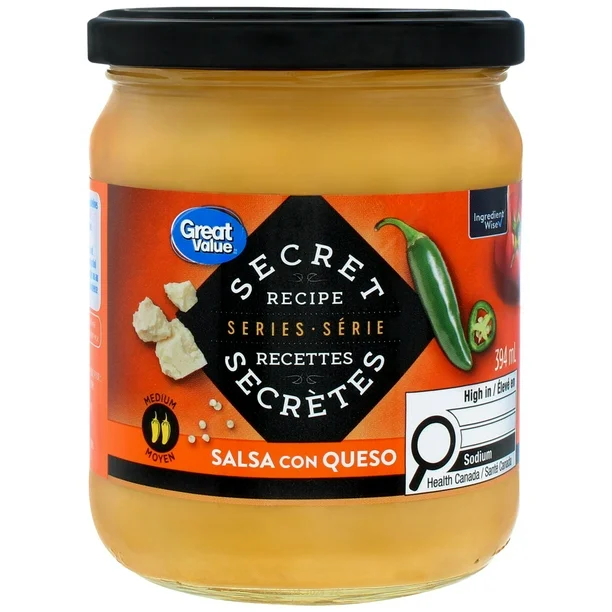
1/2 C Salsa con Queso (found at Walmart)
1/4 C Dill Pickle, small dice

I hope you love making this one. It’s a hearty, tasty meal. It’s also fast and dirty, and tasty enough to satisfy. I really like that the spicy cheese and the onion soup mix did most of the heavy lifting. This is a no-sweat meal to make on the fly when you want to clean our your fridge more than you want to be all gourmet and fancy.

Air Fryer Burgers

I’ve really gotten into making my own burger patties to cook in the air fryer in this past week. I stumbled on the idea of using a certain one ingredient online two months ago, and I have been very happy with my homemade burgers ever since.

Butter Burgers:
450 g Ground Meat (any)
2 Tbsp Butter, grated
2+ Tea Spice Blend (of choice that works with choice of meat)
1/2 C Breadcrumbs (optional if mix is too moist)

Mix everything up by hand just to combine. Don’t over work the meat. Divide the mix into four equal patty portions. Roll each one into a ball and then flatten them out across closed fingers to about 4-5″ wide. Place each patty in the air fryer basket lined with parchment or tin foil.

Cook at 320* for 6 mins per side, and at 400* for 3 mins per side to brown each side more. Let the patties rest in the basket to reabsorb the butter juices. Flip the burgers over a few times before moving to buns.


Summer Salads – Potato

This is my riff on Simply LaKita’s Southern Potato Salad. Her recipe is as delicious as it is straightforward. You will have your potato salad made in no time at all. I use the same base materials and steps, but I add two other ingredients. If my additions scare you, trust me when I say LaKita knows what she’s doing, so you can check out her original recipe instead. 🙂

Taco Potato Salad:
5 Russet Potatoes, peeled, diced
Half a medium sized mixing bowl of cold water + 1/2 tea salt

Prep and rest your potatoes in the mixing bowl as you peel and dice them up. Rinse the diced potatoes twice with cold water. Dump into a pot with water to boil. When the water hits its boiling point, add 1-2 teaspoons of salt. Always salt your starches!

Rinse out the mixing bowl using cold water. Add some ice and add some cold water. Drain the pot water after the potatoes hit fork tender stage. Drop the potatoes immediately into the mixing bowl to come stop the cooking and chill the potatoes.

3 Eggs, room temperature
1 tea White Vinegar
Half a small sized mixing bowl of cold water + ice

Bring eggs up to boil in water + vinegar, and then drop to a simmer. Cover and let them cook for 11 mins. Remove the eggs immediately and drop into the iced water bath to rest 10 mins before peeling. Smash both ends on all of the eggs before carefully getting fingernails under the membrane to smoothly remove the shell fragments. Wipe the eggs off on a paper towel before chopping up.

Dump the potatoes and egg chops into the rinsed out mixing blow and add the dressing:

1/2 C Mayo
2 Tbsp Relish
1 Tbsp Yellow Mustard
1+ Tea Taco Seasoning Blend
1/2 Tea Pickle Brine
S&P

Mix this all together, cover, and chill to marry everything together for roughly 4 hours.

Mocktails

Millionaire Sour:
2 oz (60 mL) each: Lemon Simple Syrup / Ginger Ale
1/4 C Crushed Ice
1/4 oz (7 mL) Grenadine Syrup
Lemon Slice

Yield: 1

Arnold Palmer:
1 C Brewed Black Tea
3/4 C Lemonade
Ice
1 Shot Lemon Simple Syrup
1 Lemon Slice (or thin slice of Jalapeno cut lengthwise)

Yield: 1

Ginger Beer Mule:
1 C Ginger Beer
3 Tbsp Lime Juice
3/4 C 7-Up or Sprite
1/4 C Simple Syrup
Ice
Mint & Lime Wedges

Yield: 2

Jalapeno Mockarita:
1 C Ice
1/2 C OJ
1/4 C Fresh Lime Juice
1 Jalapeno, cut into rings
Salt for rim

Yield: 1

Philly Steak Sandwich Inspo

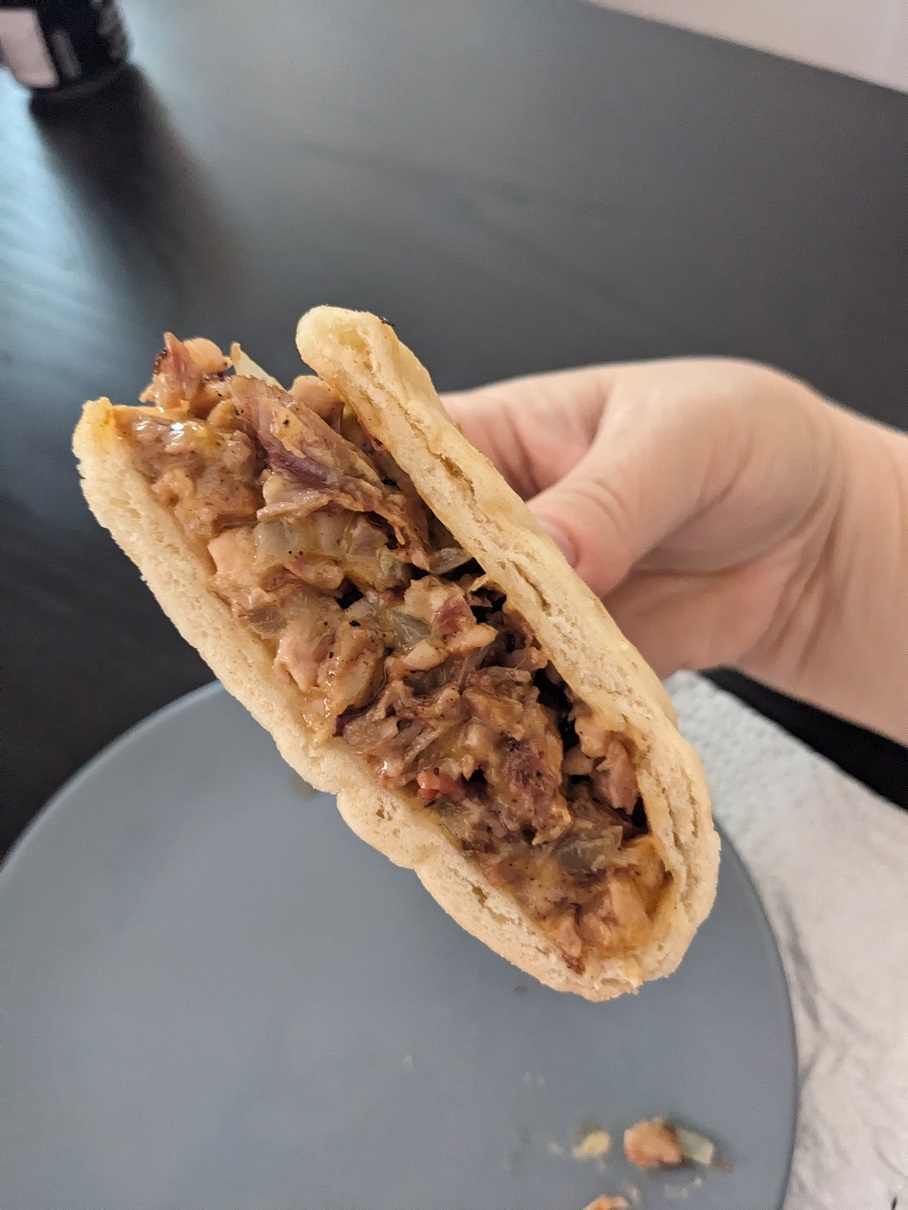
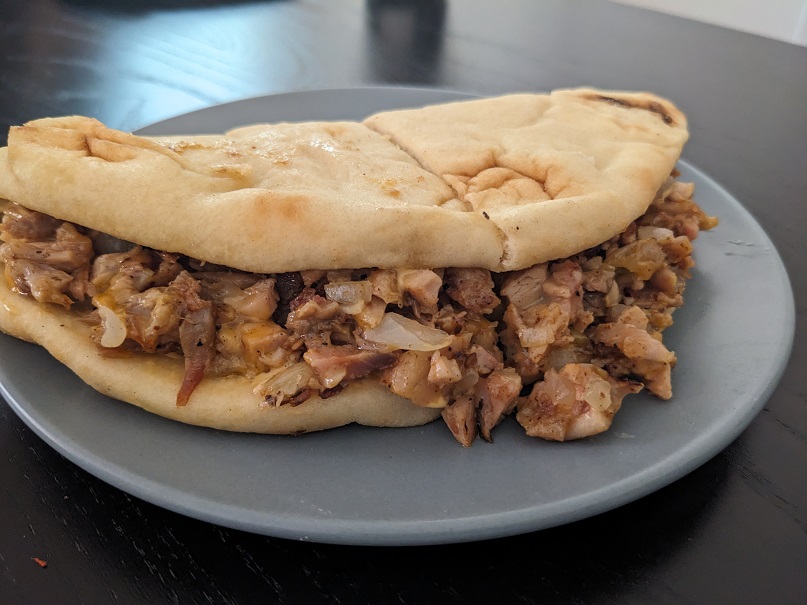
I can’t find the video I watched a week ago that gave me this idea. In the video, they used chopped up steak, but I had leftover smoked ribs and chicken, so I chopped up both into a mix and used that instead.

I started by frying some chopped onions, and then I added the meat to heat all the way through. Near the end of that, I added some marble cheese shred, gave it a toss and then scooped it into naan bread I steamed to make them pliable.

I added some Poke sauce to the naan and took a bite. I was so good. It will be better when I make this again when I add some veg (I didn’t have any left at this point in the week), and following the traditional Philly Steak, I will add fried green peppers, some lettuce and tomato slices, and then top it all with melted Provolone (or Swiss) cheese and hit with some Kewpie mayo. I can’t wait.