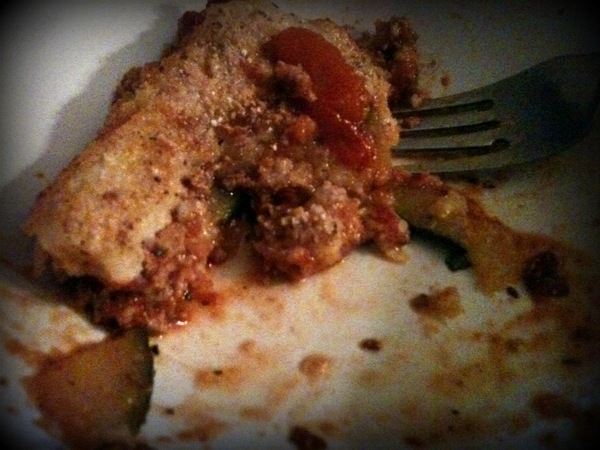
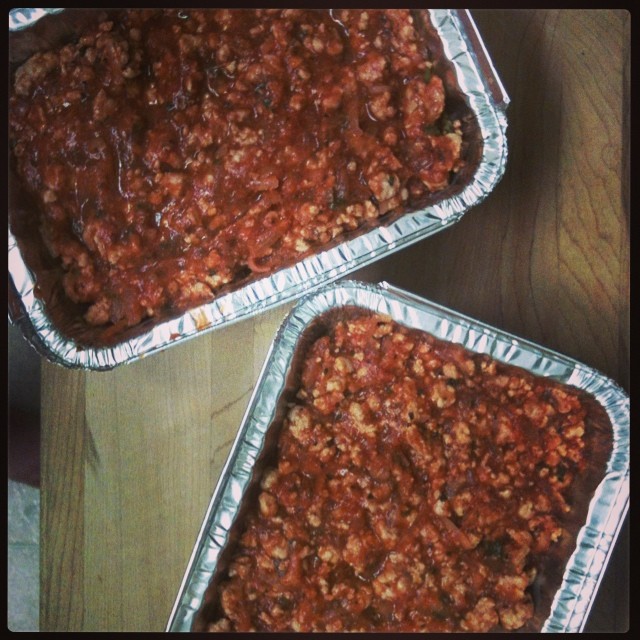
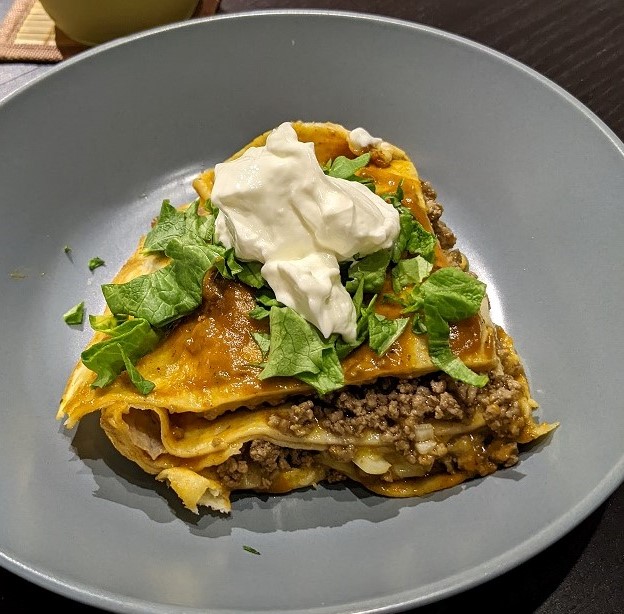
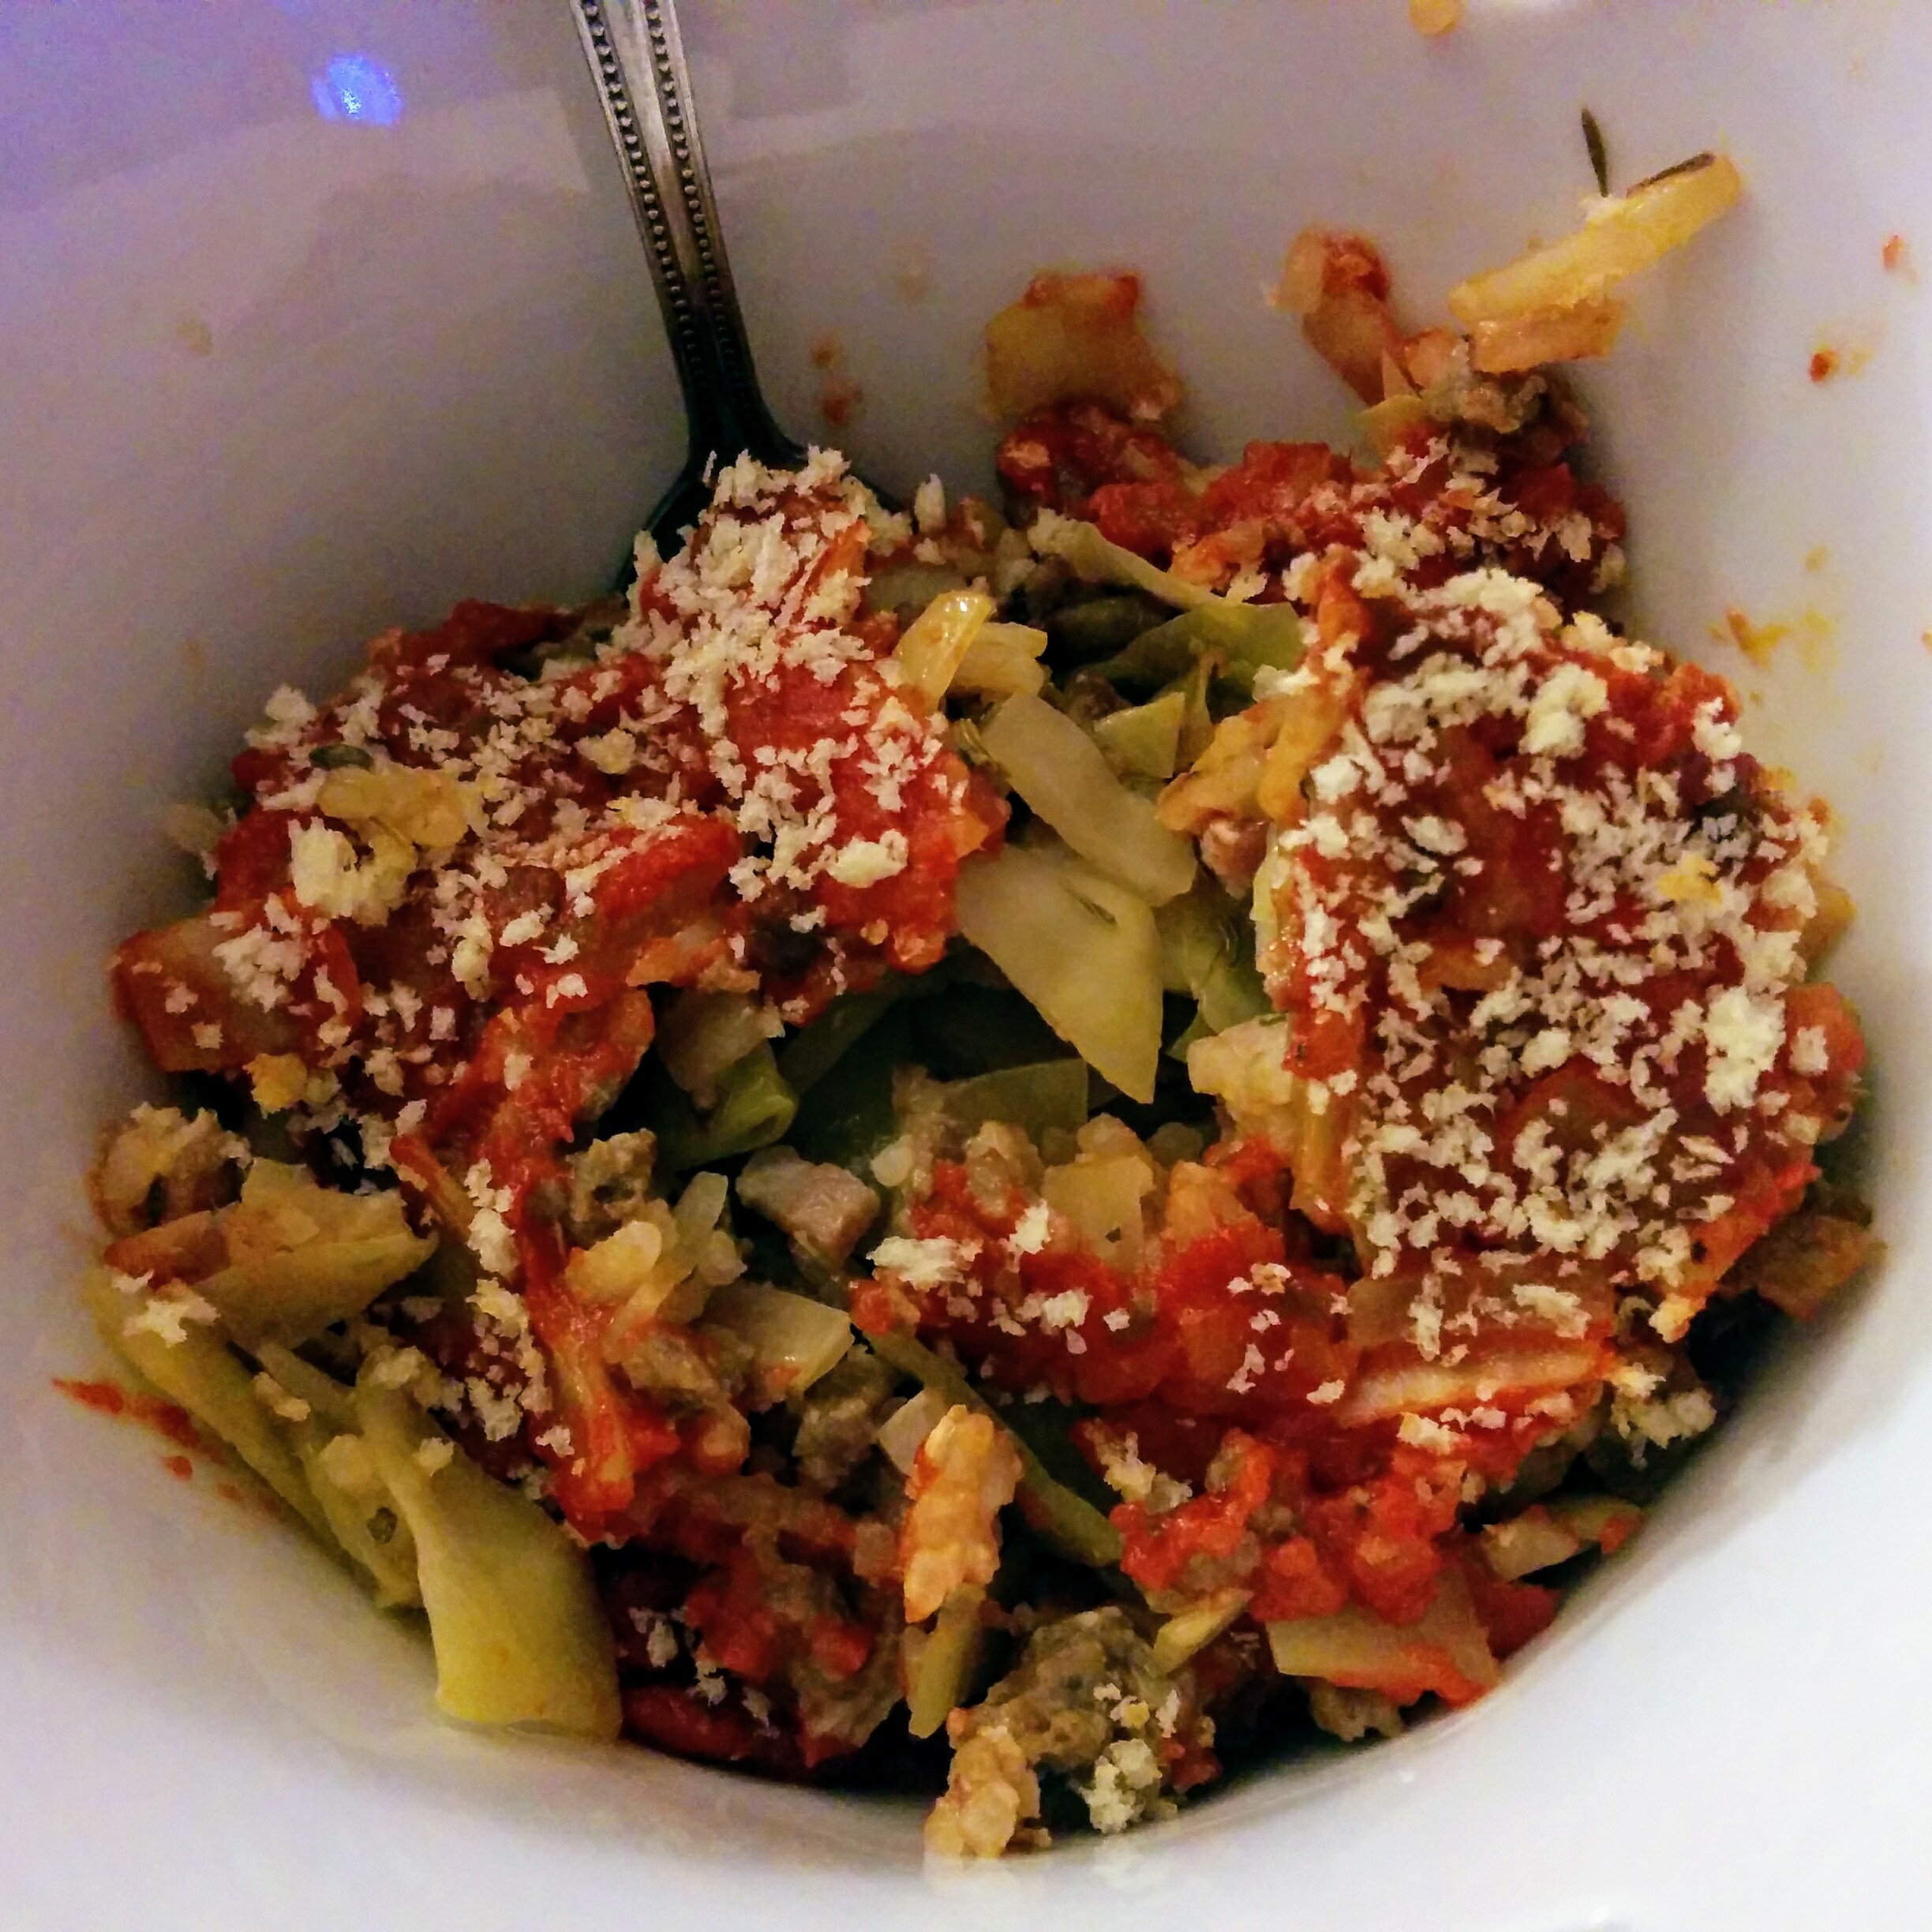
Made this delicious Enchilada Lasagna for dinner tonight. It’s all of the normal enchilada materials, only presented like a lasagna. It’s magic is in the velvety sauce. So good!
Enchilada Lasagna:
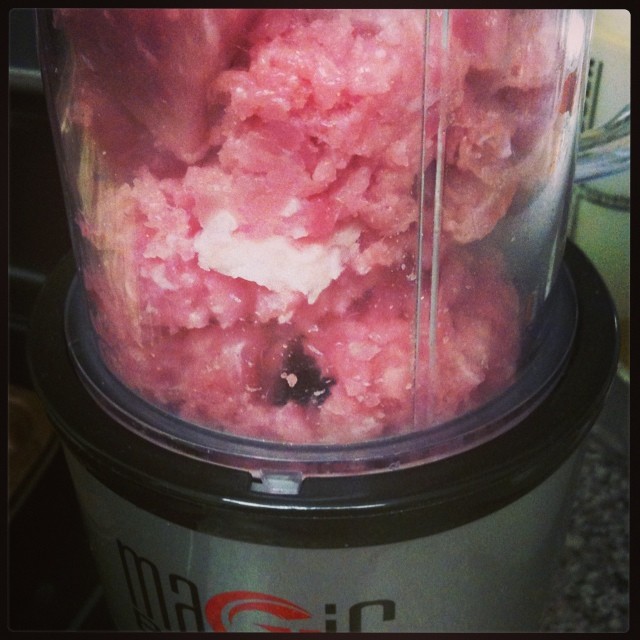
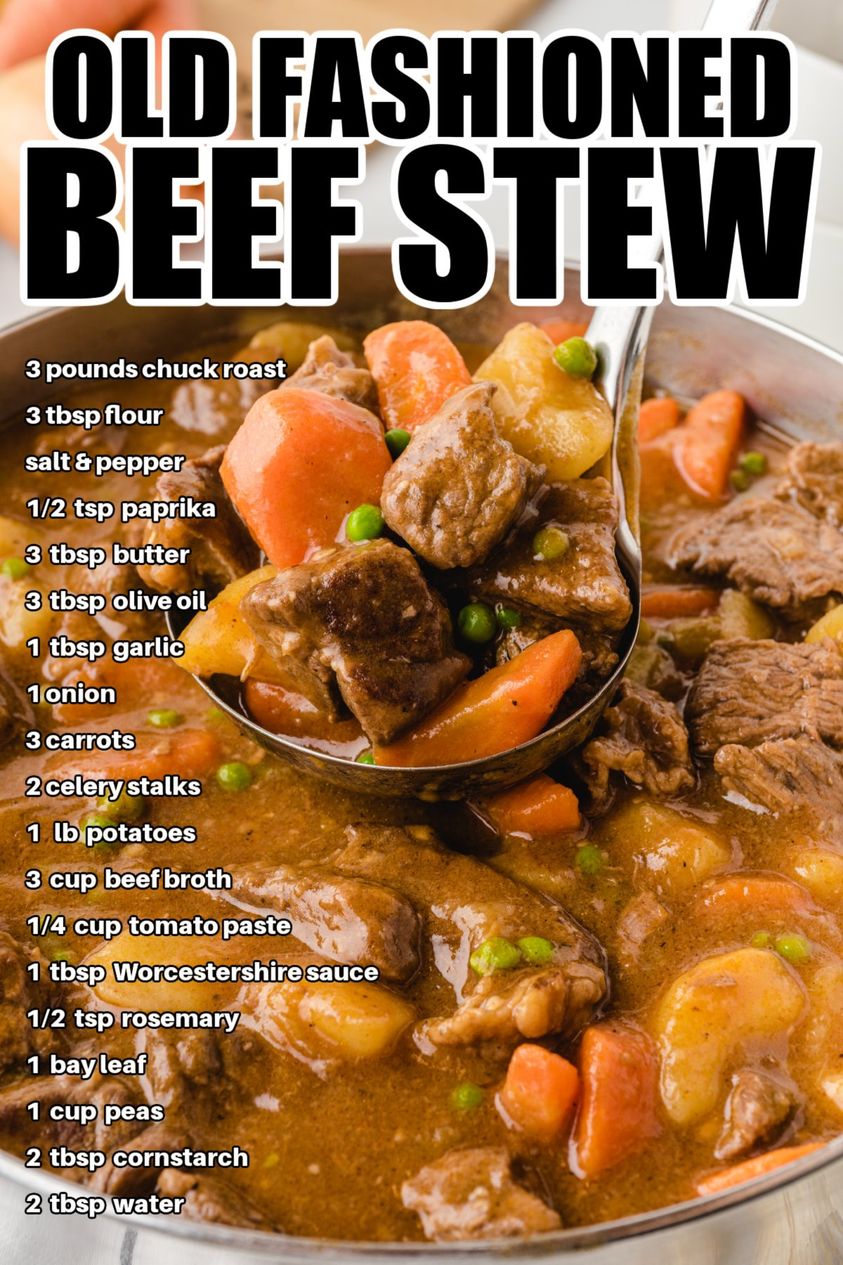
1 lbs Ground Beef
1 Tbsp Green Chilis (or cut up pickled jalapeno rings)
1/2 Tea ea: Onion Powder / Garlic Powder / Salt/ Pepper
3 Tbsp ea: Butter / Flour
1 Tbsp ea: Chili Powder / Paprika (any kind)
3 C Chicken Stock, hot
1 Tbsp Tomato Paste
1/2 Tea ea: Oregano, crushed or rubbed / Cumin / Salt / Pepper / Sugar
1 1/2 Tbsp Taco Seasoning (from a store bought packet)
1/2 Onion, diced
2-3 C Pepper Jack Cheese, grated (or Marble)
Eight 7″ Tortillas
In a hot fry pan, drop meat to brown, chopping it up as it cooks down and the fat renders out. Add the chilis and the seasonings, stirring them in completely. Spoon out the fat into a small bowl for discarding later when the meat finishes cooking. Spoon out the meat into a bigger bowl; set aside for now.
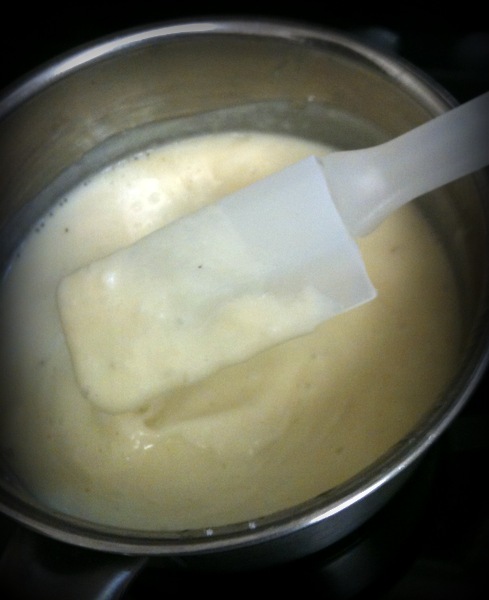
Add the butter to the fry pan to melt completely. Add the flour. Whisk both together and let is cook for a full minute as the colour of the fat deepens. To this, add half the chili powder and whisk continuously before adding the second half to whisk in. Add the paprika one half at a time and continue to whisk as the second portion also goes in, whisking so none of the mixture burns.
Add 1 cup of the broth to the pan and whisk the butter mixture into the liquid. When it’s smooth and incorporated, add the next 1 cup and mix it in. Continue with the last of the broth. At this point, add the tomato paste and really work it into the sauce to evenly distribute it.
Place one seasoning at a time into the pan and give it a good stir before adding the next so each one gets time to meld into the sauce properly. Remove the pan from the heat and start setting up the baking dish, tortillas, meat, onions and cheese for assembly.
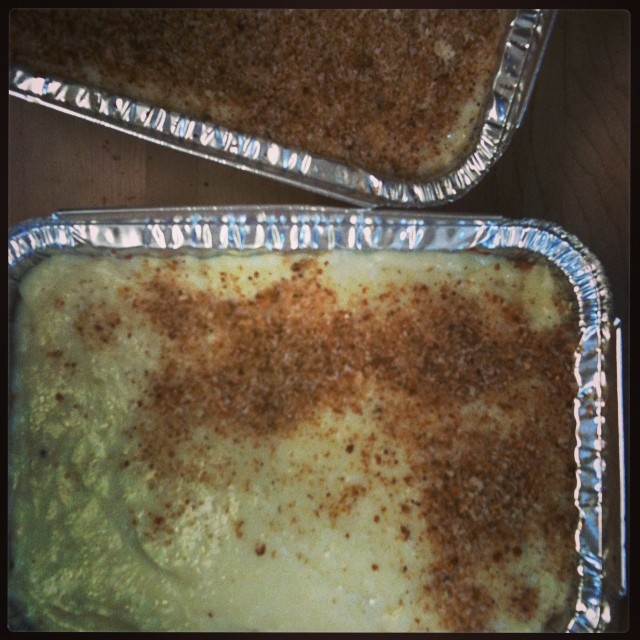
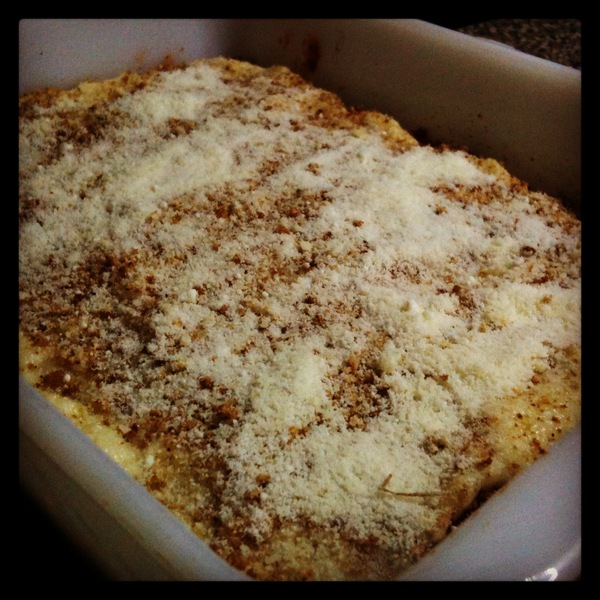
Lay two tortillas on the bottom of the dish. Ladle a small spoonful of the enchilada sauce over them, spreading it out thinly all over the tortillas. Top this with 1/3 of the meat, followed by 1/3 of the onions and 1/4 of the cheese. Continue this layering two more times until you finish with the last 1/4 of the cheese.
Top with foil and bake it 15 minutes at 375 degrees. Rest it after that on the stovetop for another 15 mins before cutting it into 4-8 portions. Plate it with some cut up lettuce, a dollop of sour cream, and some diced tomatoes or a small spoonful of salsa.

 2 tbsp Oil, neutral like veg or sunflower