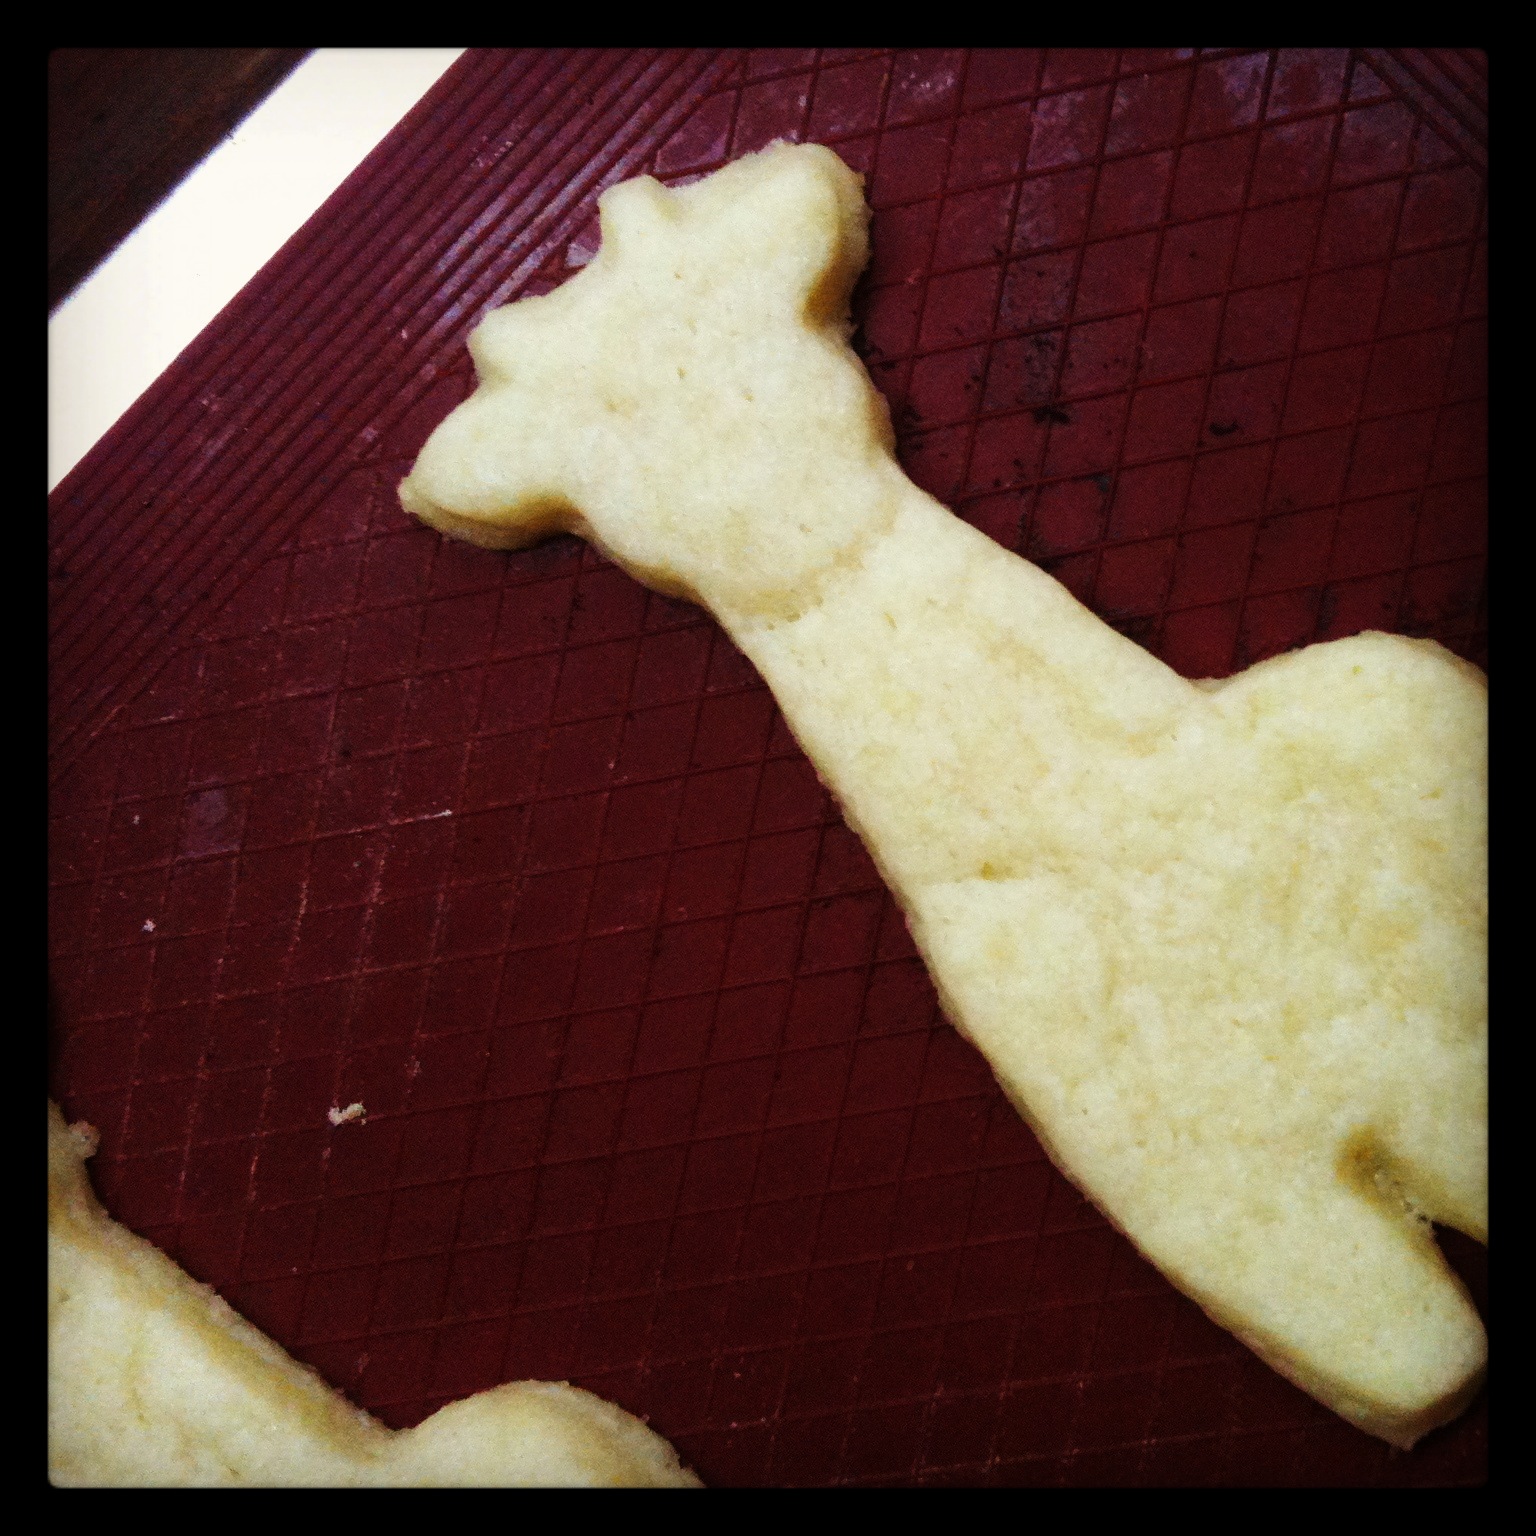
 [ Giraffe sugar cookies created using a cookie cutter made in a 3D printer. ]
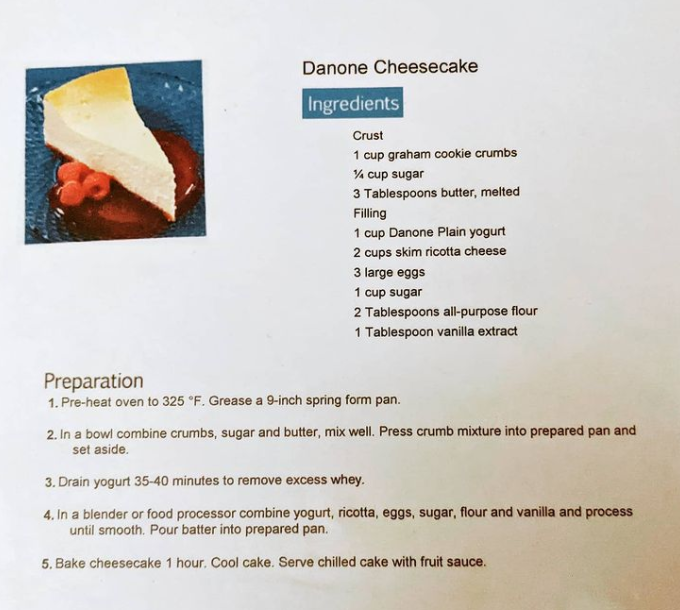
I brought a bunch of biscotti and sugar cookies to work for the ladies and the gent on Thursday. They were a big hit. One asked for my Auntie Stacey’s Healthy Biscotti recipe I have already posted while another asked for the sugar cookie recipe I haven’t blogged yet, so here it is. Again, another recipe I have adapted from many online over the years and, well, there wasn’t much to teak beyond the variations I have come up with in terms of flavouring the sugar cookies. The base remains the same, year after year. It if ain’t broke, y’know?
Basic Sugar Cookies:
1 C Unsalted Butter, room temp
1/2 C Powder Sugar
1 Large Egg, room temp
1 Tea Vanilla Extract
1/2 Tea Baking Powder
1/2 Tea Salt, fine grind
2 C All Purpose Flour
In a medium to large bowl, dump in the flour, salt and baking powder. Whisk to blend these ingredients well. Set aside.
Cream the butter in a mixer for 2-3 minutes till it turns pale, then slowly drizzle in scoopfuls of the powder sugar on a low speed, and let the mixer run another 2 minutes on a high speed to incorporate as much air as it can to make a fluffy butter mixture.
Drop the speed back down to low and start adding the egg and vanilla. Let that fully mix into the butter before adding the dry ingredients by the spoonfuls, allowing each drop the be mixed into the butter fully before adding the next.
By the last of the dry ingredients, the dough should be balled up and rolling around in the mixing bowl cleanly from the sides and bottom. If it’s not, run the mixer a bit longer till it comes together. It will. Just wait for it. When that happens, stop the mixer and turn the dough out onto a floured work surface to knead gently for a minute or two to form a smooth circular disk you can place in plastic wrap.
Chill the dough for one hour minimum. When ready to get started cutting the cookies, take the dough out and let it sit on the counter for 10-15 minutes to warm up a bit. While waiting, dust your work space again with flour, assemble any cookie cutters and bench scraper needed, as well as preheat the oven to 350 degrees.
Tips & Tricks: Some find rolling the dough out between two sheets of wax paper helpful, but I found I didn’t need it since the dough didn’t stick to my rolling pin. I tend to flour the work surface and rolling pin well.
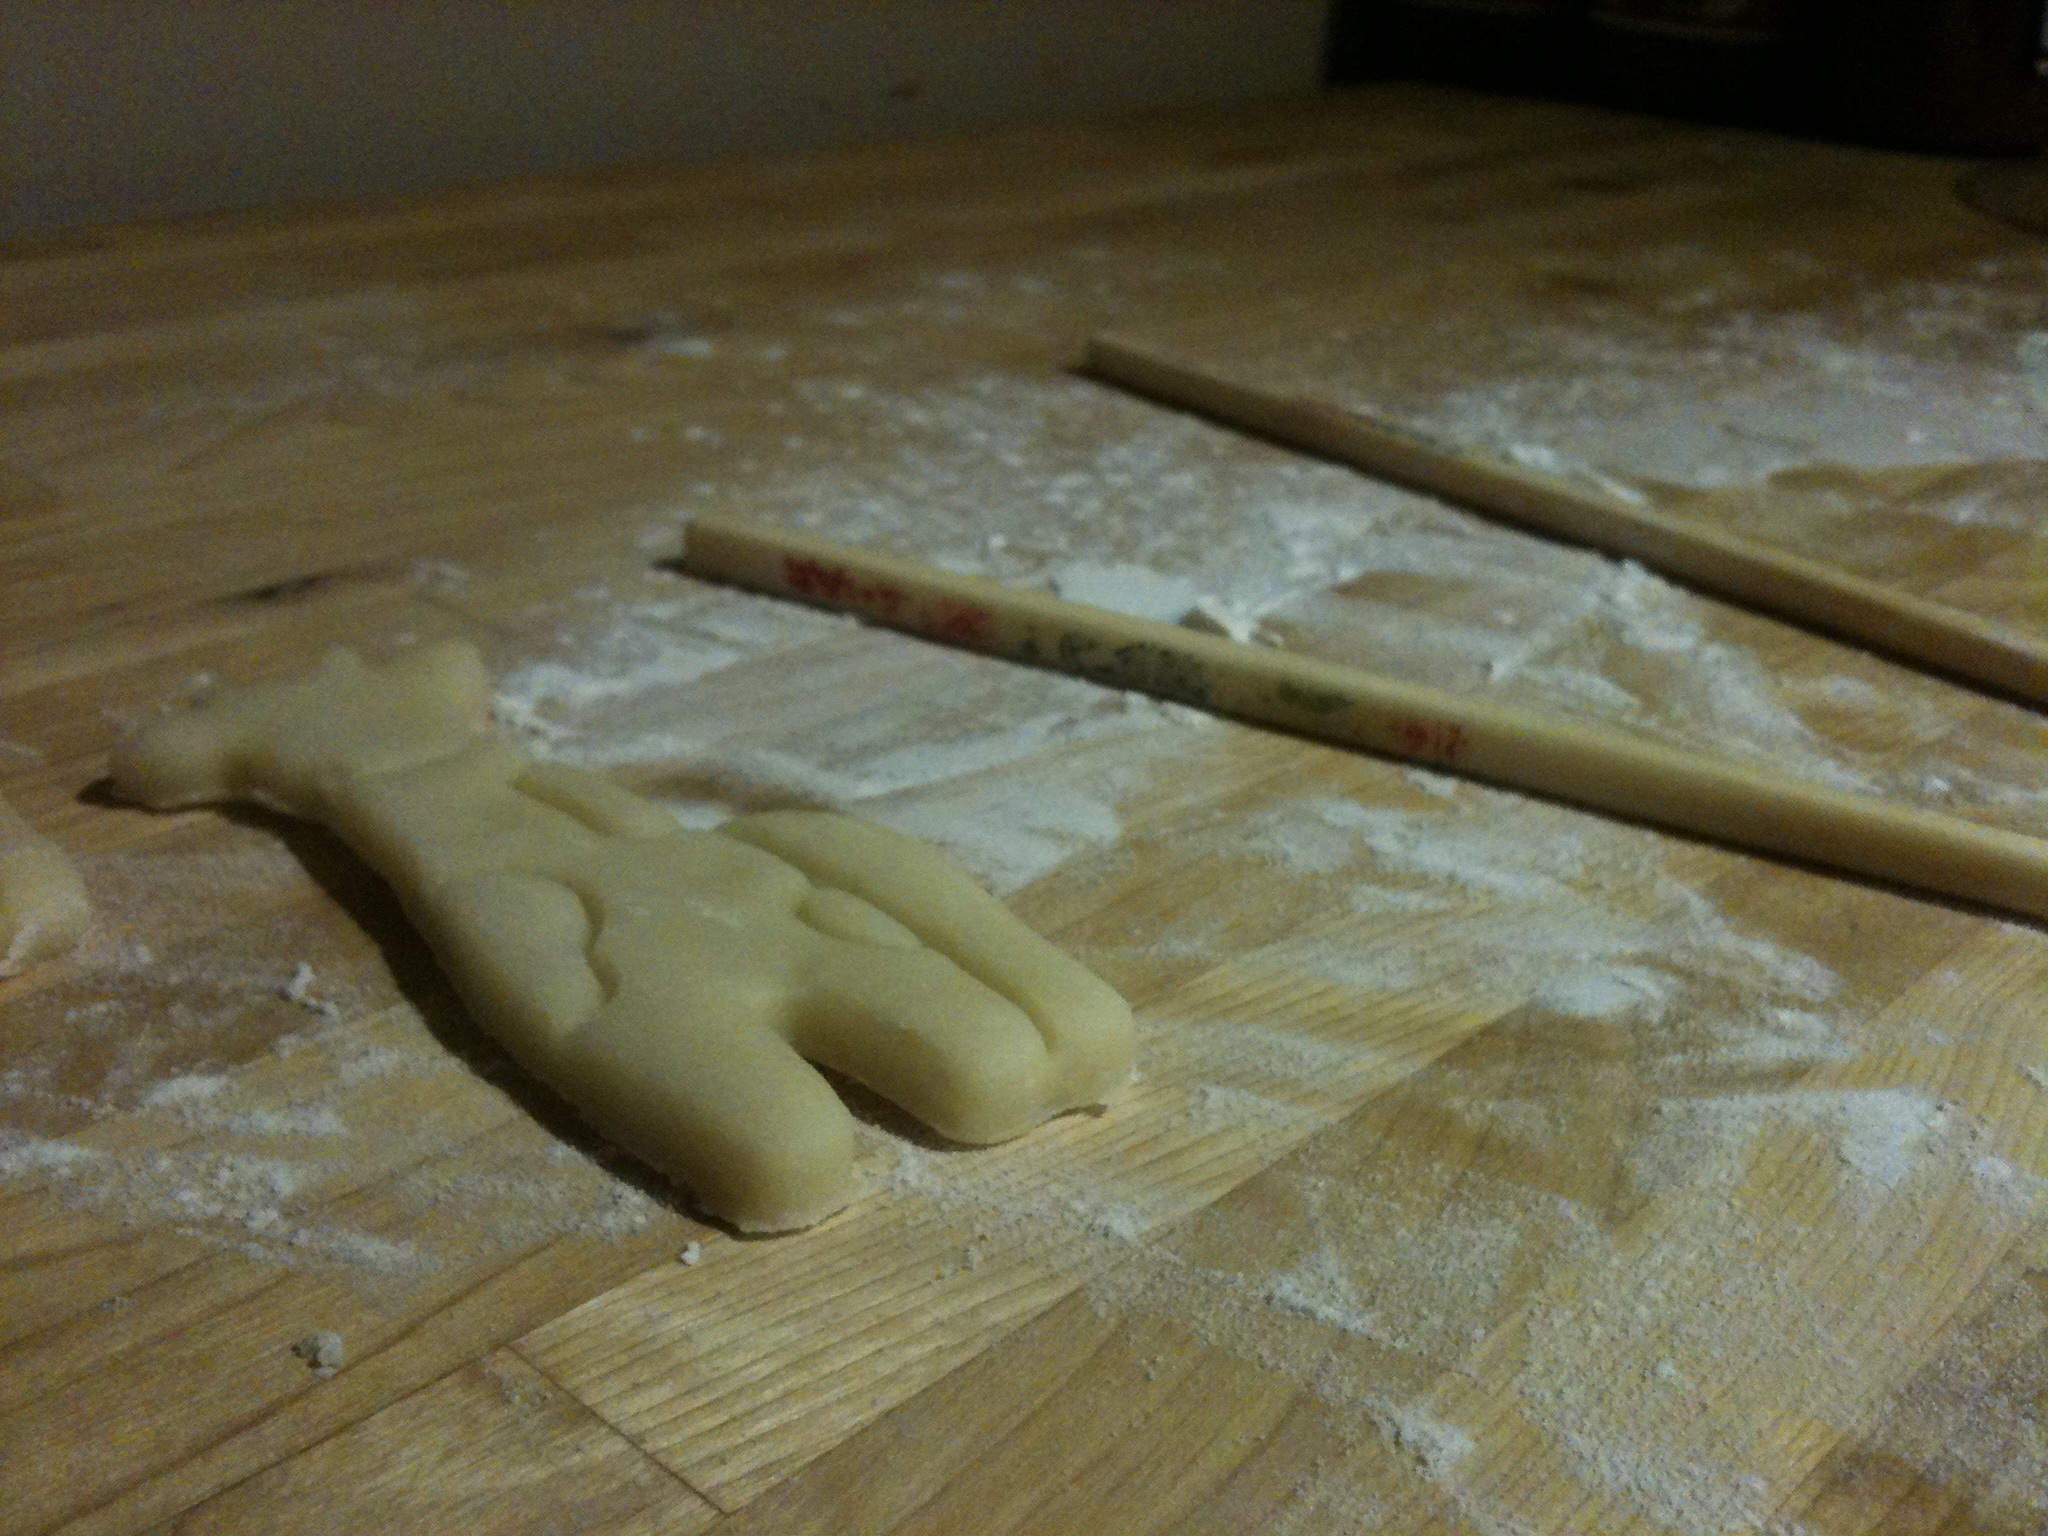
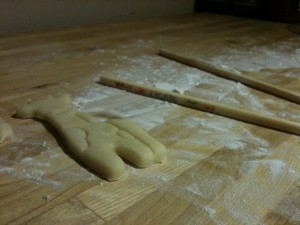 A little trick I use when working with dough that needs to be a consistent thickness across all the cookies in the same batch is to use my chopsticks that are 3/4 square from the top downward to where it starts to round out and taper. I ignore that part of the sticks, and keep the rolling up in the squared off area.
If you don’t have access to similar chopsticks, you can also use to wooden planks (think old wooden rulers we used in grade school). There are commercial versions, but they’re a waste of money if you ask me. One can easily look around their home and make do with two flat objects that have matching thicknesses to roll a rolling pin over to flatten out the dough evenly while cutting out cookies.
 Try to aim for 1/4″ thickness when rolling out the dough. I find that is the ideal sugar cookie thickness for small to medium sized cookies (like I made with my 3D printed Giraffe cookie cutter). Bump the increment up to 3/8″ if a bigger cookie is being cut, and allow for a 2-3 minute increase over the standard 6-8 minute baking times for small to medium sugar cookies.
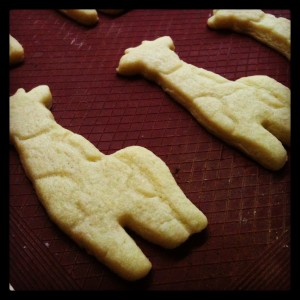
After the cut cookies are moved from the work surface to the baking sheet, the dough can be balled up and rolled out once more for additional cookies before the dough needs to be covered and chilled for another 10 minutes between batches. My hands are always warm, so I don’t push this. If I feel the butter in the dough literally melting in my hands, I will chill it without a second rolling and cutting. I don’t chance it. The cookies wouldn’t come out with a nice crisp edge if I baked a soft cut out.
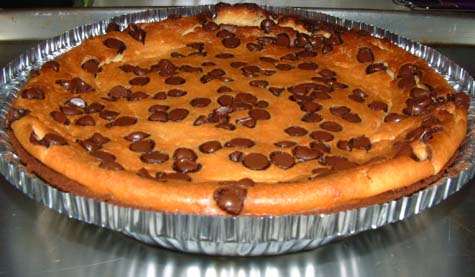
 [ Total loss of giraffe detail after baking the softer dough cookie cuts. ]
If you have cold hands (oh, how I envy you all who do), you can spend more time rolling and cutting out the dough between trips to the fridge. If you do find the cookies are softening while sitting out in the hot kitchen, simply pop the cookie tray into the fridge while it awaits its turn in the oven to firm up the butter again.
Store the cookies after completely being cooled down in air tight containers. And NEVER decorate these while still even a teeny-weensy bit warm. The icing will run like an athlete in the summer Olympics.
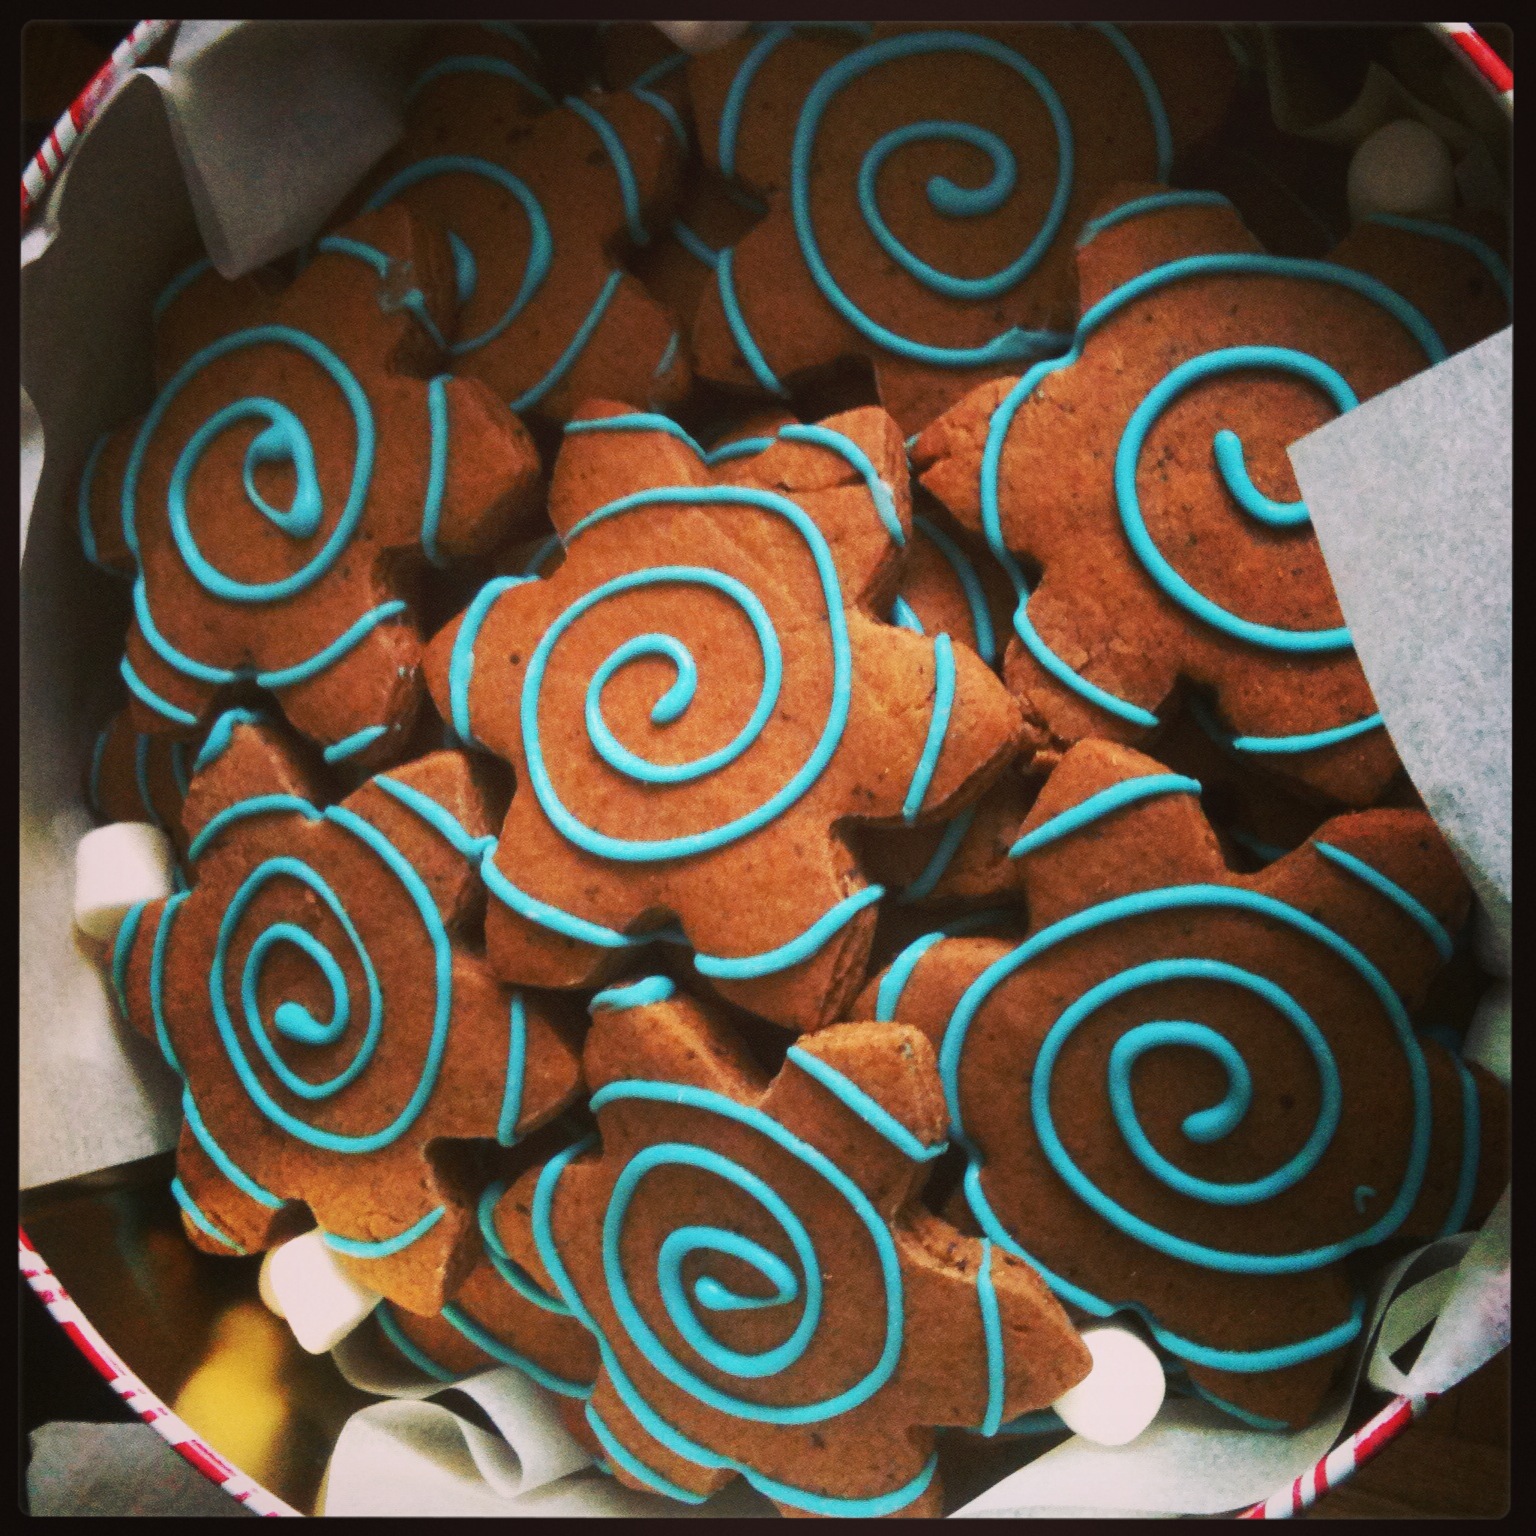
Sugar cookies are the #1 cookie to bake during all holidays where gifts are to be given or when guests arrive for an occasion like a wedding or baby shower. Get creative with shapes and icing designs. I have seem some great ones lately. Like this batch for Chinese New Year. How gorgeous are they?! I wouldn’t want to eat them because they look like they belong in a frame in some cookie museum.. 🙂
 [ Happy belated Chinese New Year 2014 to my bff since Grade 3! ]
Like this:
Like Loading...


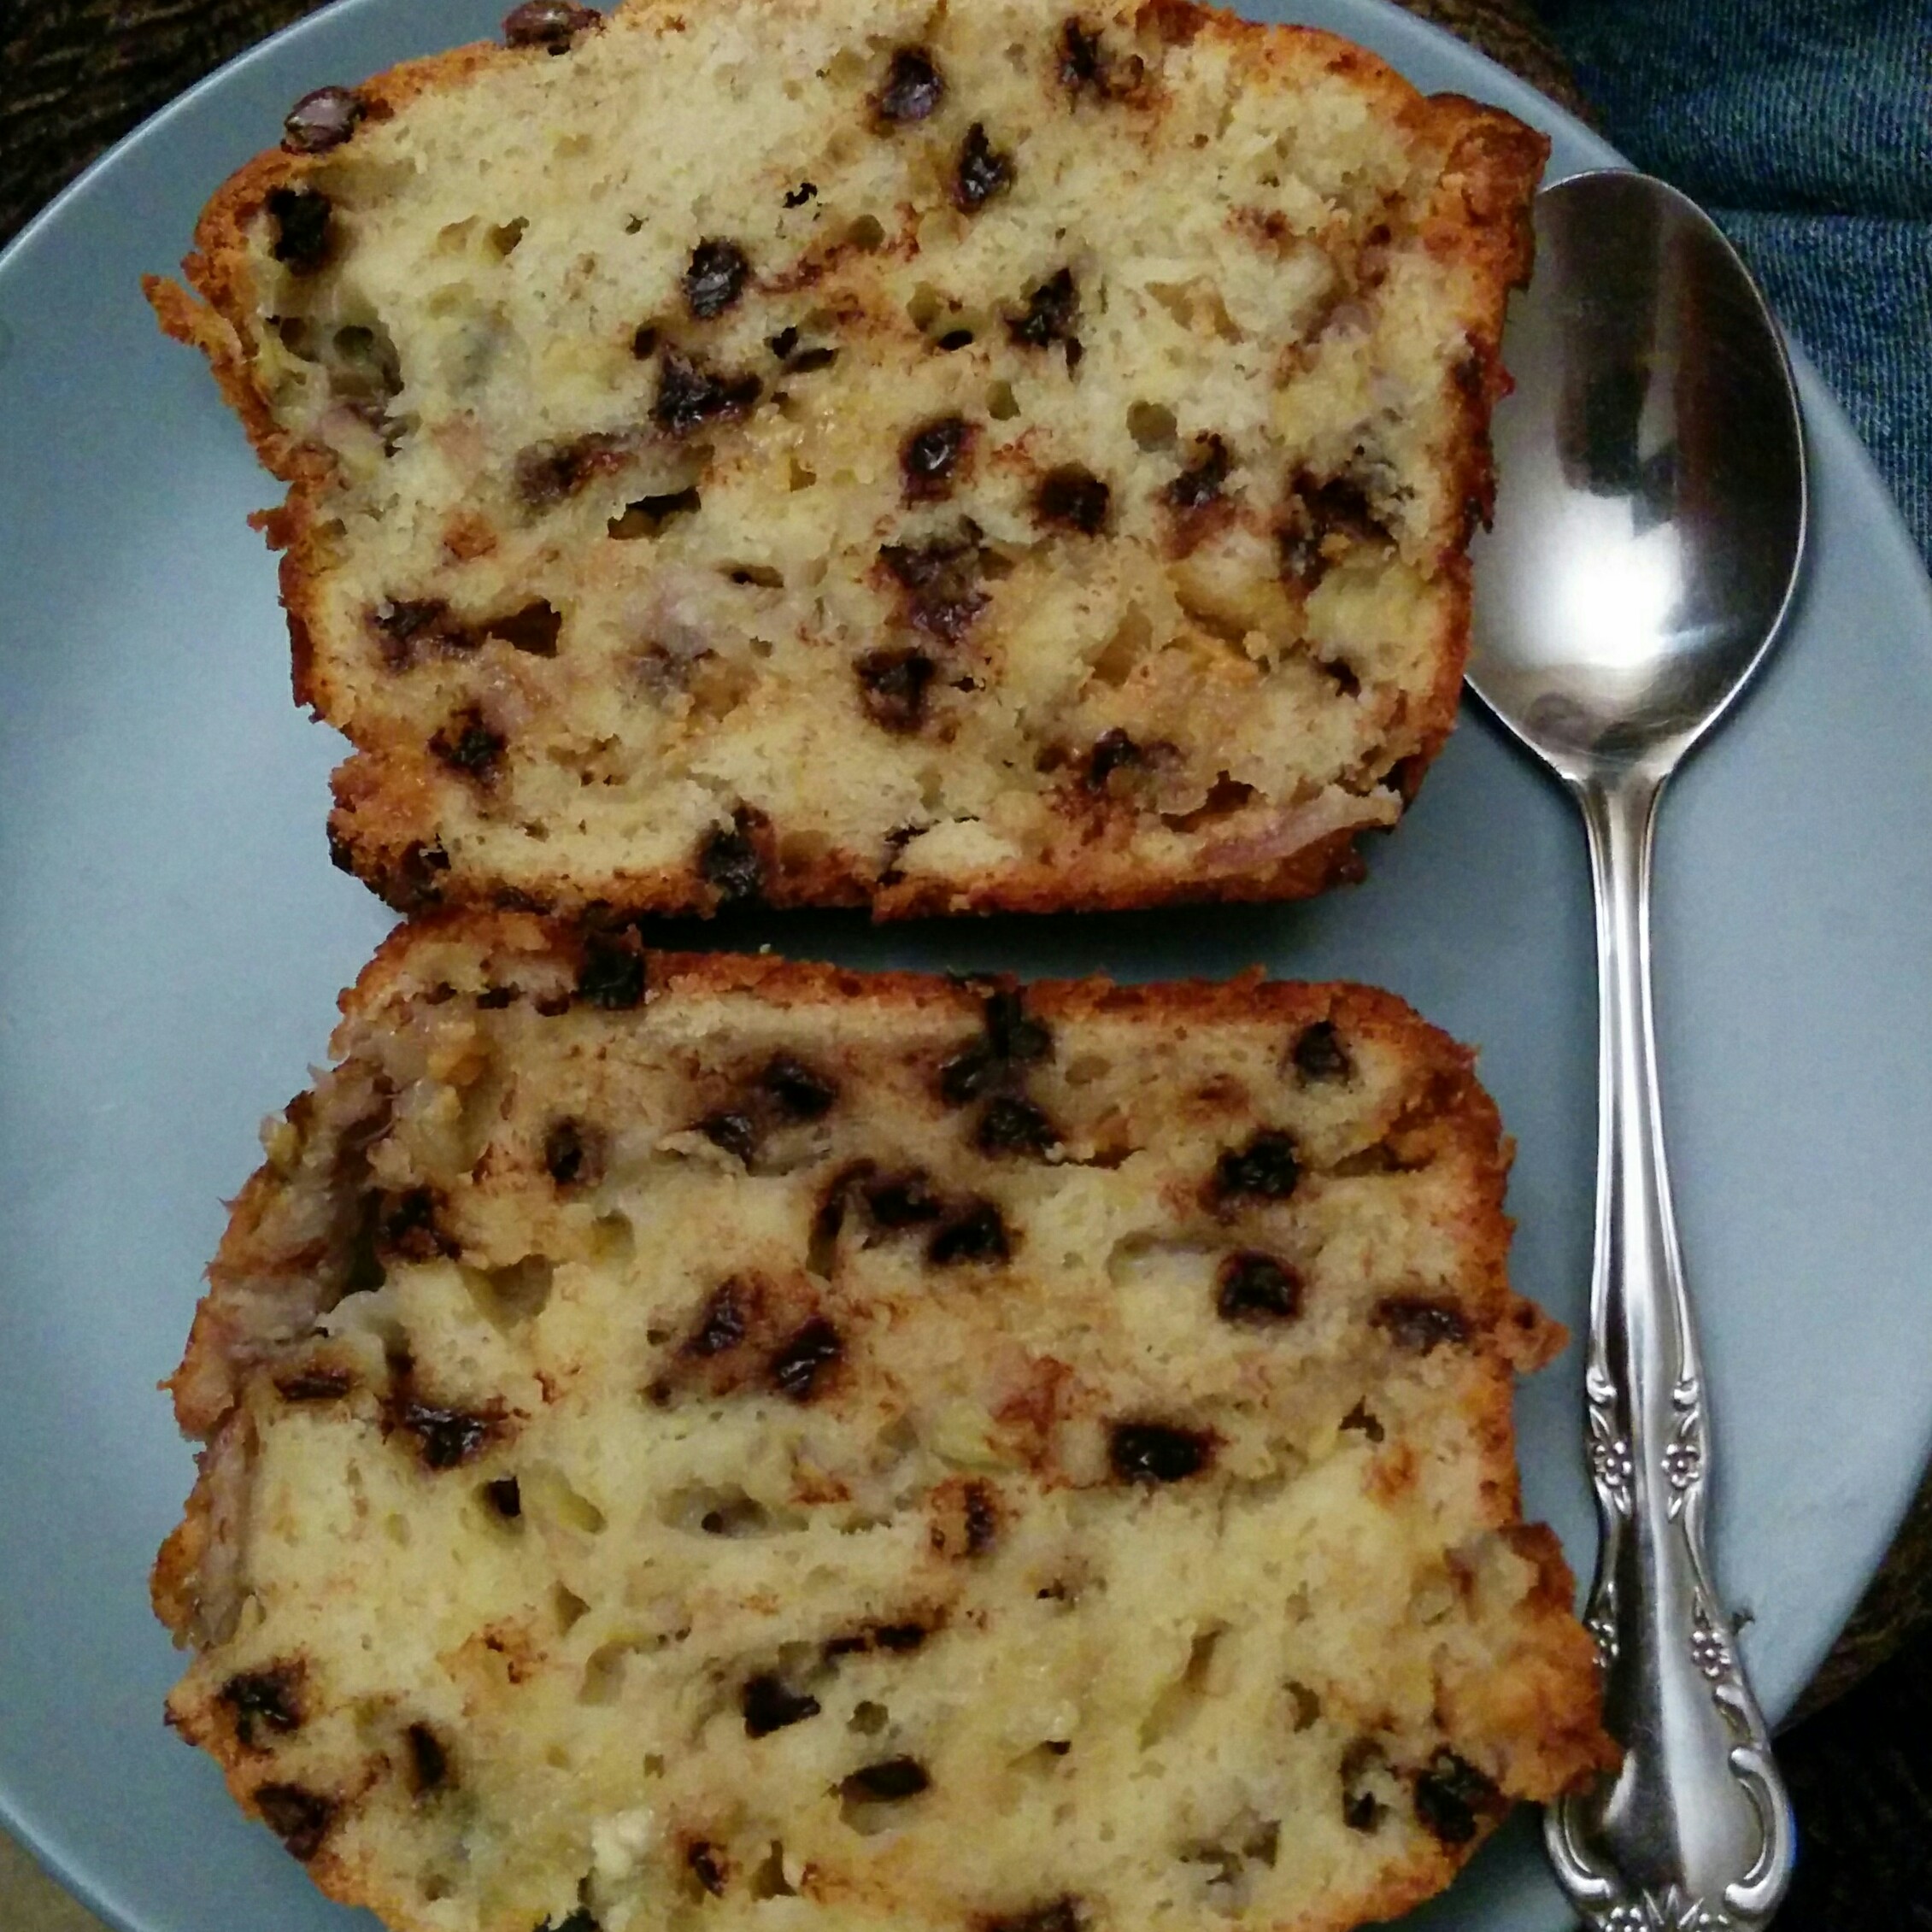 Yah, yah – I get it. Not everyone is into breads of any kind (EW, CARBS!!), or you hate bananas (Blech!), or you ate too many slices of this bread growing up (Never again!). I’ve heard all of the reasons.