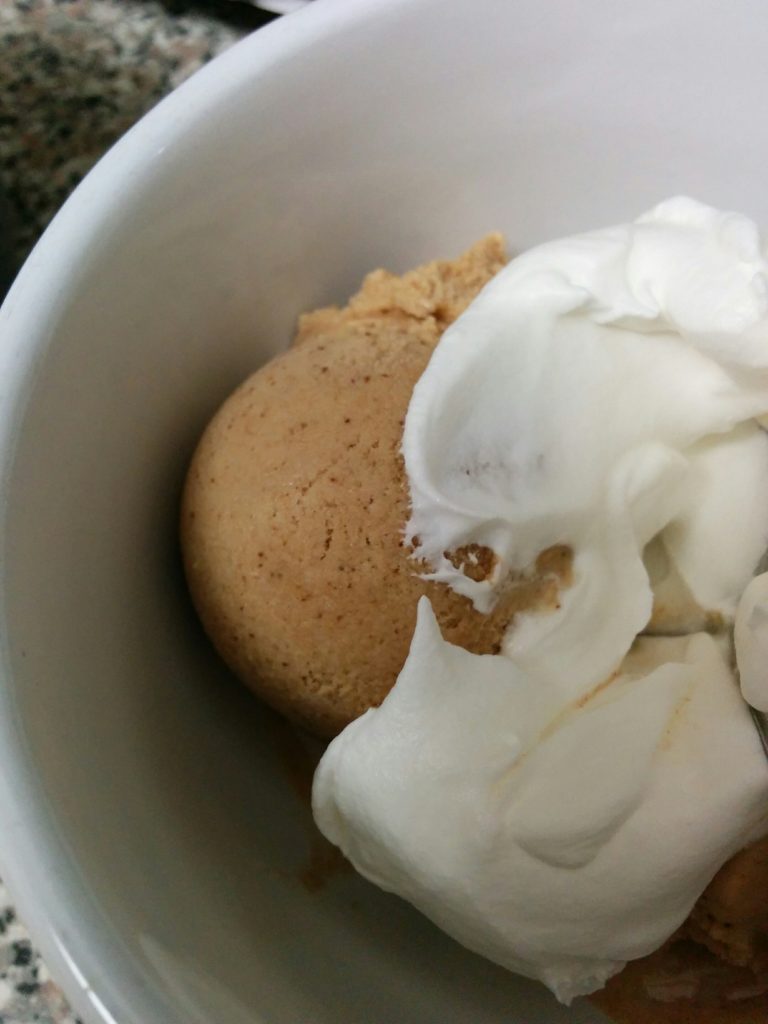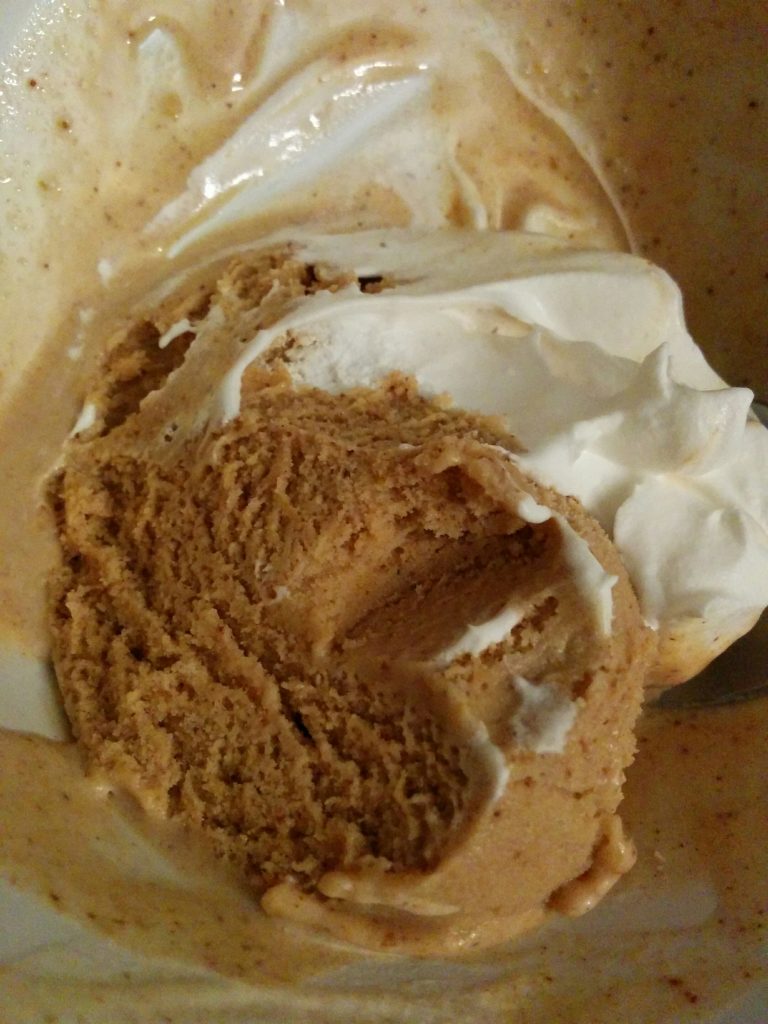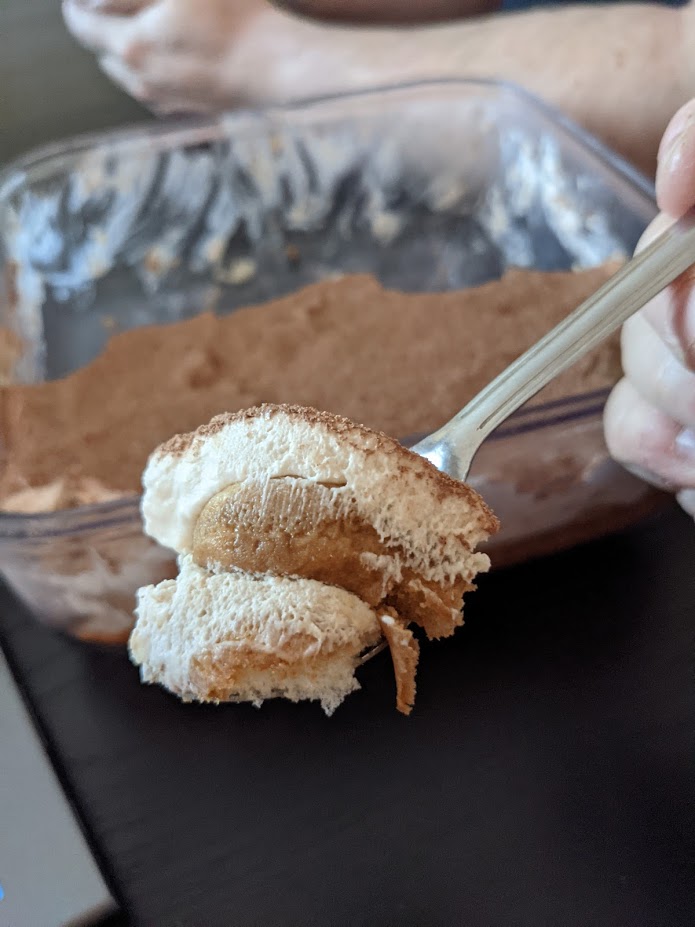
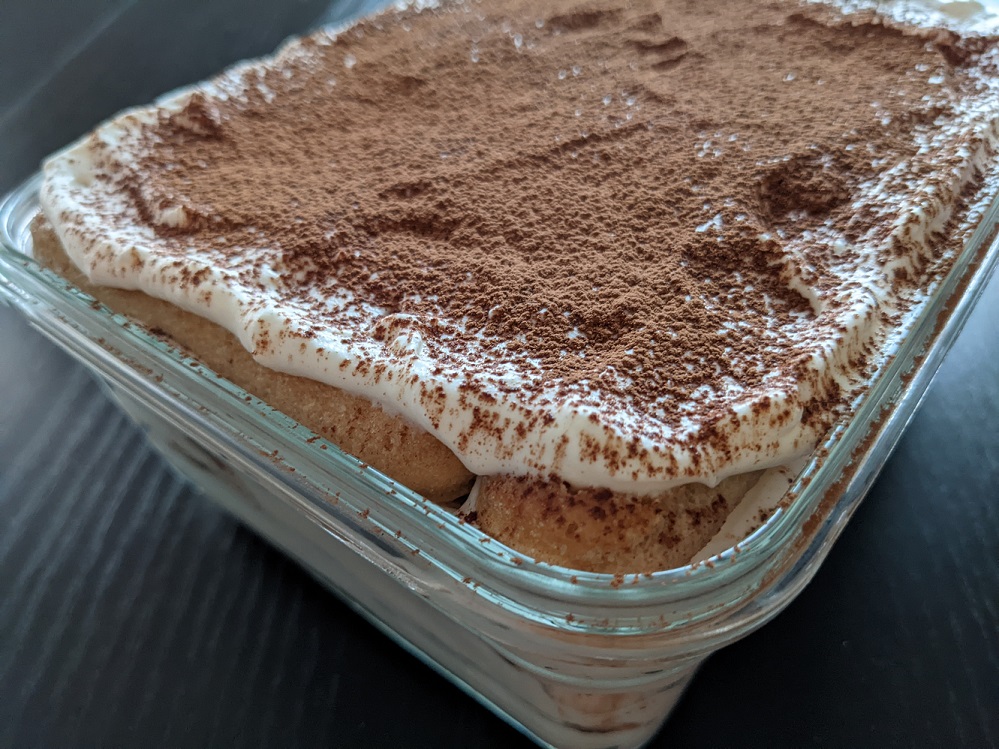
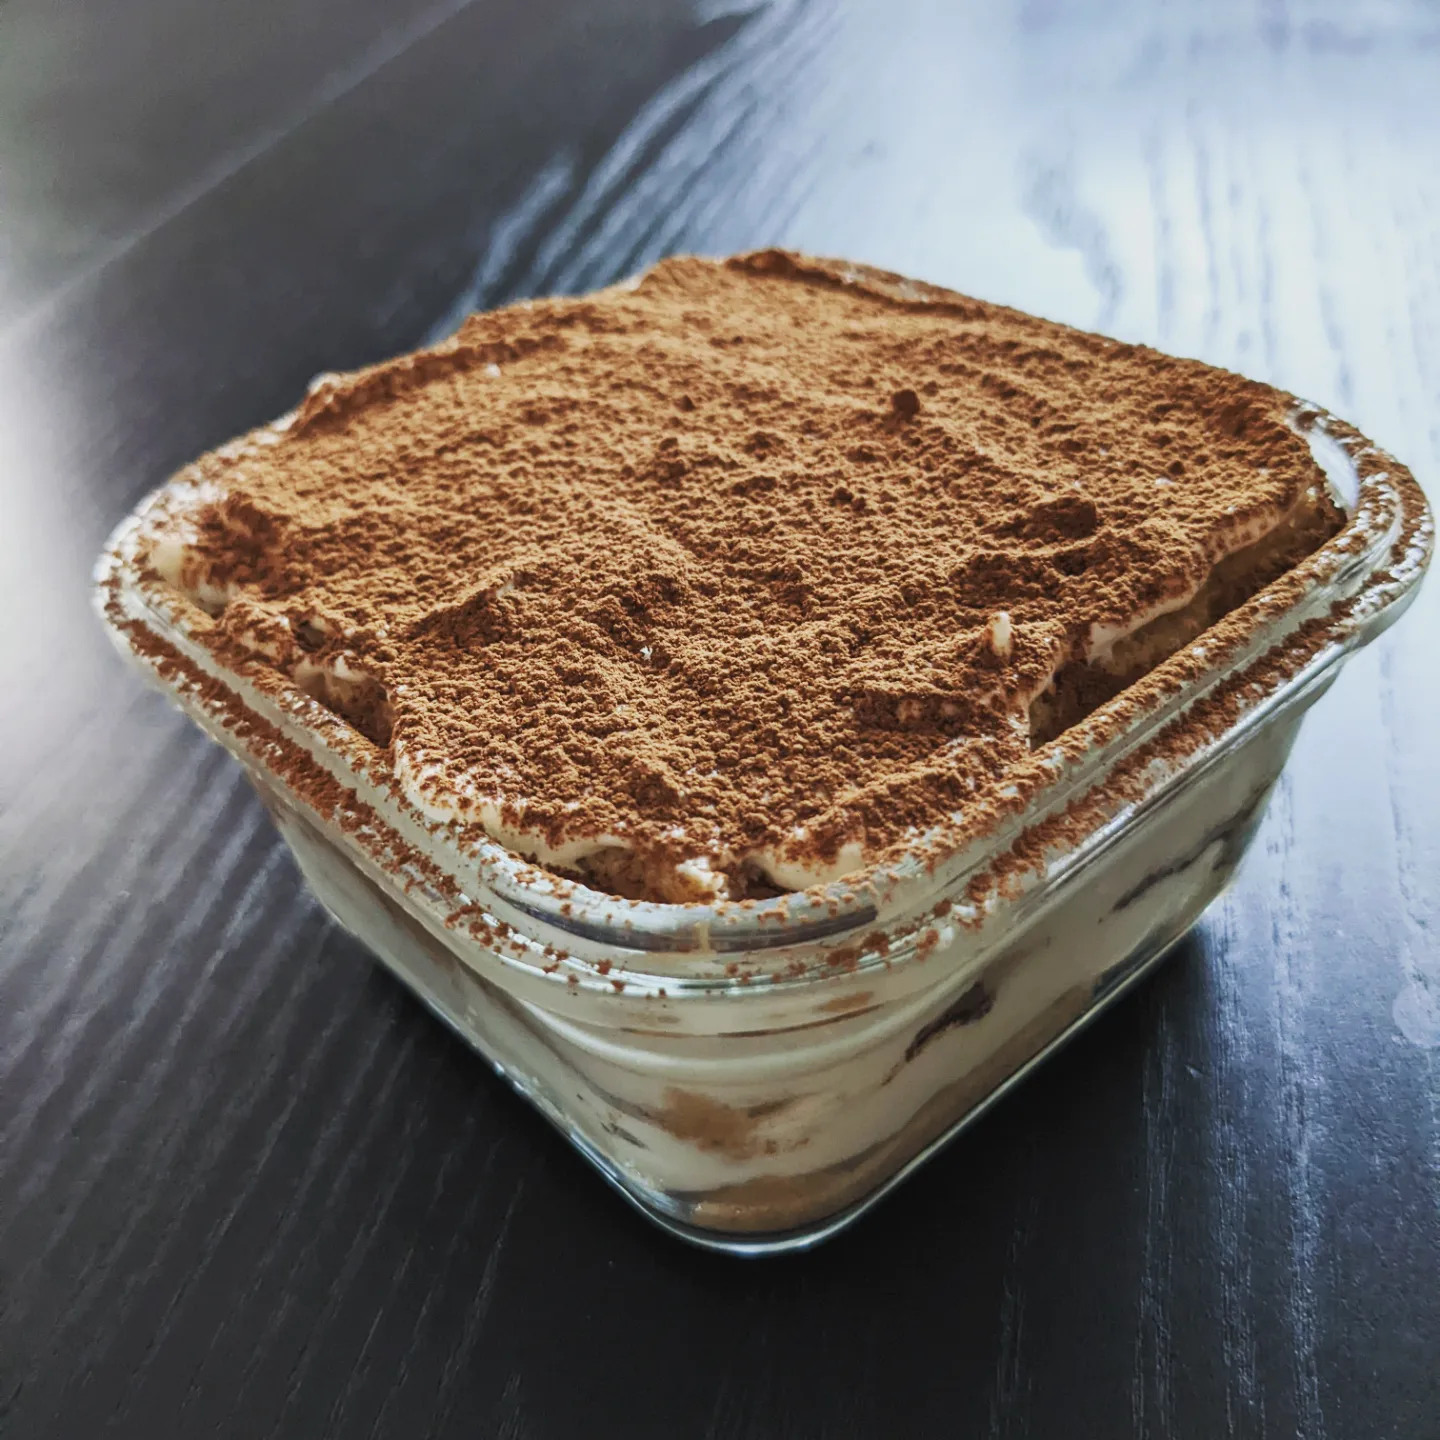
Tiramisu Close Up
The hardest part of making tiramisu for me is parting with so much money for the mascarpone. It’s costs a fortune! Years ago, I found a little hack by Gemma over @biggerbolderbaking that allows me to make a fake mascarpone (that I now call fascarpone) that saves a LOT of money. Get your big girl panties on, ladies, and let’s get assembling!
The base is comprised of however many lady fingers you can manage to fit into each layer times two or three layers, breaking fingers in half if you have to, dipped in strong coffee. (Depending on the pan I use, I can make up to three layers using a bread loaf pan, or two layers using a 9″x9″ square pan.) It’s not an exact science, so if you run out of the coffee/liquor mix, just make a bit more until all of the fingers get a quick soak.
Tiramisu
20-30 Lady Fingers
1 C Strong Coffee Brew, room temperature (or cooled down hot chocolate)
1 tbsp Amaretto
The DIY Fascarpone is a two-step process. Here’s how to do it. (FYI: It’s probably best not to ever show this information to any actual Italians if you want any peace of mind.)
STEP ONE:
1C 35% Cream
1/3 C Sugar (white or superfine icing)
1 tsp Vanilla (this is the time to bust open the expensive stuff)
Using a whisk attachment in a mixer or a hand beater, whip this cream mixture on medium speed for about 5-8 mins, until the cream starts to thicken up. Then bump it to full speed for another 2-3 mins to incorporate a lot of air allowing the cream to fluff up.
Scrape the finished whipped cream into another mixing bowl. Set aside while assembling the second cream mixture into the used mixer bowl. No need to clean it out first.
STEP TWO:
6oz/168g Cream Cheese, room temp (small cubes speed up the temp change)
2 Tbsp Sour Cream (if you’re not using full fat, why are you even making this dessert?!)
3 Tbsp 35% Cream
Using a paddle attachment in a mixer or a hand beater, cream this mixture to a smooth consistency. You really don’t want any cream cheese lumps. Drop heaping spoonful of this mixture into the whipped cream bowl, and fold it in so the whipped cream thins out a bit. Add the rest and mix to incorporate both only.
ASSEMBLY:
Drop each lady finger into a shallow dish with the coffee mixture and quickly roll it over a full rotation. Immediately place each soaked finger into the loaf pan or the glass dish. When one layer of lady fingers is assembled, top it with a third of the fascarponey mixture. Smooth it out. Optional: dust the cream layer with coco powder or hot chocolate powder. I do this sometimes, but often I forget to do it. Oh, well.
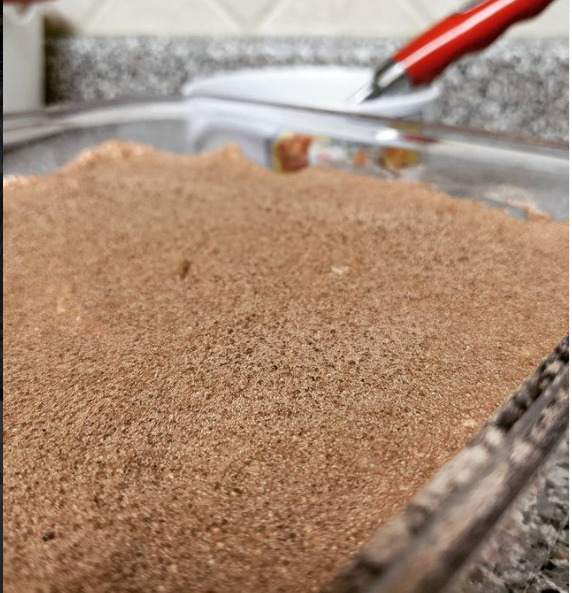
Continue with more of the same two layers until you reach the top of the pan with fascarponey. Top that with either coco or hot chocolate powder. Cover and let the dish set itself up in the fridge.
Thoughts:
To be honest, you only need ten minutes for the lady finger to soften up from all of the moisture you rolled them around in and even more moisture from the cream mixture before you can dive in, but the longer it sits chilling the better it ends up tasting if you ask me. So, yeah – quick dessert for sure when you need something nice at a moment’s notice. Even a pan slapped together quickly can produce a lovely-to-eat tiramisu on a weeknight.
I’ve never tasted a shitty tiramisu. I simply refuse to believe one exists. And this speedy hacked version is no different. It’s is foolproof. If you find a way to screw it up, I need to be the first person you tell. And I will need a full explanation of just how you did it. Deal?
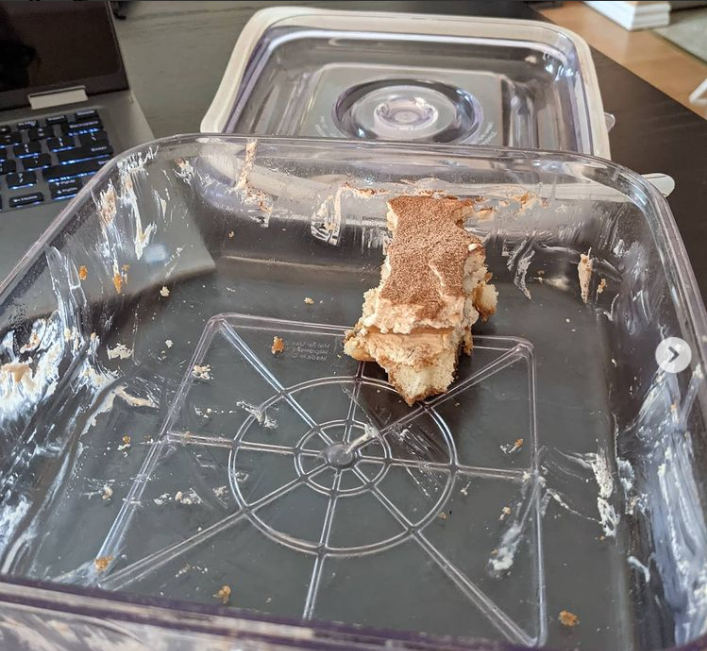
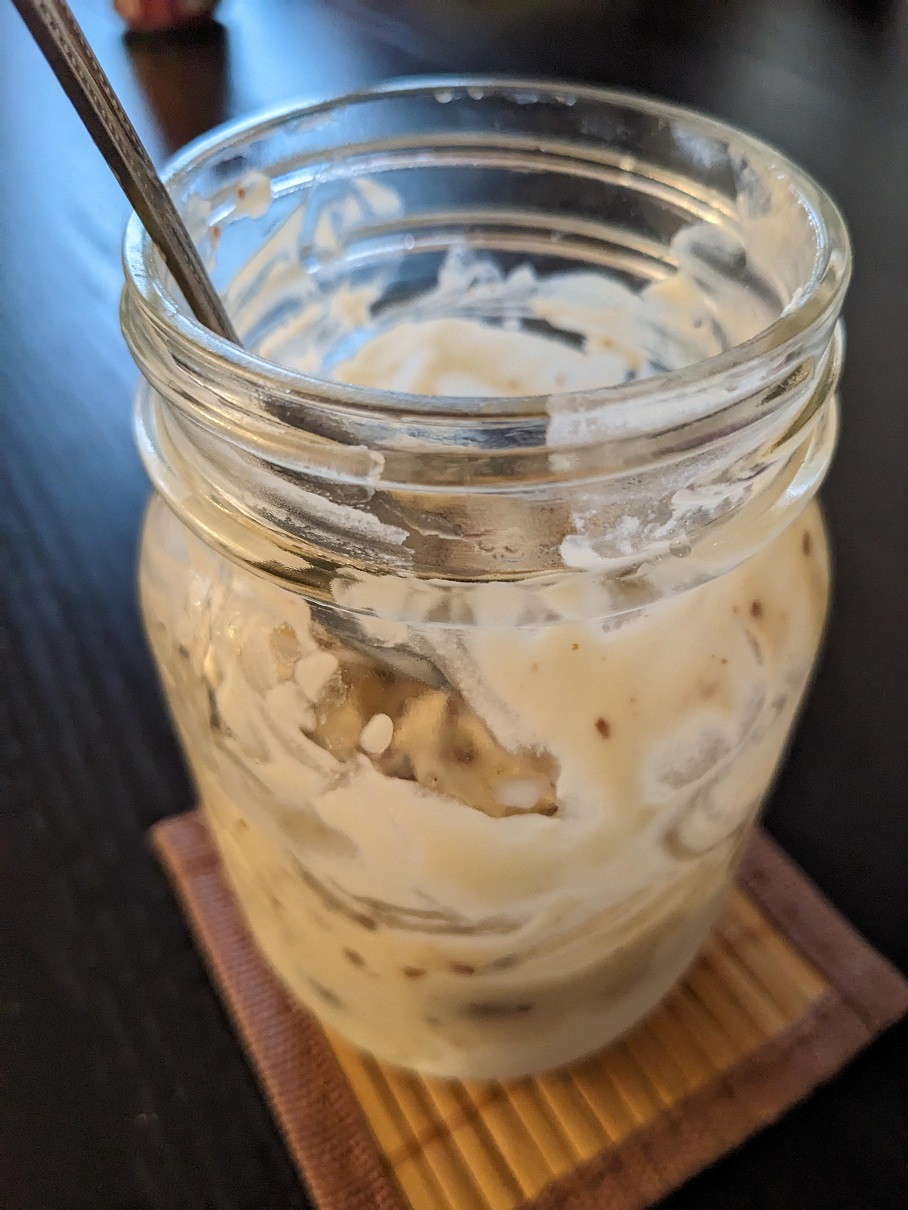
BWT, this is the typical portion of every pan of Tiramisu I make that the husband leaves for me. Every.single.time. I should just start making two pans instead of one.
Like this:
Like Loading...



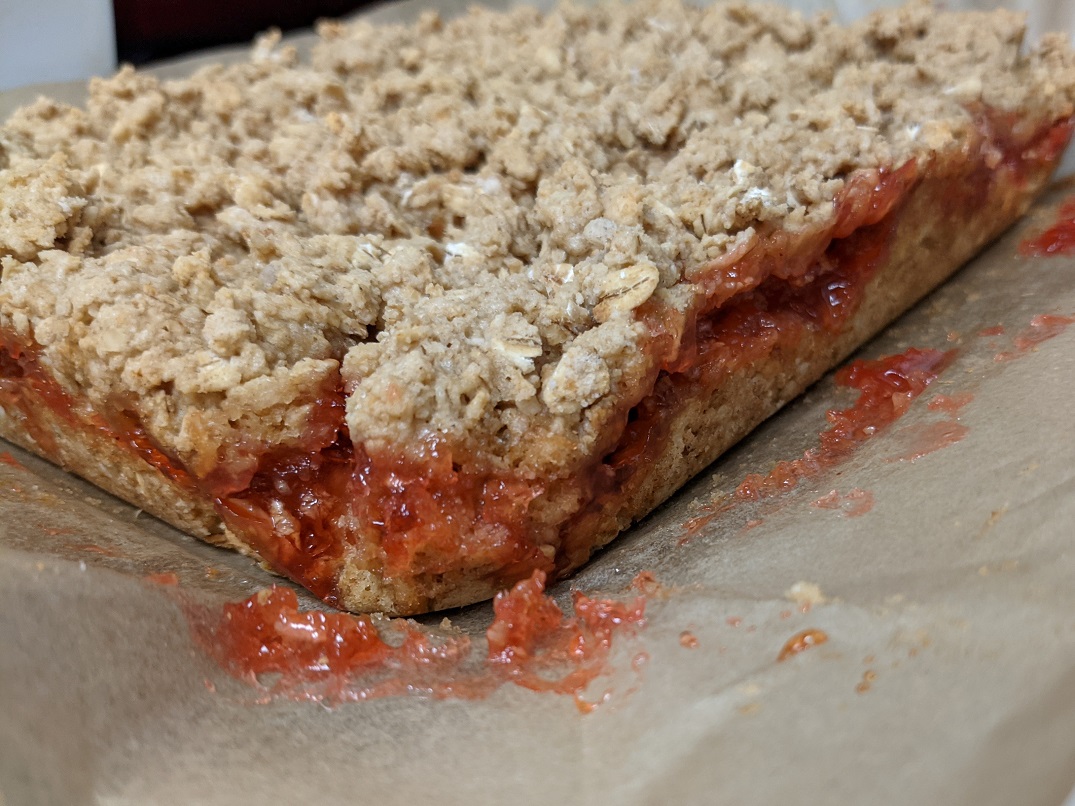
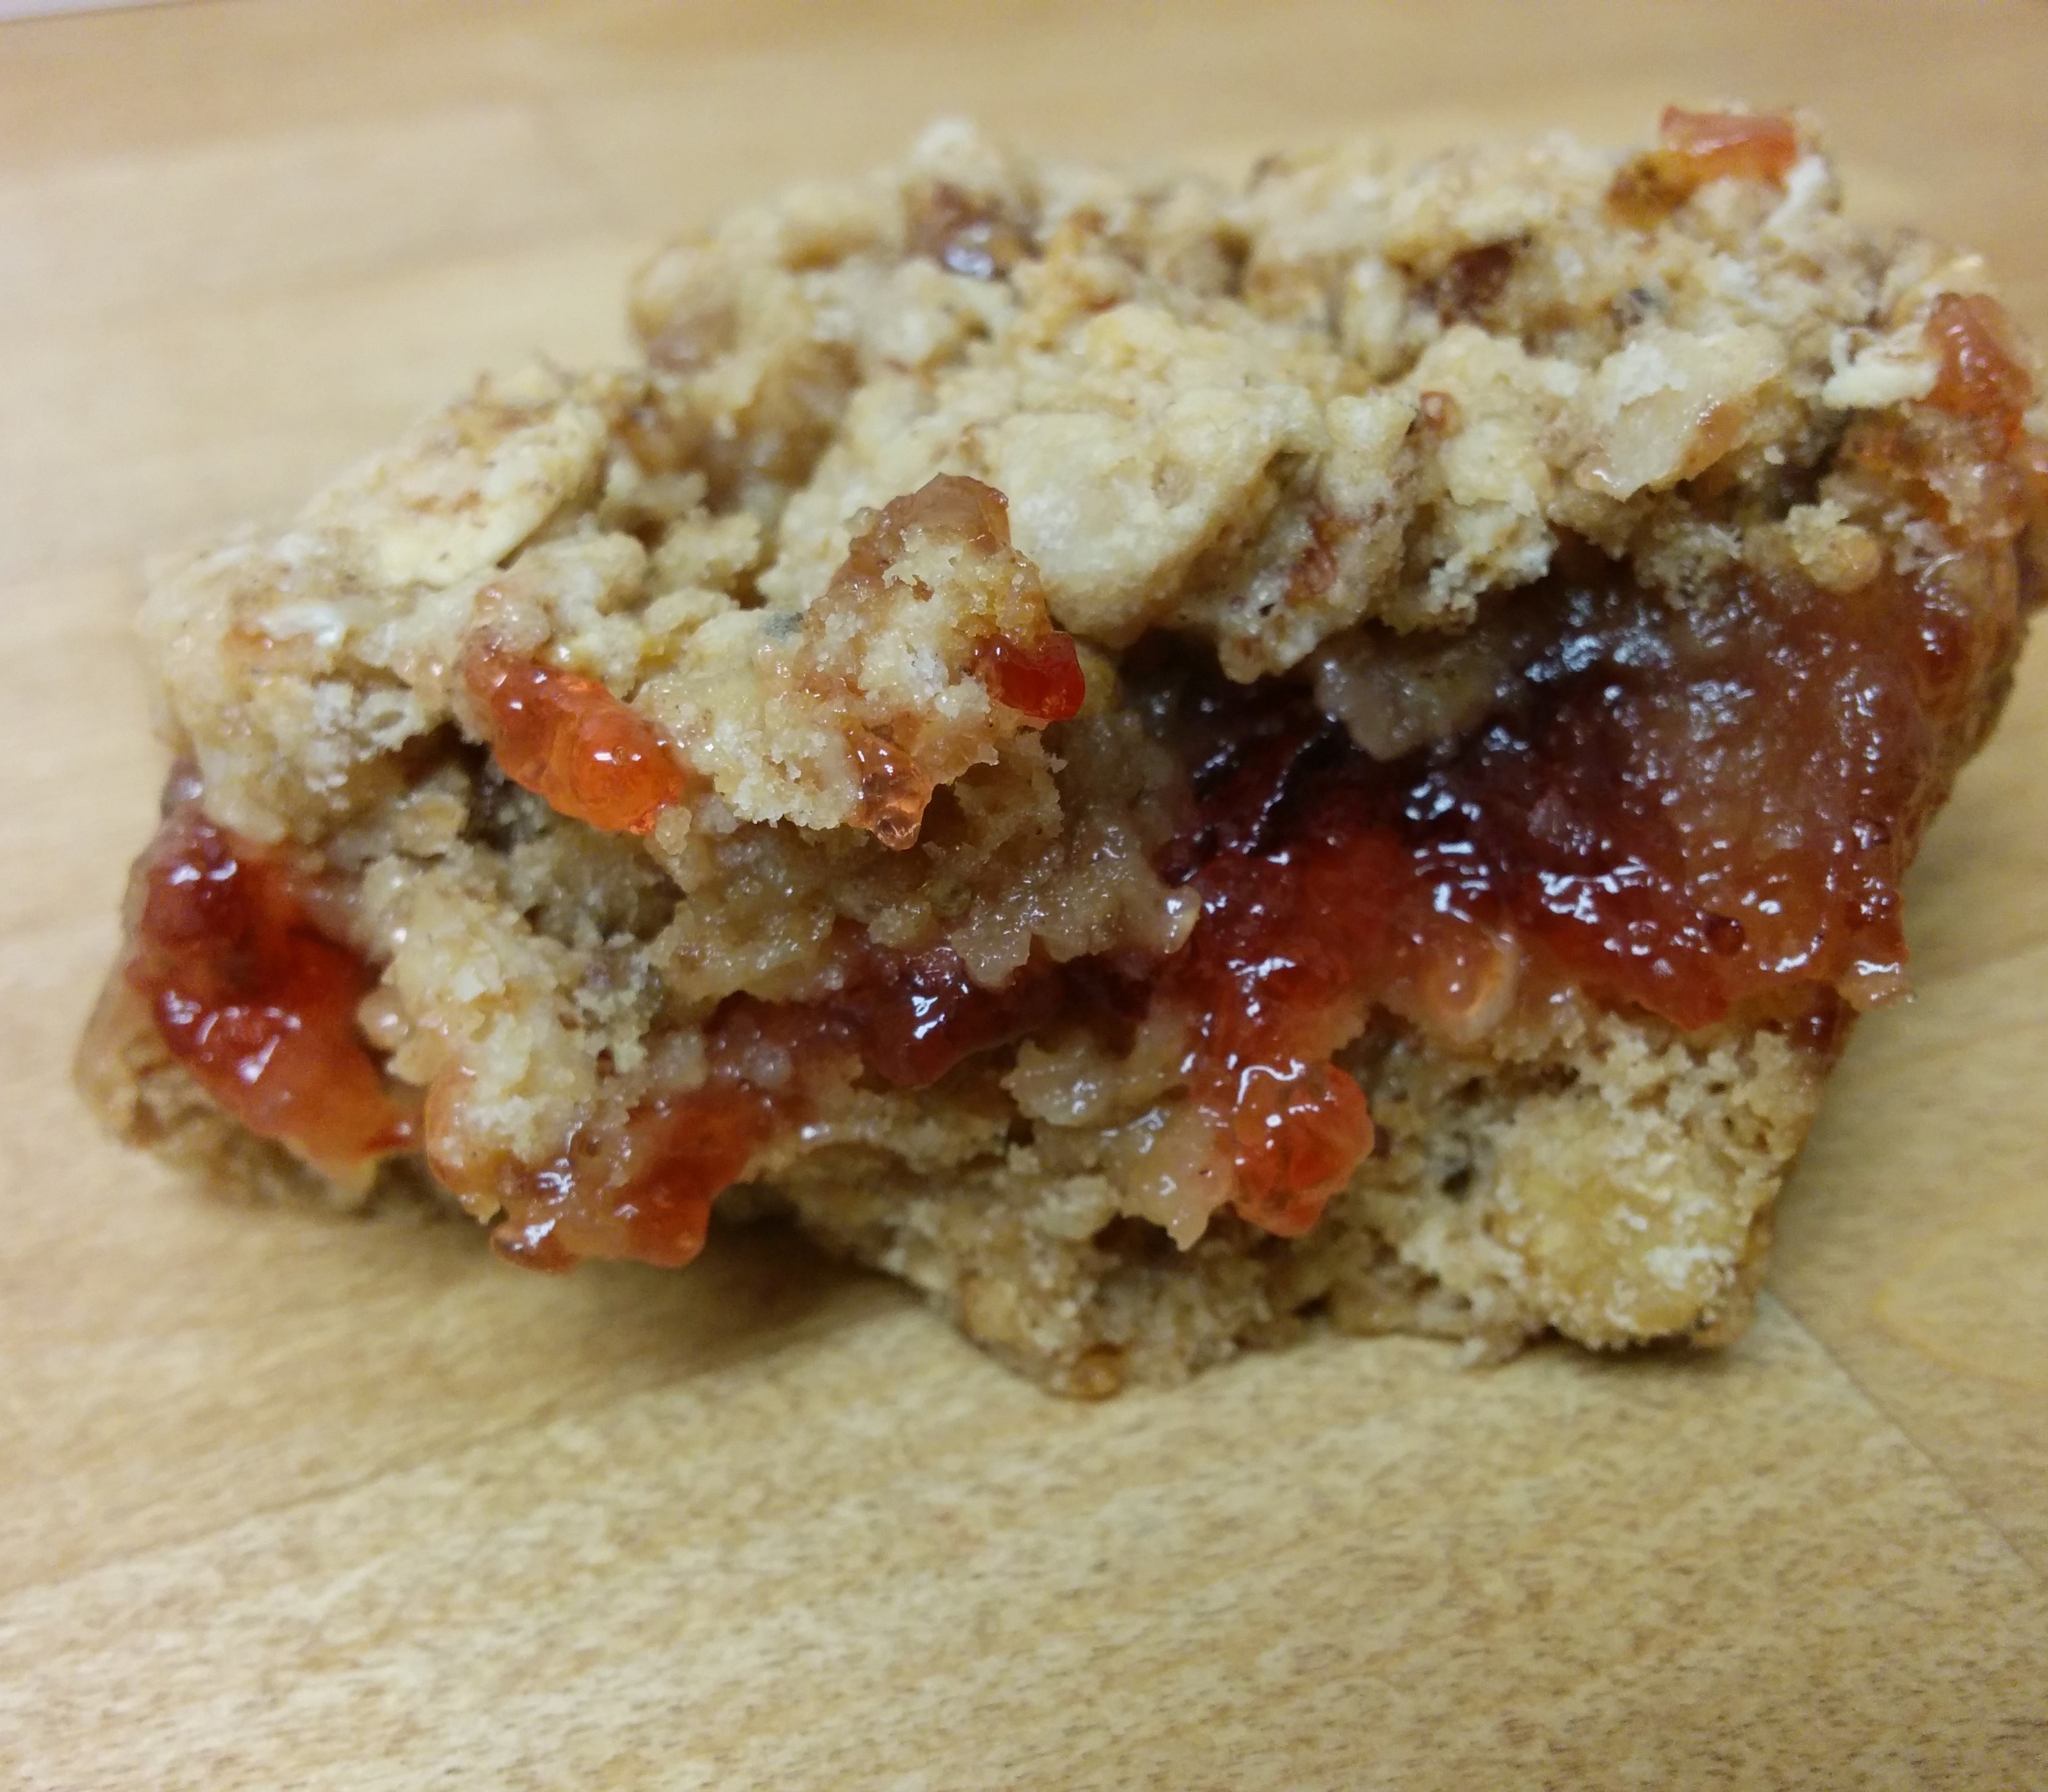 This is a riff on a recipe I used to have to make at work when I worked in a college cafeteria. It’s a lovely bar, and it’s extremely versatile. It makes a great lunch snack for kids.
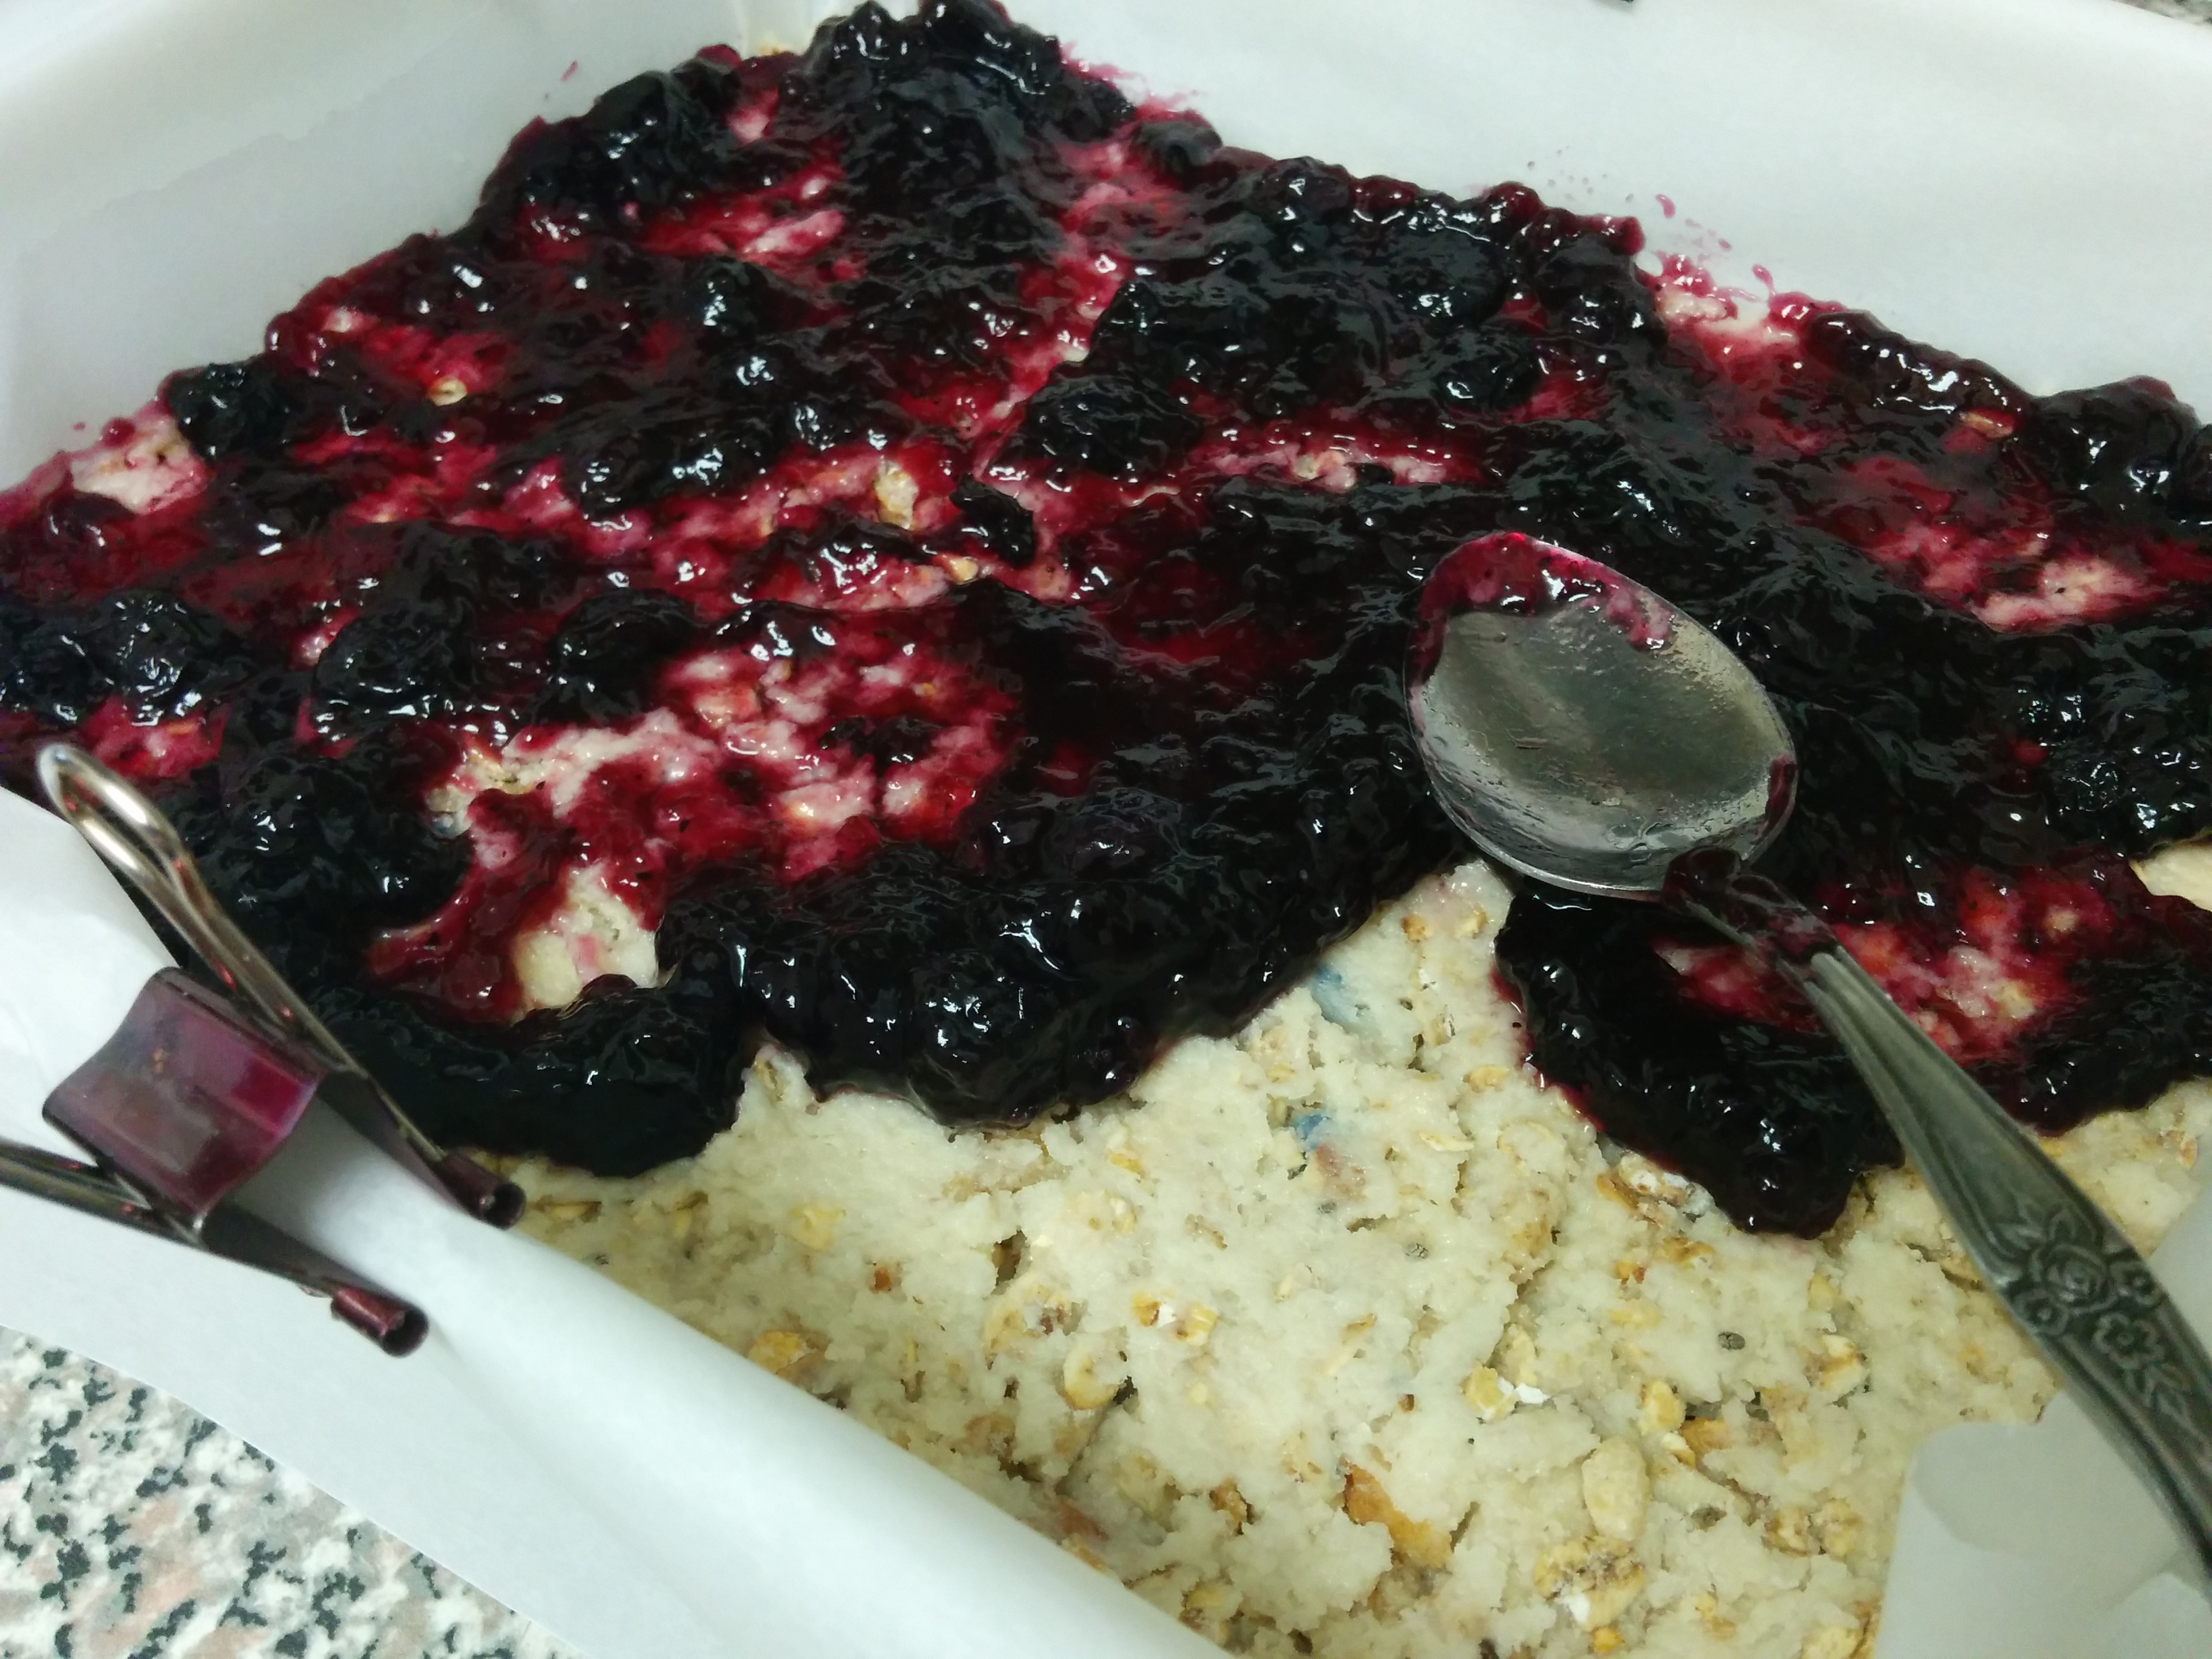
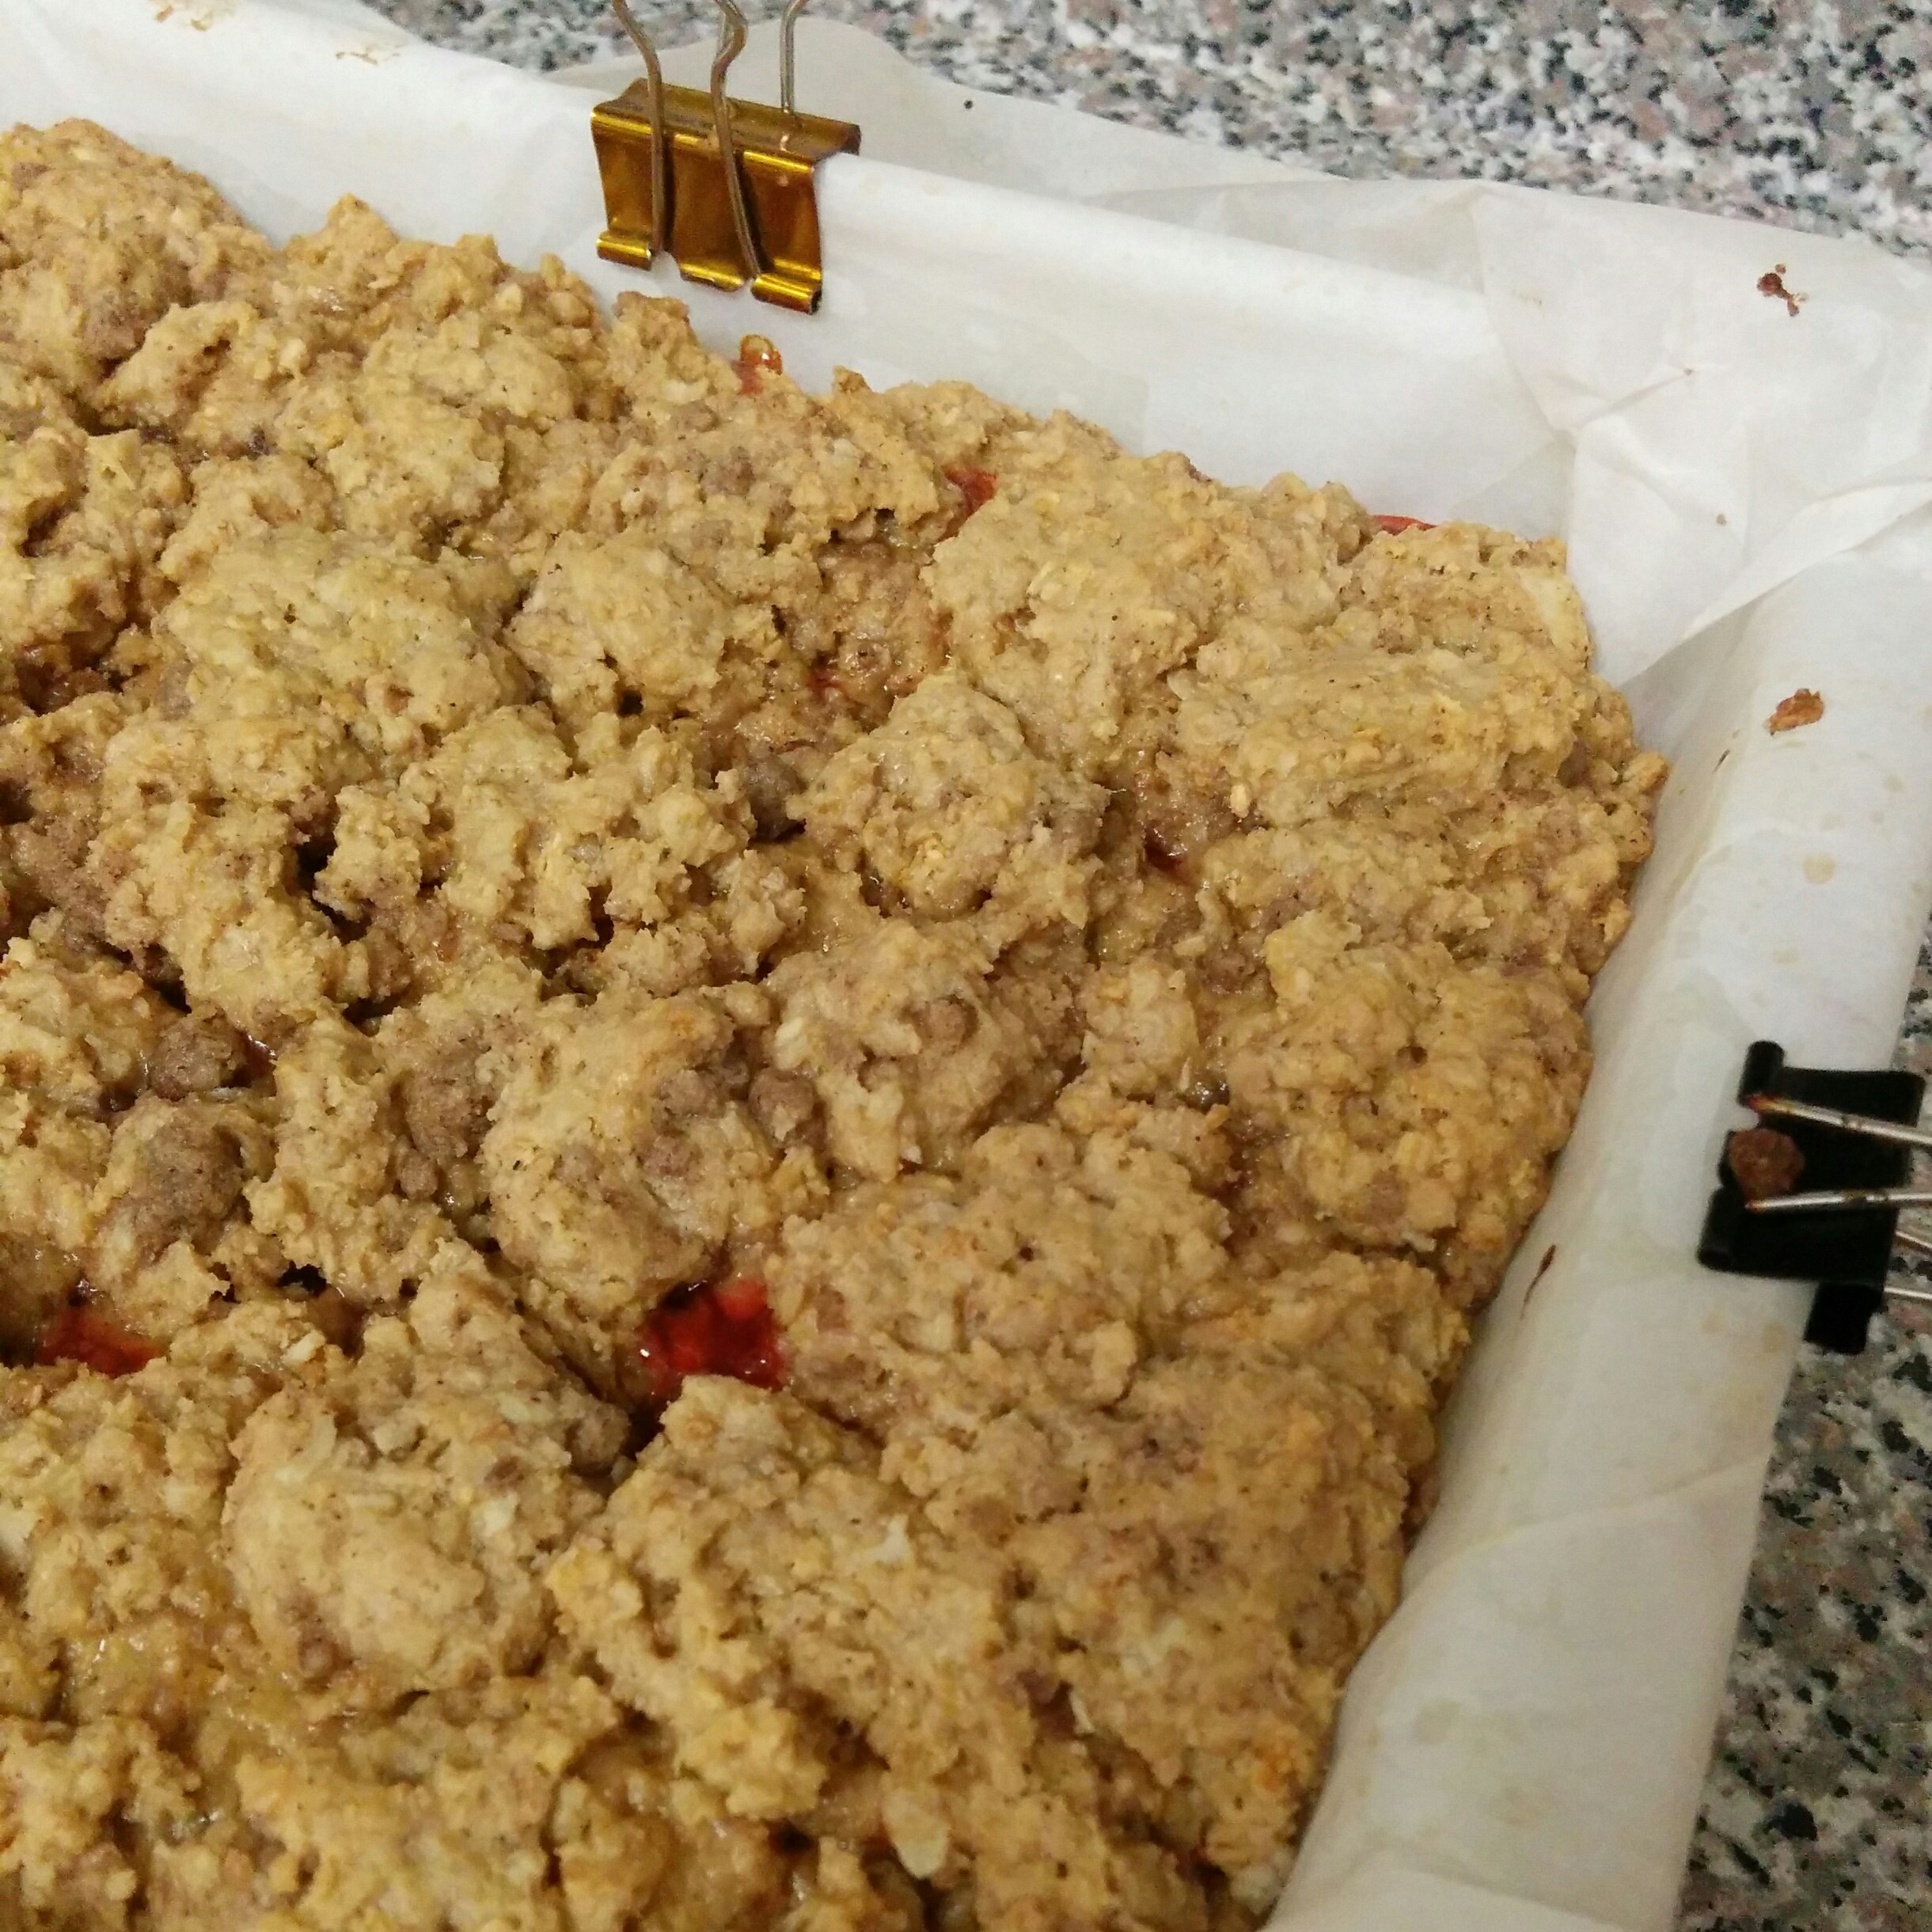 Grease a 8″x8″ or so baking dish. Line it with parchment that’s been clipped down with small bulldog clips. Place 3/4 of the oatmeal mix into the bottom and push it into all four corners and even it out working towards the centre with a clean floured hand. This will be the base of the bar.
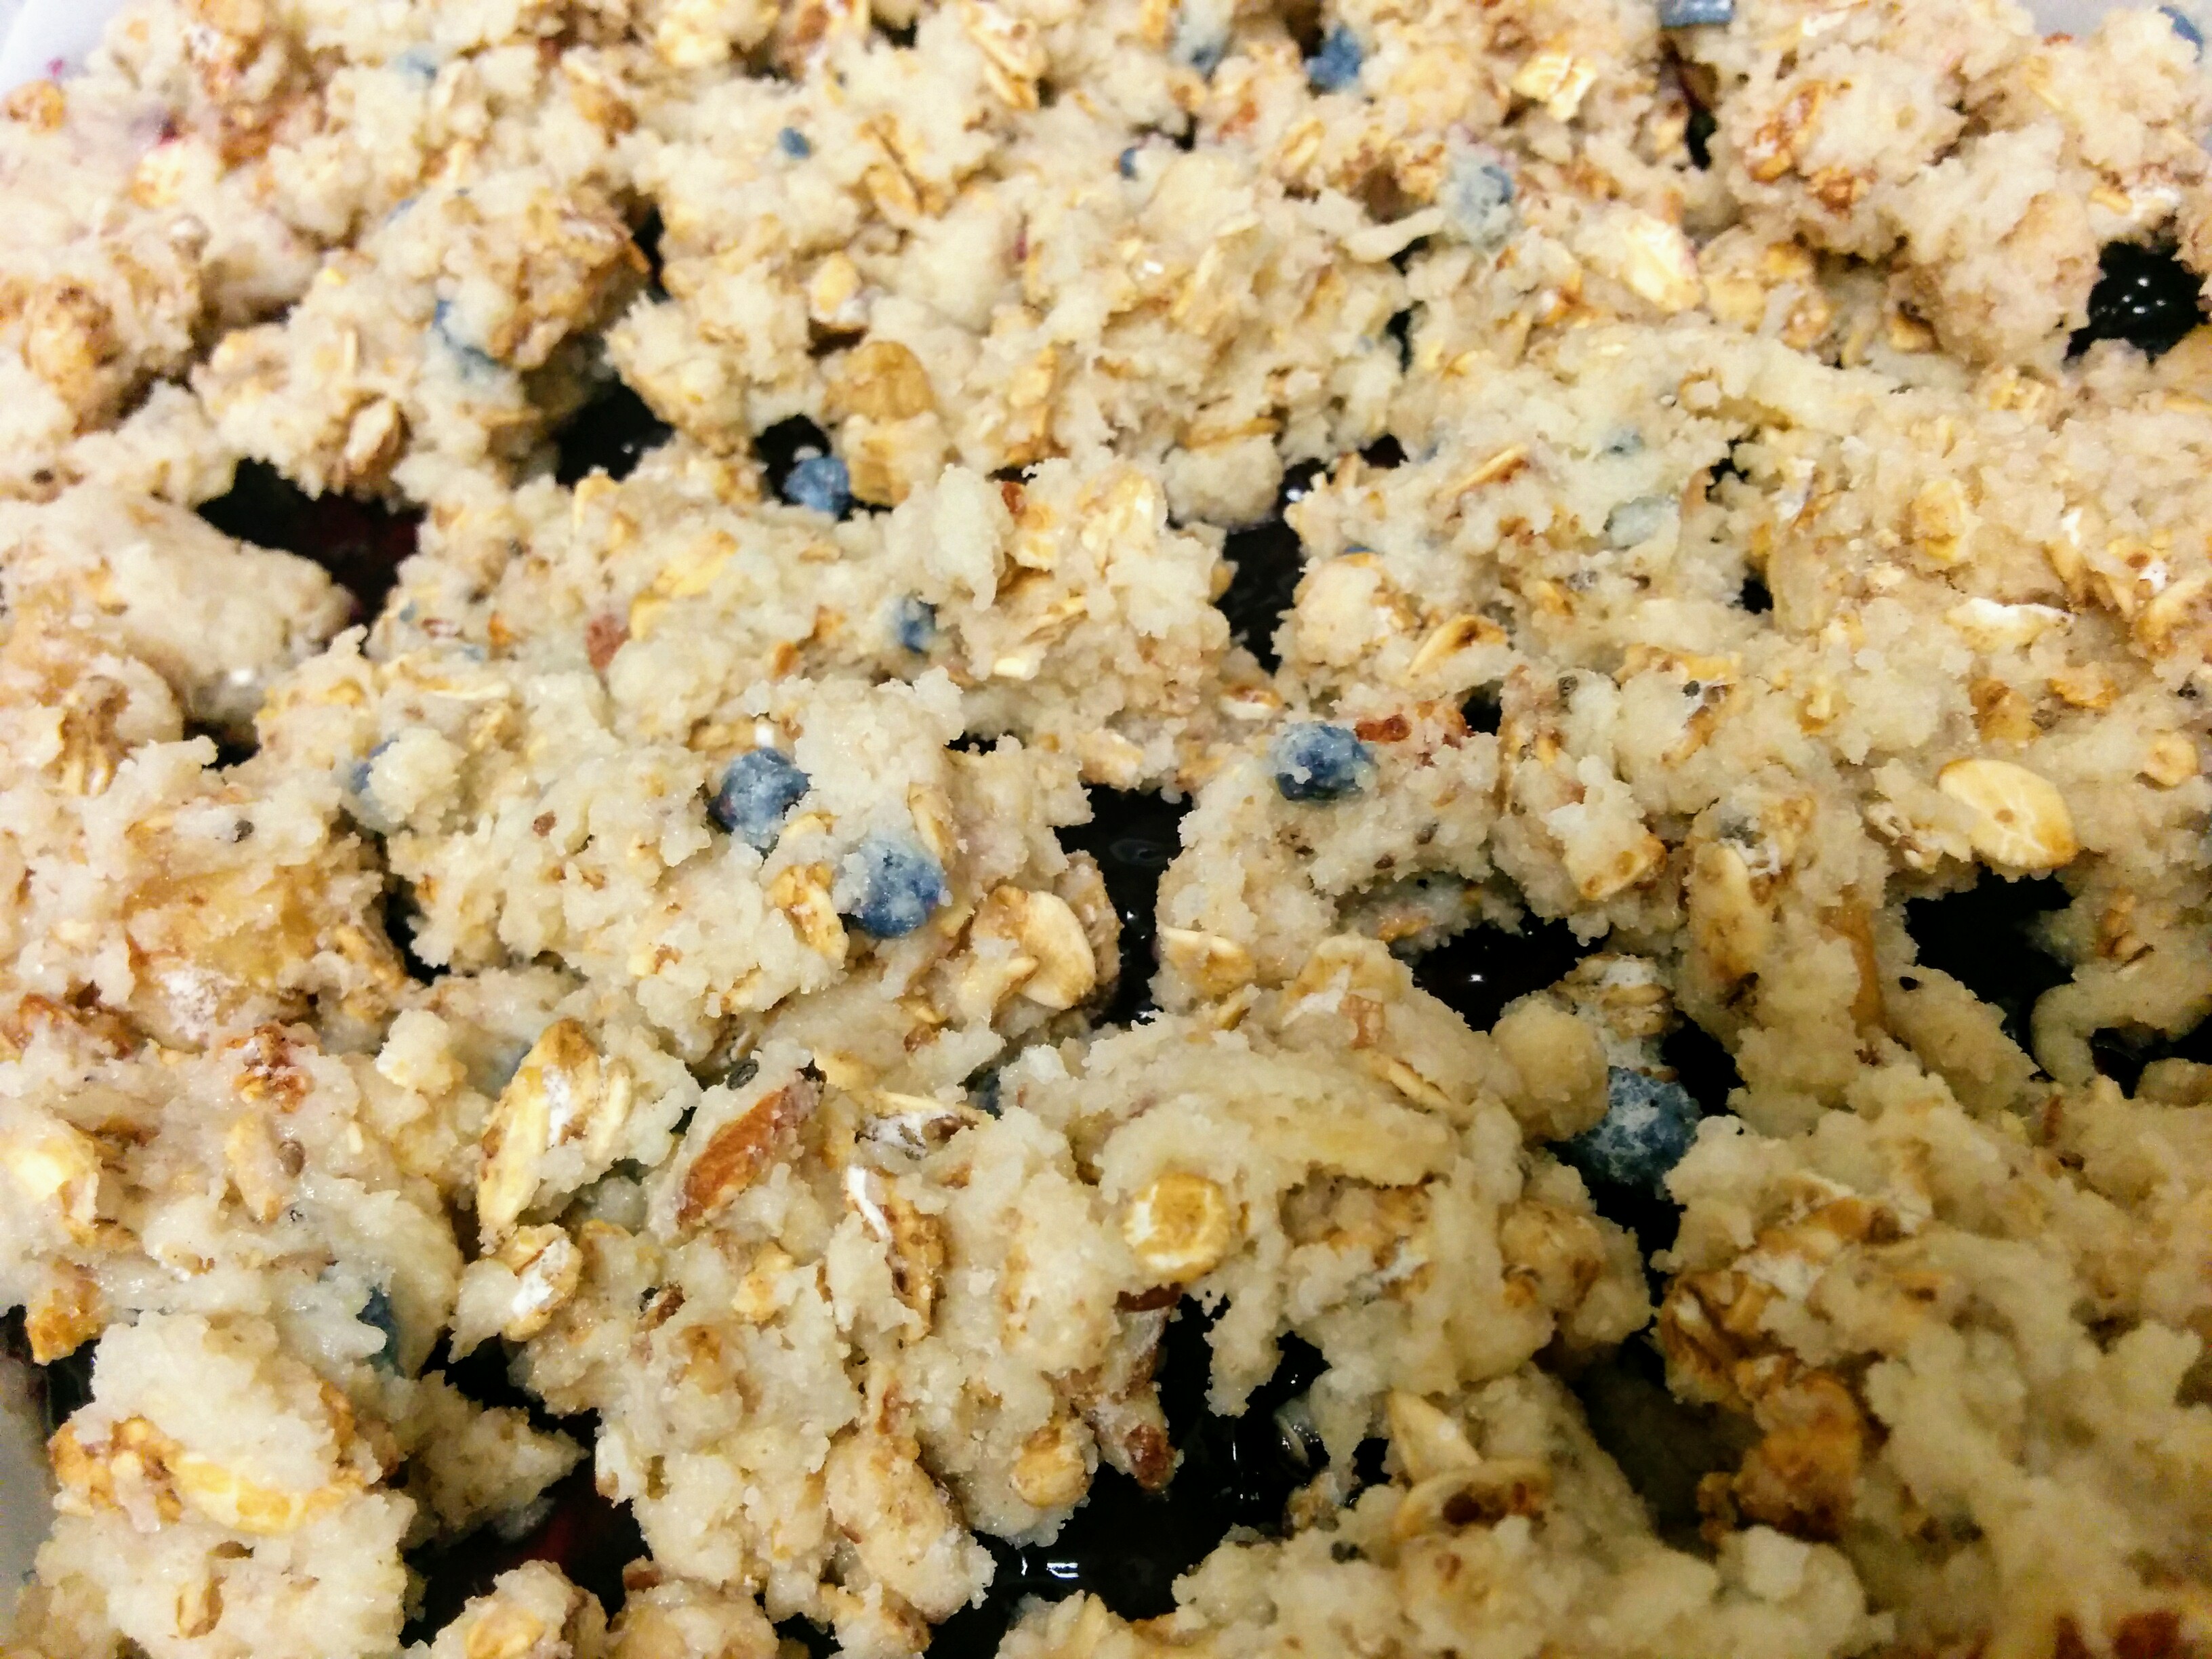 Pour out the jam over top and spread with a knife or offset spatula. Taking the last quarter of the oatmeal mix, start to place it over the jam layers in small blobs or chunks until it’s all used up. Break it up with your fingers. Pull it apart gently.
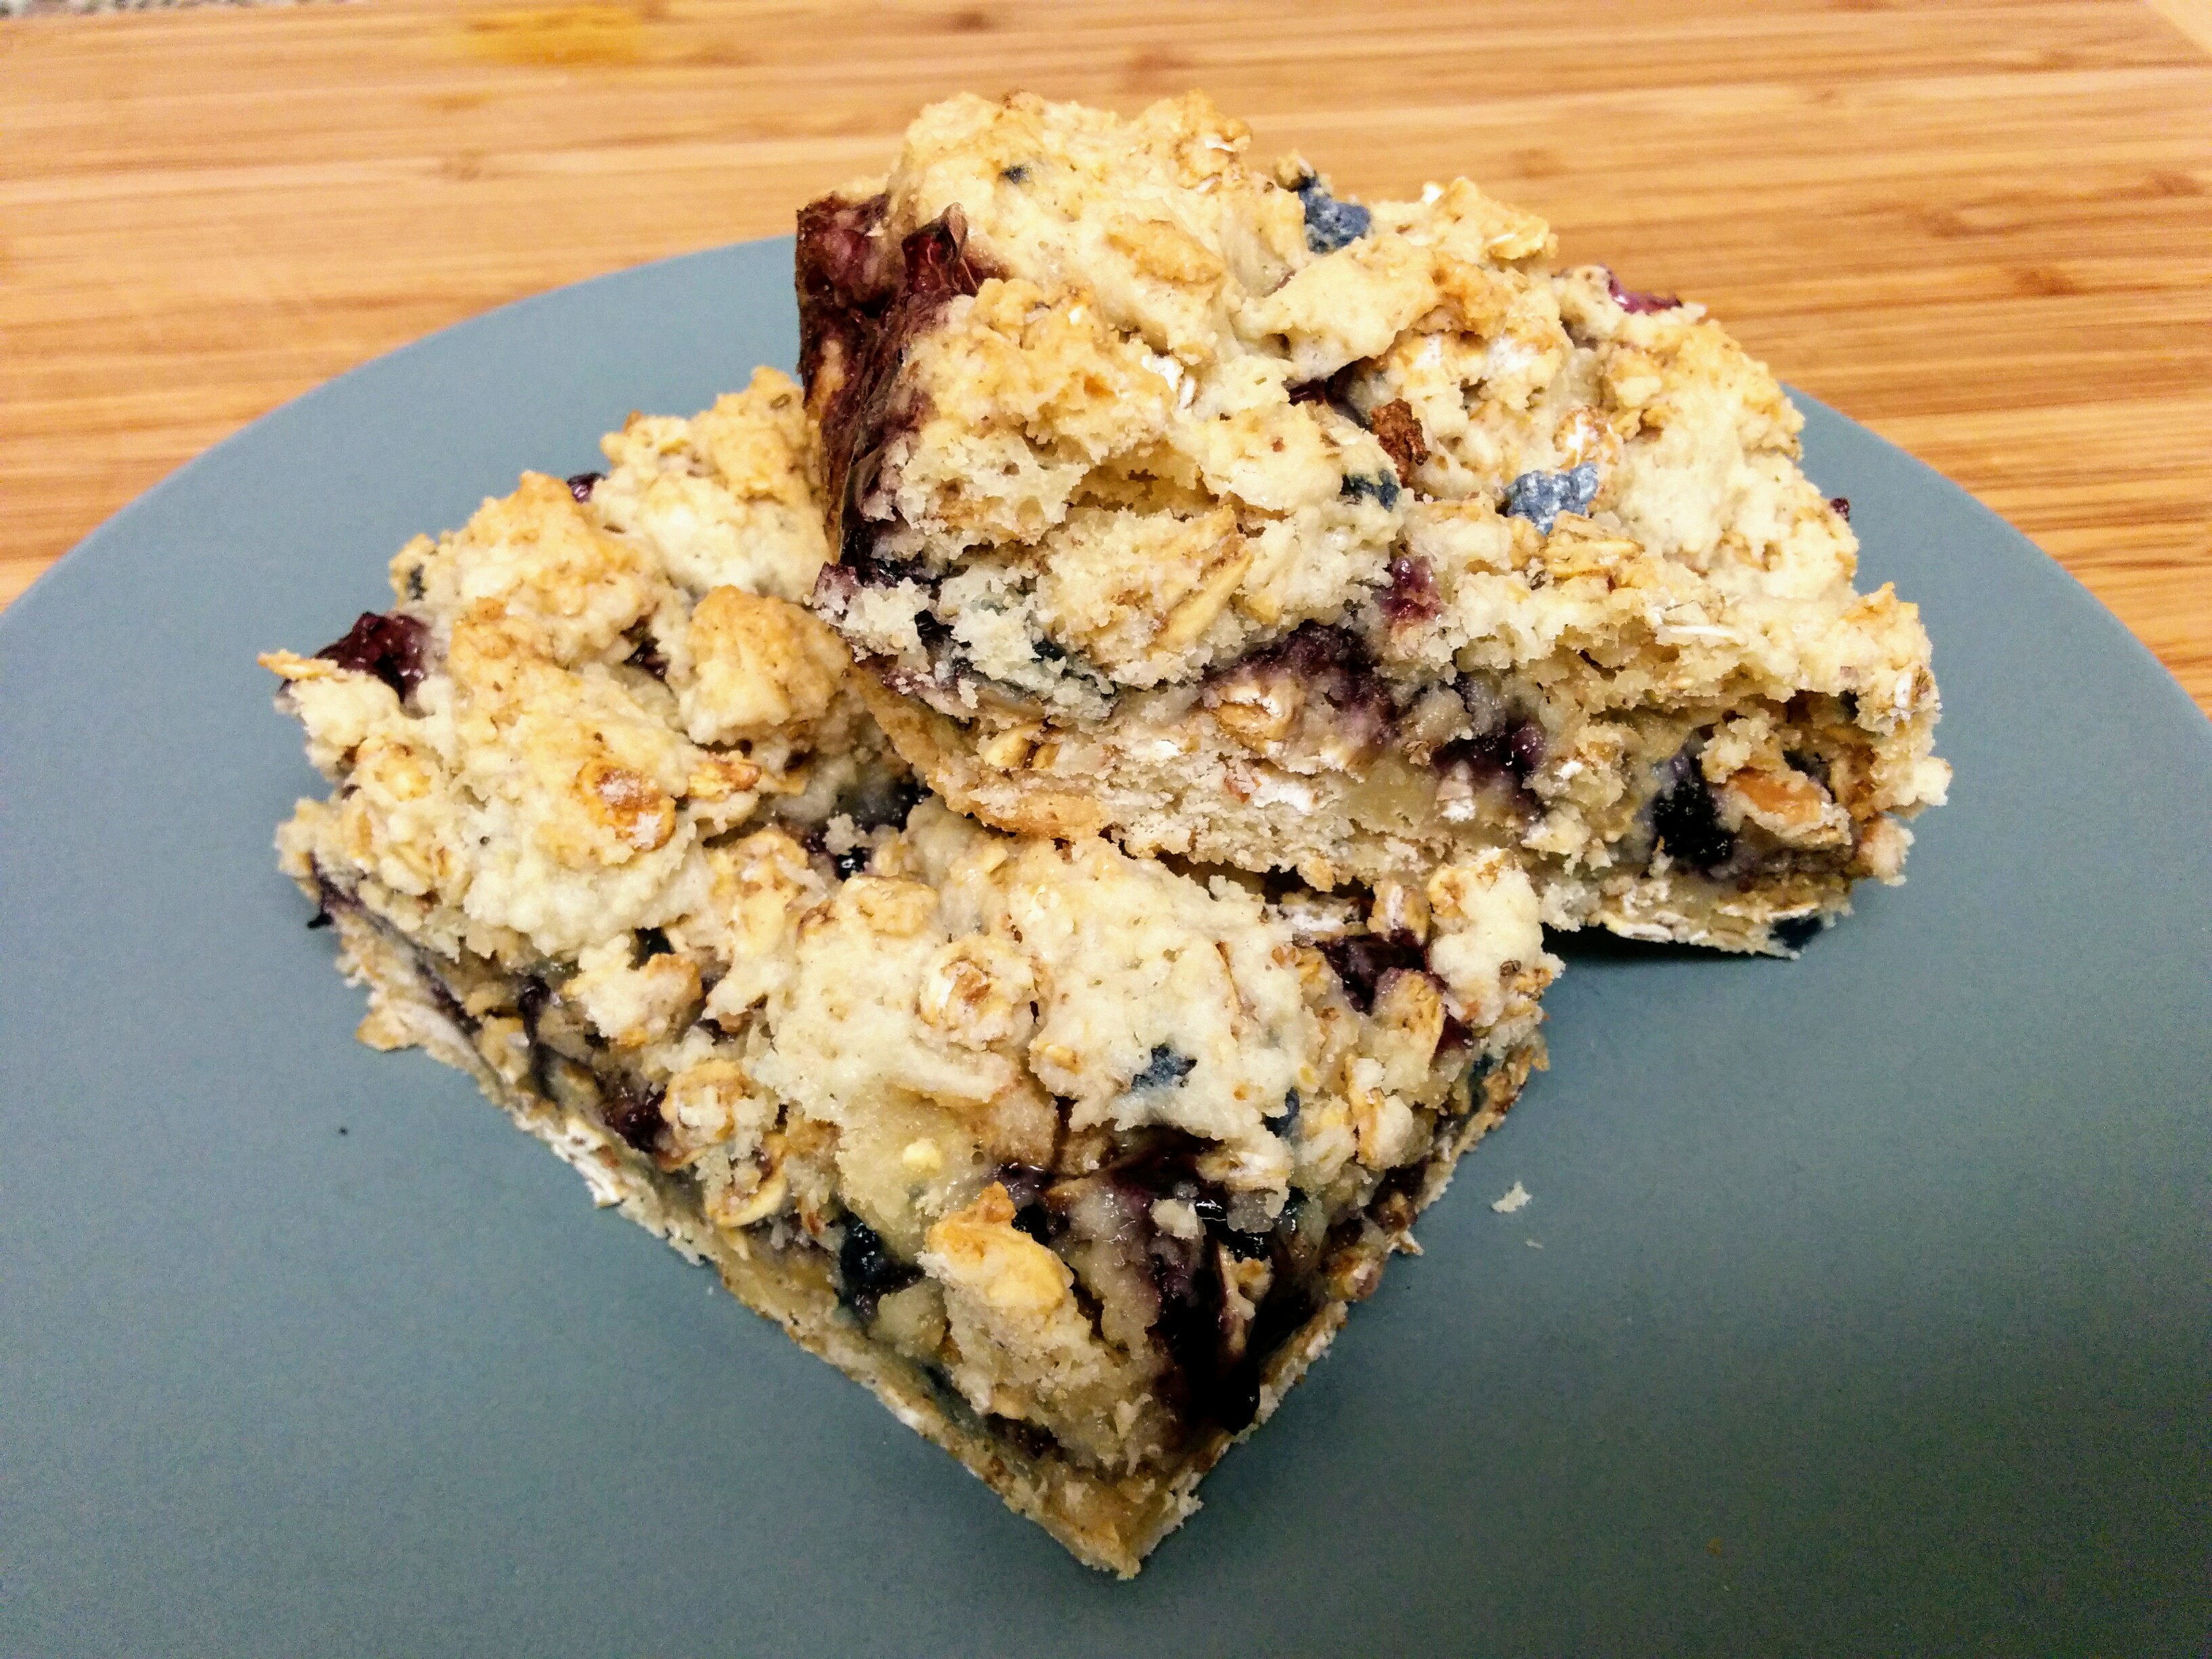 Optional: make a quick drizzle using 1C icing sugar + 2 Tbsp milk. Let the icing dry completely before cutting into bars and serving.
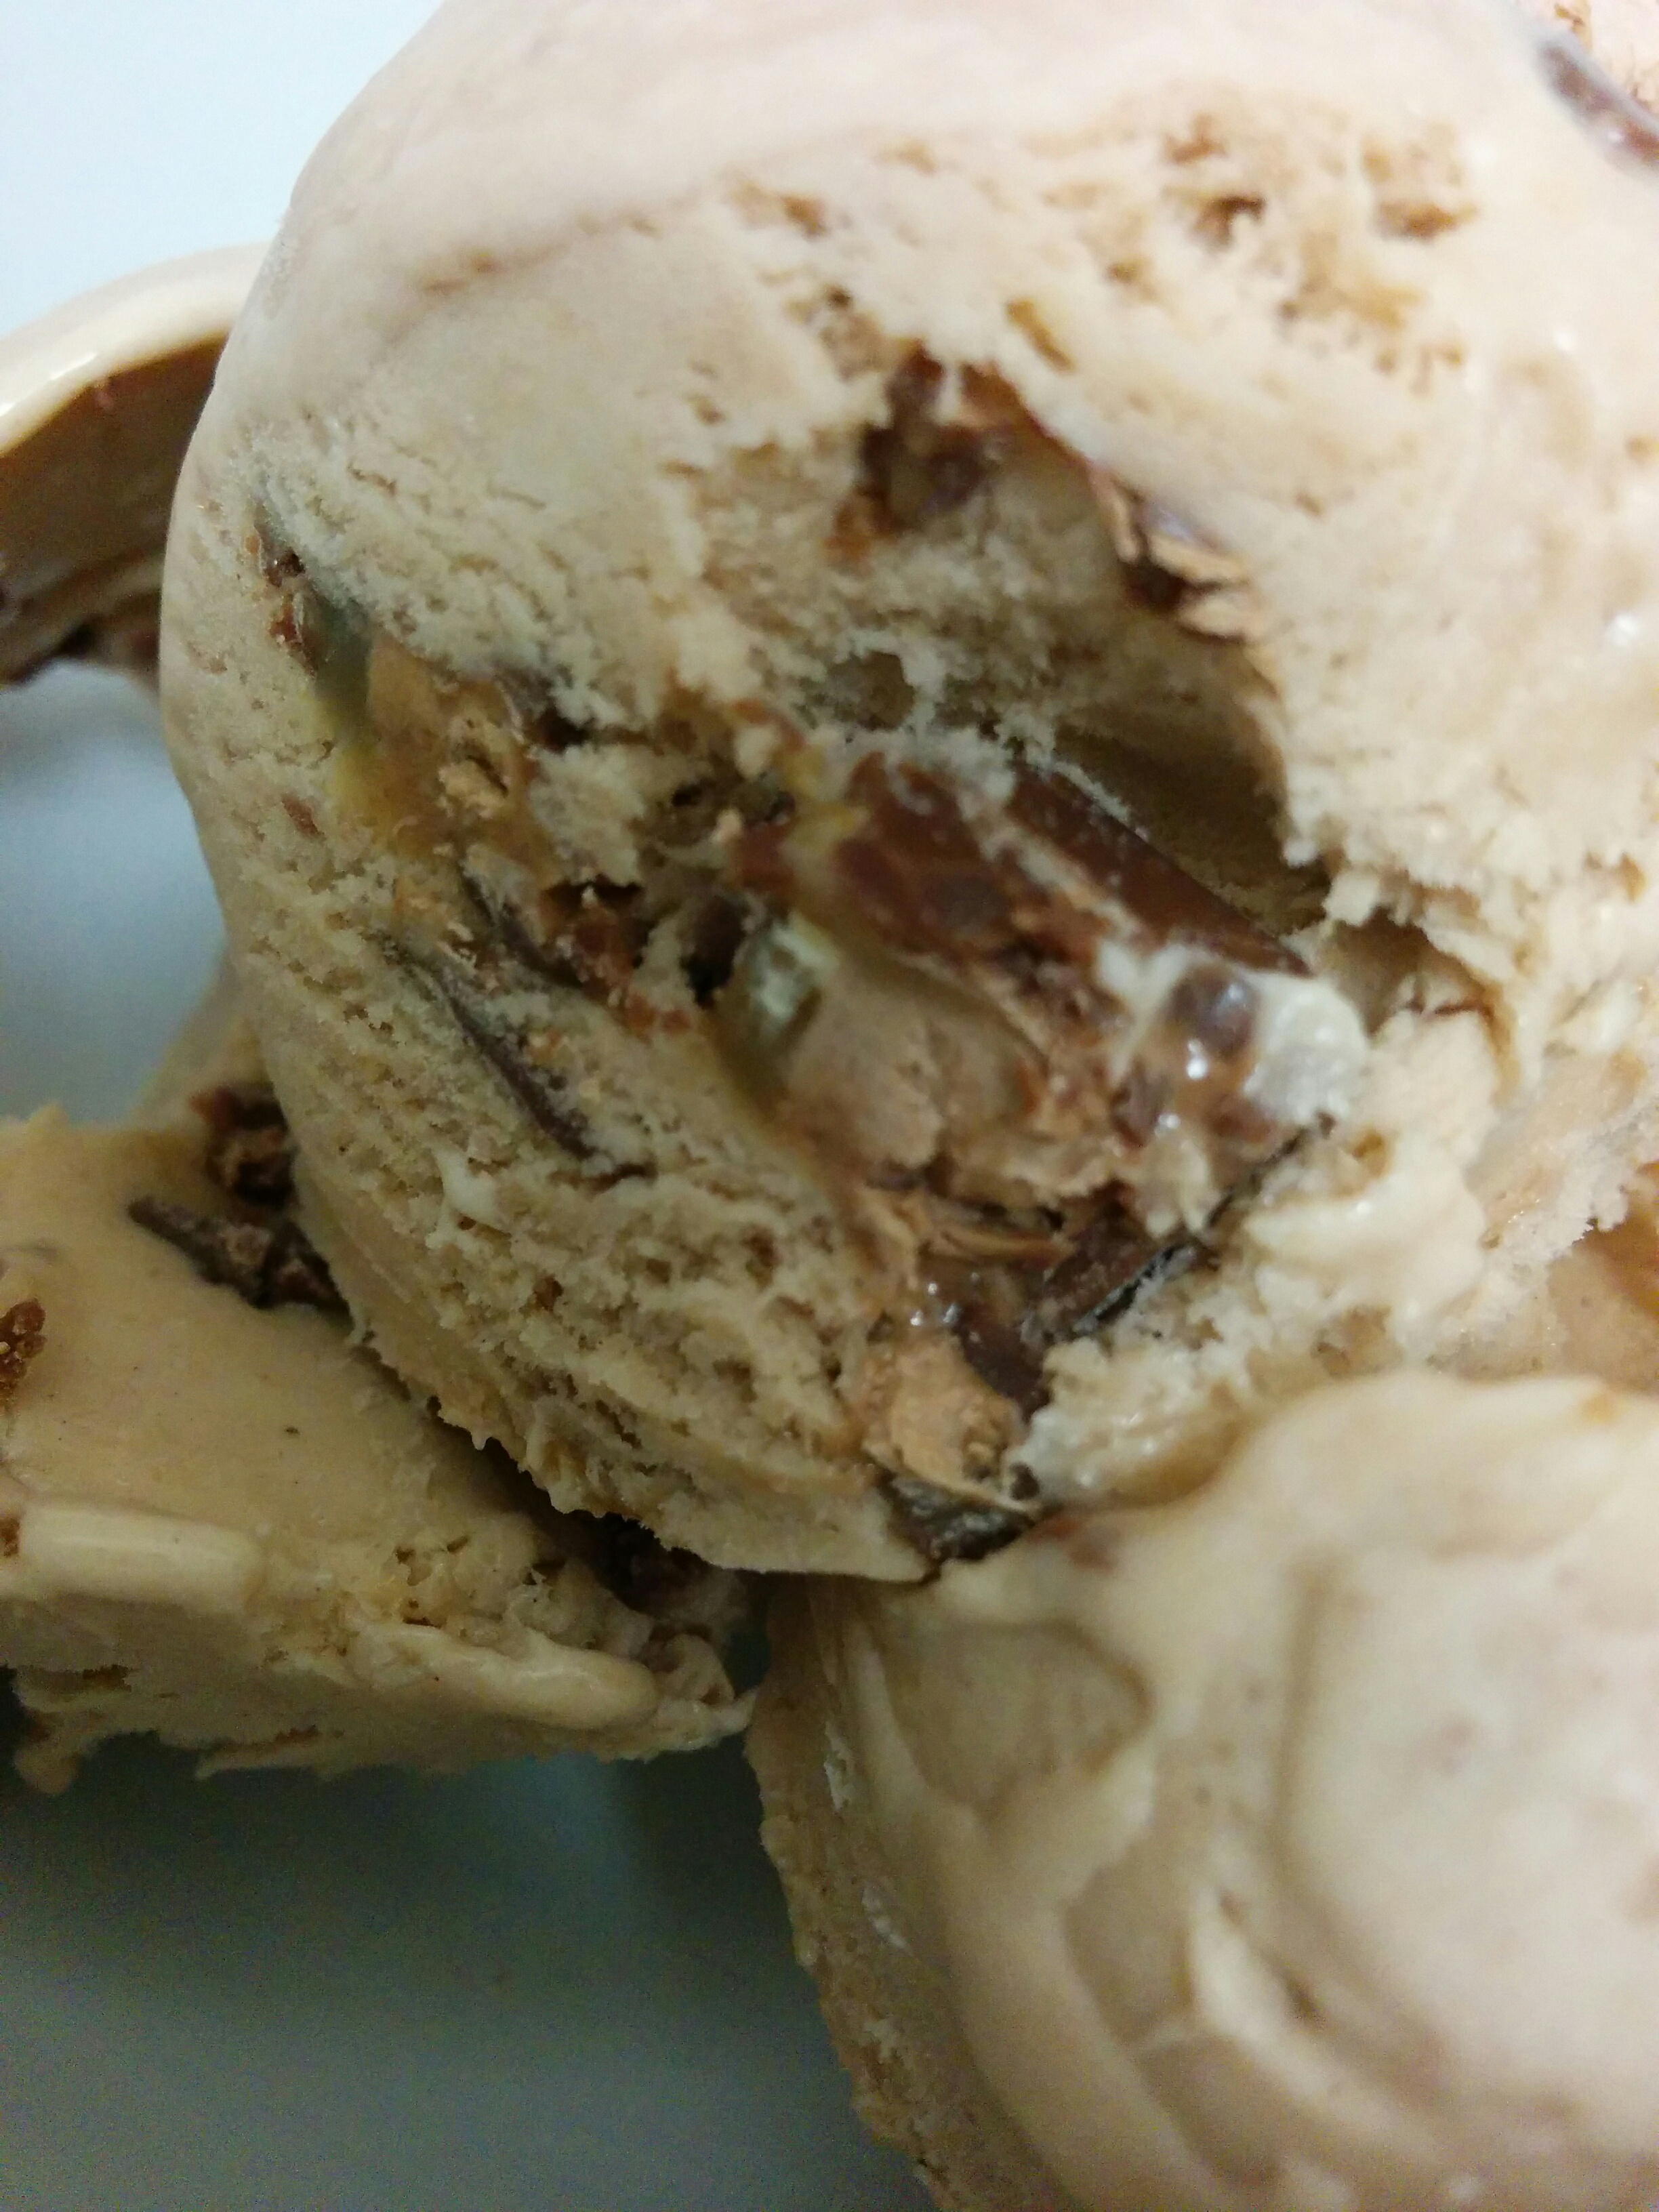
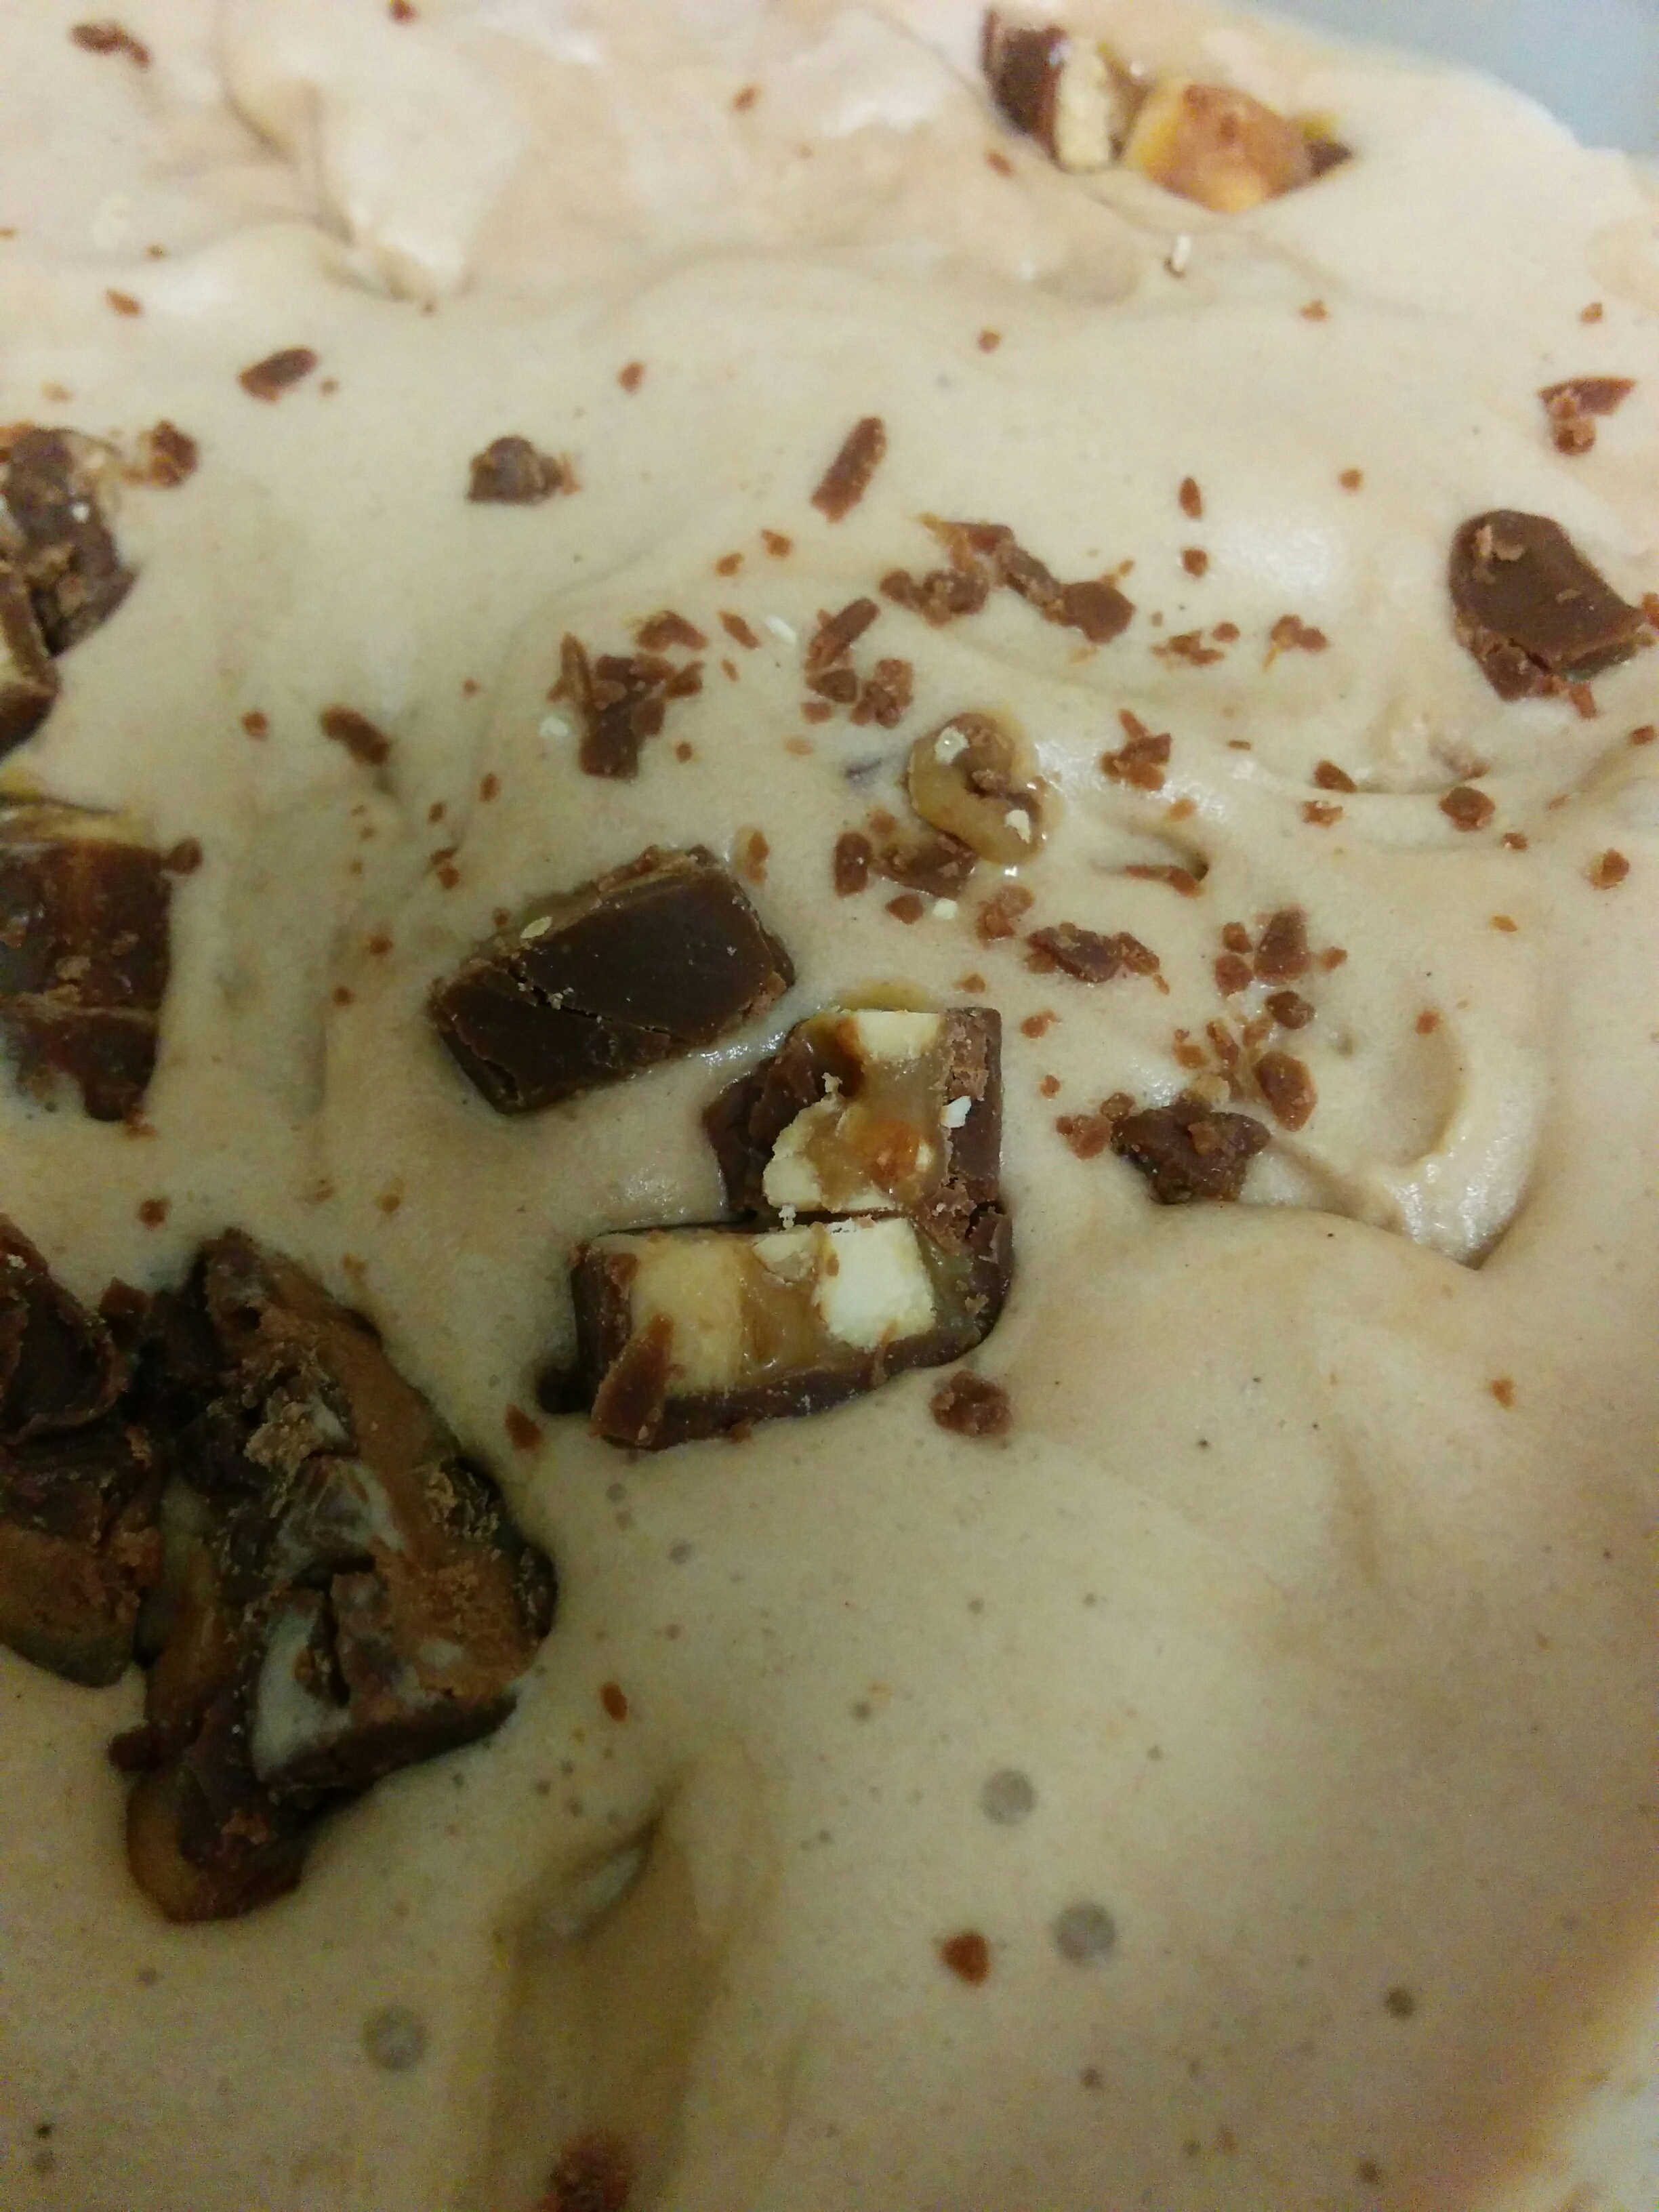
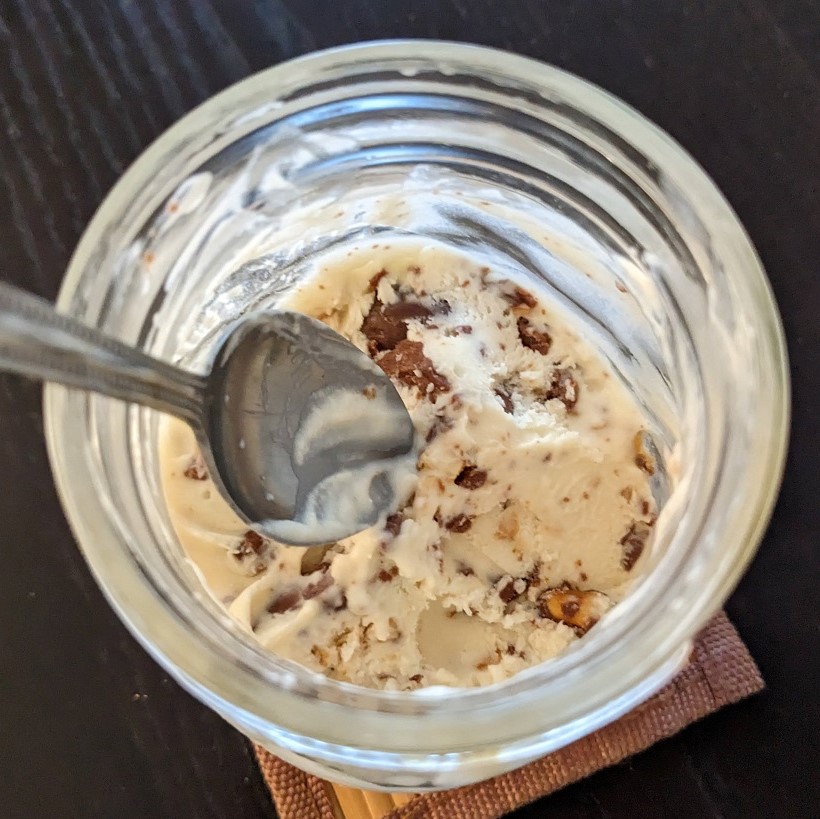
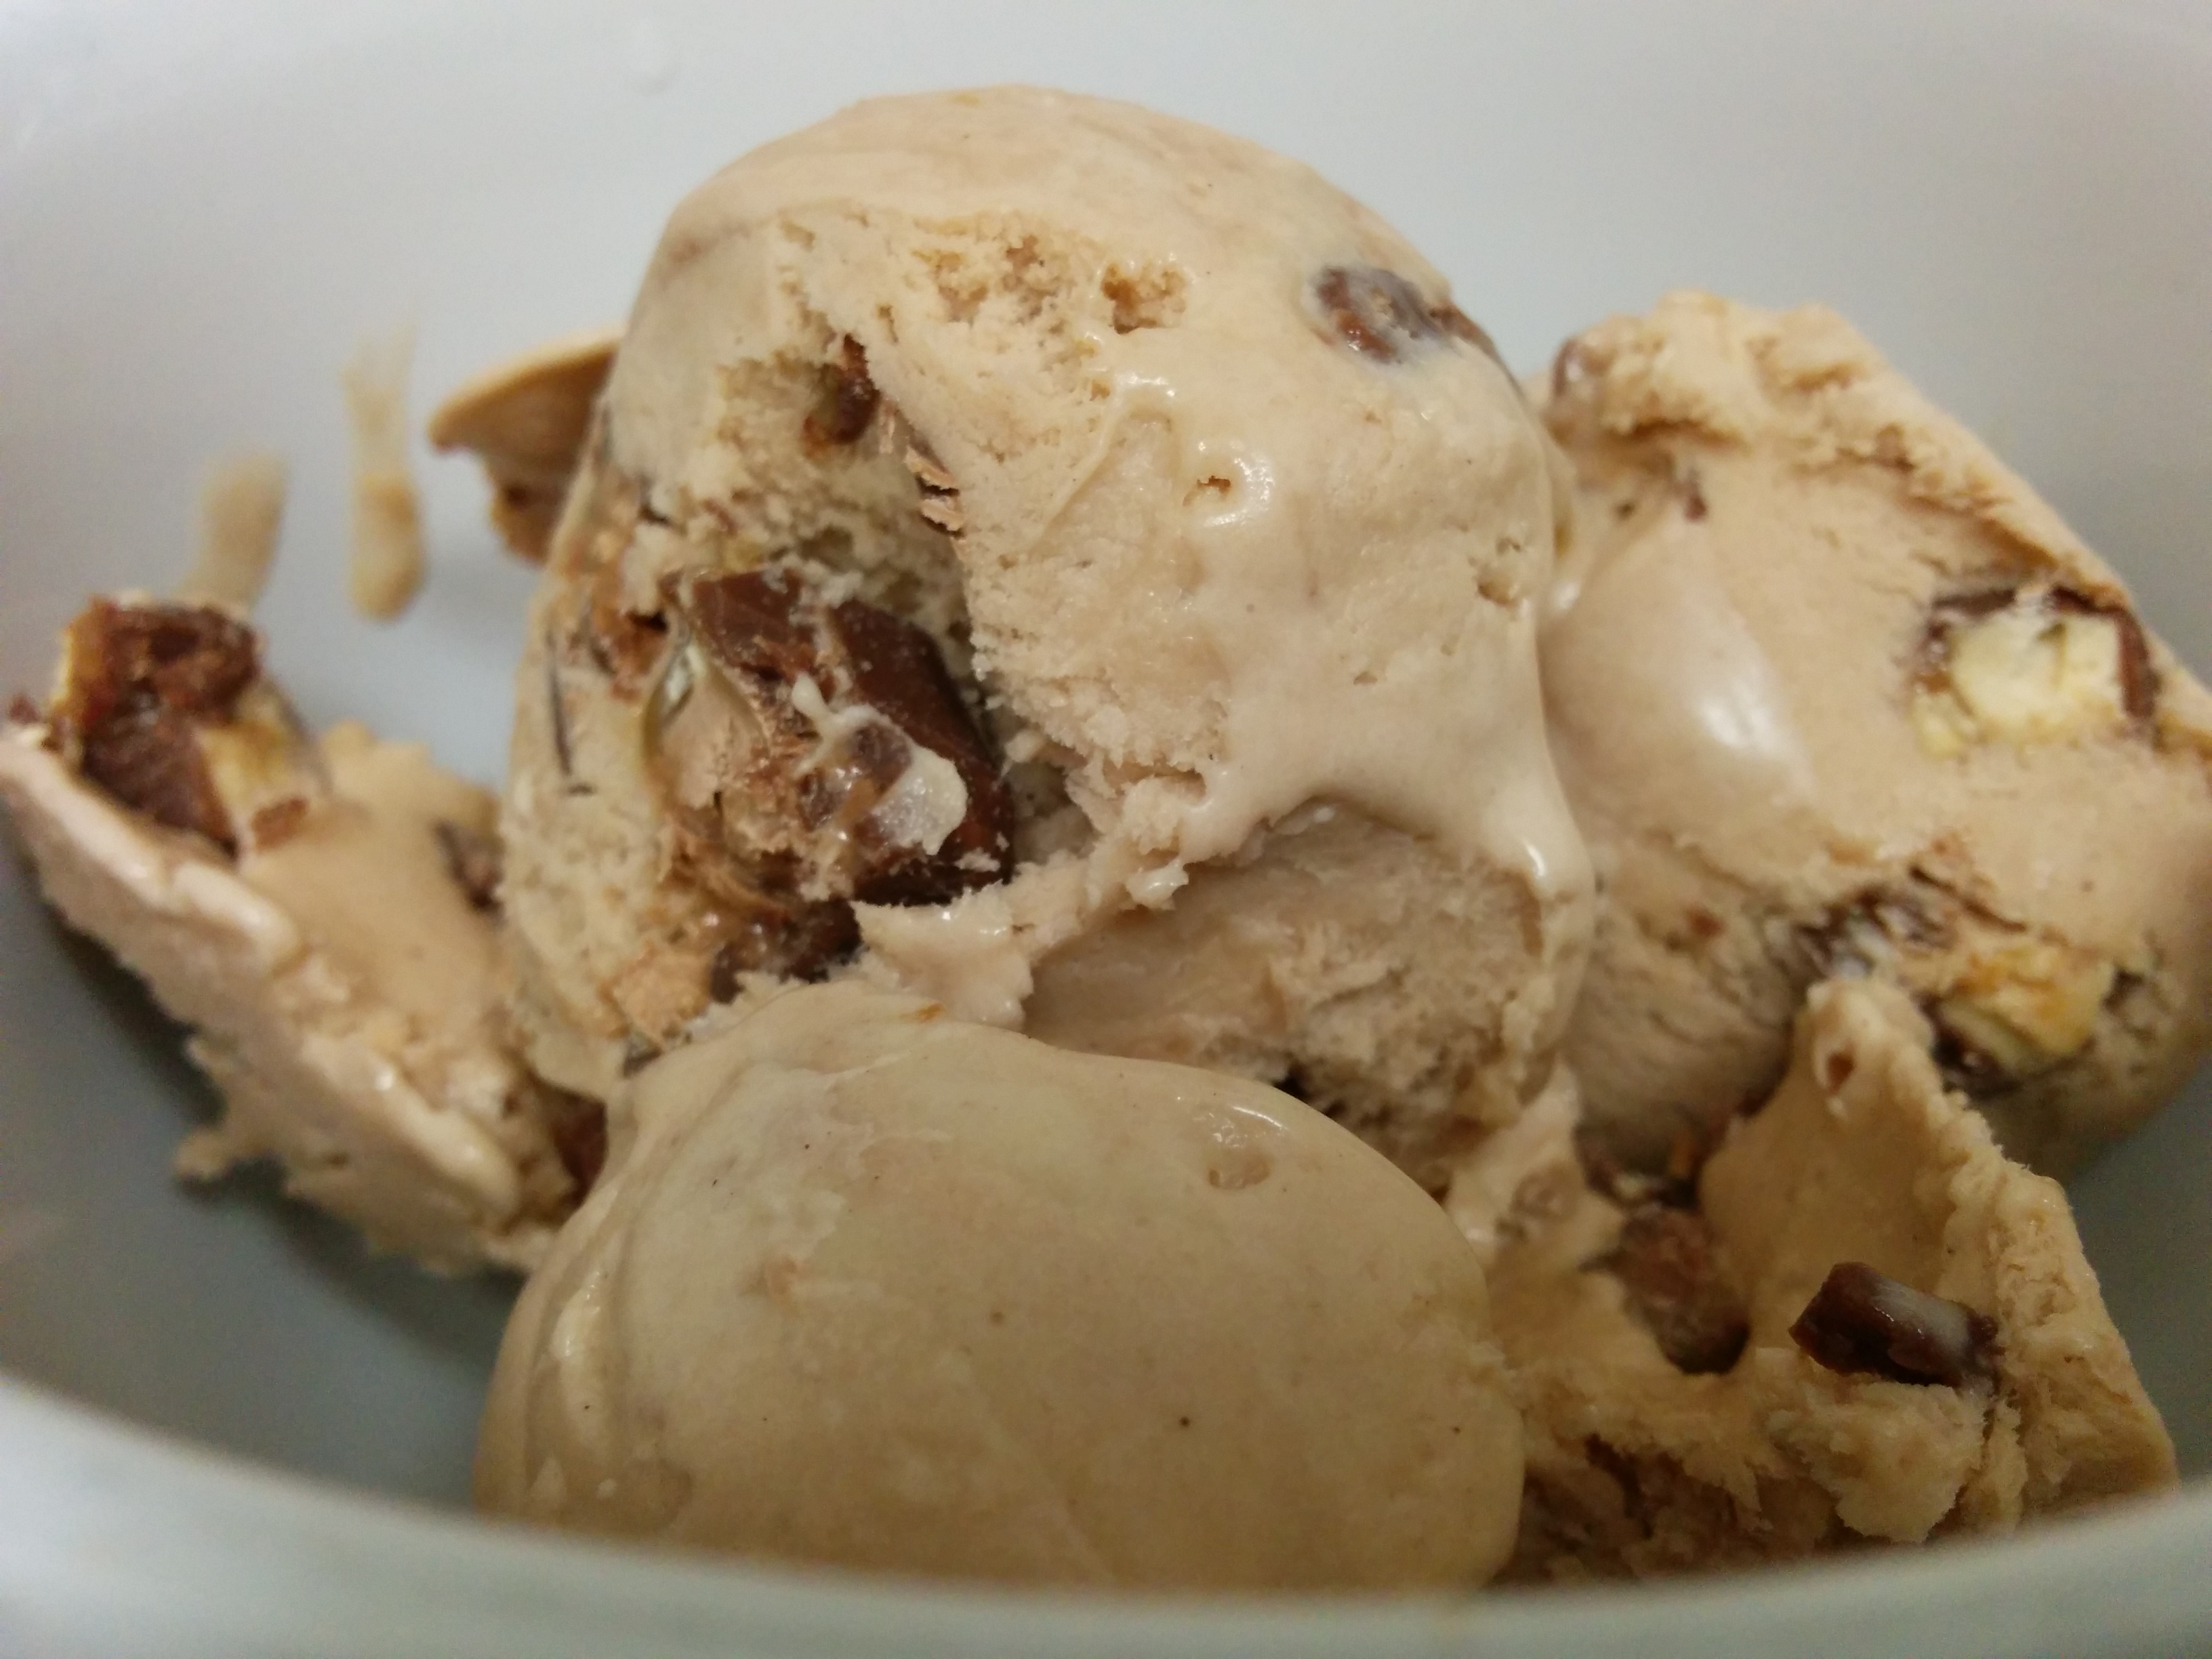 The husband loves this batch despite not being a fan of coffee (and yet still a lover of Coffee Crisps? Uh, ok.) But really, if it’s 1000% sugary and over the top, he will love it regardless of what I make. Sort of. He refuses to try my Basil ice cream, and I’m A-ok with that. All the more for me! 😀