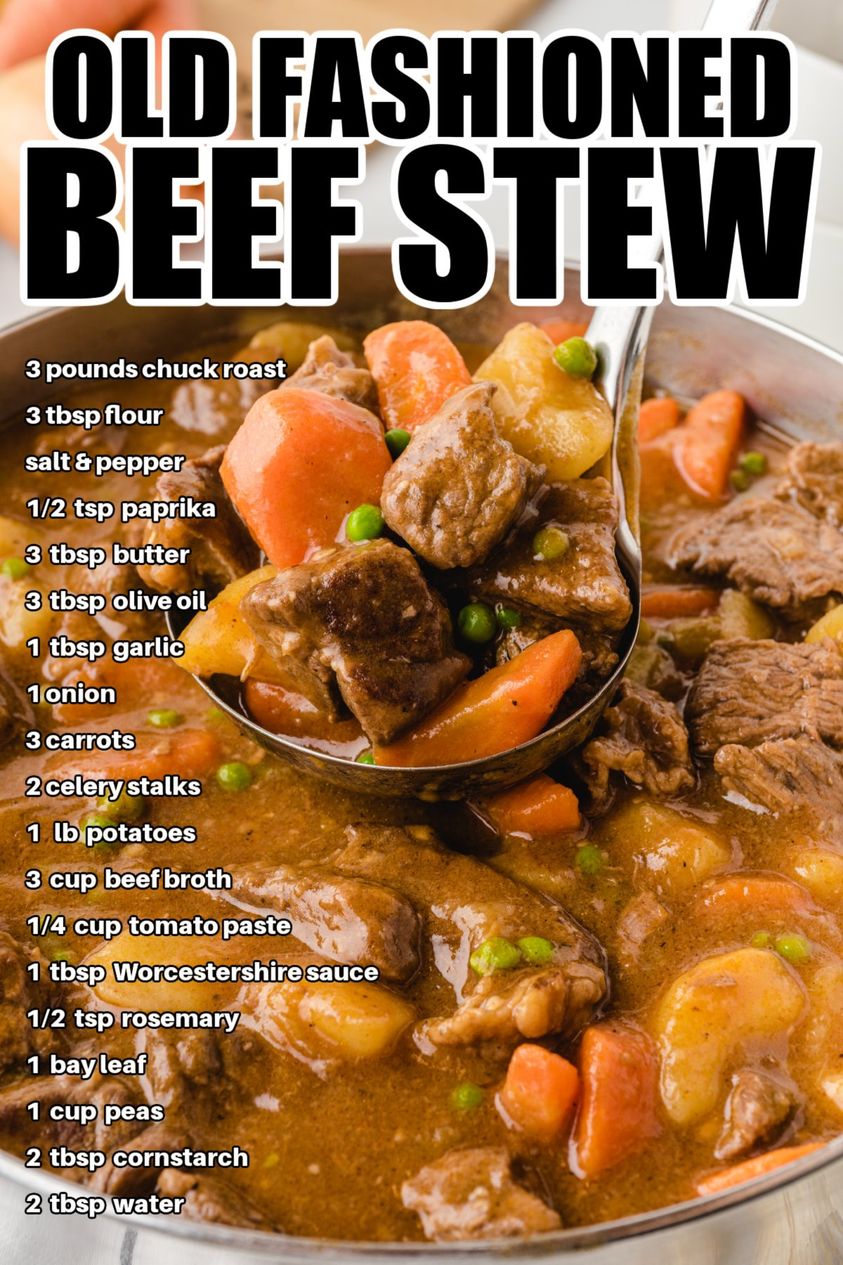
It’s getting to be that time of the year again. Oh, you know which one I’m talking about. Yup, the stewing season. I love this season so much, and yet I didn’t make a single stew last year for whatever reason (I can’t recall why right now), but I’m into it this year. Yee-haw.
Let me know what you think of this if you try it, and if you made any noticable changes that improves it. I’m always look for new ways to make old favourites.
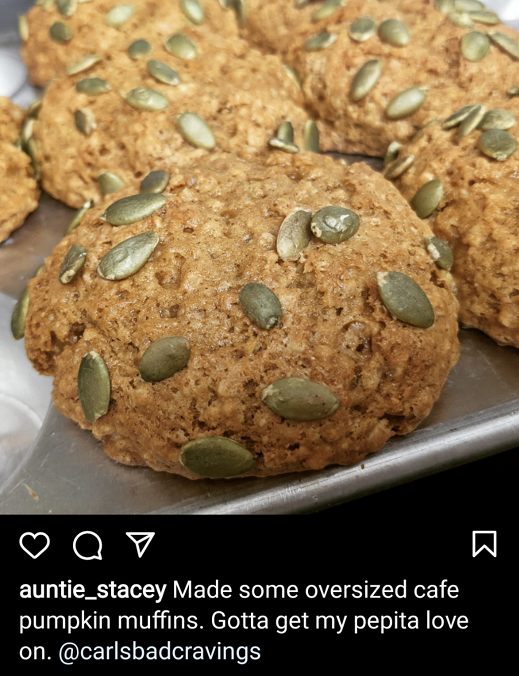
I like making café muffins with big, fat dome tops. The secret to achieve this effect is a 3-prong attack:
1. Overfill the muffin tin wells. Trust me!
2. Resist, at all costs, the urge to drop the muffin pan on the counter to burp the batter because you are conditioned to stop filling 2/3rds of the way up. Trust me!
3. Bake the muffins at 425 degrees for the first 5-8 mins, and them drop the temp to 350 degrees for the next 22-25 mins. Trust me!
Bring them out when the tops are no longer soft and gooey to the touch. Let them cool for at least 30 mins before diving in, lest you burn your mouth off. Ask my husband why I put this disclaimer in. He will tell you allllll about the singed skin in his mouth. 🙂
Easy Café Pumpkin Muffins:
1/2 Bag of Oatmeal Muffin mix (of choice, measuring at least 450 grams)
1 Egg
2 tbsp Veg Oil
1 tbsp Maple Syrup (the good kind, not the table version)
1/3 C each: Water / Pumpkin Puree
1 tea Pumpkin Spices, heaping
Pepita Seeds
Mix the batter until all the ingredients are happy with each other. Using a 4oz disher (cookie or ice cream scoop with trigger), place two portions on top of each other per muffin tin well.
Top each muffin batter with a big pinch of pepita seeds in the middle of each top (fear not, the seeds will spread out as the muffin grows in size to distribute them nicely).
Bake at 425 for the first 8 minutes, and at 350 for the next 20-22 minutes. Yield: 6-7.
I found this recipe online awhile back (can’t recall where at this point) but trust me, it’s delicious. However… This is a huge indulgence drink. If I ever make more than one of these in a summer, I’m probably going through some stuff in my personal life. LOL
I have been bringing these to work with me for a good chunk of August and September. I’m already looking forward to drinking more of it next Summer. 😀 It’s very easy to assemble and not too expensive to purchase the materials for. So, here we go:
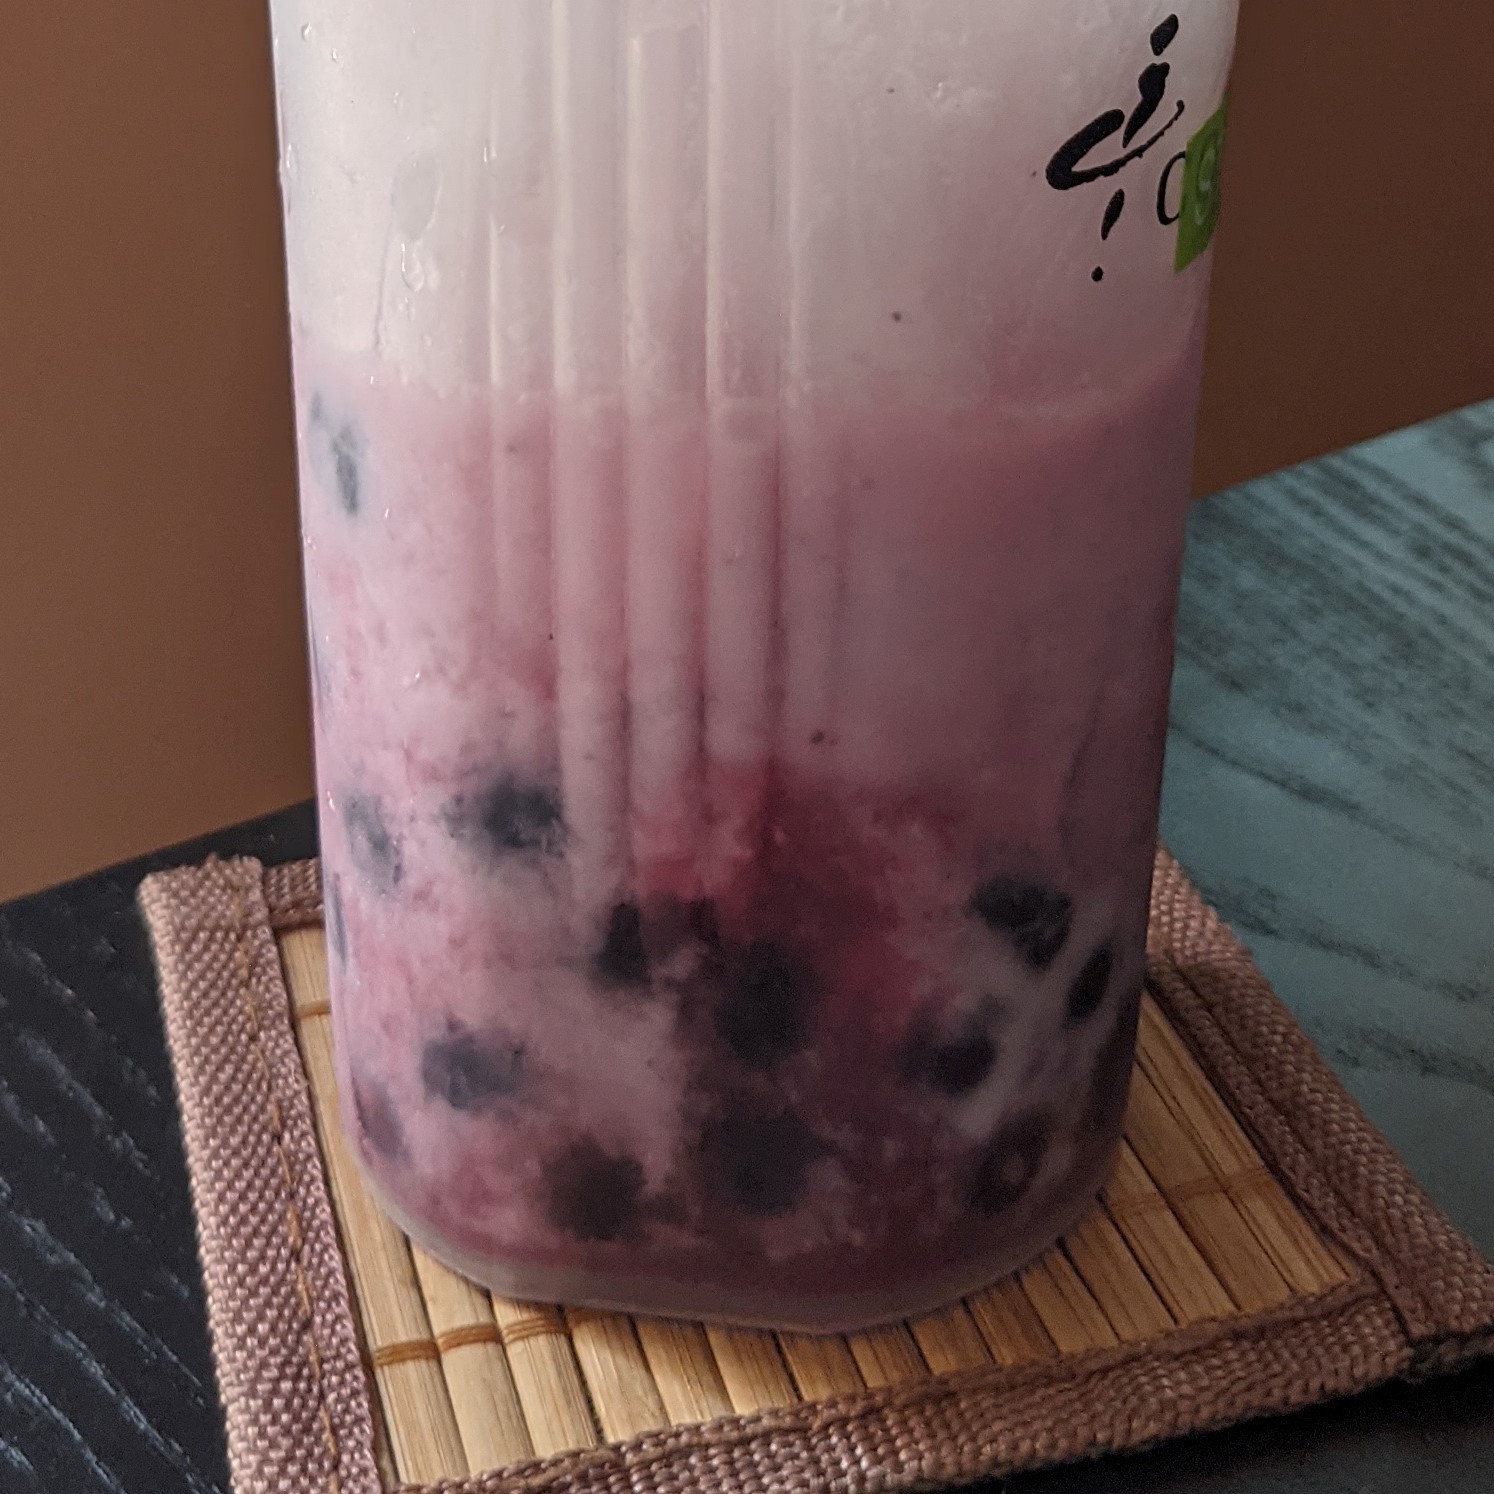
The Pink Drink:
1/2 C chilled Pineapple Juice
1 C chilled White Grape Juice
1/8 C frozen Blue Berries
3 frozen strawberries
1/4 C chilled Coconut Milk, frothed
4-6 Ice Cubes
What I love the most about this drink is, as the fruit thaws, it releases lovely fruity juices into the other ingredients. It gets better tasting the longer I have it sitting in my large travel cup. As it sits, the coconut milk will start to separate from the acidic grape juice, so give it a shake before you open the lid to take a sip.
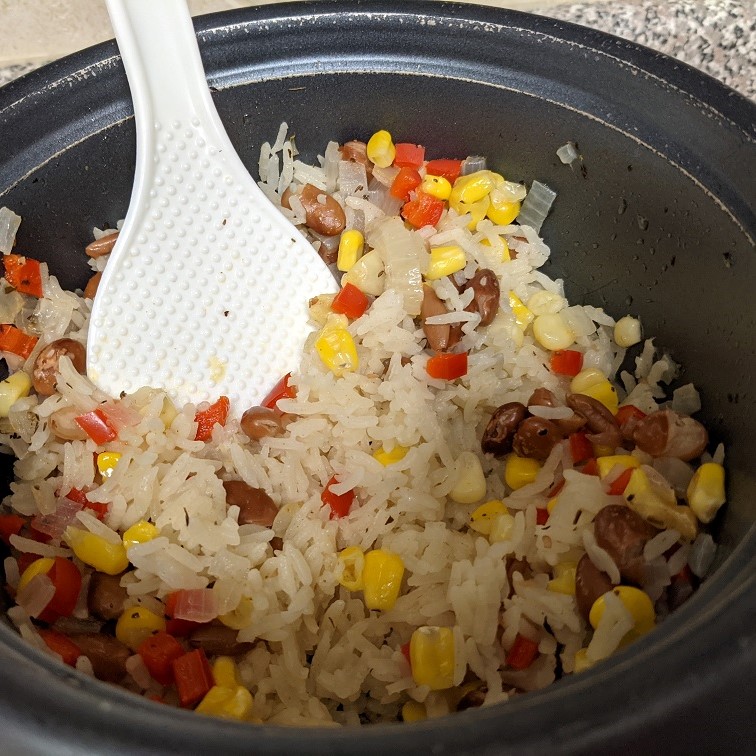
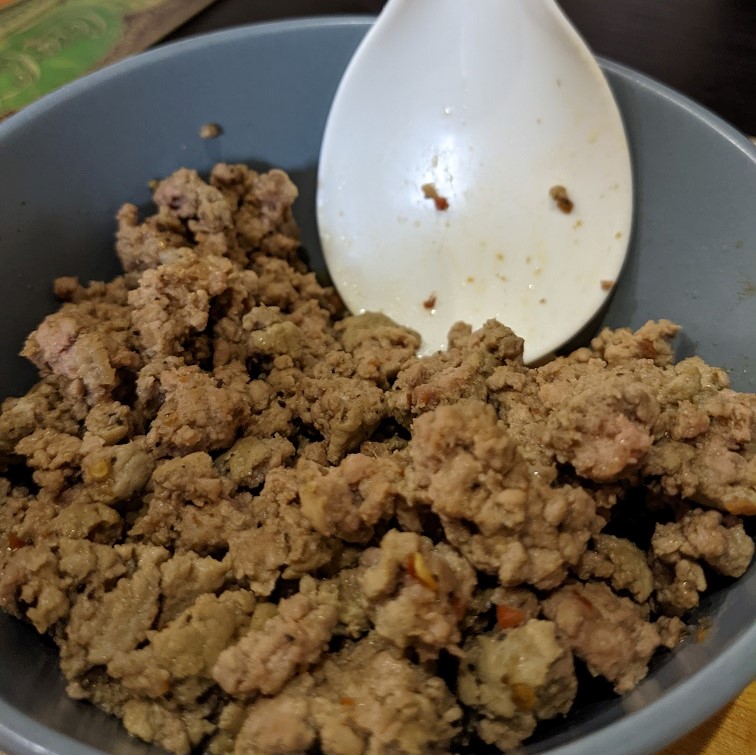
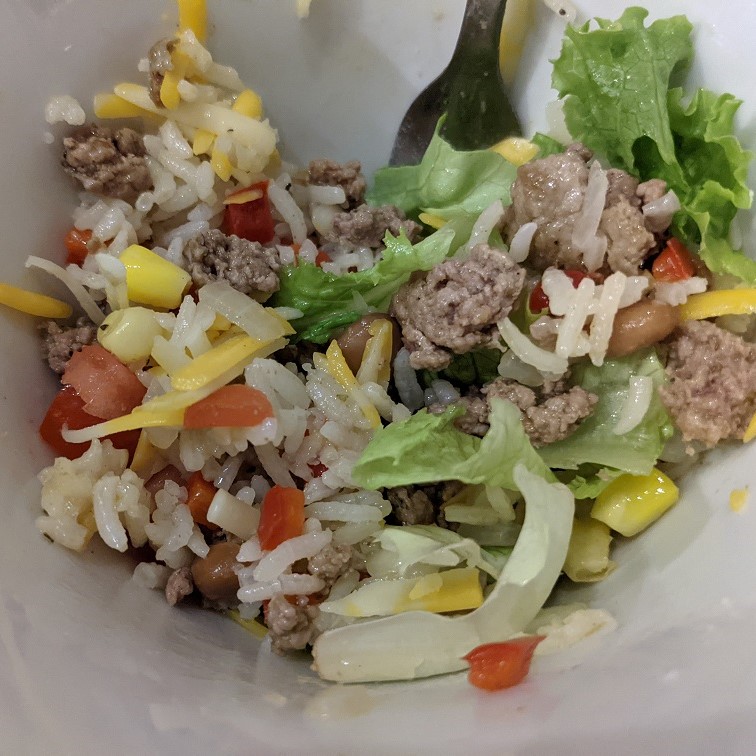
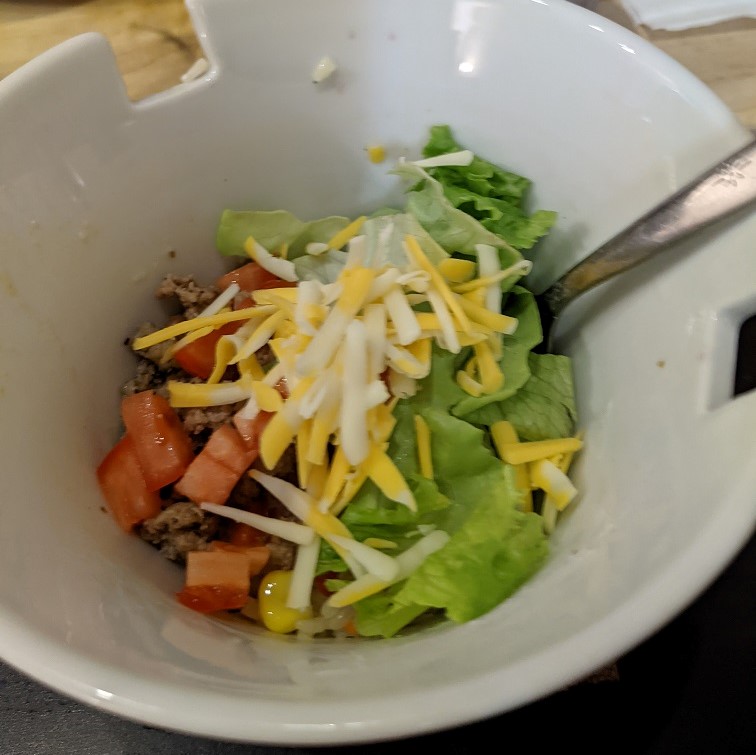
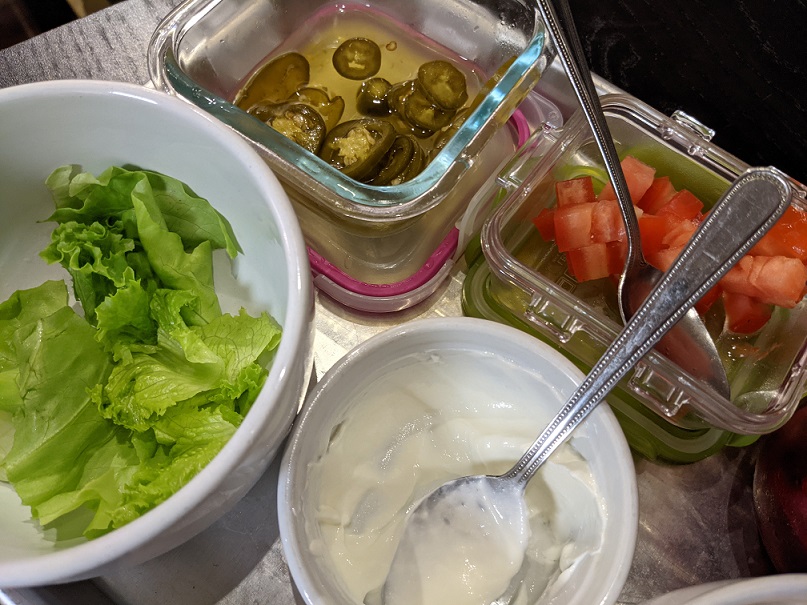
l love any recipe that cleans out my fridge. This is one I keep returning to over and over again. I know it seems like a lot of prep, but it’s fast, easy prep. Nothing too complicated or even expensive. Give it a go when you’re craving Mexican rice bowls but don’t want to leave the house or even pay $15 for one serving.
Auntie Stacey’s Mexican Spice Blend:
2 tea each: Onion Powder / Garlic Powder / Ground Cumin
1 tea ea: Black Pepper / Seasoning Salt
1/4 tea Ground Red Hot Chili Pepper Flakes
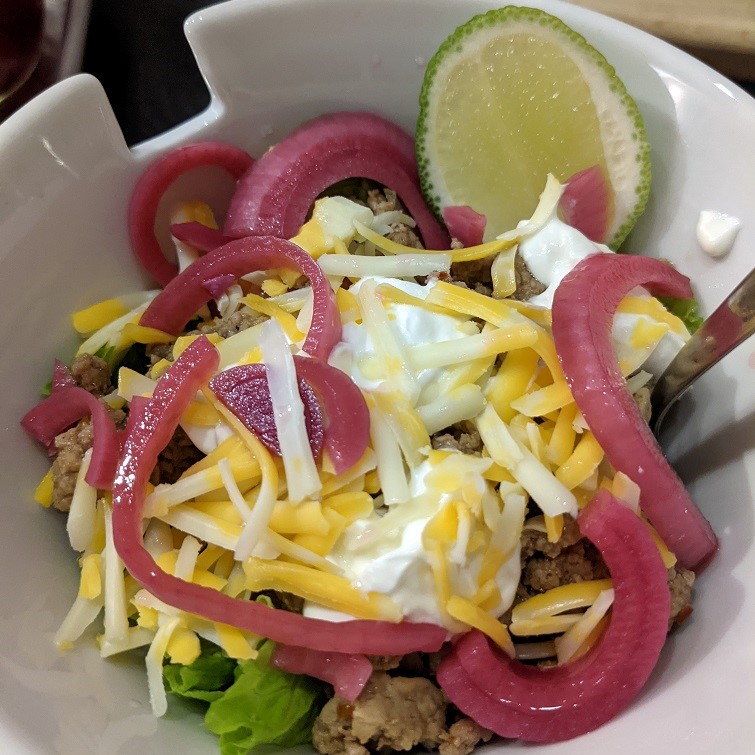
Auntie Stacey’s Mexican Rice Bowl:
1 cup Jasmine Rice, rinsed twice + 1 1/2 cup water
Pinch Salt
2 tea Mexican Spice Blend
1″ x 2″ knob of Unsalted Butter, cubed
1/4 cup Red Pepper, diced
3 fistfuls Frozen Corn
1/3 cup Pinto Beans, canned/rinsed
Topping Selections:
1/2 Roma Tomato, diced
1/3 cup Marble Cheese, grated
1/4 cup Sour Cream
1/2 cup Leaf Green, 1″ x1″ torn pieces
Pickled Jalapeno Rings (optional)
Pickled Red Onion Slices (optional)
Salsa of choice (optional)
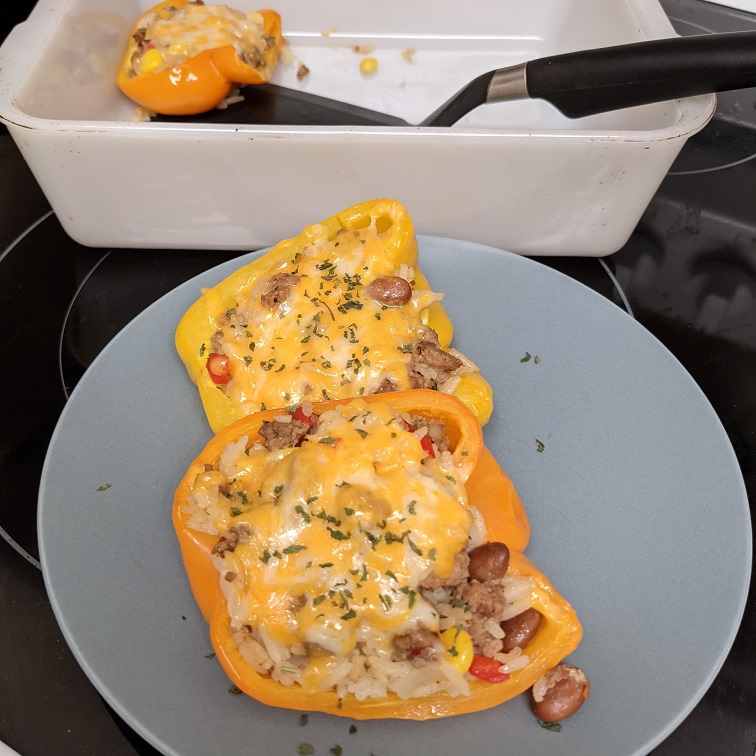
And if you have any leftover ingredients like the cheese, the meat and the rice blend, mix them together and stuff them into some steamed bell pepper halves. Top with a bit more cheese grate if you have it.
Blue Drink: 1/2 Frozen Blueberries 1 tbsp Maple Syrup** (or any other sweetener/sugar) 1C Ice 1/2C White Grape Juice Splash of Coconut (or regular) Milk
I like to hard shake the ice over the blueberries in the cup before adding the liquids to help quasi muddle them as they start to thaw. It brings out the great blueberry colour.
** Use real maple syrup, not that table pancake crap.
I have a second drink that’s a riff of this Blue Drink called the violet drink.
Violet Drink: 1/2 Blackberries 1 tbsp Maple Syrup** (or any other sweetener/sugar) 1C Ice 1/2 Passion Tea (or any exotic fruit juice) 1/4C Coconut (or regular) milk
Same thing with muddling the berries with the ice in your large cup, giving it a hard shake or three so the ice really breaks the berries up to release its flavour and colour before adding the other liquids.
** Use real maple syrup, not that table pancake crap.
We wanted to do a full main floor reno where we ripped down the two kitchen walls, redid the flooring, changed the paint colour, and installed a new ceiling with pot lights after some structural work we wanted done (even though a few contractors said wasn’t necessary).
In the end the quotes we got were too high, so we decided to do the flooring and painting ourselves. This is how it’s going.
What the old flooring and wall colour looked like.
Ripped the eff up!
What the new colour scheme will be in the end.
The new flooring mock up with the nosing for the stair edges.
So, the floors are ripped up in the foyer, around the basement stairs, the living room and the dining room. The last part of that puzzle is the kitchen since we’re redoing that floor space as well. There are a few things to address there: where to store the fridge and stove while we do the kitchen flooring and how do we move them without ruining any of the new flooring in the process.
I’m a bit nervous just thinking about that part. Eek.
I have all of the main painting done. I have to paint all the floor and window trim boards, and then we can put the paint and rollers back in the garage where they belong and start playing the tile puzzle game with our furniture and belongings from corner to corner until the new flooring is all installed. Someone other than me wants this project done by the end of this long weekend. Wish us luck!
I don’t make a lot of burgers by hand at home. When we do burgers, it’s typically store bought pre-formed and frozen for convenience only. The husband takes them to work fully cooked on the smoke bbq and cooled down, with a slice of cheese and anything else he wants to add to it on the fly.
I was cleaning out the two freezers last night (the one attached to the fridge, and our cube stand up mini freezer) and found some portioned ground pork in ziplock bags. I pulled them out thinking I can use it for a dinner this week. Not specifically anything like burgers, but sometimes I like to form them into a meatloaf or meatballs before even thinking about burgers.
Tonight I made burgers for a change of pace. And now my husband is demanding to be kept in the style to which he quickly became accustomed to (as of tonight). *sigh* Ok, fine. Here is what I made him:
Creole Burgers: 14 oz Ground Pork 3 tea Creole Dry Rub I Egg 3/4 C Breadcrumbs (of your choice, though I used Italian flavoured) 1/4 C Parmesan Cheese, grated up
Don’t overwork the meat mixture as you combine everything. I measured out meat for three patties at 4.6/4.7/4.7 oz each. Each was hefty and fantastic. It was a tasty burger on its own that could forgo a bun if need be. But, of course we topped it with sauces, veg and lettuce from our herb garden.
I was spoiled Beyond when this truck showed up at my workplace.
I was, I suppose, trying to give that Beyond Meat burger I had earlier this week a run for its money. I think this burger is just as tasty as the meatless one. Similar flavour palette, same texture, same satisfying feeling in our tummies.
Try this burger recipe and tell me what you think.