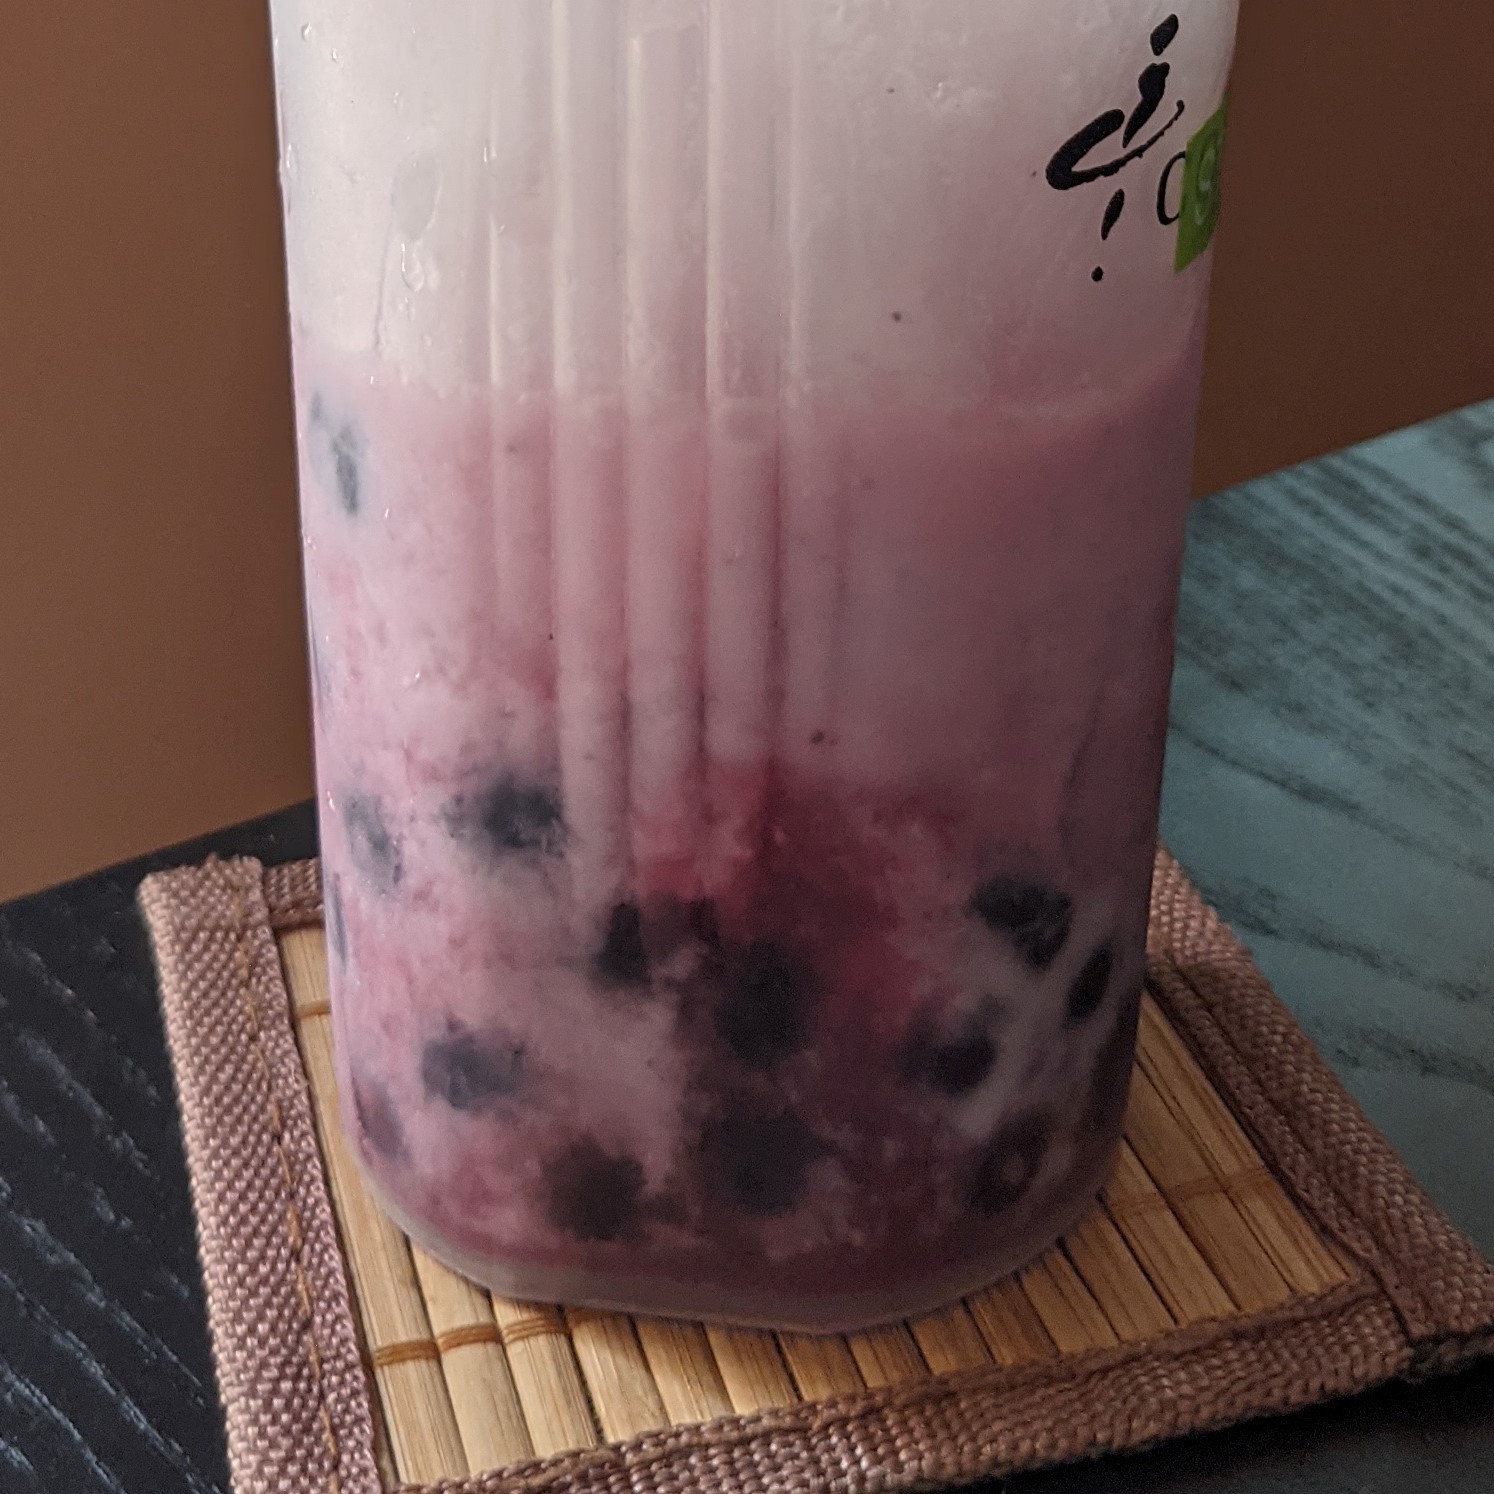
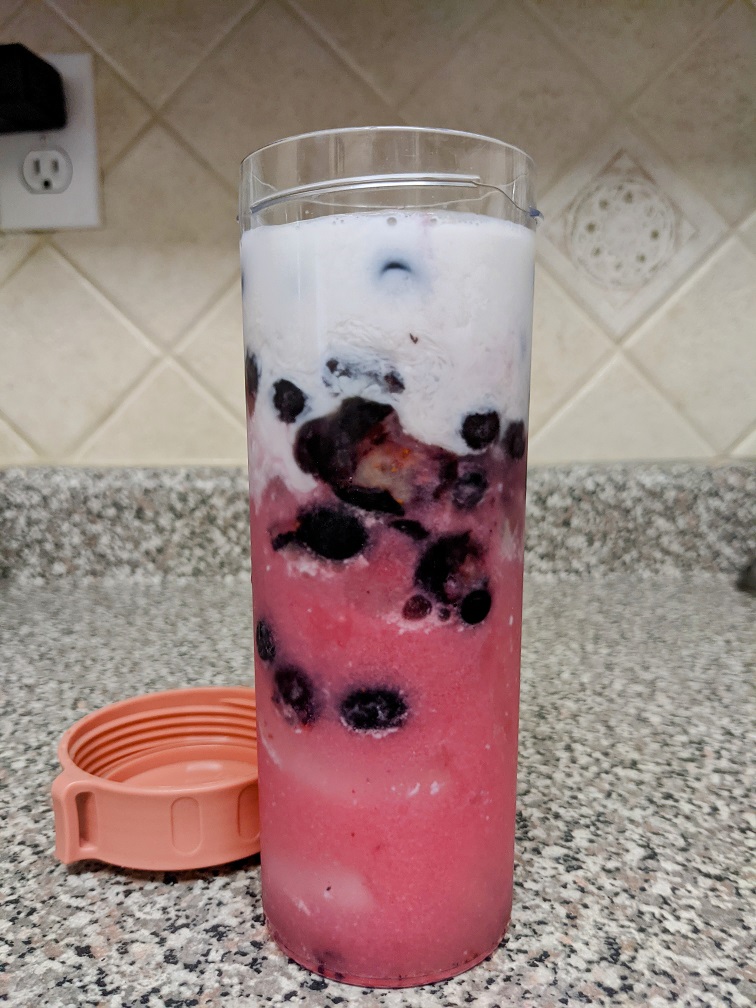
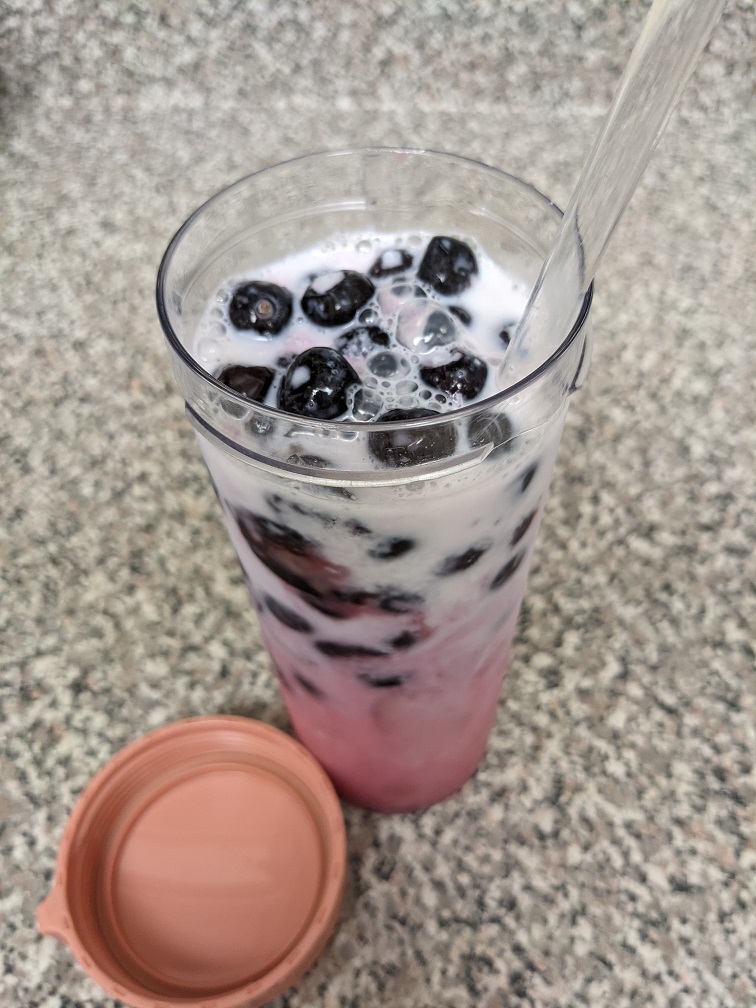
Strawberry Milk Drink

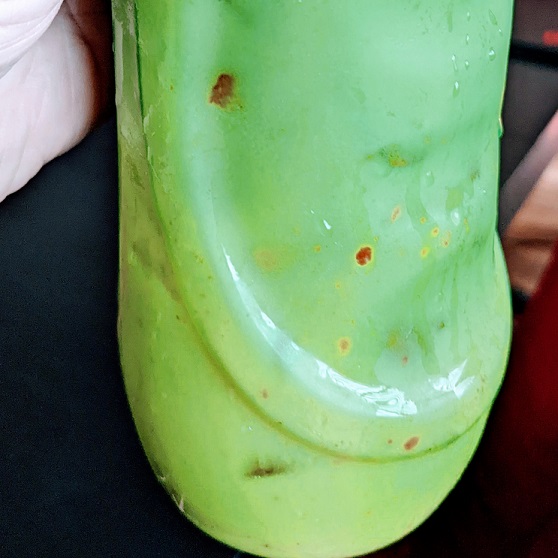
This is my take on the new Starbuck’s Strawberry drink that’s going to be hot this summer.

Strawberry Milk Drink:
1/2 C Milk, frothed

4 Ice Cubes
1/4 C Milk
1/4 C Strawberries, frozen
1/4 Strawberry Jam

6 Ice Cubes
1/2 C Cold Water

Start by fluffing up a 1/4 C of milk in a tall mug with a frothing wand. Set aside.

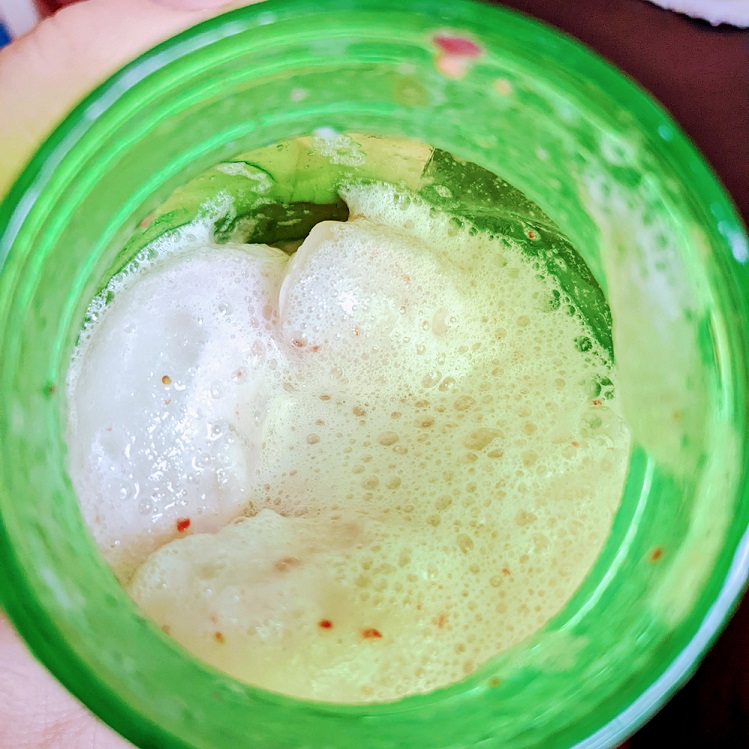
Into a blender, place the 4 ice cubes, 1/4 C milk, frozen strawberries and the jam. Blend that up quickly and pour it into a tall glass or drink jar with a lid and straw.

Top that blend with the 6 ice cubes and the 1/2 C water. Top with the frothed milk.

Enjoy!

DIY Oat Milk

If you ask me, oat milk is the way to go with cold blender drinks. (I’m not a fan of it in hot coffee or hot chocolate – yuck!) I use a little bit in all of my smoothies if I have it on hand.

So, if you want to learn how to make your own, have a spare five minutes, have a high-speed blender, or have some oats about to go off, why not make your own oat milk to save yourself a lot of money?

DIY Oat Milk:
1 C Old Fashion Oats (fully unprocessed or milled oat flakes)
4 C Cold Water
1/8 or less Salt (as a preservative)
Tight Meshed Strainer
Bowl (to strain into)
Container (to chill your milk in)

That’s it, that’s all.

TIP: If you blend longer than 20 seconds, the oats gum up the milk liquid, making it harder to strain it all out.

Blend the three ingredients for 20 seconds (tops!). Time it with your phone app if you need to. Pour into strainer over a bowl. Push the oat mush around to allow the liquid milk to strain into the bowl with a spoon. When the mush has released everything it’s going to release, dump it into your recycle bin. I’m sure someone has a use for that ball of mush so nothing goes to waste, but I don’t. *shrugs*

What’s left in the bowl is your oat milk. At this point, pour it into a lidded container vessel so you can keep it in the fridge up to one week (or a bit more). You will notice when you pull it out for use the water and oat liquid has separated. Don’t worry. Shake it up and use it would as you’d use any other milk.

Enjoy!

Pink Drink

I have been bringing these to work with me for a good chunk of August and September. I’m already looking forward to drinking more of it next Summer. 😀 It’s very easy to assemble and not too expensive to purchase the materials for. So, here we go:

The Pink Drink:
1/2 C chilled Pineapple Juice
1 C chilled White Grape Juice
1/8 C frozen Blue Berries
3 frozen strawberries
1/4 C chilled Coconut Milk, frothed
4-6 Ice Cubes

What I love the most about this drink is, as the fruit thaws, it releases lovely fruity juices into the other ingredients. It gets better tasting the longer I have it sitting in my large travel cup. As it sits, the coconut milk will start to separate from the acidic grape juice, so give it a shake before you open the lid to take a sip.

The Blue Drink (Starfakes)

This one is a delicious alt to iced coffee.

Blue Drink:
1/2 Frozen Blueberries
1 tbsp Maple Syrup** (or any other sweetener/sugar)
1C Ice
1/2C White Grape Juice
Splash of Coconut (or regular) Milk

I like to hard shake the ice over the blueberries in the cup before adding the liquids to help quasi muddle them as they start to thaw. It brings out the great blueberry colour.

** Use real maple syrup, not that table pancake crap.

I have a second drink that’s a riff of this Blue Drink called the violet drink.

Violet Drink:
1/2 Blackberries
1 tbsp Maple Syrup** (or any other sweetener/sugar)
1C Ice
1/2 Passion Tea (or any exotic fruit juice)
1/4C Coconut (or regular) milk

Same thing with muddling the berries with the ice in your large cup, giving it a hard shake or three so the ice really breaks the berries up to release its flavour and colour before adding the other liquids.

** Use real maple syrup, not that table pancake crap.

Fall / Winter Drink Mixes

Summer gave way to Autumn last week, but this week I ran out of my expensive coffee that I only buy on sale, so for now I made a small batch of cappuccino “coffee” drink mix. It’s nothing more than a jar of dry ingredients that have been well whisked together for almost a full minute (for full incorporation and to break up all of the clumps).

Cappuccino Dry Mix:
1 cup Hot Chocolate powder
1 cup Non-Dairy Creamer powder (optional)
2/3 cup Instant Coffee powder
1/2 cup Sugar (or sweetener of choice)
1/2 teaspoon Ground Cinnamon
1/2 teaspoon Ground Nutmeg

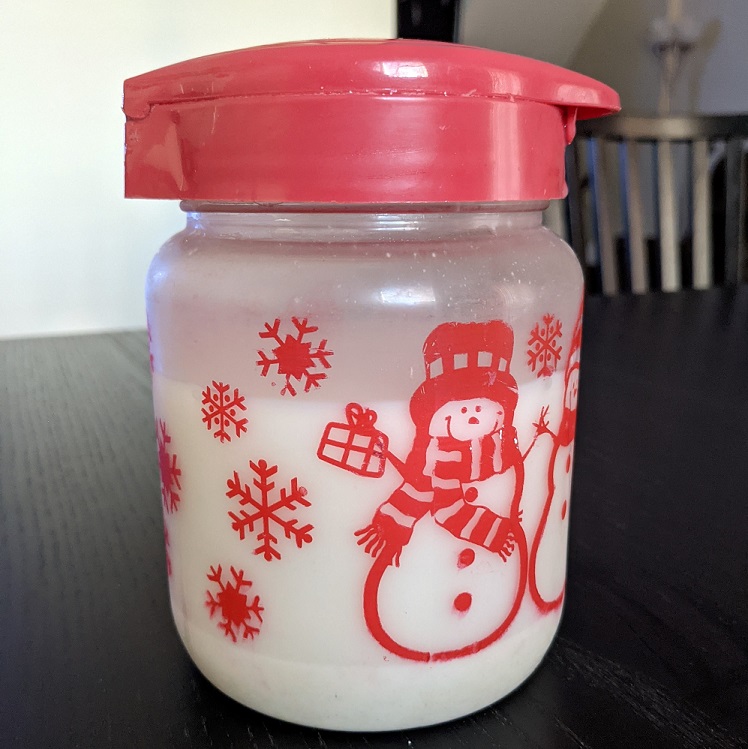
I find the cost of the non-dairy product too high to pay in these parts, so I leave it out. I do add milk at some point to cream it up, but in liquid form. I store this in a 500 mL mason jar with a tight fitting lid.

Formula: 3 Tablespoons of mix per mug + 1/4 cup (not a precise measure each time) + 1 cup boiling water.

Instructions: As the water is heating up to a boil, run the mug under hot tap water for a few mins. Turn the water off and let what’s in the mug sit until the boiling water is ready. When the water hits boil, empty the mug into the sink and dump in 3 tbsp of the mix. Add your milk at this point and stir to make a somewhat slurry that allows the powders to start to blend into the liquid. At this point, add about 1/4 cup of the boiling water to the mug and stir vigorously until all of the clumps melt into the hot liquid. Add the rest of the boiling water. Stir a bit more and taste. If you need more creaminess, add a bit more milk.

Bonus mix recipe!

The other mix I like in the colder months when I’m bored of coffee or all out is my Mocha Mix. It’s pretty much the same as the above cappuccino mix without the warm spices and the addition of vanilla. Oh, and it’s the only one I have so far converted to metric for kitchen scales. I know, I know. I’m slower than a dinosaur. 🙂

Mocha Dry Mix:
30g Instant Coffee
50g Cocoa Powder
100g Sugar (of choice)
110g Milk Powder (optional)
1 teaspoon Vanilla Extract

Again, like in the above mix recipe, the milk powder can be left out in favour of your fave liquid milk product. Same deal as above for whisking the mix together. I like to put mine in a 500 mL mason jar with a tight lid.

Formula: 2 Tablespoons of mix + 1/4 cup milk + 1 cup boiling water.

Instructions: Exactly as above for the cappuccino mix to set the drink up in a warmed up mug.

Eggnog Talk

Eggnog is so controversial. Like cilantro, I find people either love it or they hate it. Unlike cilantro, I don’t believe there is any science to back up why that would be. My husband hates cilantro – it’s tastes like sand or dish soap in his mouth. Science backs up the theory that we are all predisposed to either like or dislike cilantro; no grey area in between. And that’s coded into our DNA. Fact.

But, when I bring up eggnog, I get a lot of the same reactions: “EWW!”, or, “Gross. I can’t deal with the raw egg situation.” Ok, clearly some of you have issues. (snort)

For the rest of us who are onboard with this custard concoction, have you ever tried making it at home? No? Why not?? Sure, it’s got a shorter shelf life than commercially produced batches, but find me one eggnog fan who won’t blow through a slim 1L carton in less than 48 hours. Go ahead. I’m wait.

This Chowhound Eggnog recipe produces roughly the same 1L volume. I love that I can potentially make a batch of this eggnog the night before and wake up to a bit of it in my morning coffee in less than 12 hours later.

(EGGNOG ALL YEAR LONG, KIDS.)

Give it a go.

Fall Drinks – Chai

chai

{ Image courtesy of Google Images }

It’s getting chillier here these days. Especially after the sun drops. It’s still fine to walk around without a coat on for the most part, but some nights you just can’t tell and often I end up wishing I had brought my Spring jacket along just in case.

On those nights, I long for a lovely cup of hot chai, but I can’t seem to find a decent commercially packaged version, so I’ve taken to making my own when I’m at home. That doesn’t help me when I’m at work, but luckily I have discovered Tim Horton’s has a fantastic new Pumpkin Spice tea out as of the middle of September. If you can get your hands on it, it’s worth the $1.25 you’ll spend.

Back to my home chai making efforts. I’ve been playing around with the ingredients to find a balance between authentic taste and what I have onhand. I’m not about to buy a whole bunch of ingredients if I don’t have to just because I can’t find stuff I know I have in the pantry but got misplaced and I haven’t located it yet. Also, conventional stores really jack up the prices of Indian spices around this time of the year, so I looked around and discovered alternatives that I think work just as well based on what I found in my kitchen. 
{ahem}

Check out what I have come up with, and if you have the same ingredients at home, try it for yourself and let me know what you think (please and thank you).

Auntie Stacey’s Chai:
3-4 Earl Grey tea bags (strings and tags removed, of course)
2 1/2 C cold water
1/4 Tsp Star of Anise extract (less is more with this extract)
1/2 – 1 Tsp Cardamom spice (I get mine at the local Indian store; it’s the best price there)
1 Cinnamon stick (or 1/4 Tsp ground cinnamon powder, not cinnamon sugar)
2 C Milk
2 Tsp Powder Sugar (it dissolves faster and smoother than white sugar)

1. Heat up the cold water in a sauce pot while you assemble your spices.
2. Drop the tea bags and spices into the pot, and bring them to a boil. Let that roll for about 5 mins to ensure the tea steeps well. This is meant to be a black tea based drink after all.
3. Turn off the stove, and remove the cinnamon stick and tea bags. Drop the sugar and milk in and stir well till it all comes together. Let the chai rest for a few minutes off the burner. The chai will be very hot at this point, but if you like your tea steaming hot, there is no need to rest it. Ladle it into mugs and drink immediately.