Jammy Oatmeal Bars

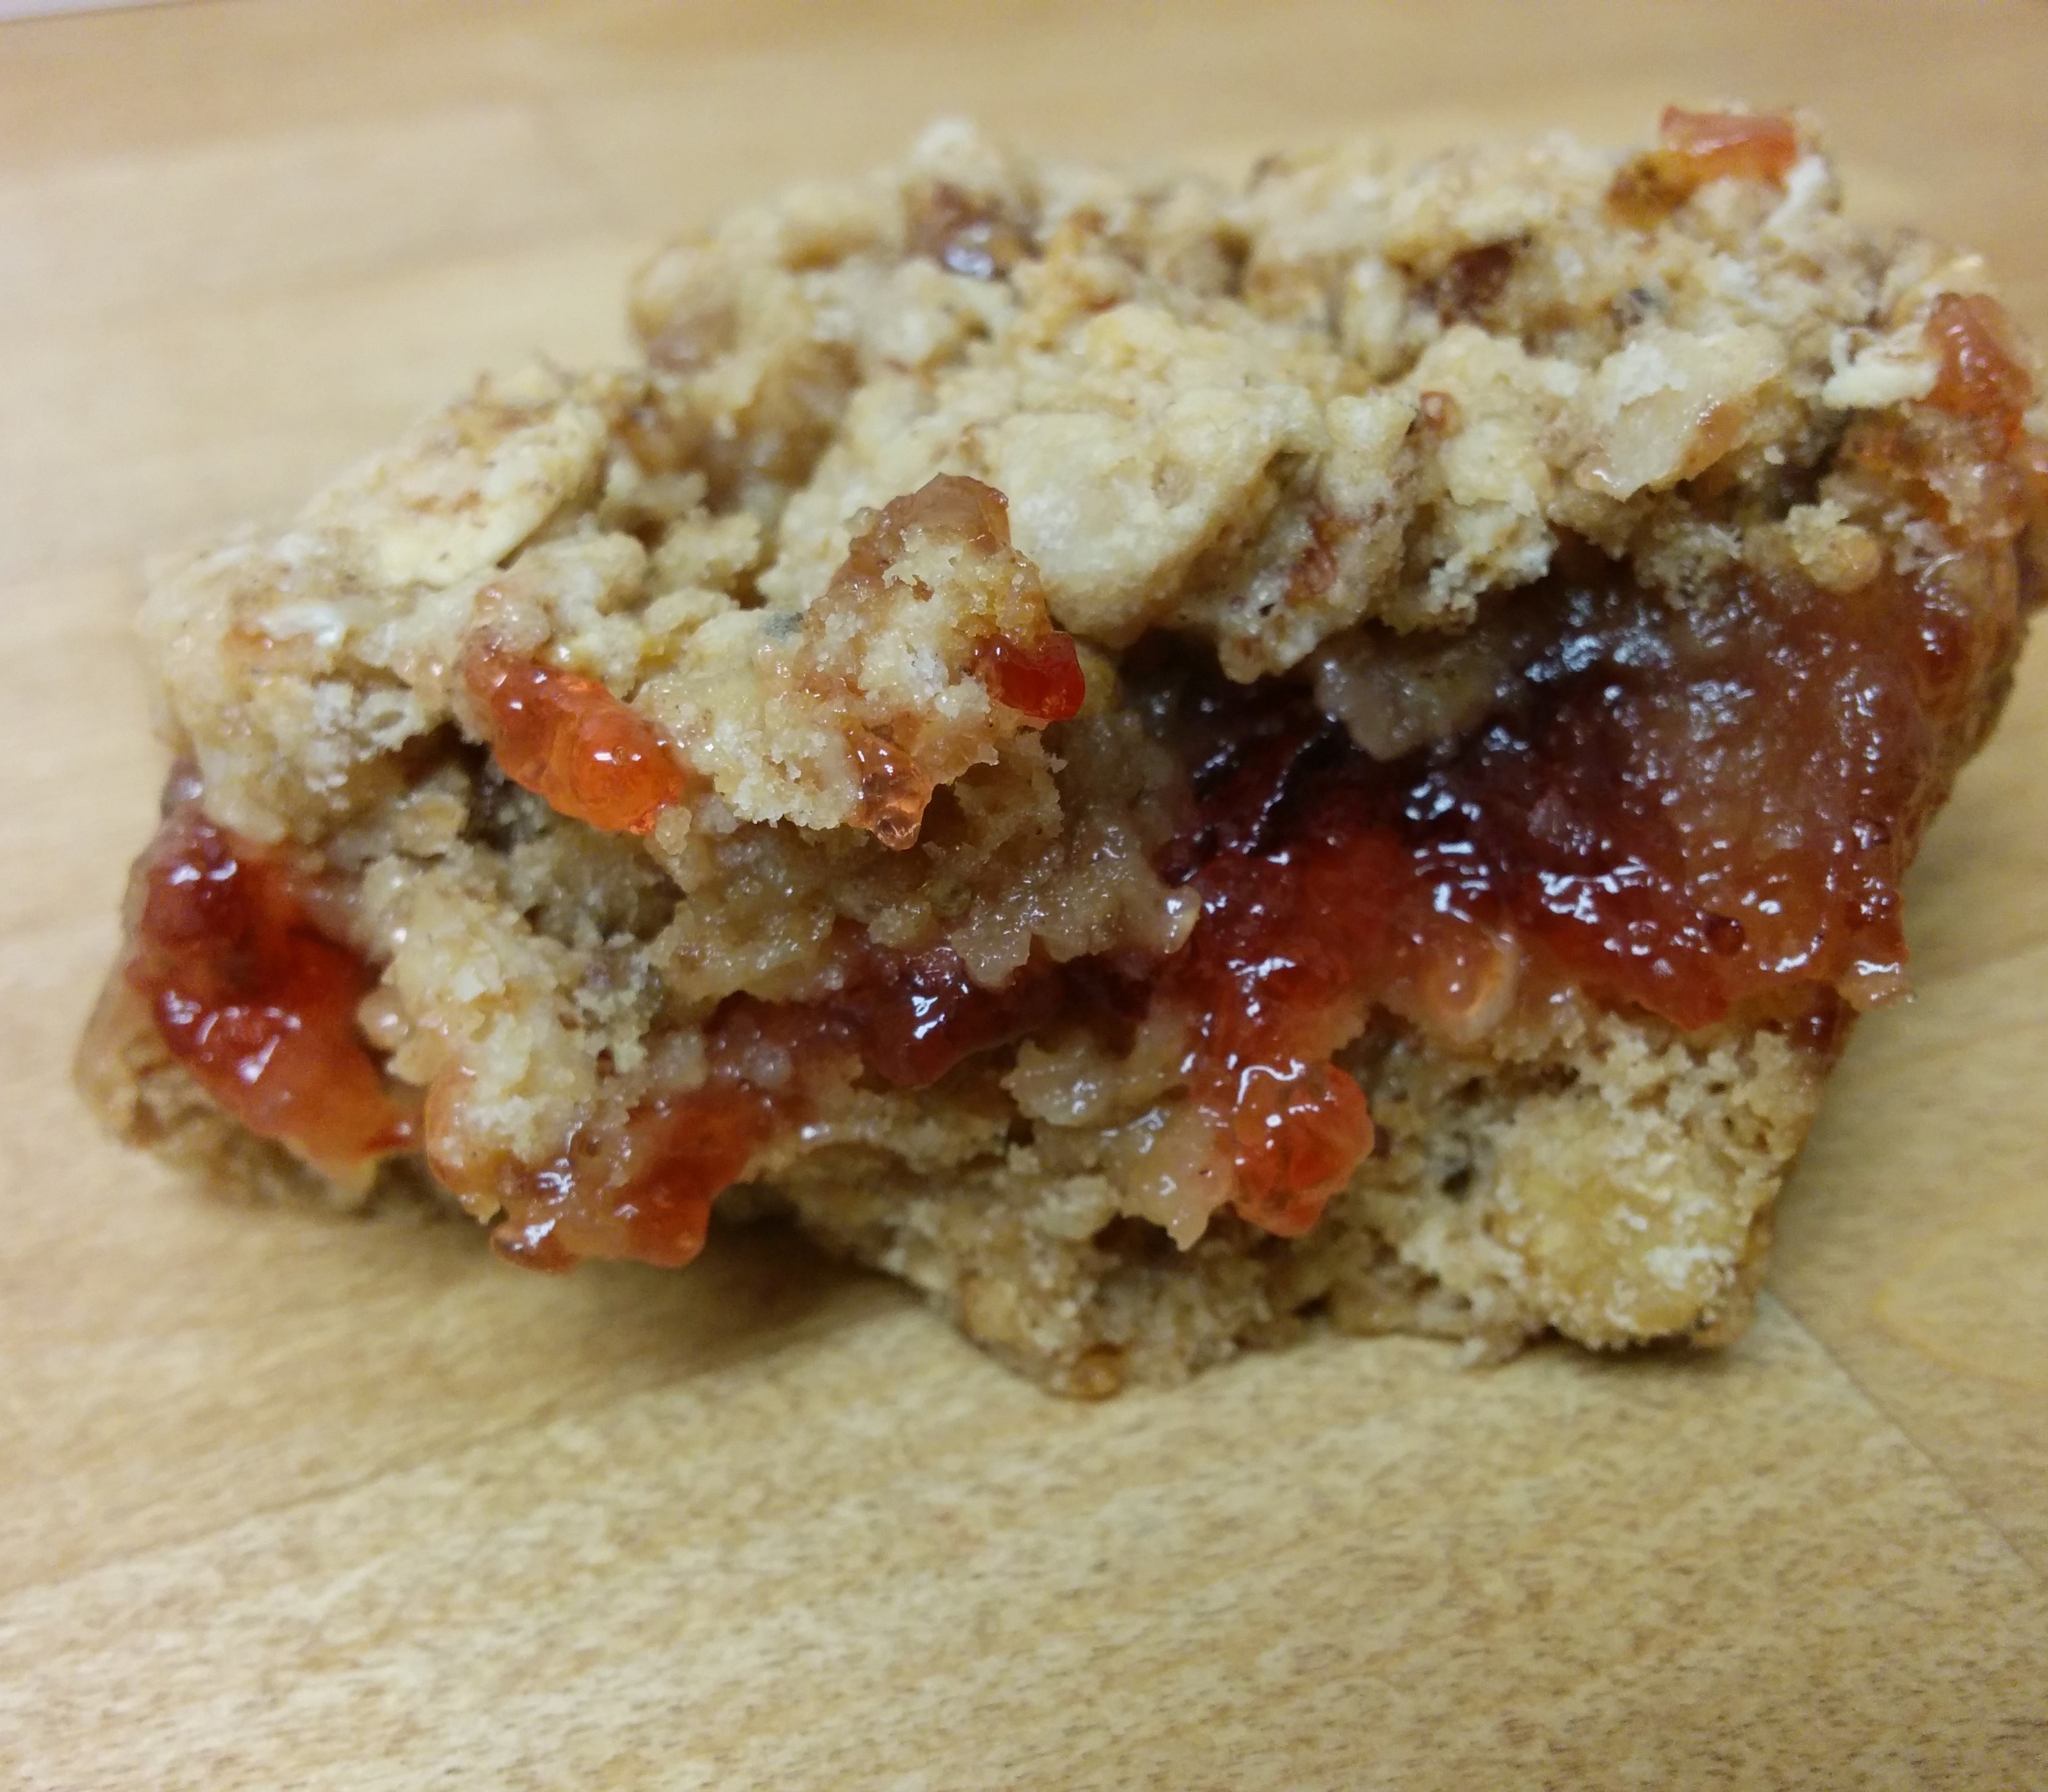
This is a riff on a recipe I used to have to make at work when I worked in a college cafeteria. It’s a lovely bar, and it’s extremely versatile. It makes a great lunch snack for kids.

The original bar was called Cranberry Overload because it calls for making a cranberry jam filling. I do that version sometimes, but I tend to leave the cranberry jam version for Christmas and stick to seasonal jam fillings throughout the year. I will often use jammed jar when pressed for time, just like I’m doing here right now with this post.

You will need the following three main ingredients to pull this bar together:
450g Oatmeal Muffin Mix
200g Oatmeal Granola Cereal (with nuts is a great option if you don’t have an allergy)
200 g Jam (any kind will do)

120g Water

Measure out the muffin mix and top it with measured out cereal. Mix them together in a medium size mixing bowl, and dump in 126g of water. Mix with a gloved hand or with a spatula until all of the dry ingredients are wet and a ball forms. Split the ball in half, and then half again. in the bowl.

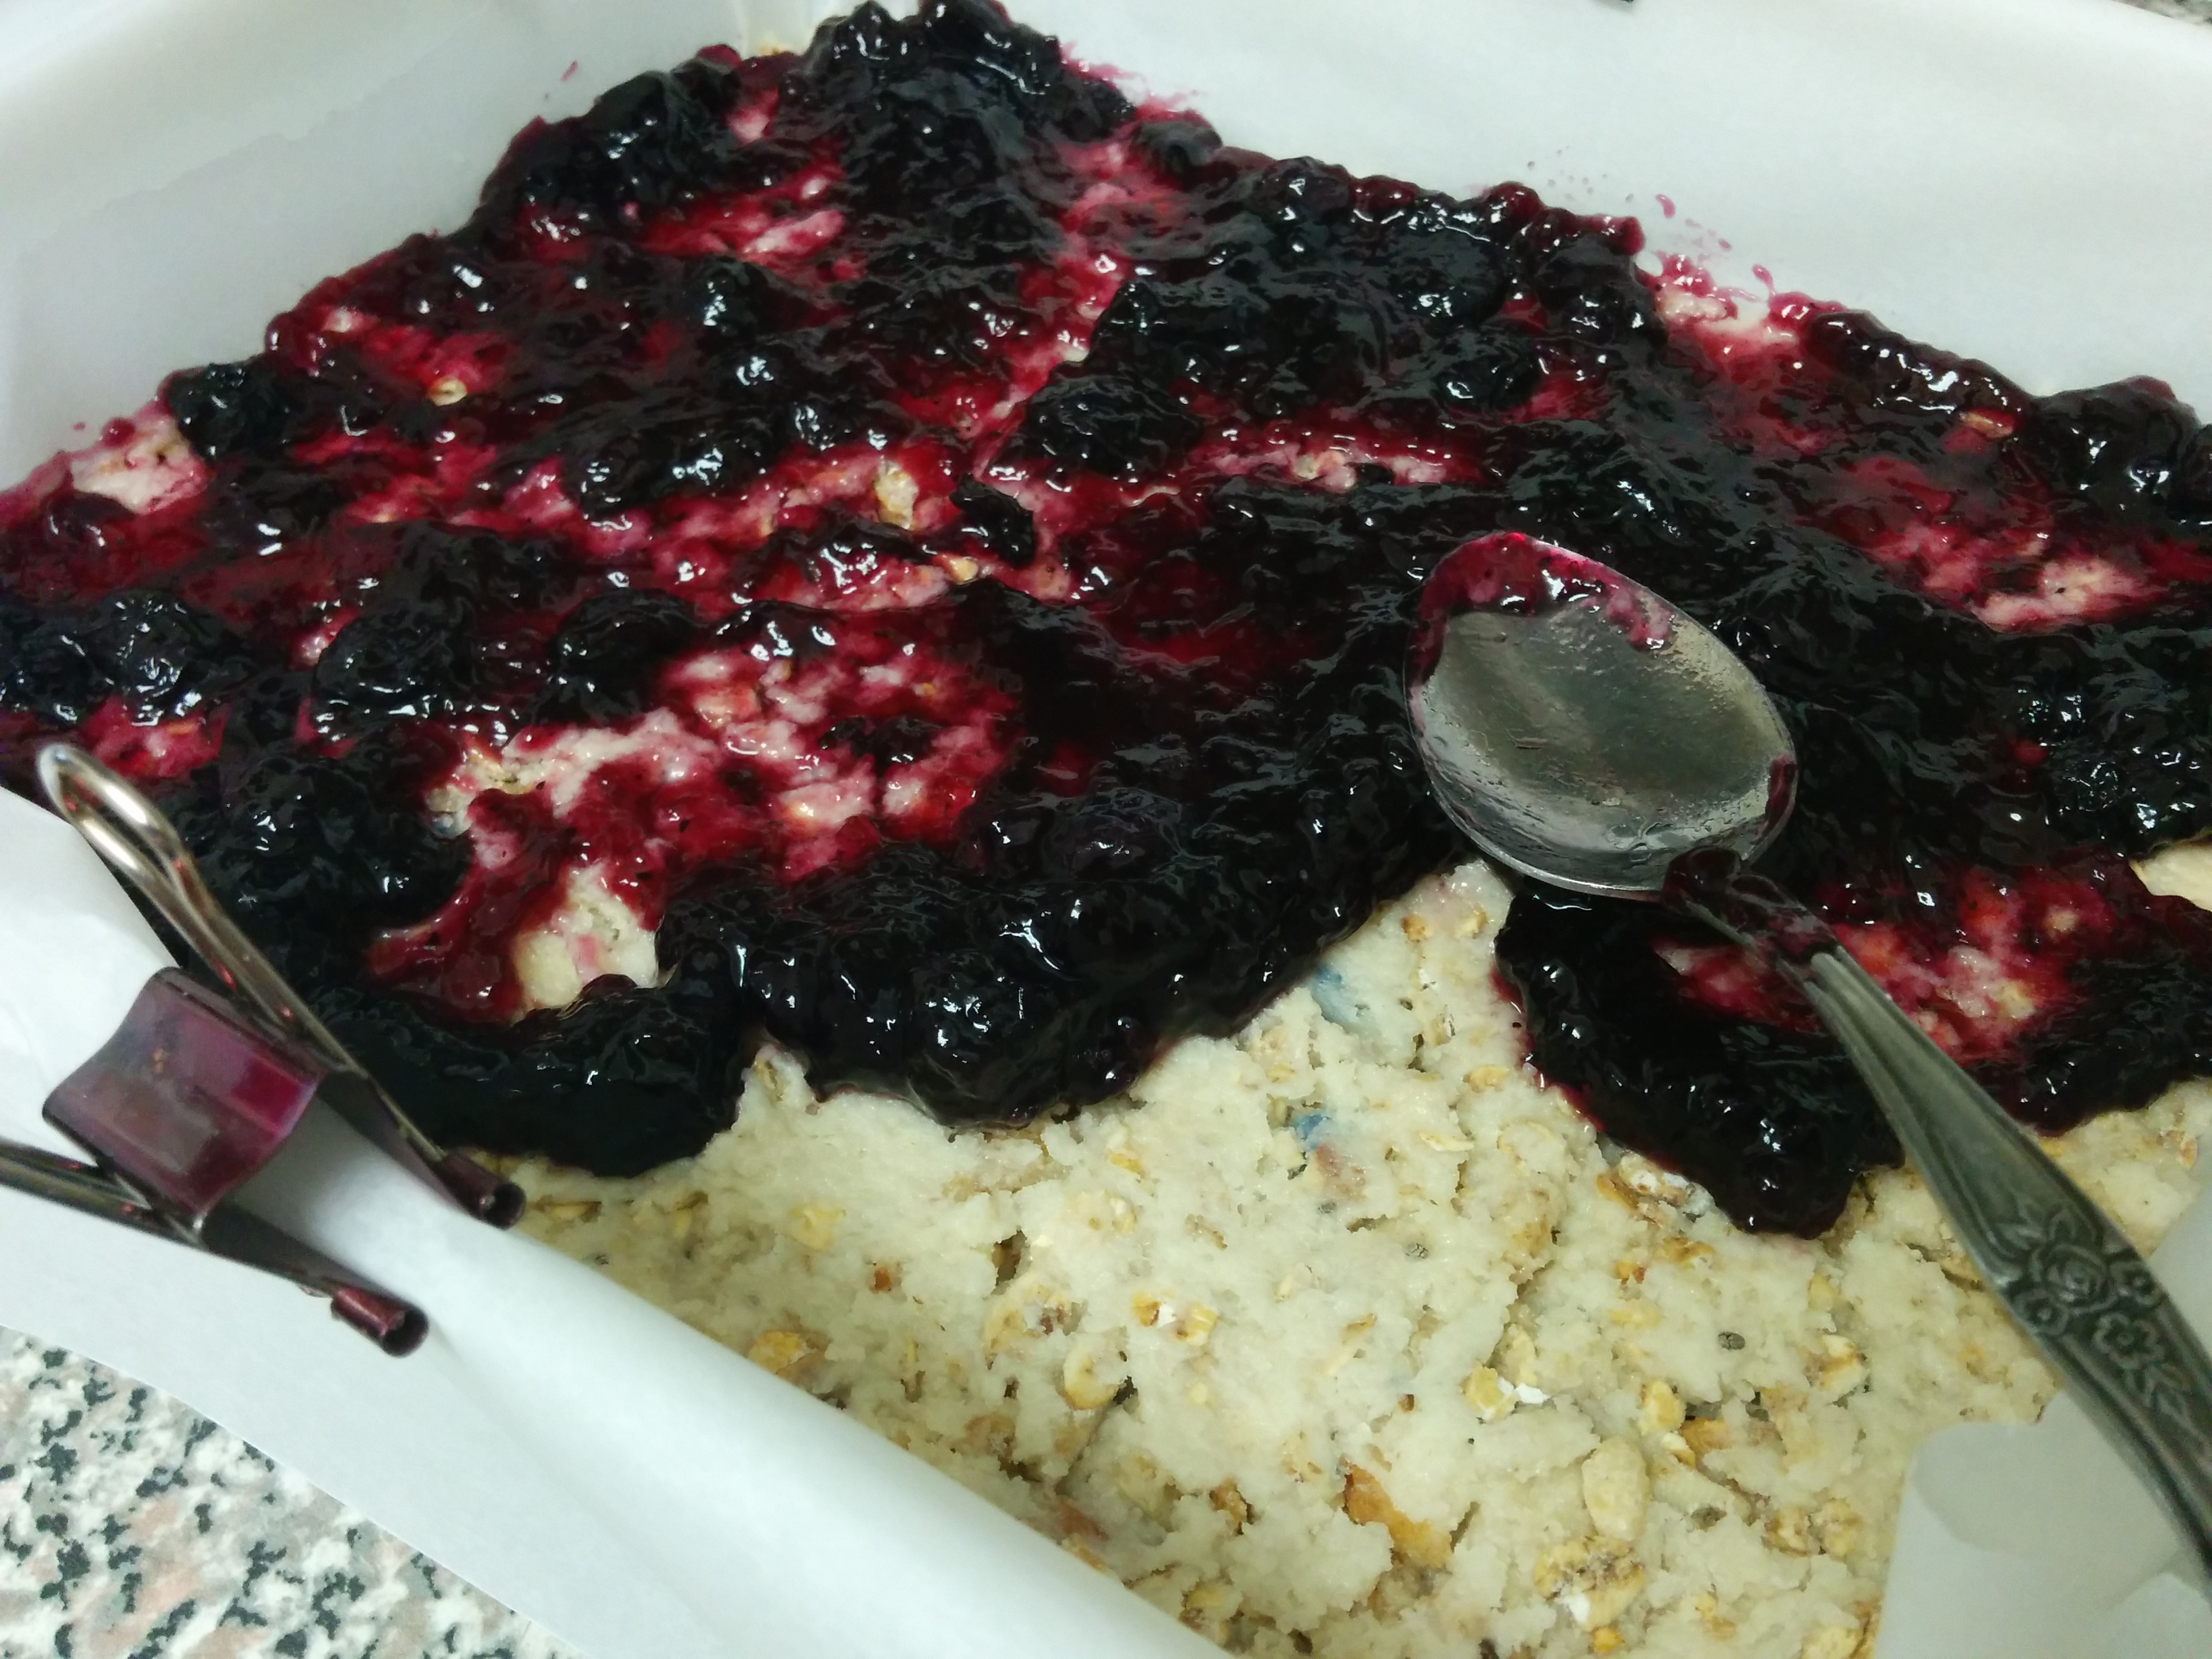
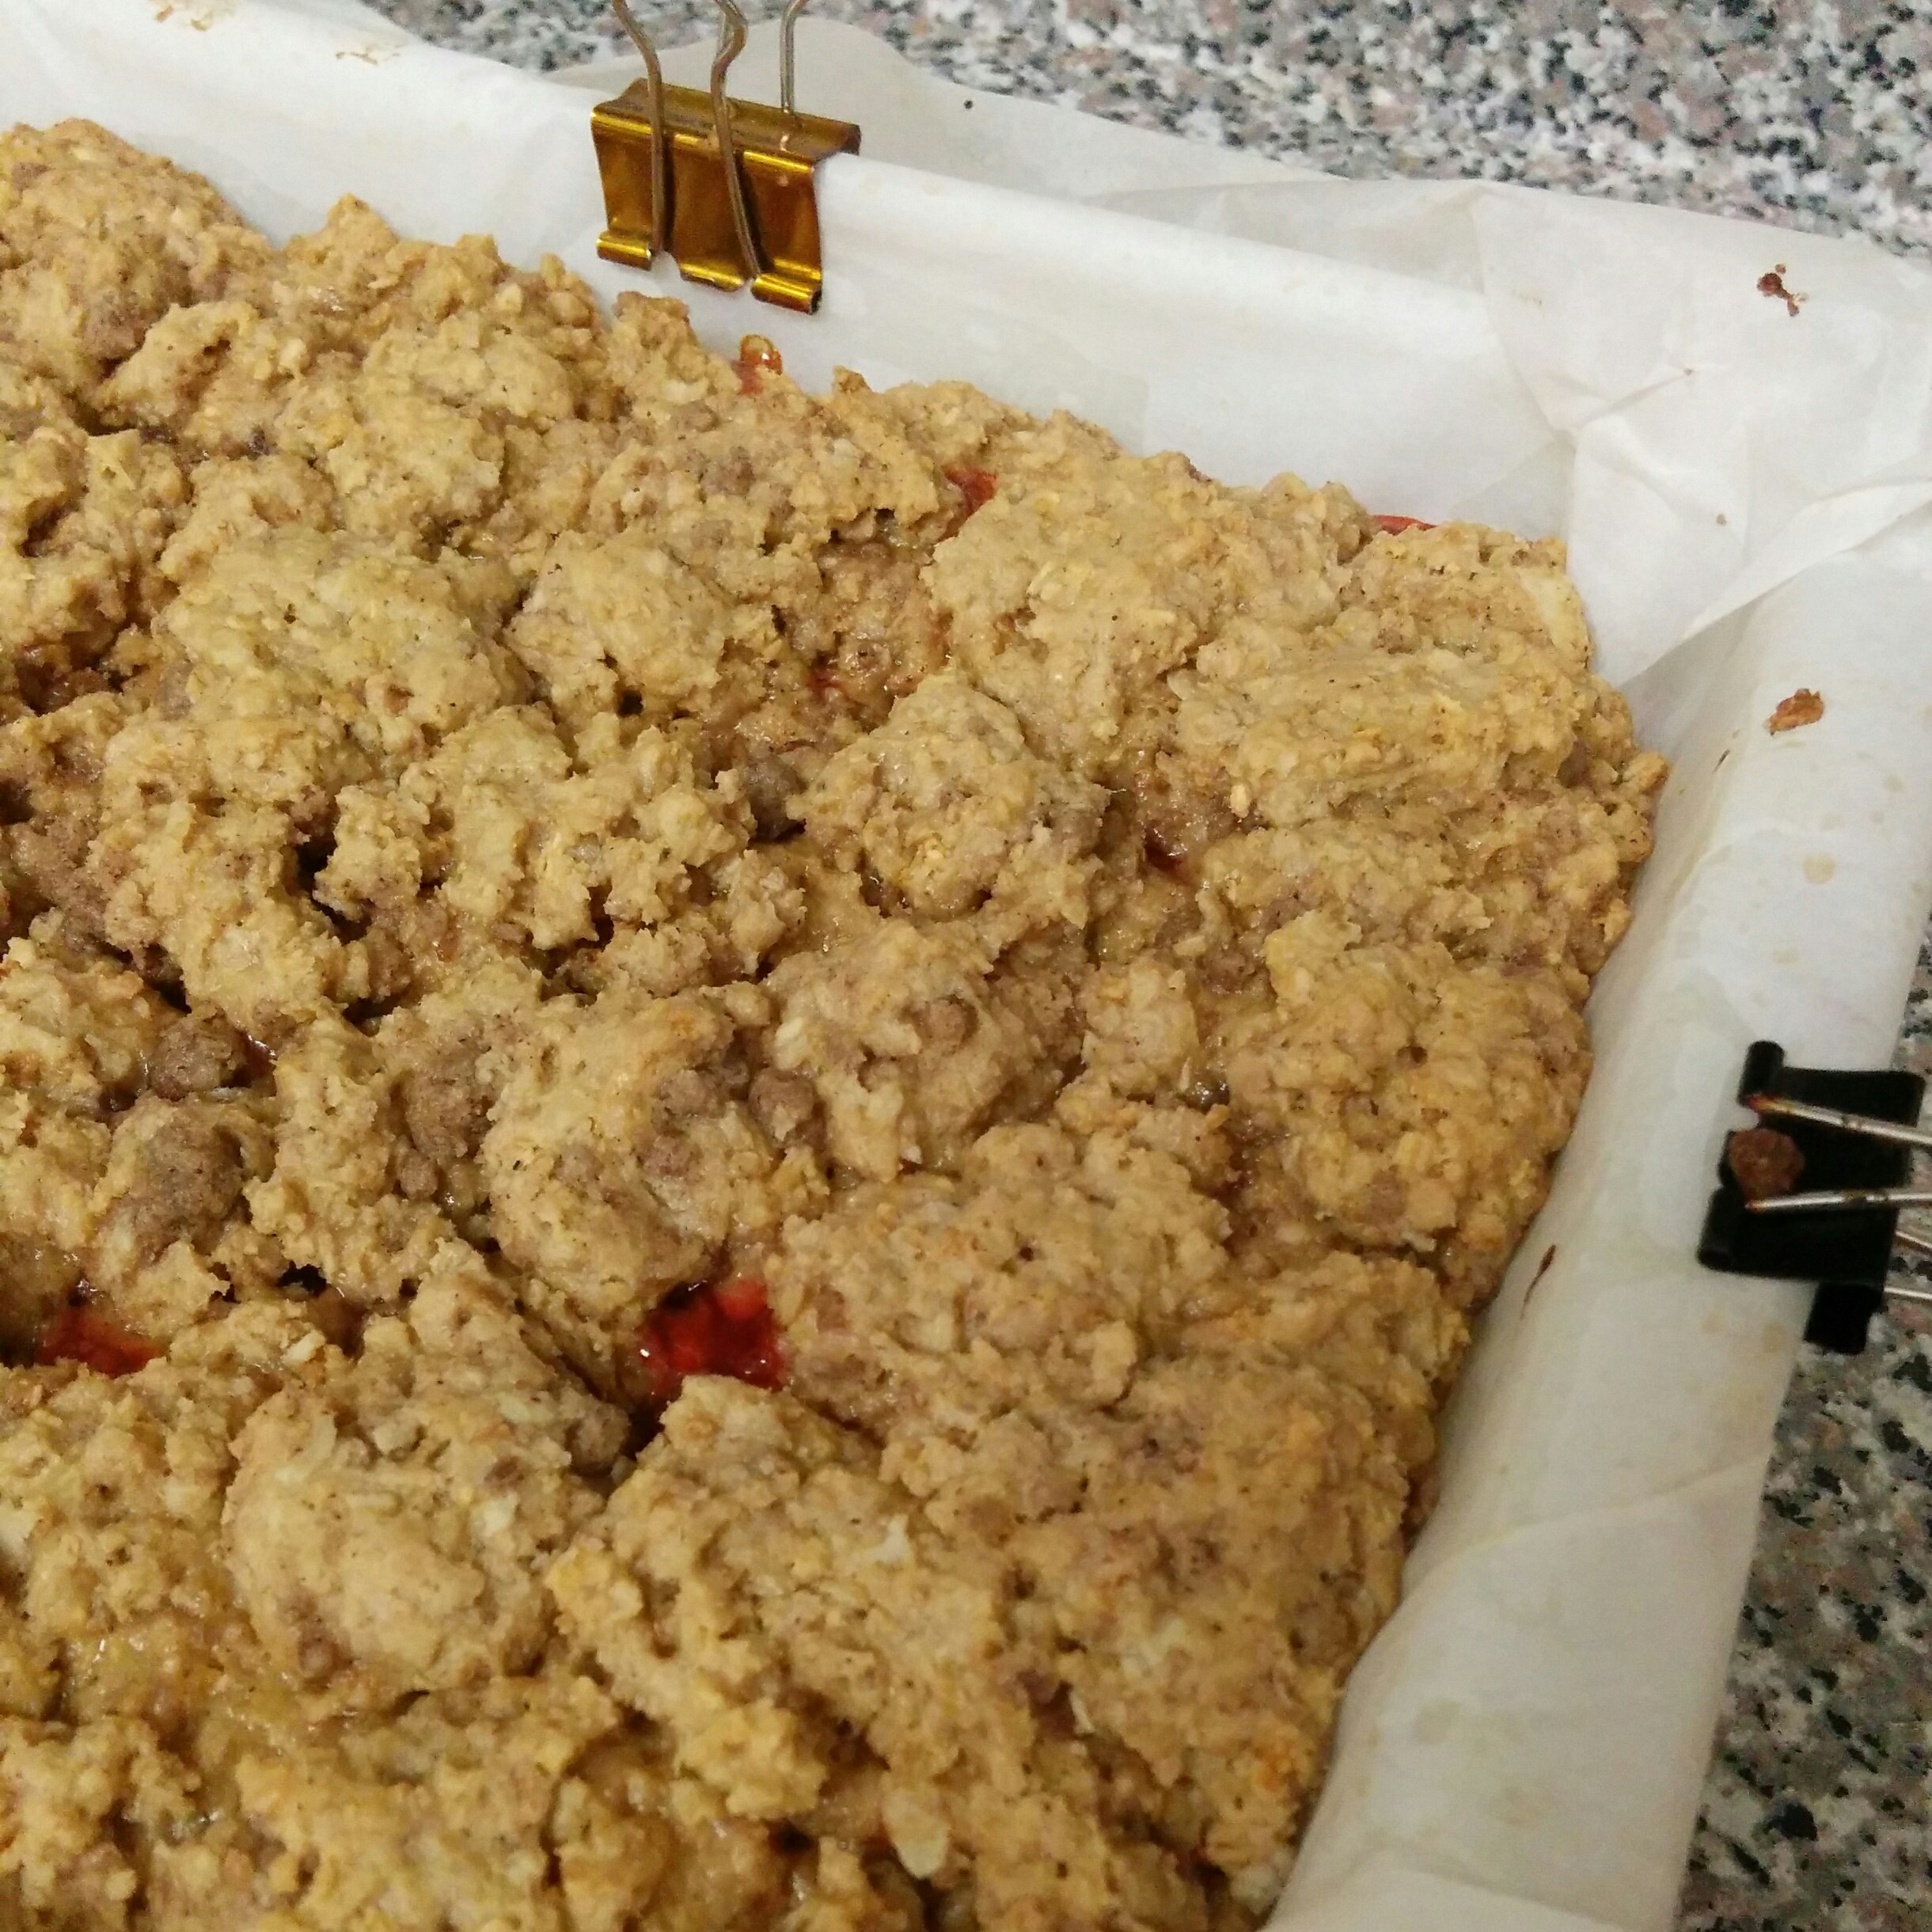
Grease a 8″x8″ or so baking dish. Line it with parchment that’s been clipped down with small bulldog clips. Place 3/4 of the oatmeal mix into the bottom and push it into all four corners and even it out working towards the centre with a clean floured hand. This will be the base of the bar.

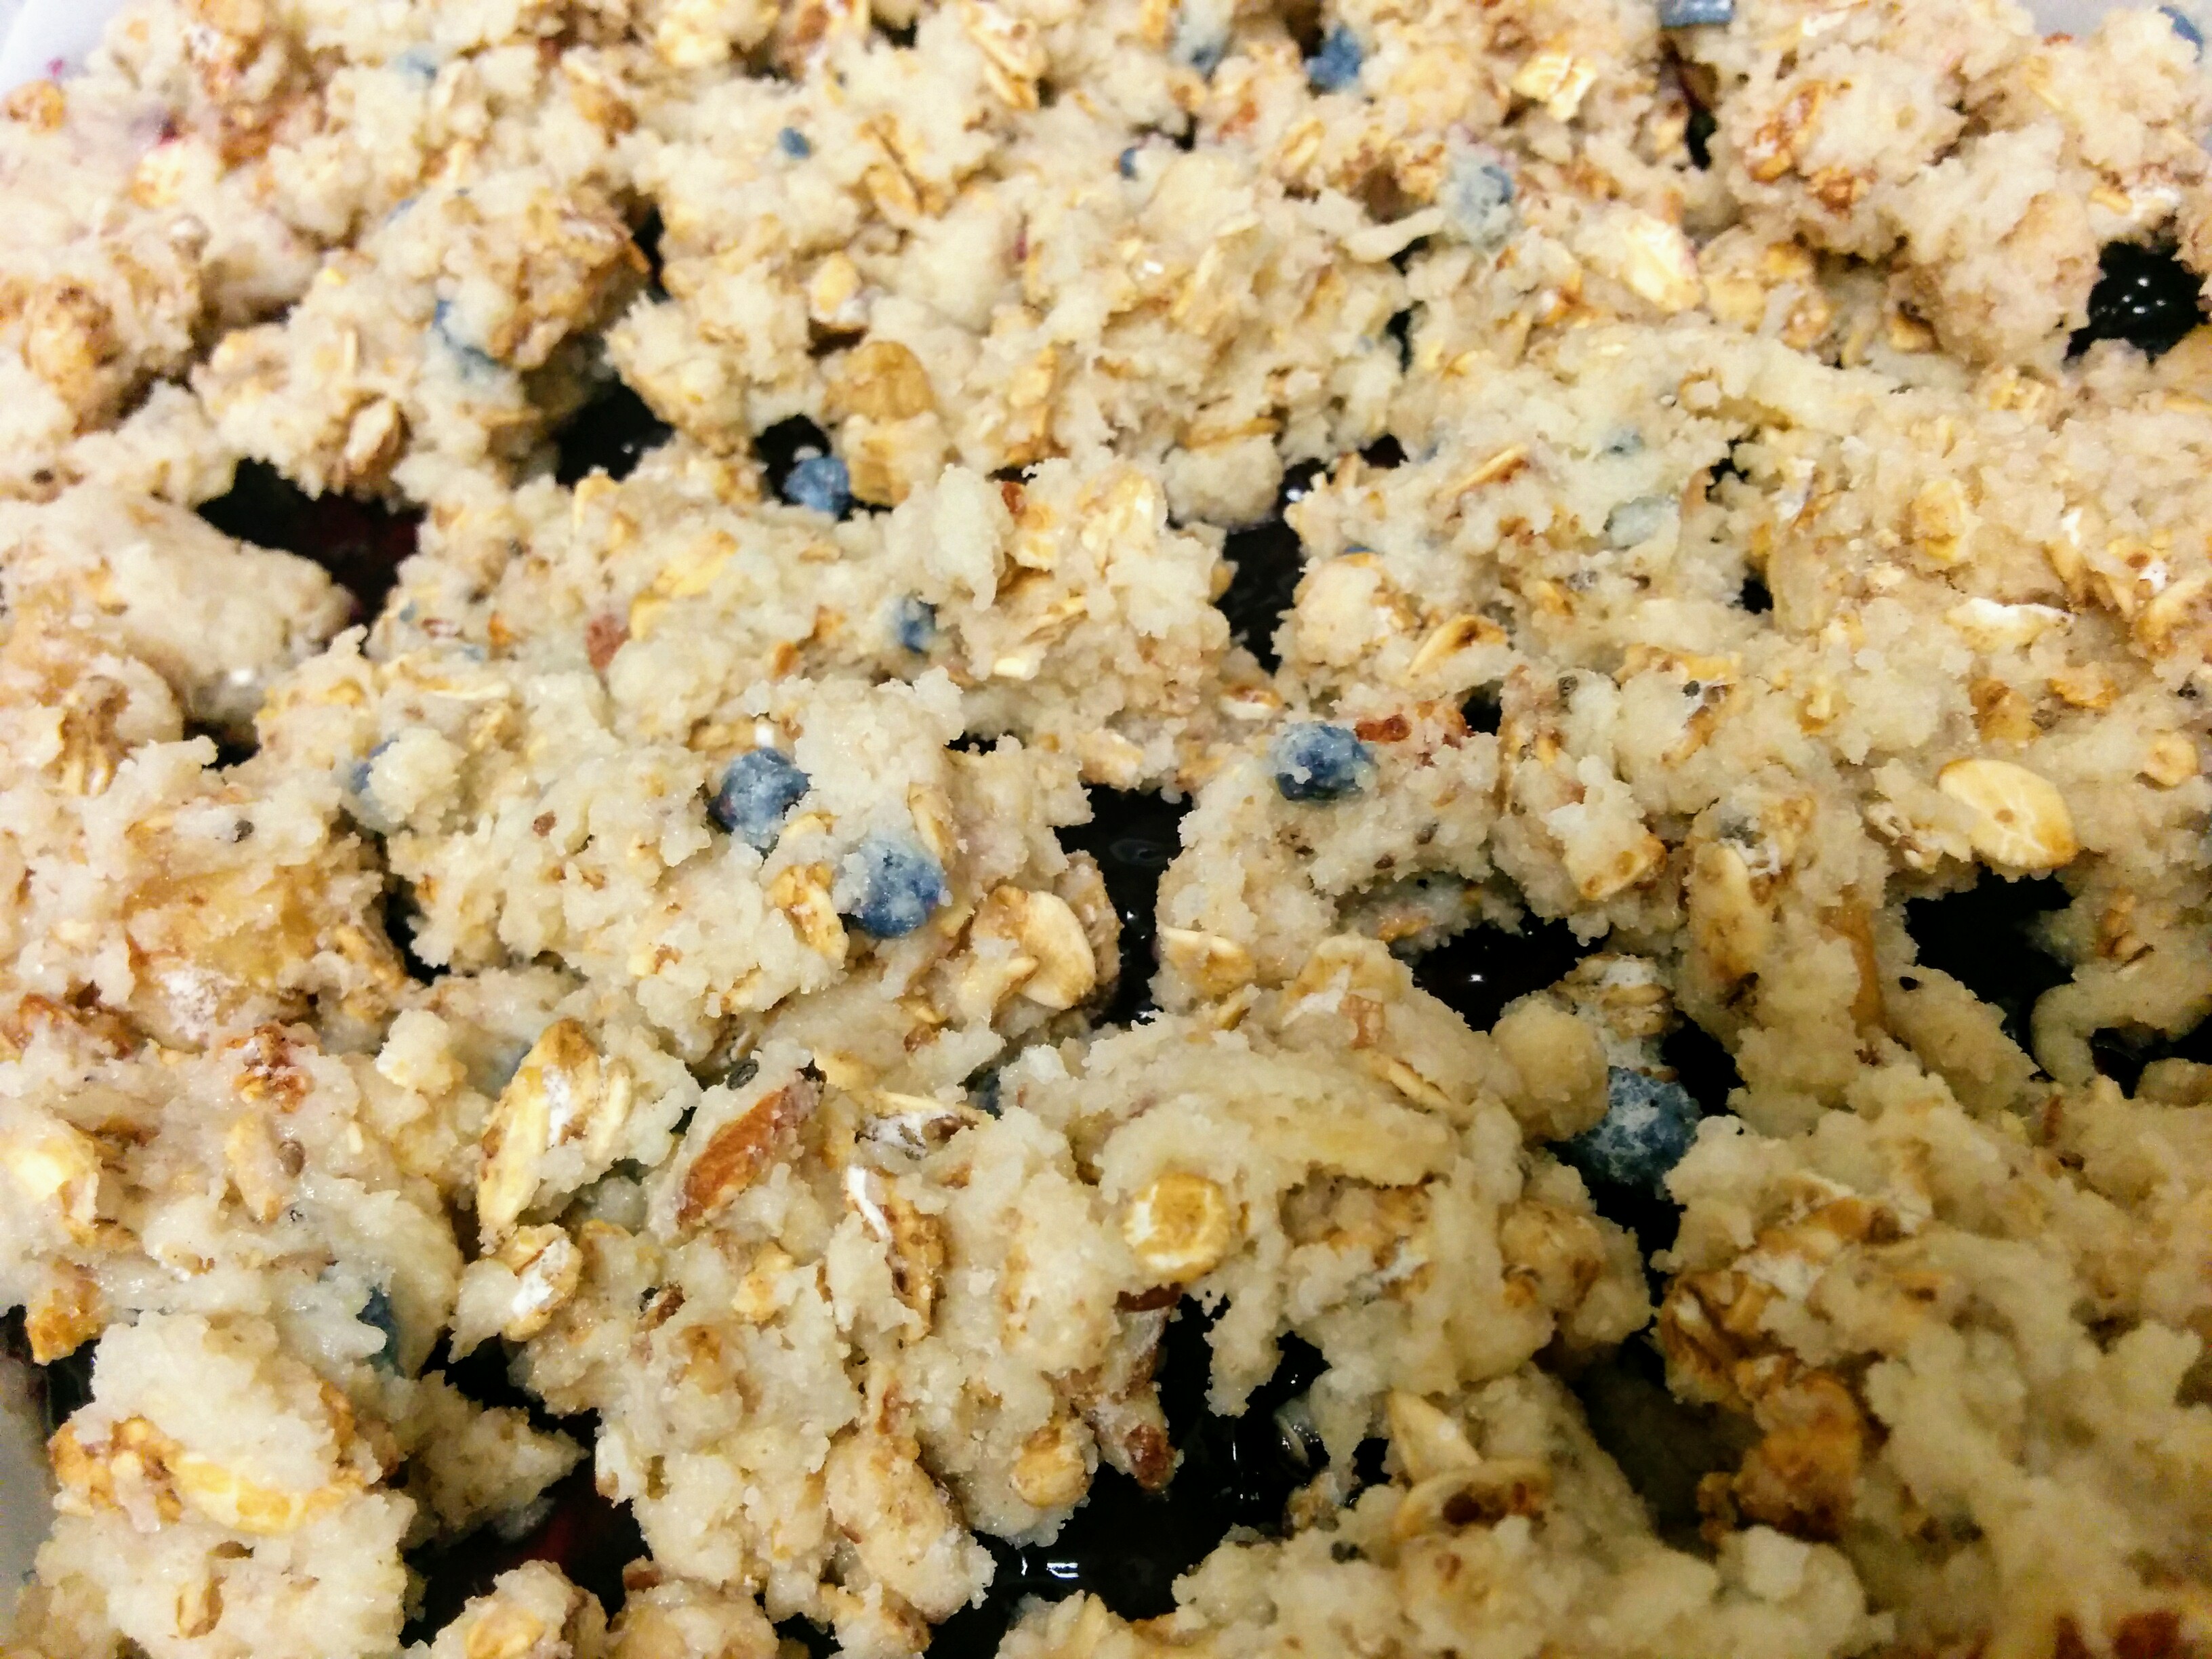
Pour out the jam over top and spread with a knife or offset spatula. Taking the last quarter of the oatmeal mix, start to place it over the jam layers in small blobs or chunks until it’s all used up. Break it up with your fingers. Pull it apart gently.

Bake at 350 for 30 mins. Cool completely on the counter before removing from the pan using the sides of the parchment paper. Sprinkle top with a dusting of powder sugar before serving.

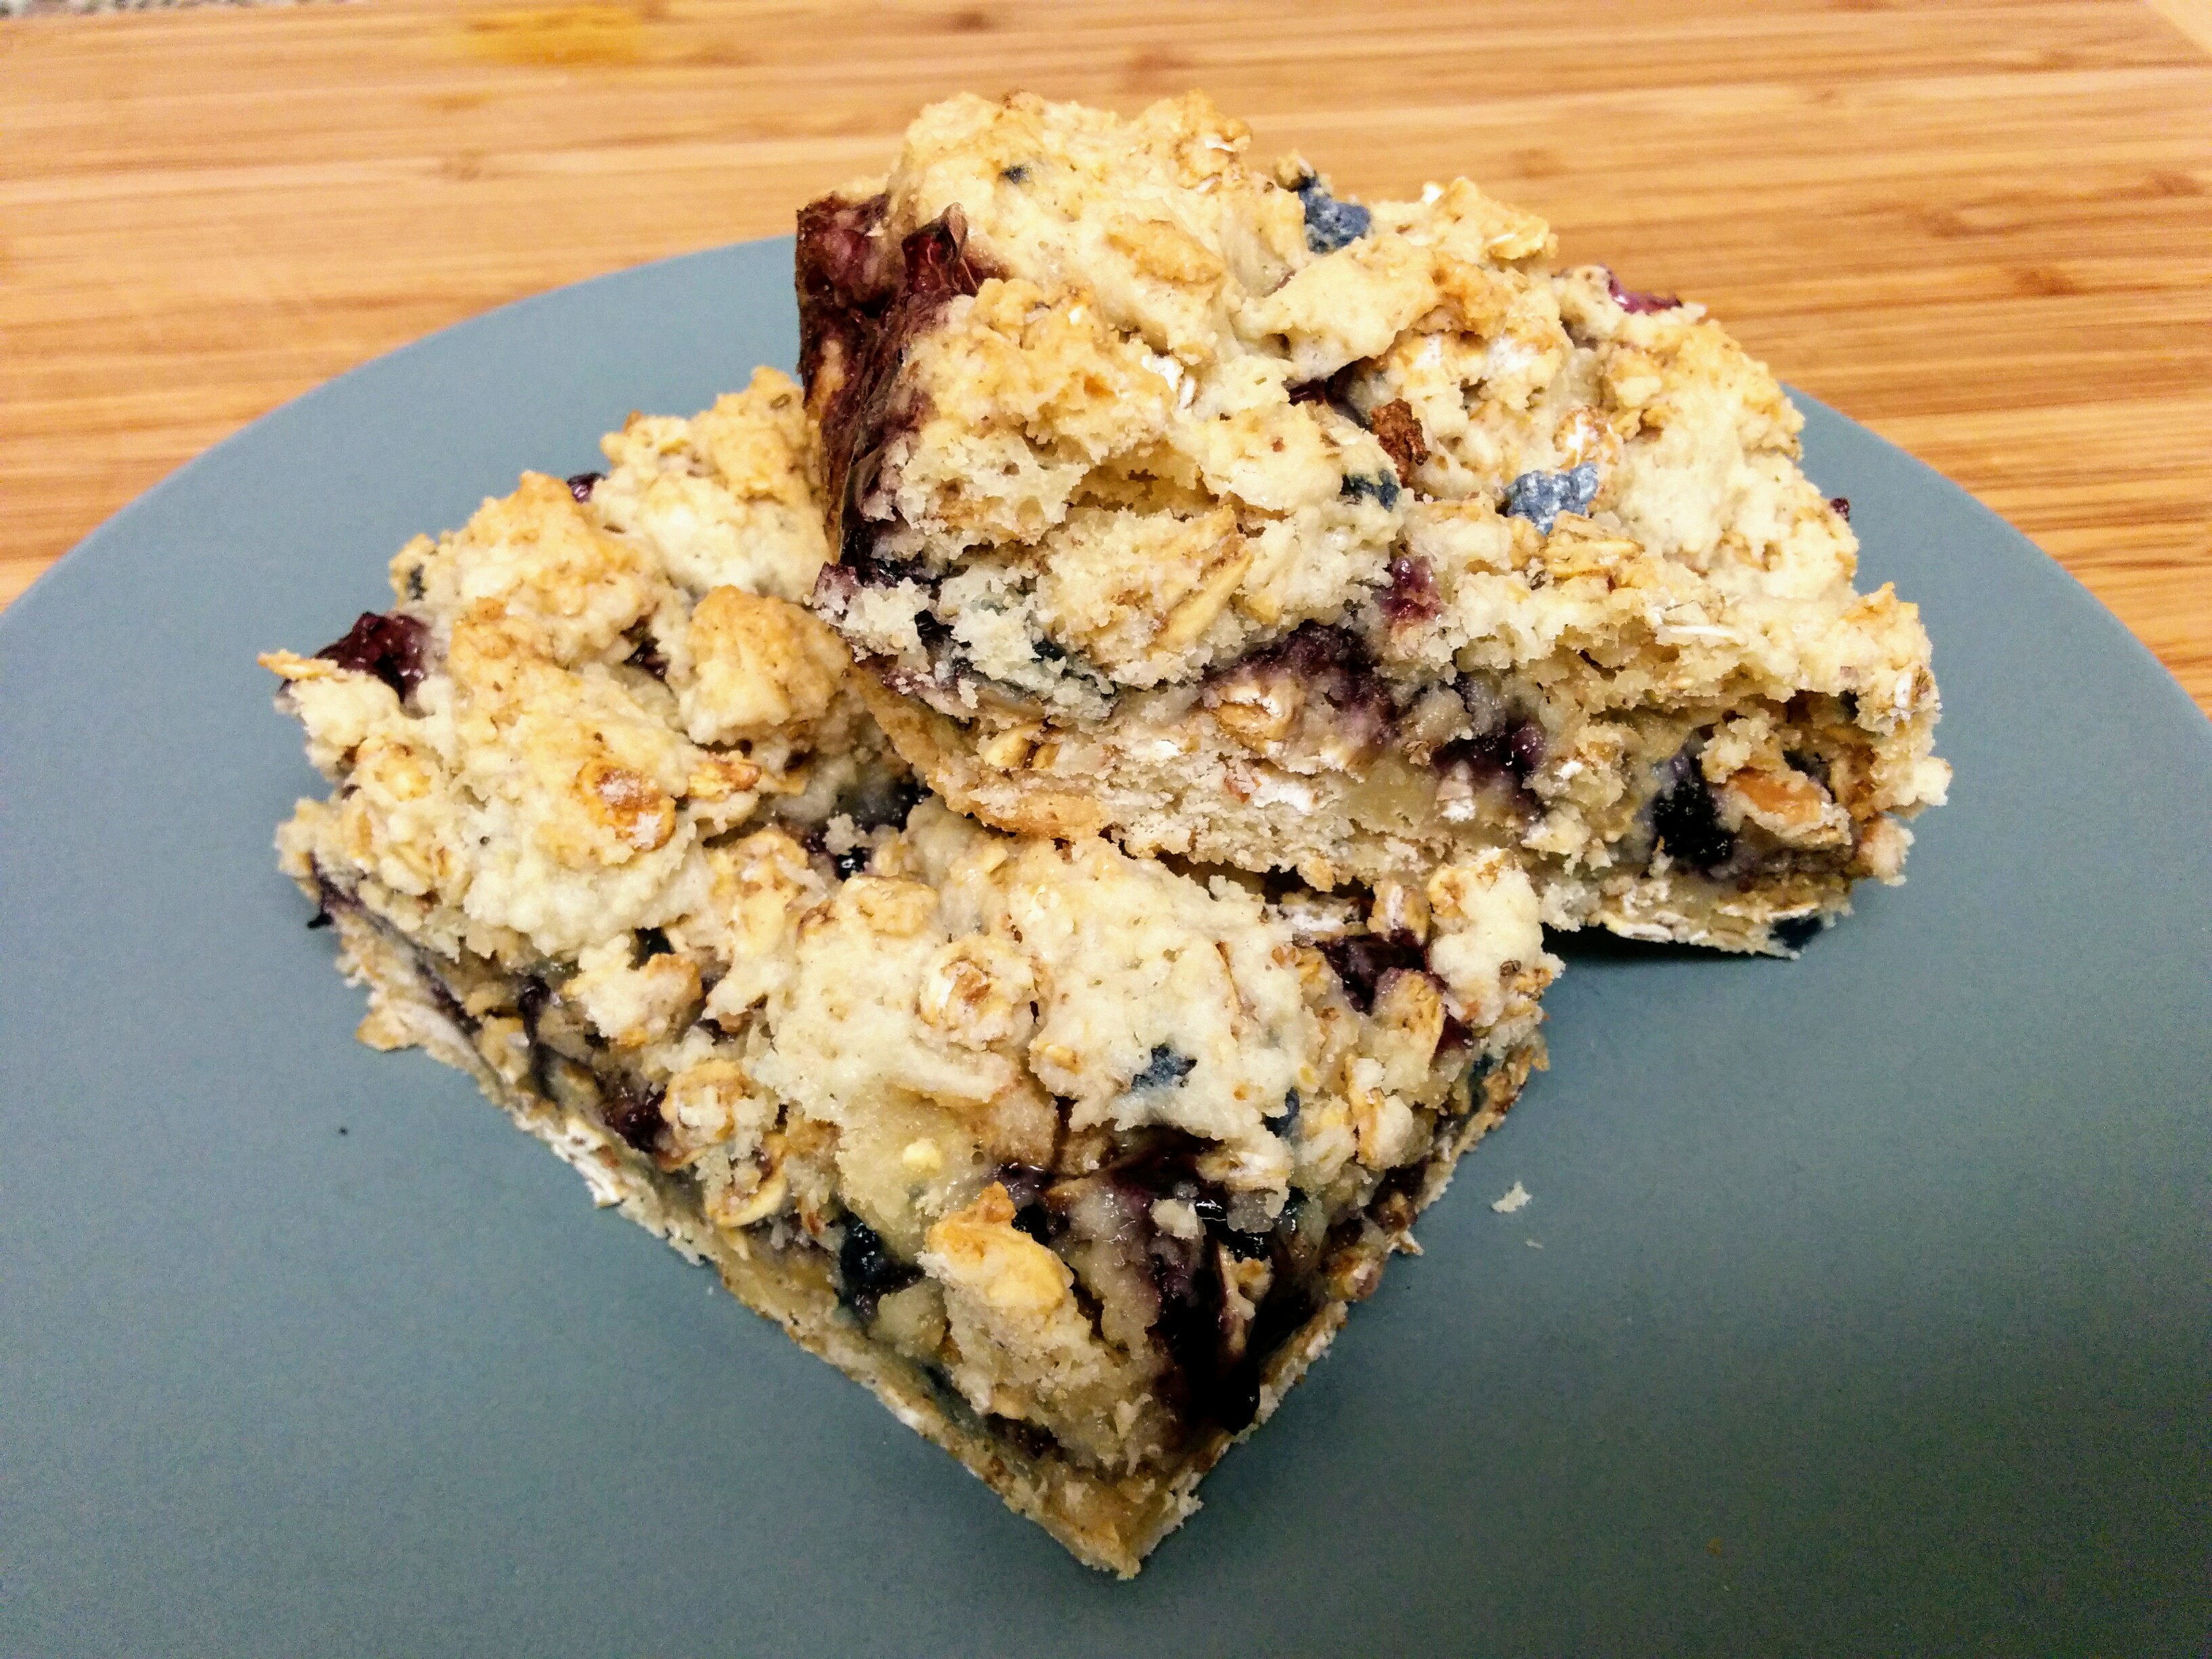
Optional: make a quick drizzle using 1C icing sugar + 2 Tbsp milk. Let the icing dry completely before cutting into bars and serving.

Deconstructed Cabbage Rolls

2 tbsp Oil, neutral like veg or sunflower
1 Onion, medium, diced
1 Garlic clove, cut in half or thirds
1 lbs Pork or Beef, ground

Heat oil in a large skillet. Add garlic chunks; cook in oil until they brown, and then discard. This will flavour the oil nicely. Add the onion dice; cook to translucent. Add the grown meat in one large patty over the onions. Brown both sides in tact before using a potato masher to beak the meat into chunks in the pan as it cooks all the way through.

Add S&P to the pan and mix it in well. Once fully cooked, remove ground meat out of the hot pan and onto paper towels to drain.

1 C Jasmine rice
1.5 C Water
1/4 C Chicken Broth powder

1 Egg, room temp

Cook the rice in either a pot on the stove, or in a rice cooker off the stove. When the rice is done cooking, remove it into a large mixing bowl and dump the cooked meat in with it. Add the egg and mix everything together.

1/4 lbs Bacon

In the large skillet, cook the bacon. Rest cooked bacon on paper towels to drain and cool down before finely chopping up. Do not discard the bacon fat in the pan. Add the bacon bits to the meat mixture and stir to combine.

1 Cabbage Head, finely chopped

Bring a large stock pot to rolling boil. Gently ease the cabbage head into that pot. Cook until the leaves are tender. (~ 5-8 minutes) Remove the cabbage head and place it in a deep bowl or a large soup bowl to cool down long enough to pull the leaves off for chopping.

2 C Passata sauce
1 Bay Leaf
2 tea Dry Basil
S&P to taste
1 oz Butter, cut into small cubes for faster melting

In a small sauce pot, heat up the passata sauce with the bay leave fully emerged in it. After five minutes, add the seasonings and continue to bring it to a slow rolling boil. Remove from the heat. Set it aside and add the butter. Let those flavours come  together after a bit of stirring.

Chopped Cabbage
2 tbsp Bacon Fat
Salt, small  pinch to help draw out moisture from the cabbage
2-3 tbsp Herbs de Provence (or Italian seasoning if you have that)

After the leaves are cool enough to handle, chop them into a fine dice. Add it all to the still hot skillet with the bacon fat. Add salt over top and stir. Cook the leaves down a bit longer to make sure all of the cuts have softened to a tender stage. Add the seasoning and continue stirring as it browns a bit.

Add the cooked cabbage to the meat mixture and stir it around to incorporate everything nicely and to cool the cabbage a bit. Taste test to see if the mix is to your liking.

Spray or grease the bottom of a small hotel or roasting pan. Dump the cabbage-meat mixture into it. Spread it out evenly. Top that with all of the passata sauce, smoothing it out all around for full coverage.

Optional: Top casserole with breadcrumbs and a bit of parm if desired.

Bake at 375 for 20 minutes.

Notes: I made this in stages over two days as I had the time and materials. (I originally wanted to make classic cabbage rolls, but this cabbage was too thick to roll even after a lengthy boiling time.) I would not expect anyone to have time to do all of these moving cooking parts for a weeknight dinner unless they have the day off or have all of the materials prepped ahead of time. But I could see this being a nice seasonal Sunday casserole.

Week Night Banana Bread

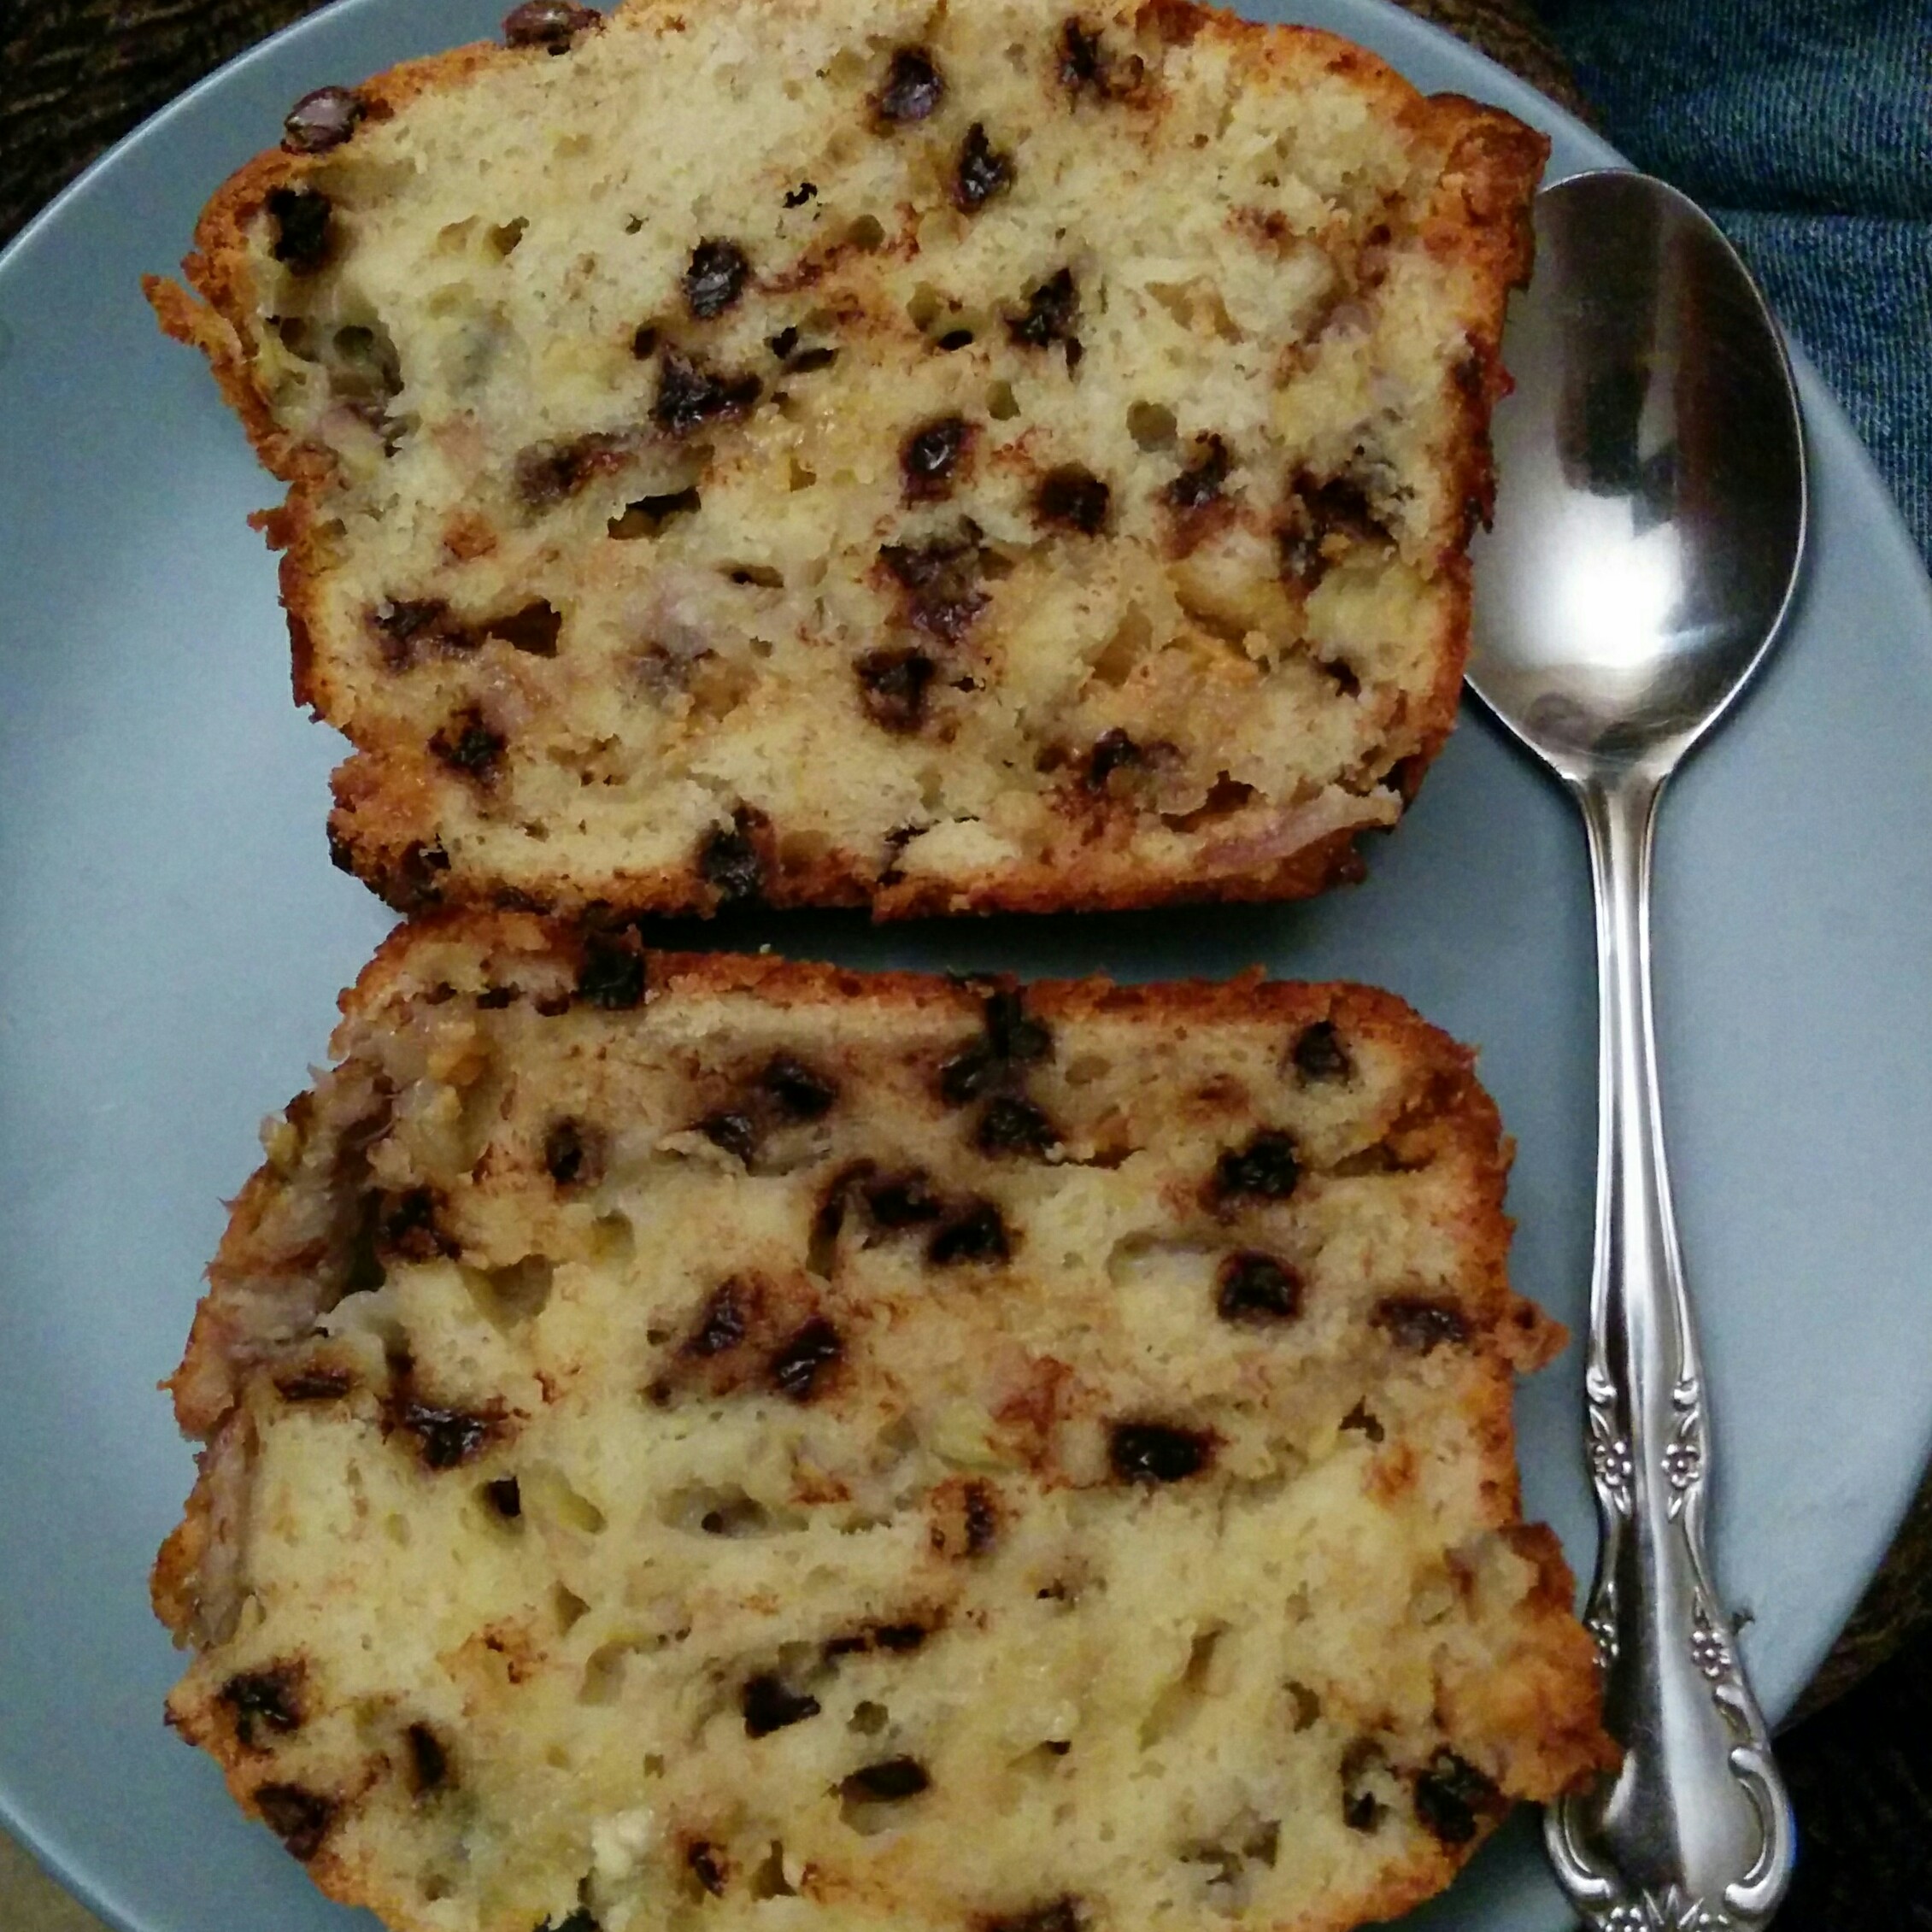
Yah, yah – I get it. Not everyone is into breads of any kind (EW, CARBS!!), or you hate bananas (Blech!), or you ate too many slices of this bread growing up (Never again!). I’ve heard all of the reasons.

I happen to love a good banana loaf. This is the one I make in case you’re interested.

2 C Flour, a.p.
1 tea BP
1/2 tea Salt
1/2 C Sugar, white
1 oz Butter, melted
2 Eggs, r.t.
1 C Bananas, mashed
1/4 C Water, r.t.

Legend: a.p. = all purpose, r.t. = room temp, BP = baking powder

Whisk all of the dry ingredients together. Mix all of the wet ingredients in over top of the dry. Don’t overmix.

1/2 C Mini Chocolate Chips
2/3 C White Chocolate Chips

Gently fold these into the bread batter. Spray or lightly oil and dust a bread loaf pan. Drop the batter into the pan. Bake at 350 for 75 mins. Let it cool 90 mins before cutting into it at the very least, or wrap it in plastic wrap to sit out over night. Makes a great lunch snack.

Note: I threw this loaf in the oven as our main course came out. In the time it took me to cook dinner in the oven, I started and finished making this banana bread batter.

Jalapeno Boats

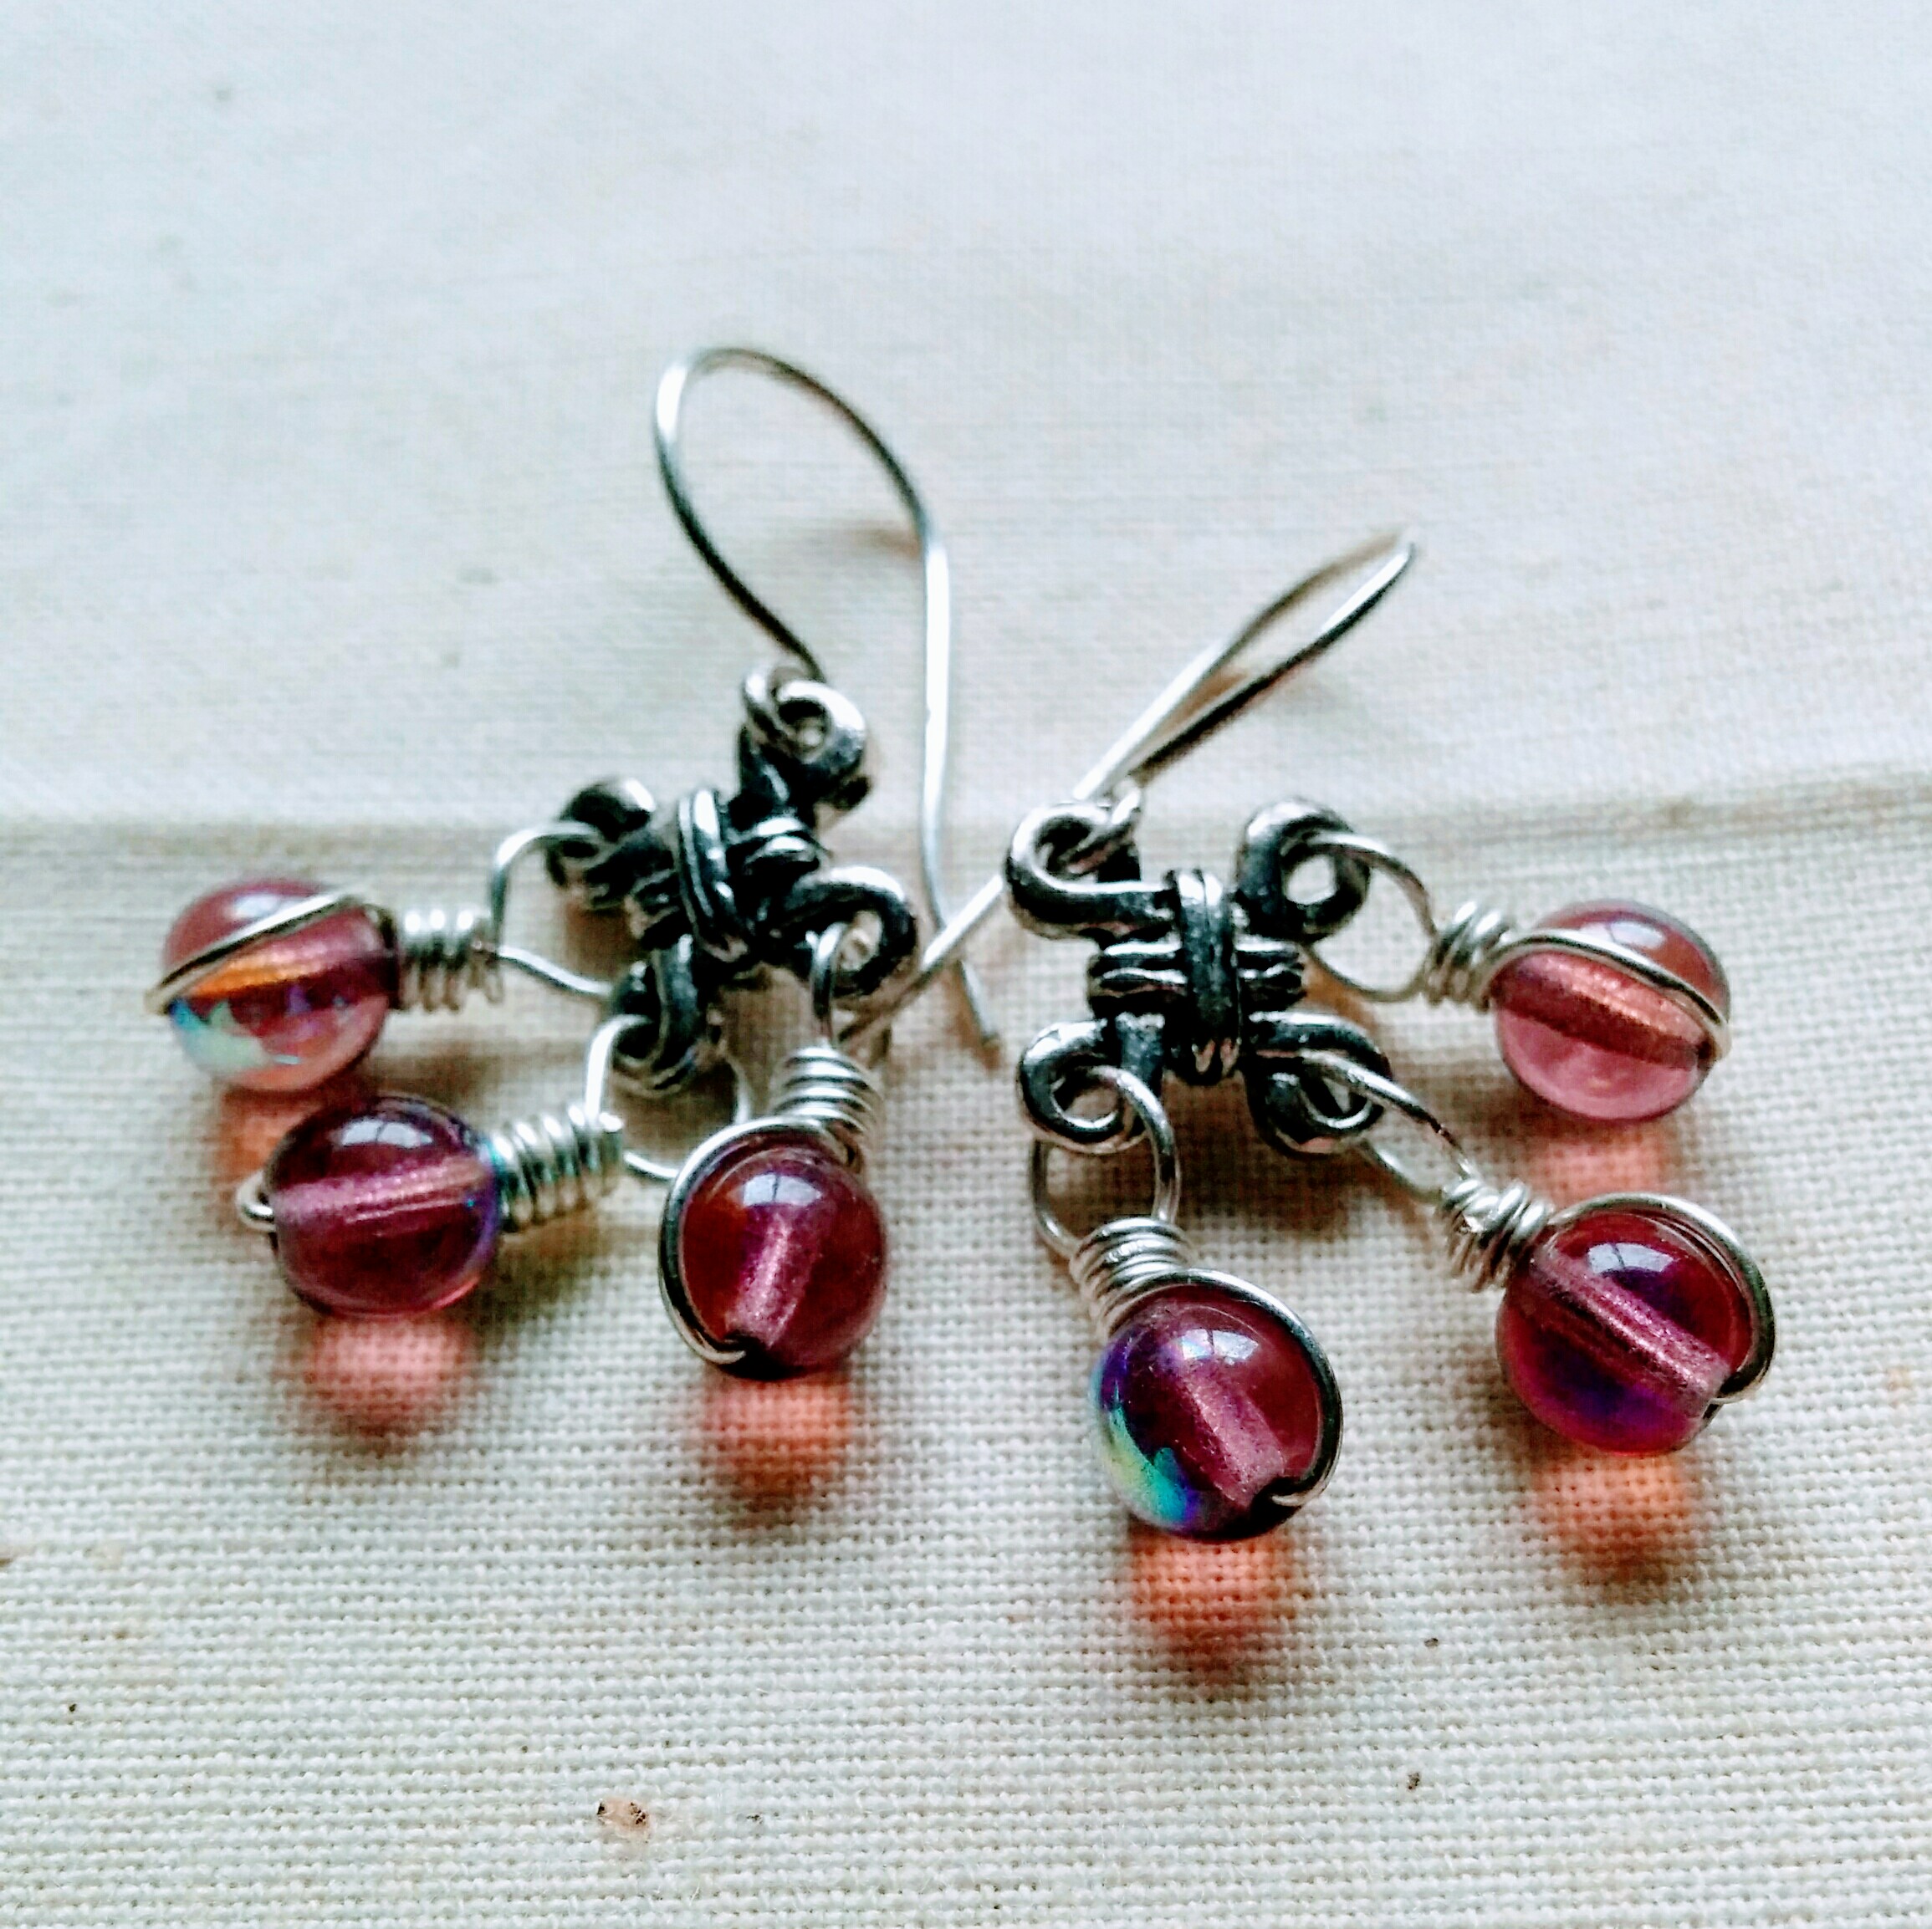
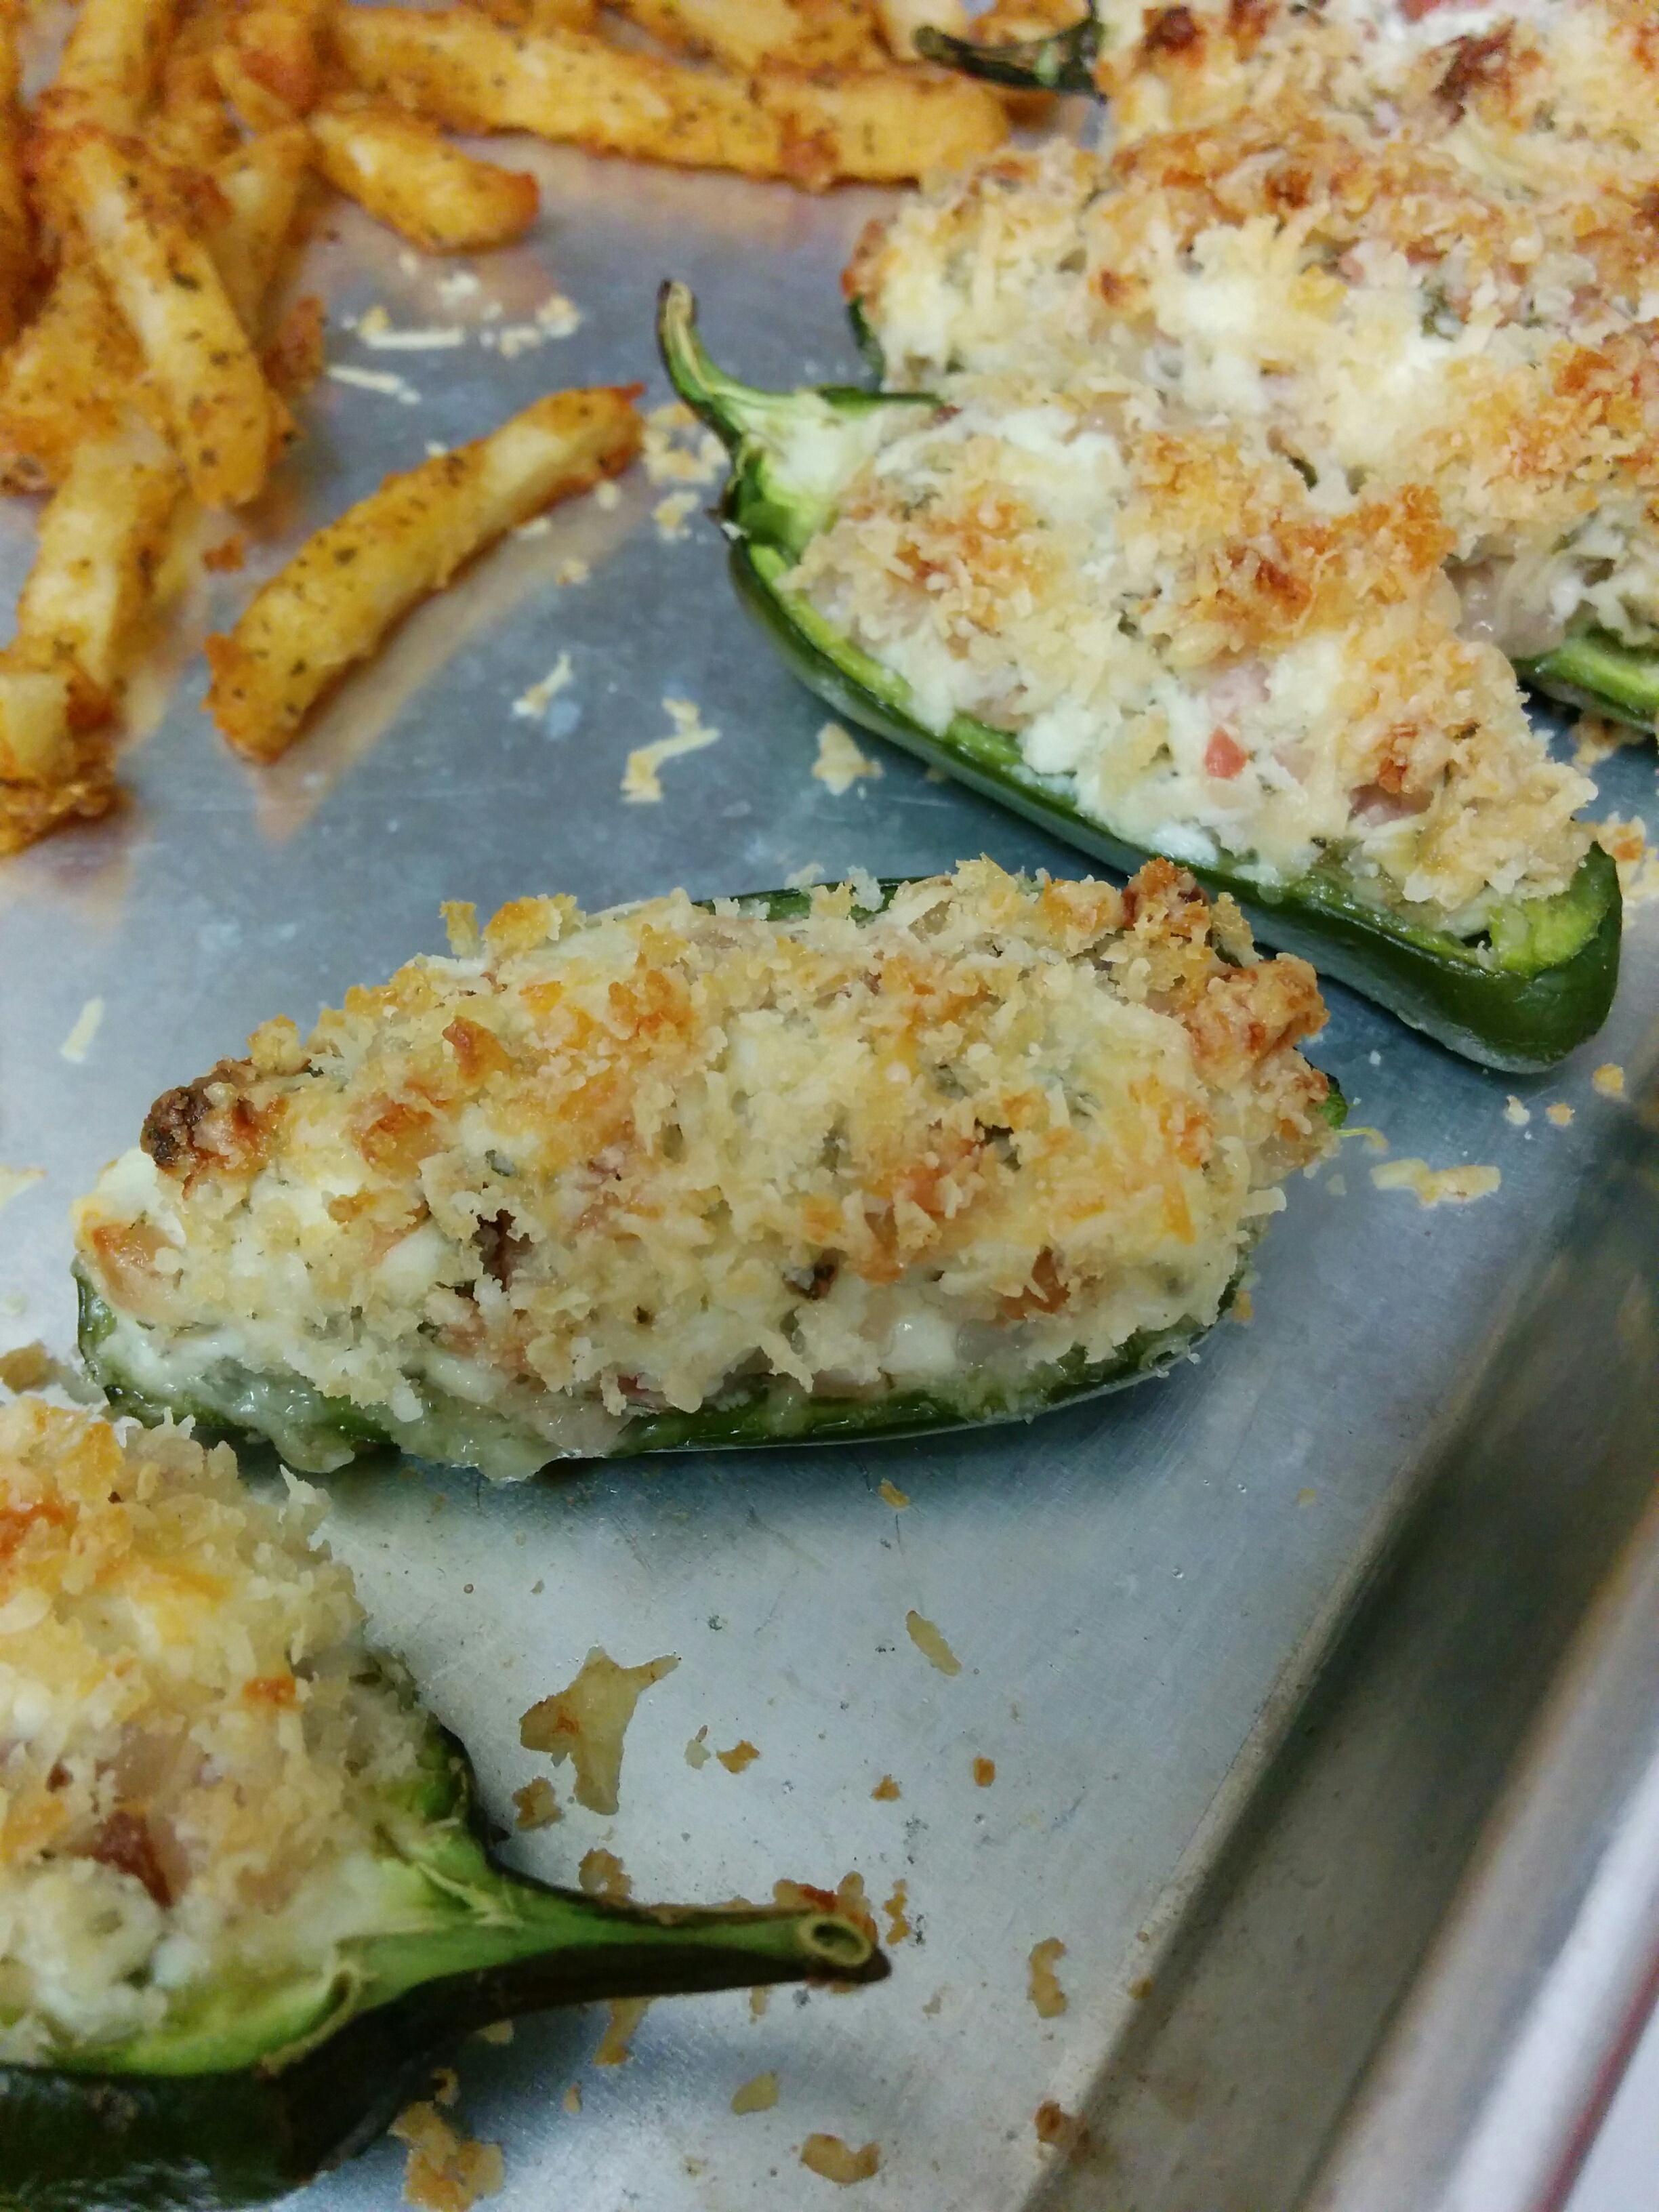
I love making these little boats as part of our ‘Pub Night’ meal, or as a starter to a longer cooked meal. Easy to make, easy to fill, easy to bake.

Jalapeno Boats:
6 Jalapenos, washed, stem end cut off, halved, and hallowed out
1 Bacon Strip, cooked, tiny dice
4 Tbsp Cream Cheese, tiny dice
1/4 Cheese Shred of choice
S&P

Wear gloves when working with the jalapenos, and I tend to wash my hands three times after I take the gloves off. Add everything but the jalapenos to a small bowl. Squish it all together with one gloved hand, making sure everything gets evenly smushed together. This is your filling.

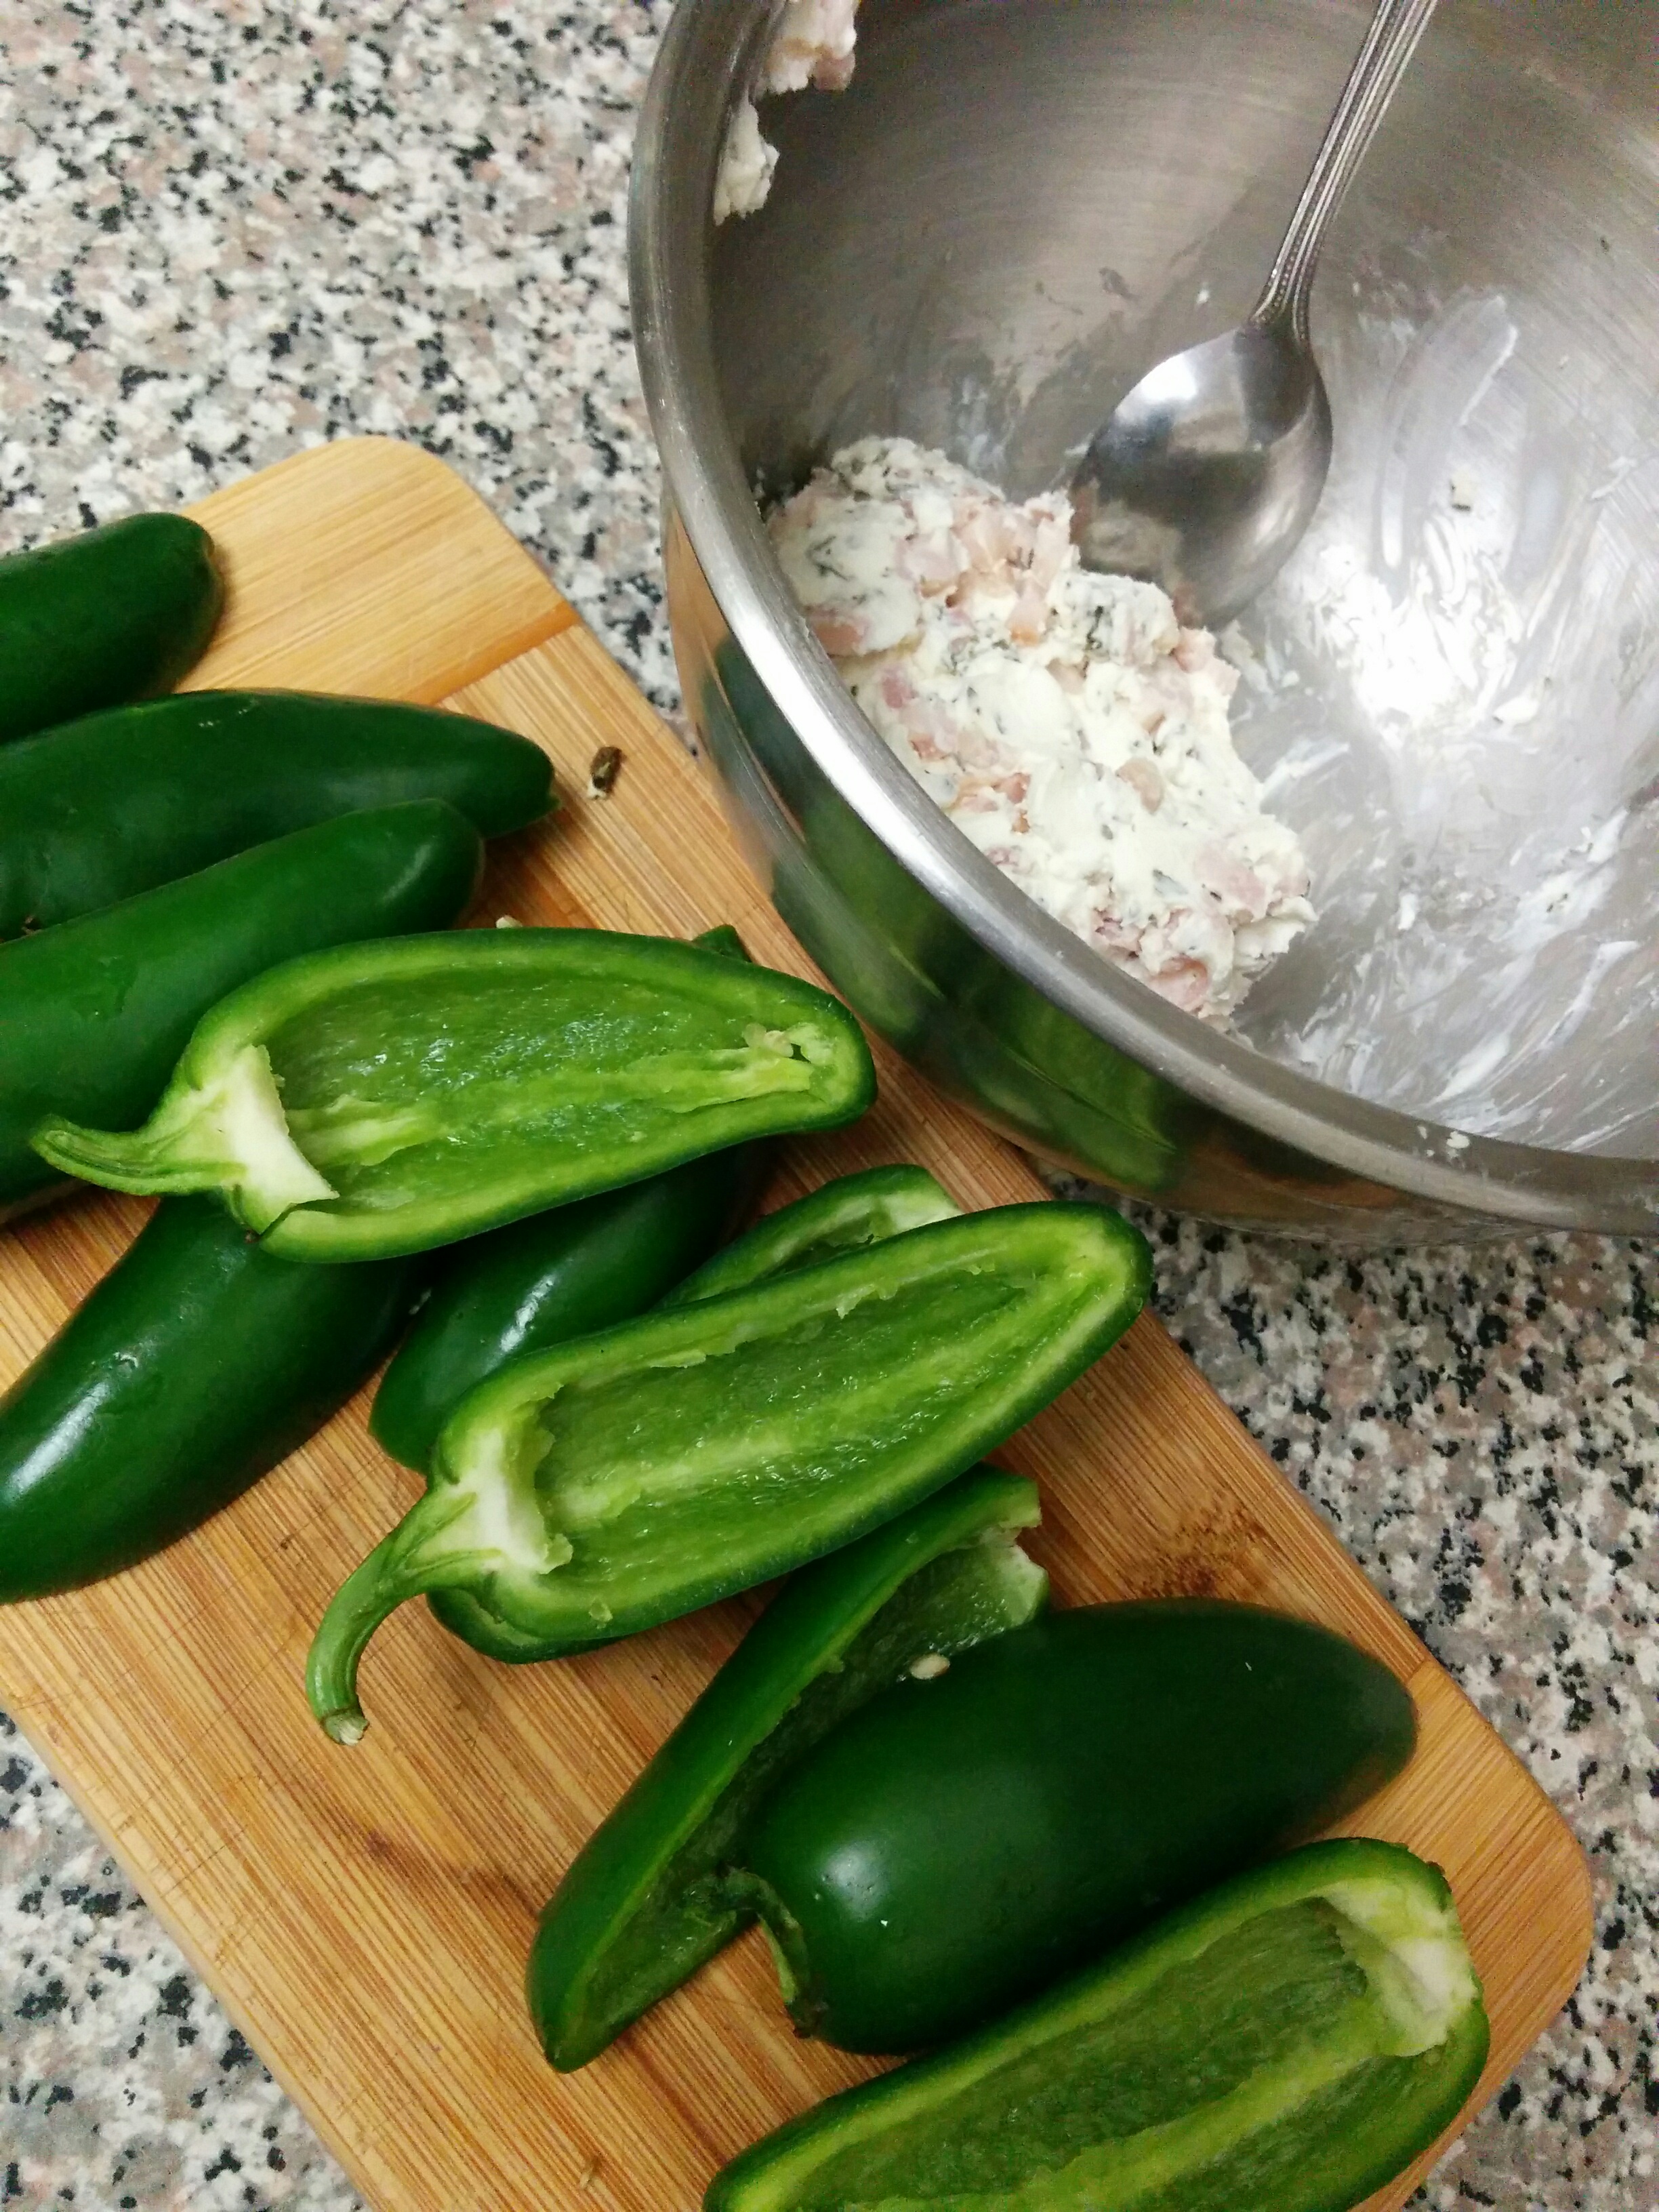
Take a half jalapeno at a time and using the back of a spoon, add a bit of the filling to each cavity at a time. Using the hand holding the jalapeno being filled, start molding the filling to the cavity so it stops trying to fall out. I tend to make each filling flush with the tops until I get to the end of the jalapenos I need to fill. If there’s extra left over – depending upon how much is left – I may store the rest in the fridge for more jalapeno boats the next day or simply plump up the ones in front of me.

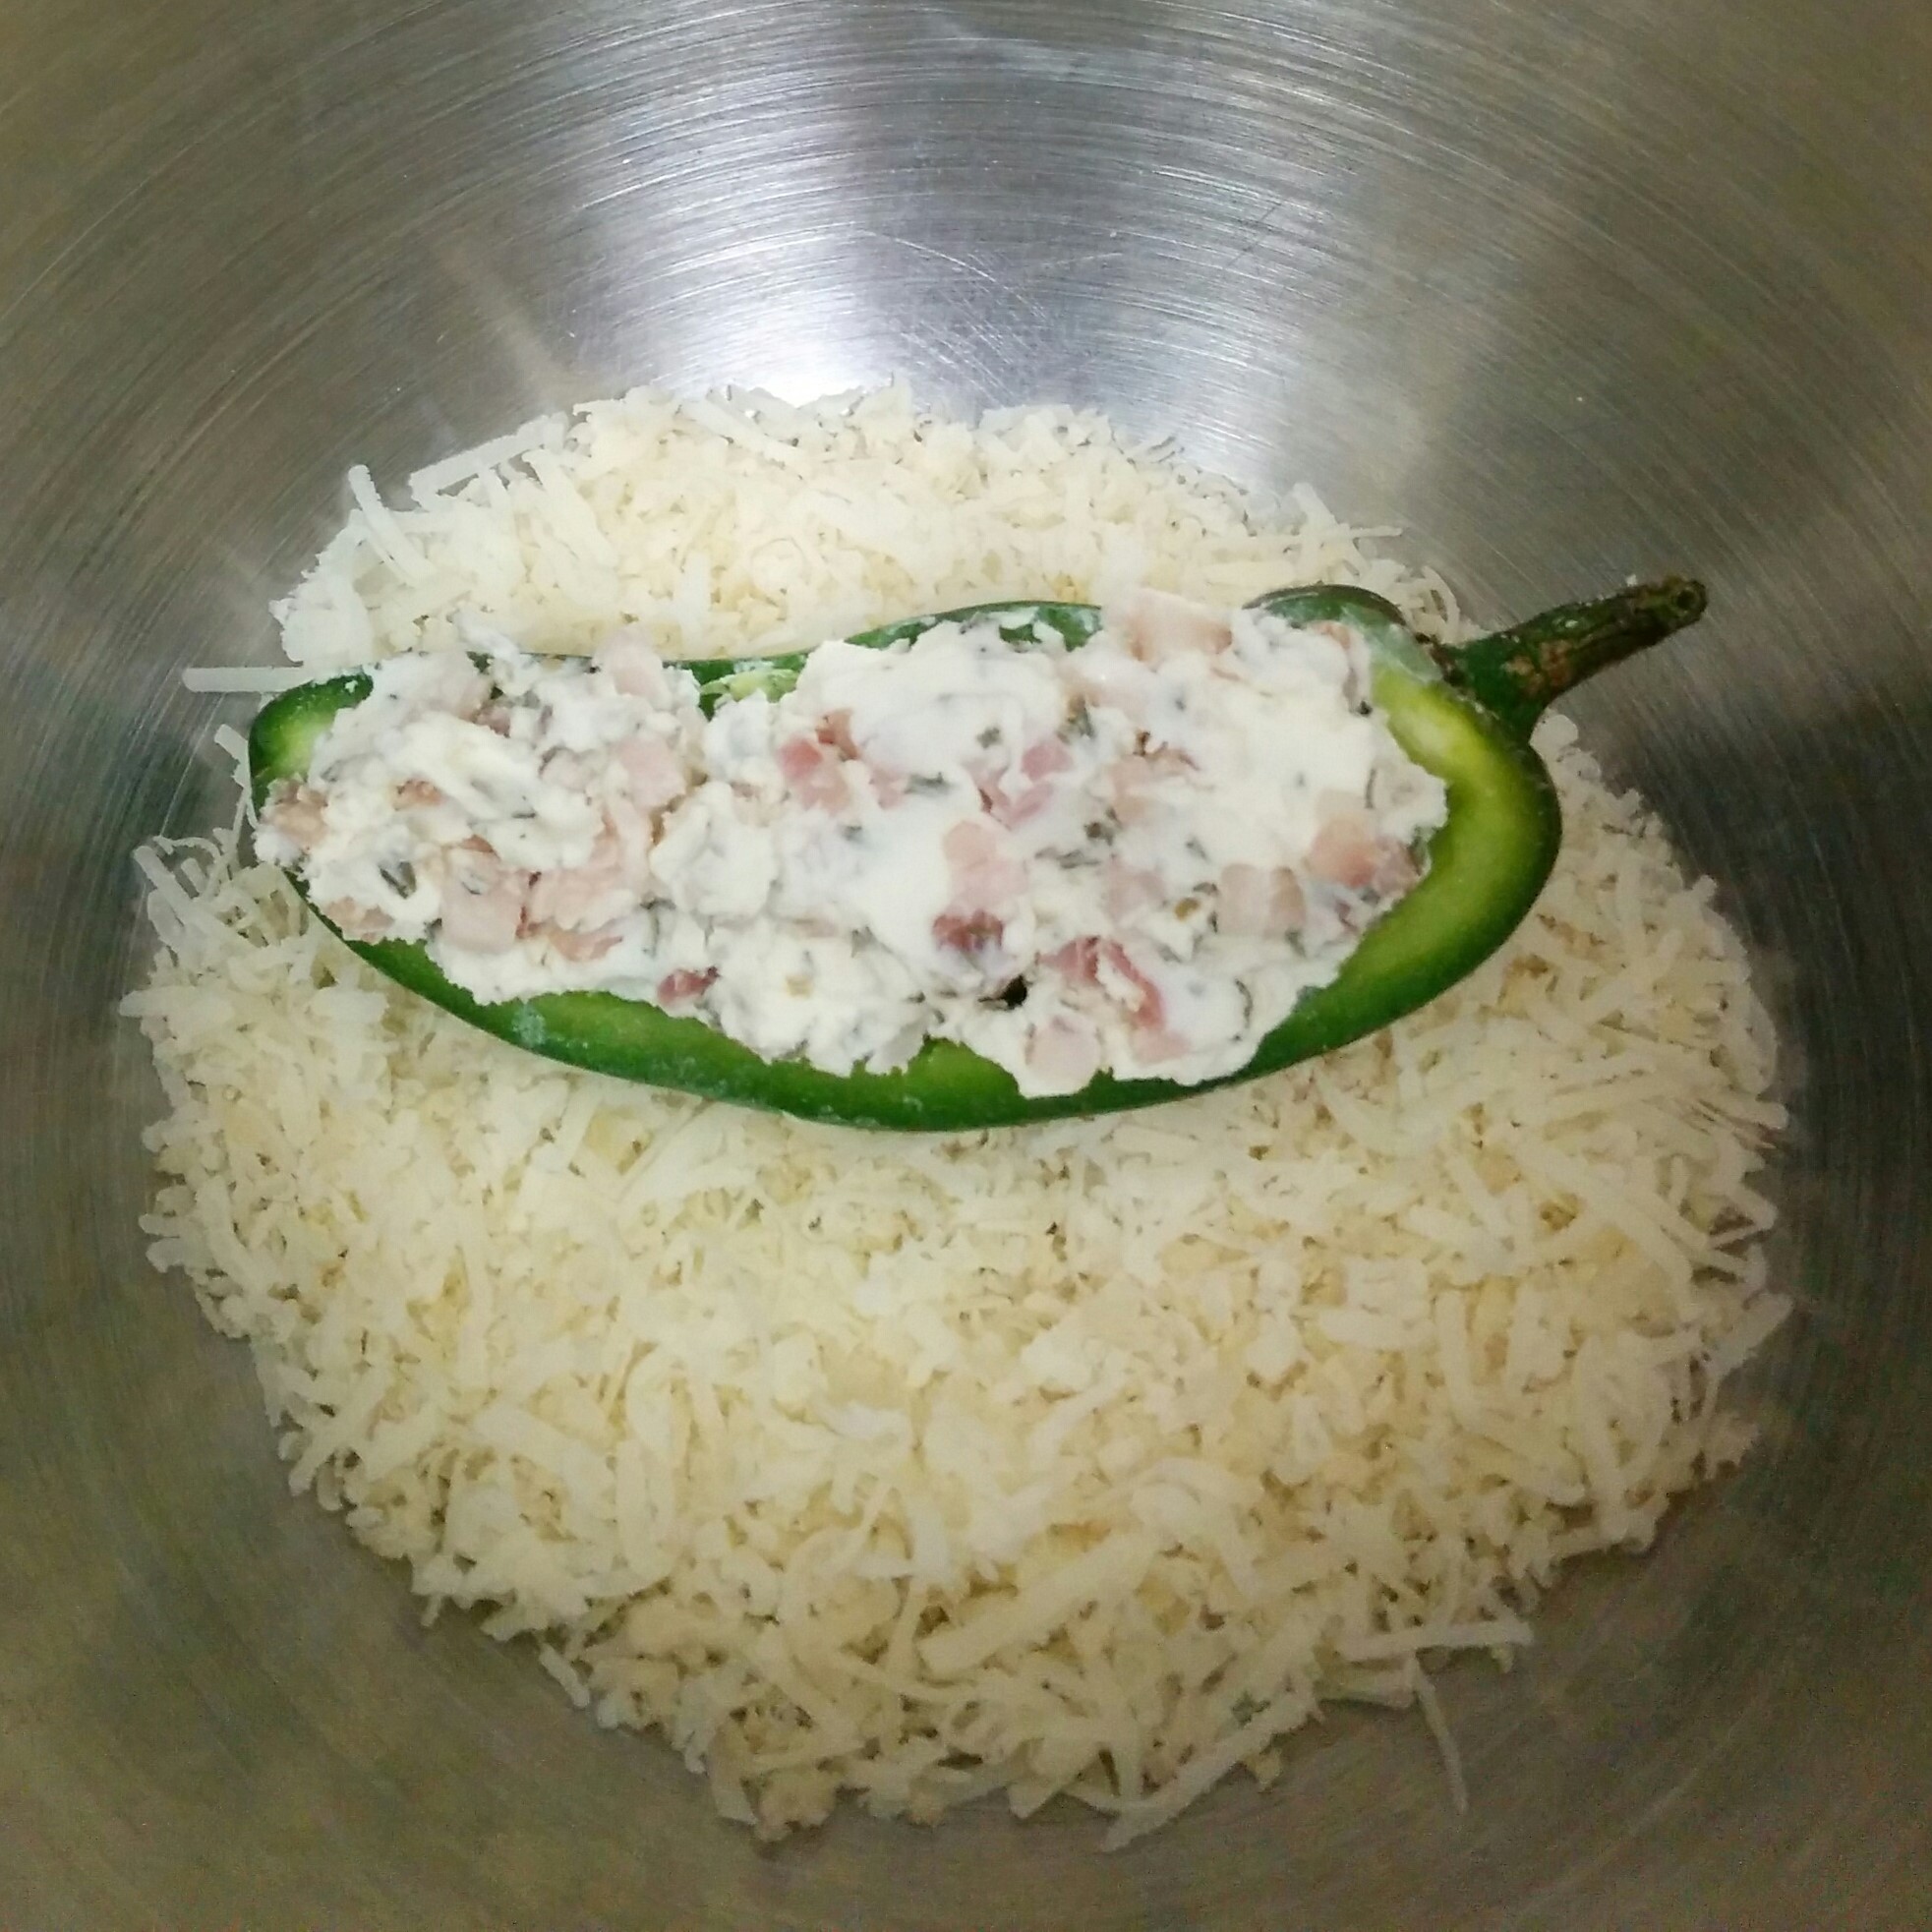
1/4 C Breadcrumbs (optional: with seasonings and grated parm cheese)

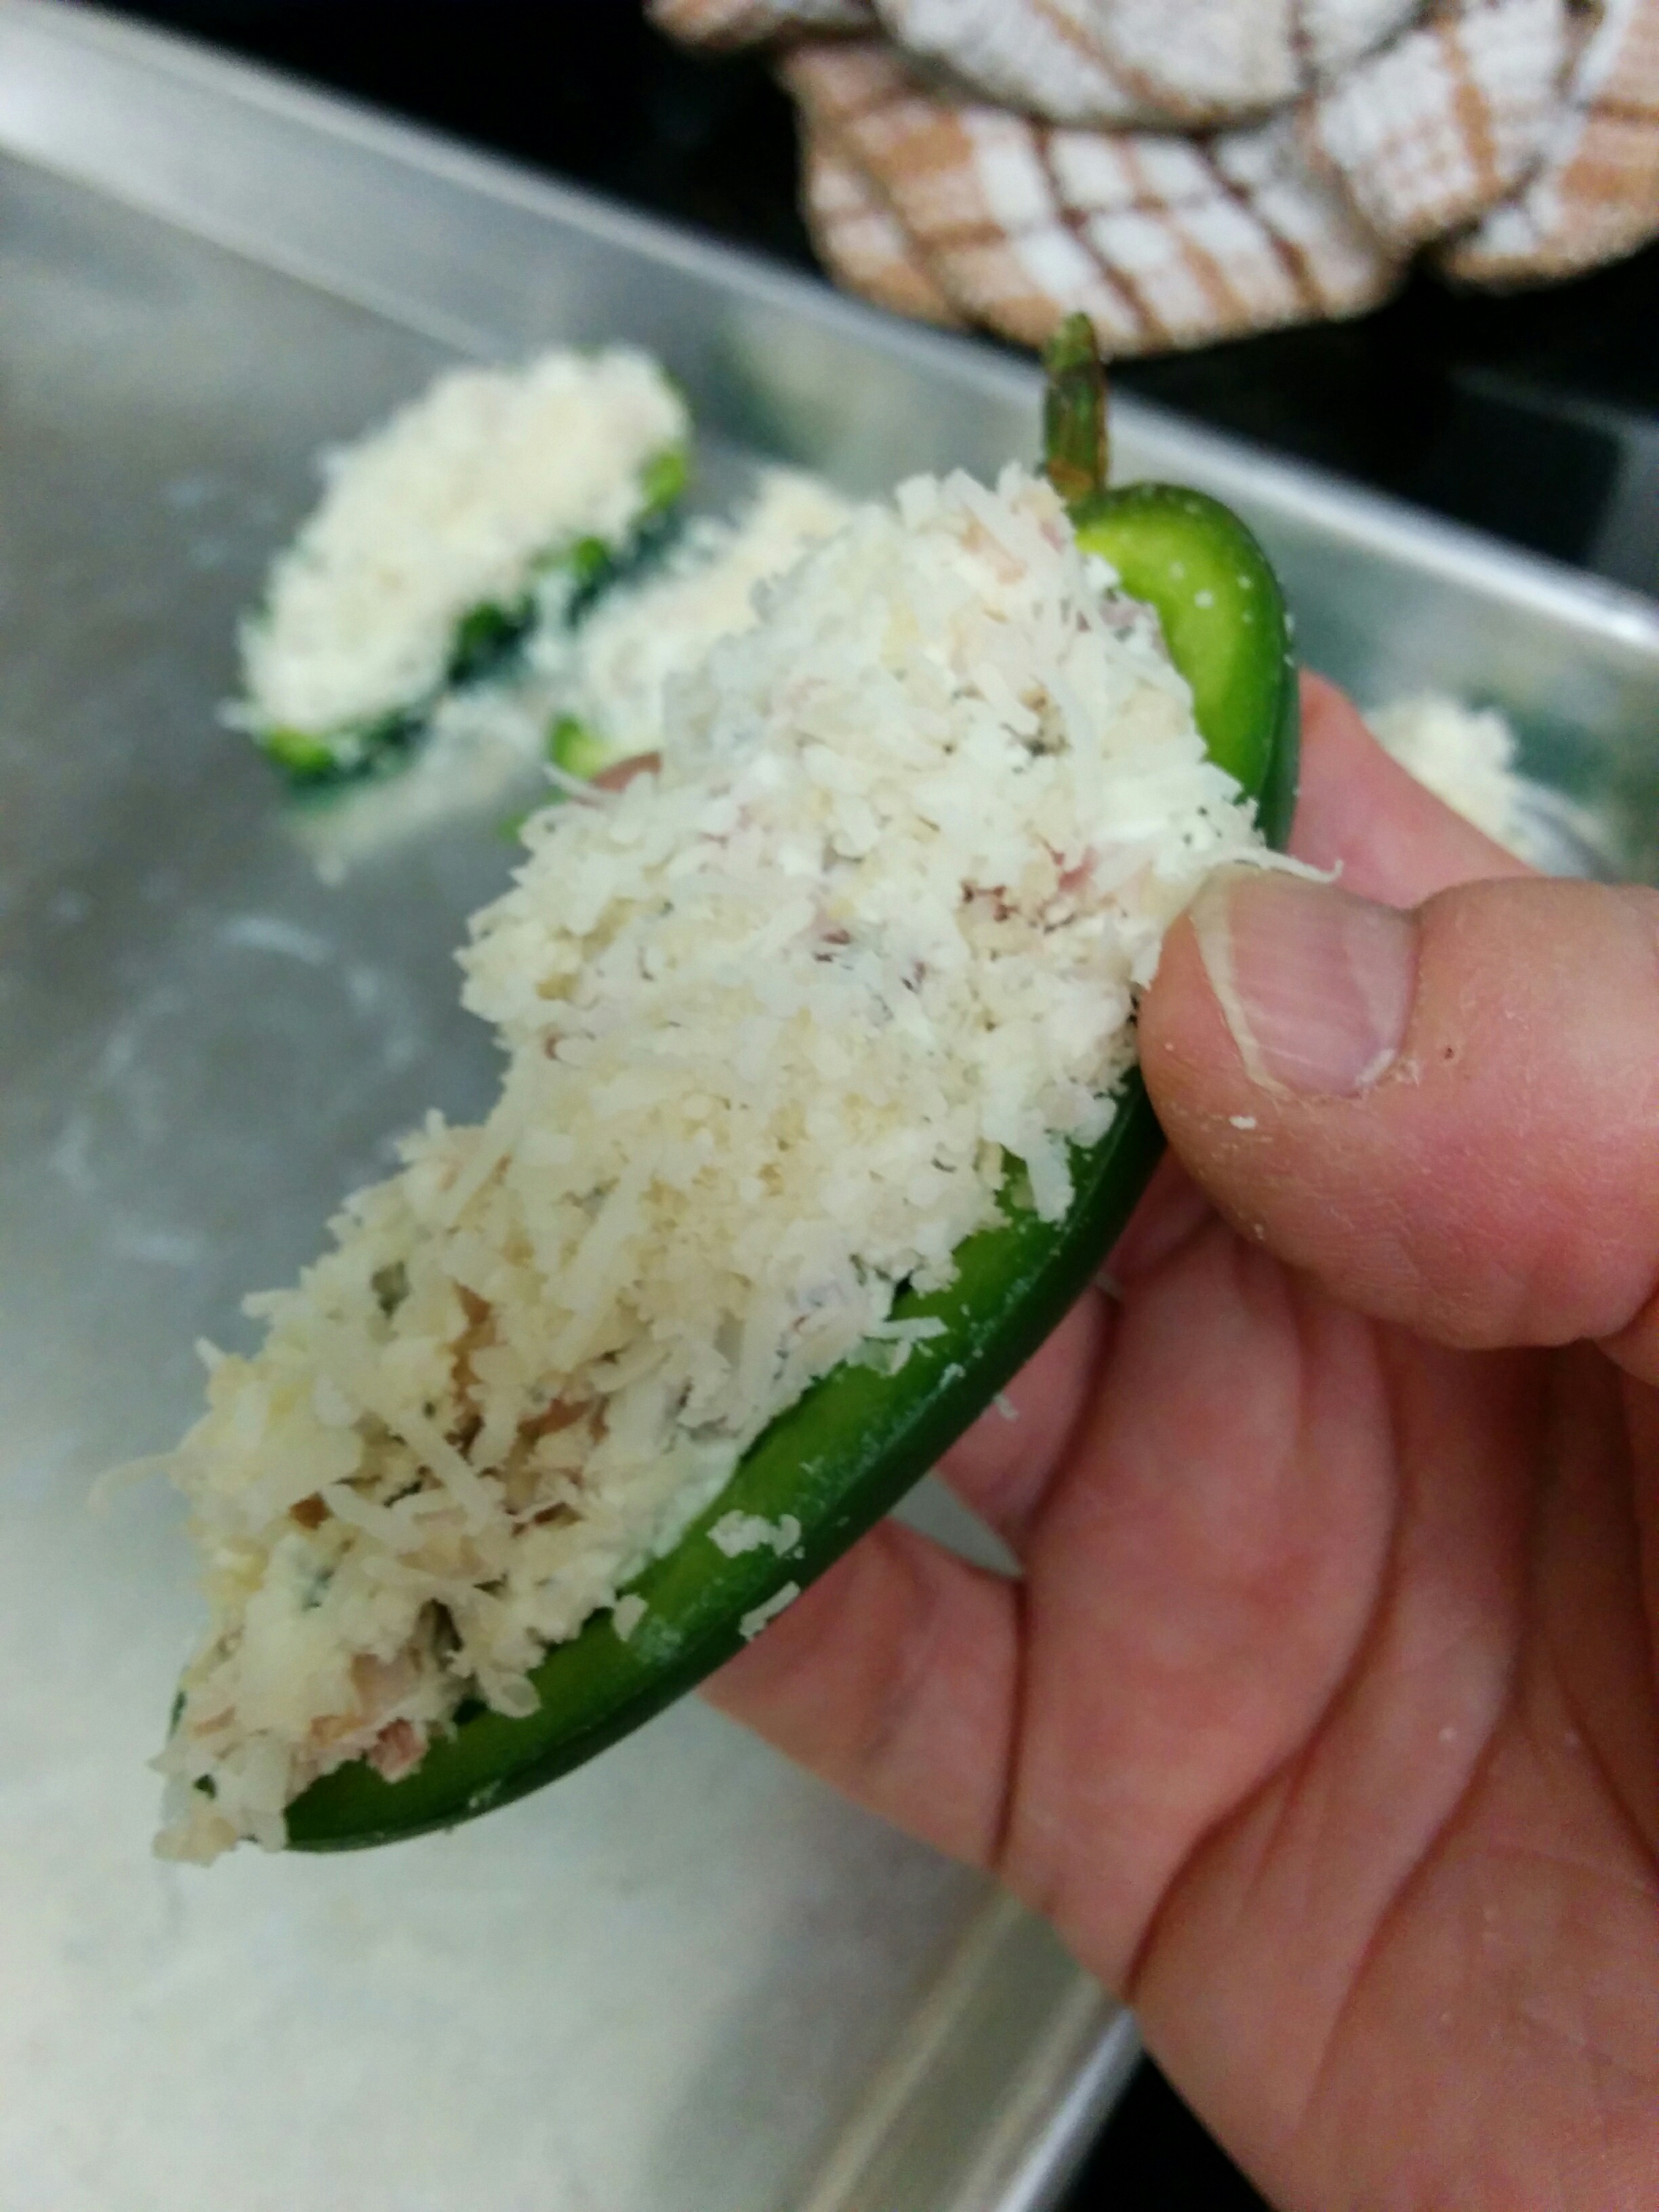
Dip each jalapeno boat into a small bowl filled with the breadcrumbs. Gently push down so the breadcrumbs stick into the filling.

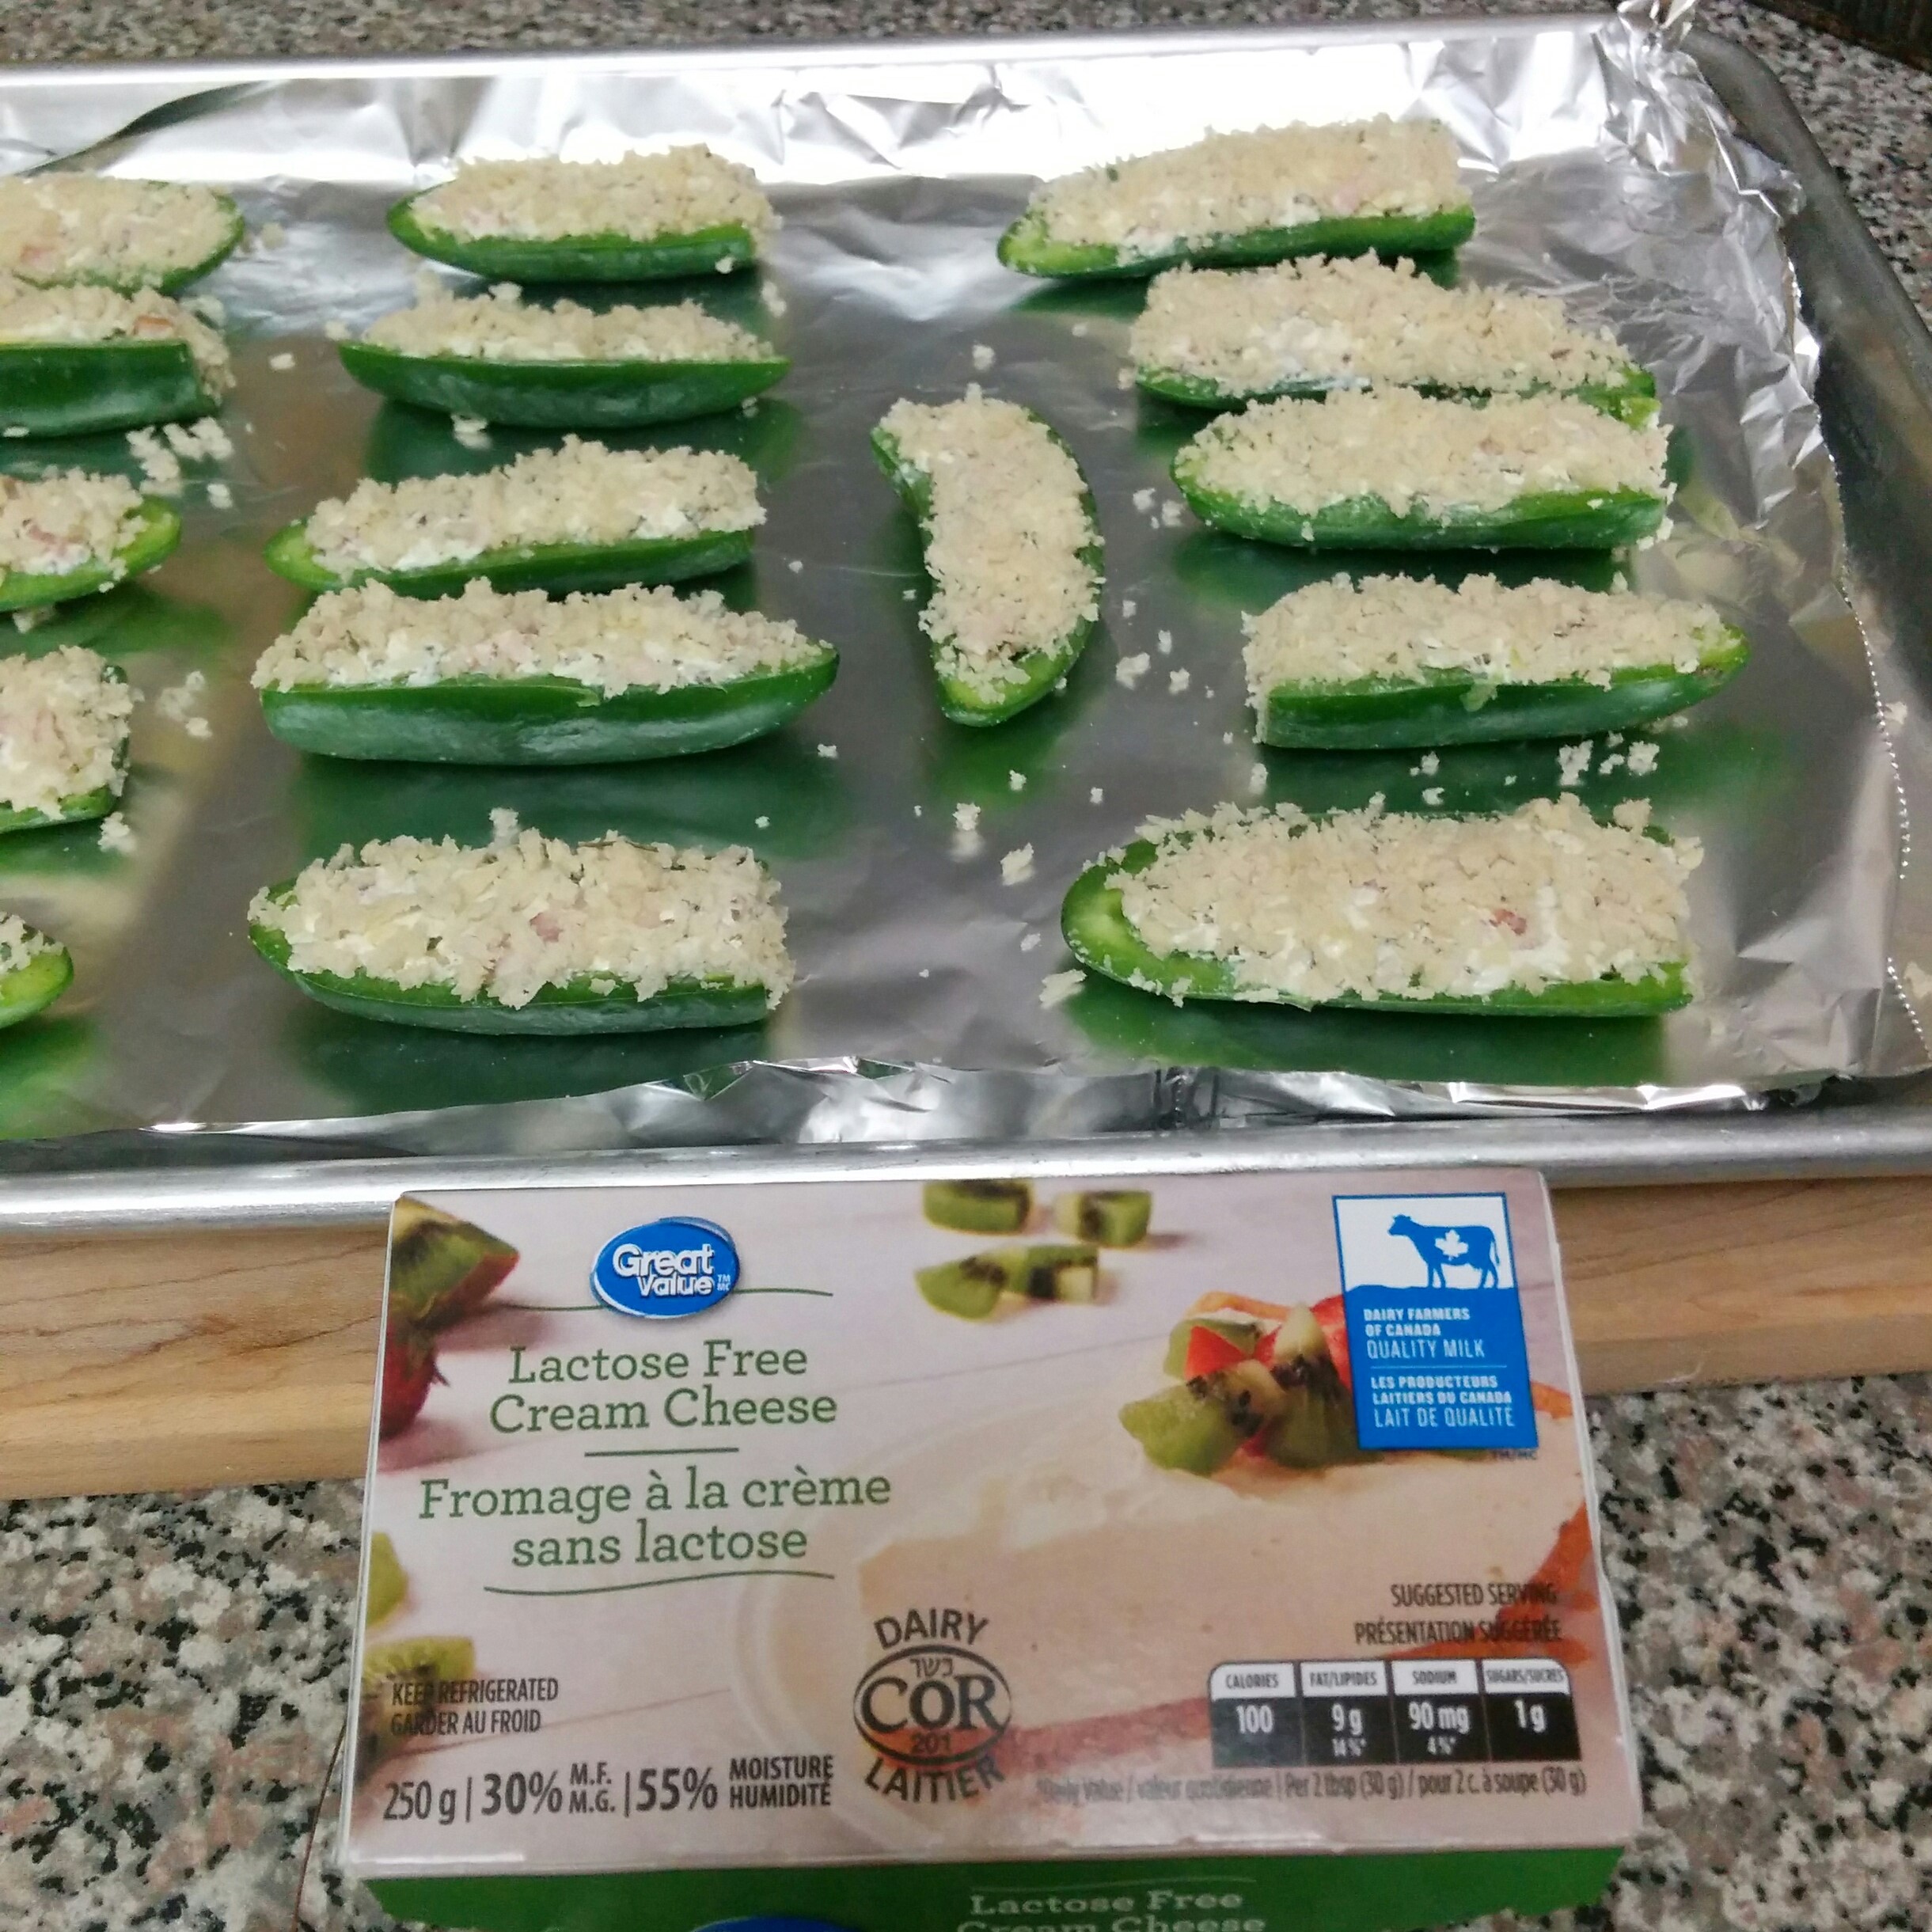
Place each finished boats onto a baking tray and pop into a pre-heated oven set to 400 degrees. Bake for 20 mins. Let them rest on the tray on top of the counter for another 10 mins. Serve hot, but not blazing hot straight from the oven.

Note: If you’re like me, lactose intolerant, good news. Walmart sells their own lactose free cream cheese now, and it totally works in these jalapeno boats. And the price is on par with regular cream cheese, which, btw, is almost unheard of for a specialty product!

Eggnog Talk

Eggnog is so controversial. Like cilantro, I find people either love it or they hate it. Unlike cilantro, I don’t believe there is any science to back up why that would be. My husband hates cilantro – it’s tastes like sand or dish soap in his mouth. Science backs up the theory that we are all predisposed to either like or dislike cilantro; no grey area in between. And that’s coded into our DNA. Fact.

But, when I bring up eggnog, I get a lot of the same reactions: “EWW!”, or, “Gross. I can’t deal with the raw egg situation.” Ok, clearly some of you have issues. (snort)

For the rest of us who are onboard with this custard concoction, have you ever tried making it at home? No? Why not?? Sure, it’s got a shorter shelf life than commercially produced batches, but find me one eggnog fan who won’t blow through a slim 1L carton in less than 48 hours. Go ahead. I’m wait.

This Chowhound Eggnog recipe produces roughly the same 1L volume. I love that I can potentially make a batch of this eggnog the night before and wake up to a bit of it in my morning coffee in less than 12 hours later.

(EGGNOG ALL YEAR LONG, KIDS.)

Give it a go.

Halloween Candy Redo

So, we don’t normally get kids at our door on Hallow’s eve – and therefore haven’t bought candy for the occasion in a few years – but one of our condo neighbours felt strongly that we would this year (not too sure why she felt that way, but she bought loads of candy she was that certain). I bought some when it was on sale the day before; just in case.

Fast forward to the night of, and oh mah gerd!, the weather was wet and nuts, so no kids. Again. (le sigh)

I really didn’t want the box of candy bars to be consumed one after another in from of the tv like years past, so I turned the best of the bars into a lovely ice cream I’m calling Candy Surprise.

The base was made using the Alton Brown recipe, and to that right before I poured it in the ice cream machine, I whisked in two heaping tablespoons of Coffee Crisp hot chocolate powder. As the machine ran the first 15 minutes of the cycle, I cut up the fun size chocolate bars (Snickers, Mars, and one other I’m blanking on) into tiny bite size chunks.

I added half of those bite size cuts to the batch in the last full minute. (I didn’t want it all to sink to the bottom of the ice cream.) I also held some back to scatter in as layers (bottom, middle and top) to compliment what the batch froze in place. I find this produces a much more satisfying inclusions distribution.

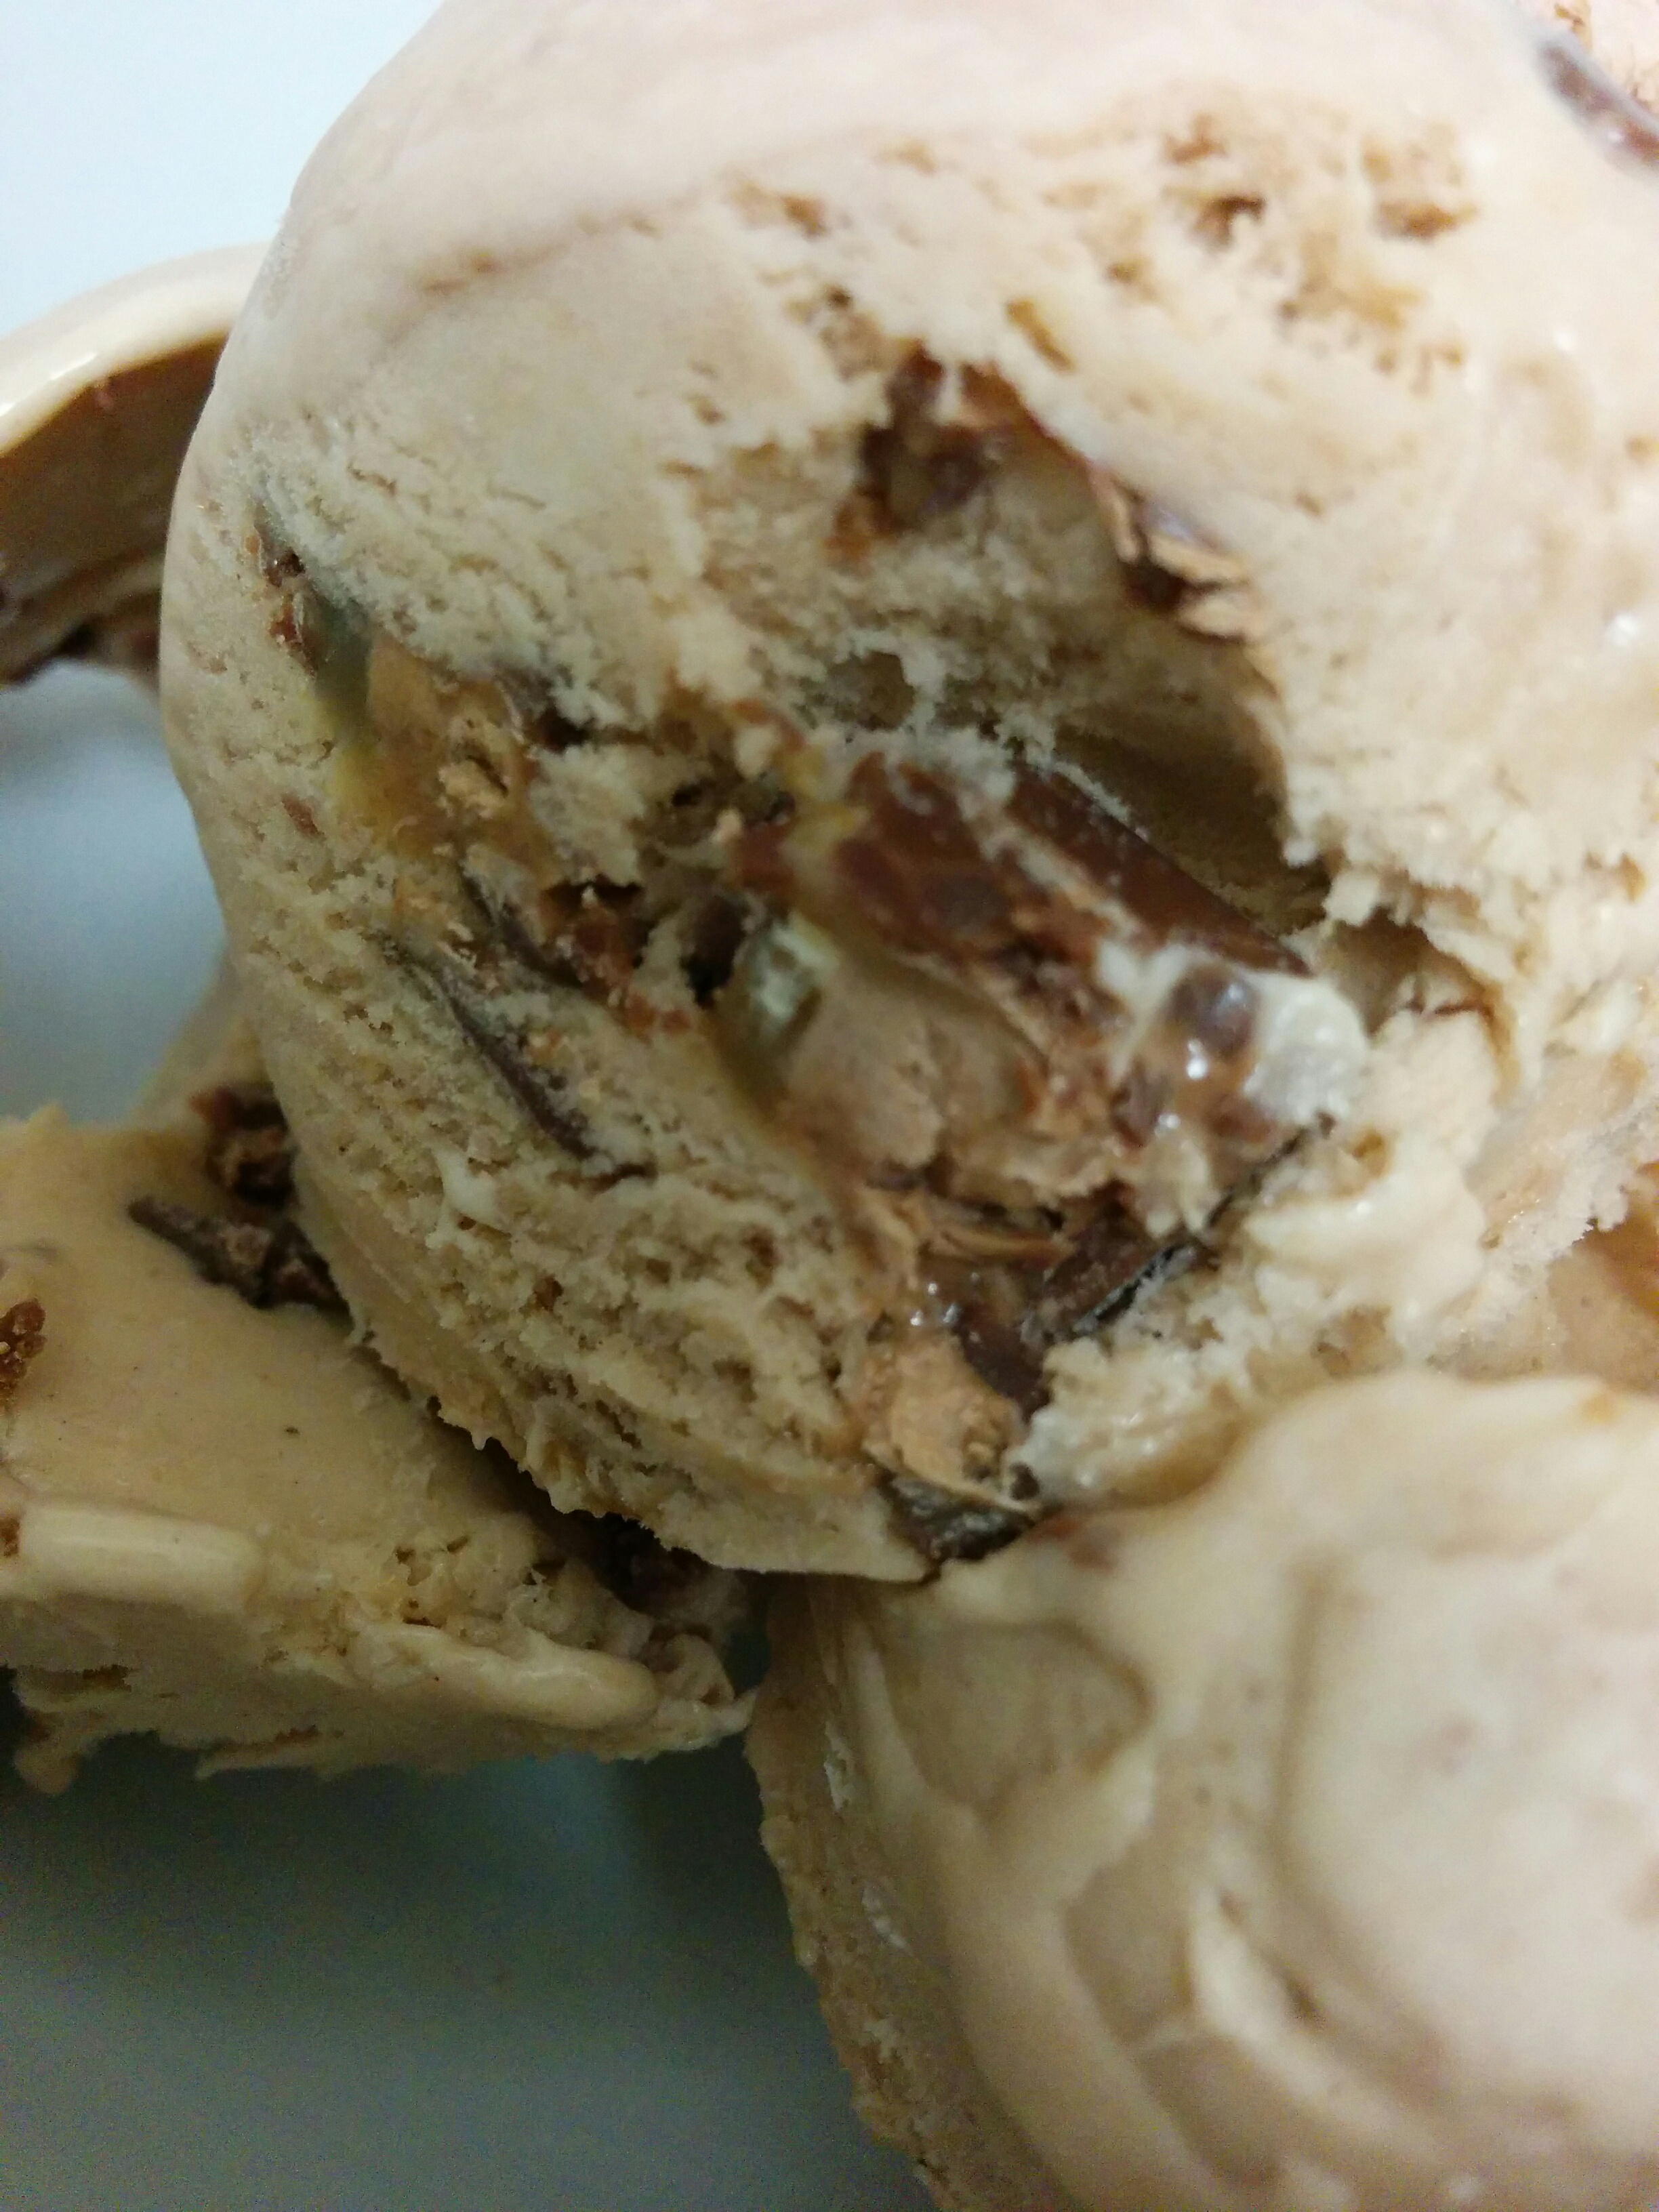
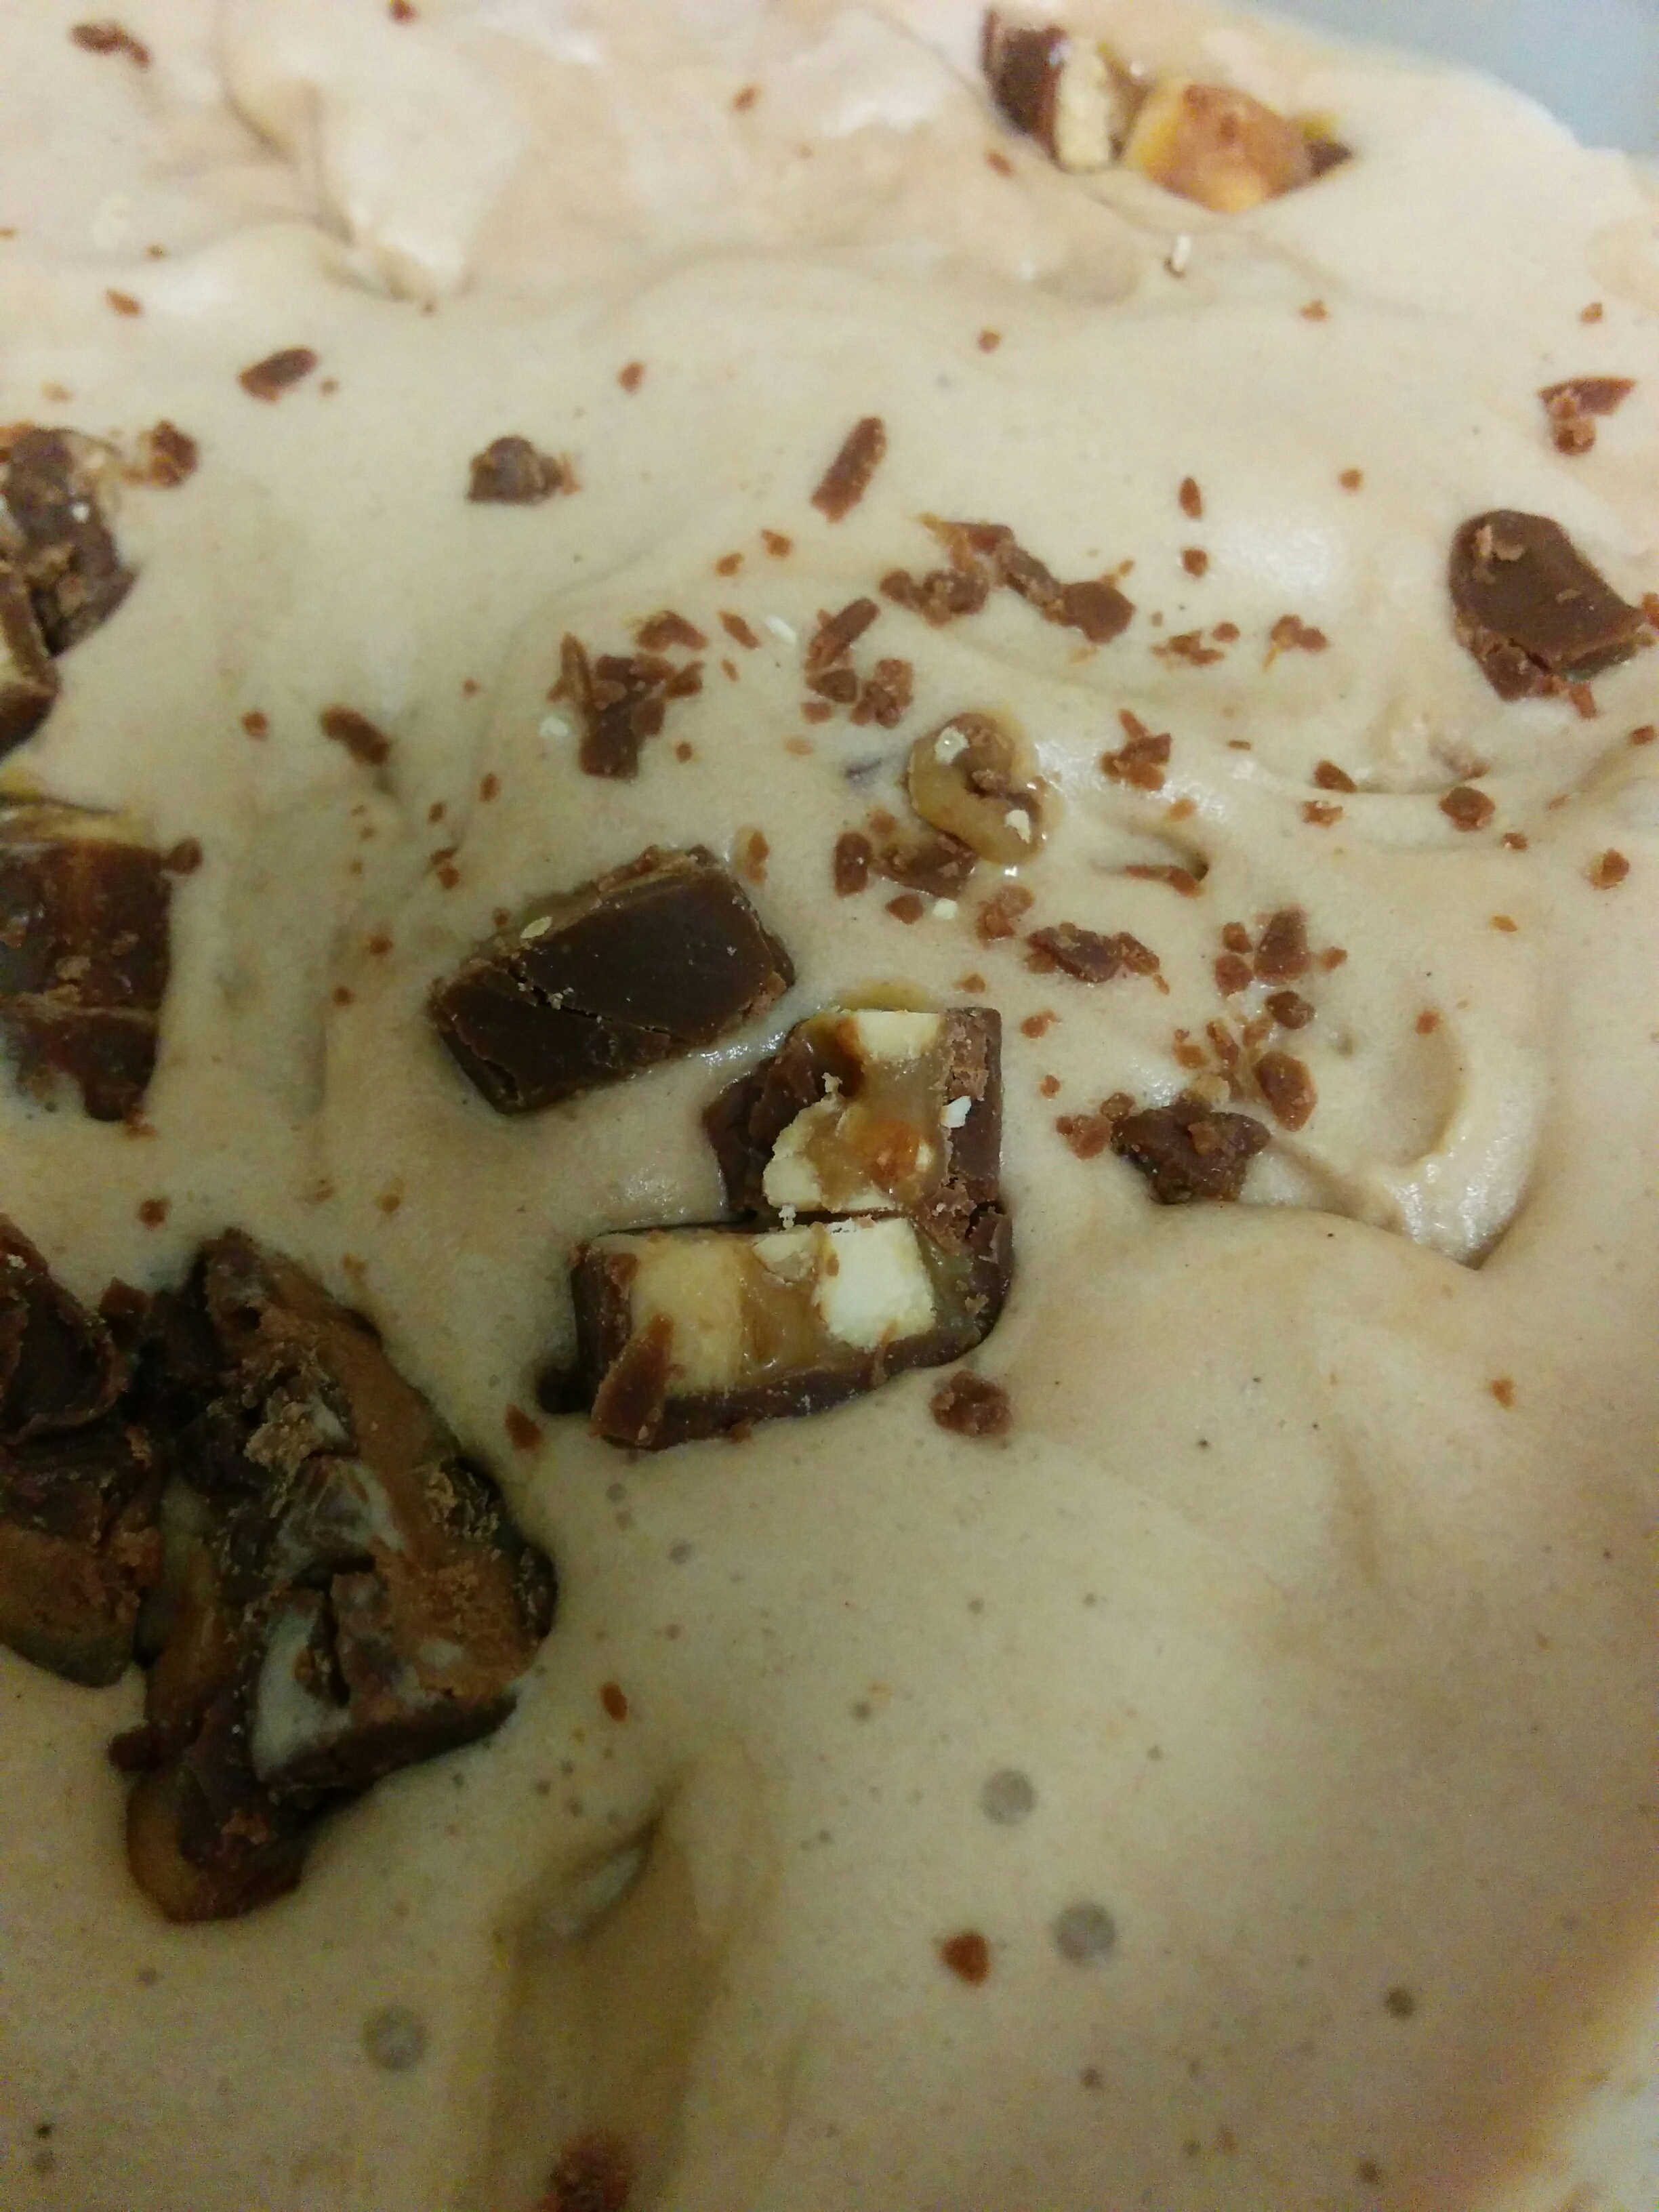
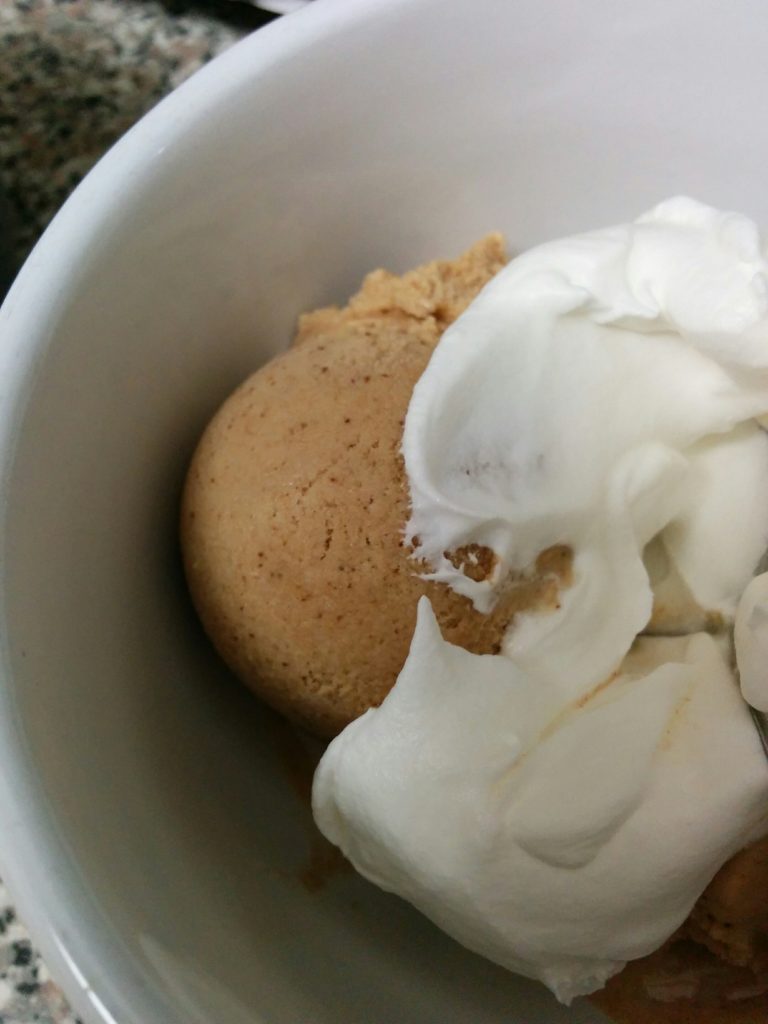
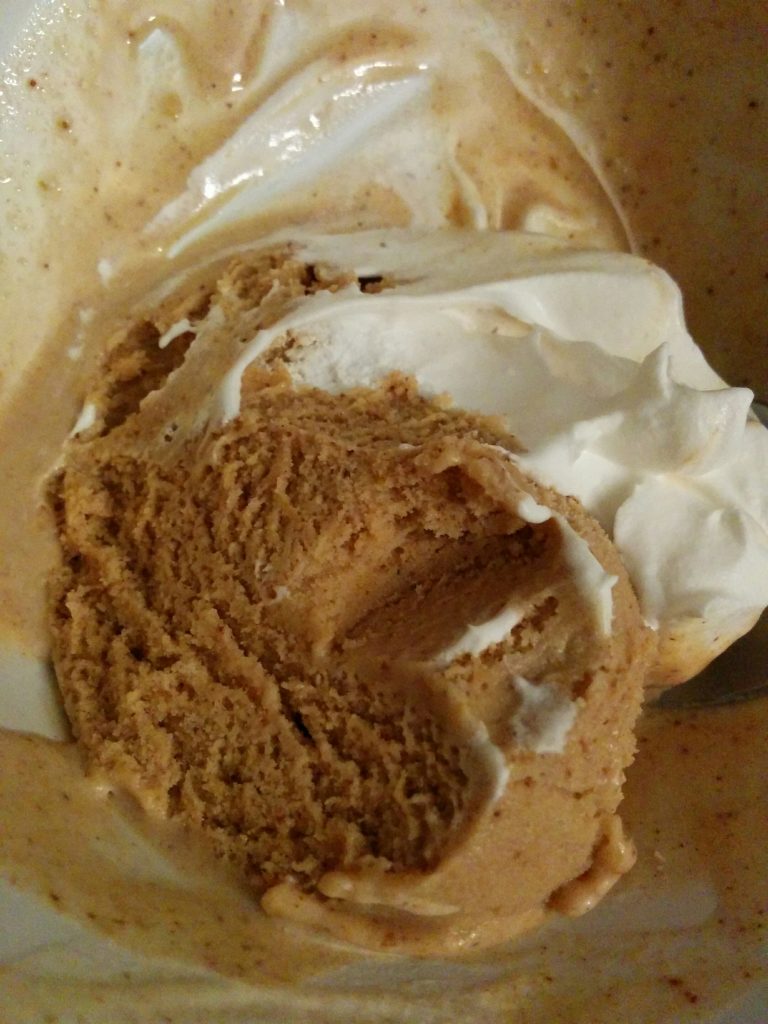
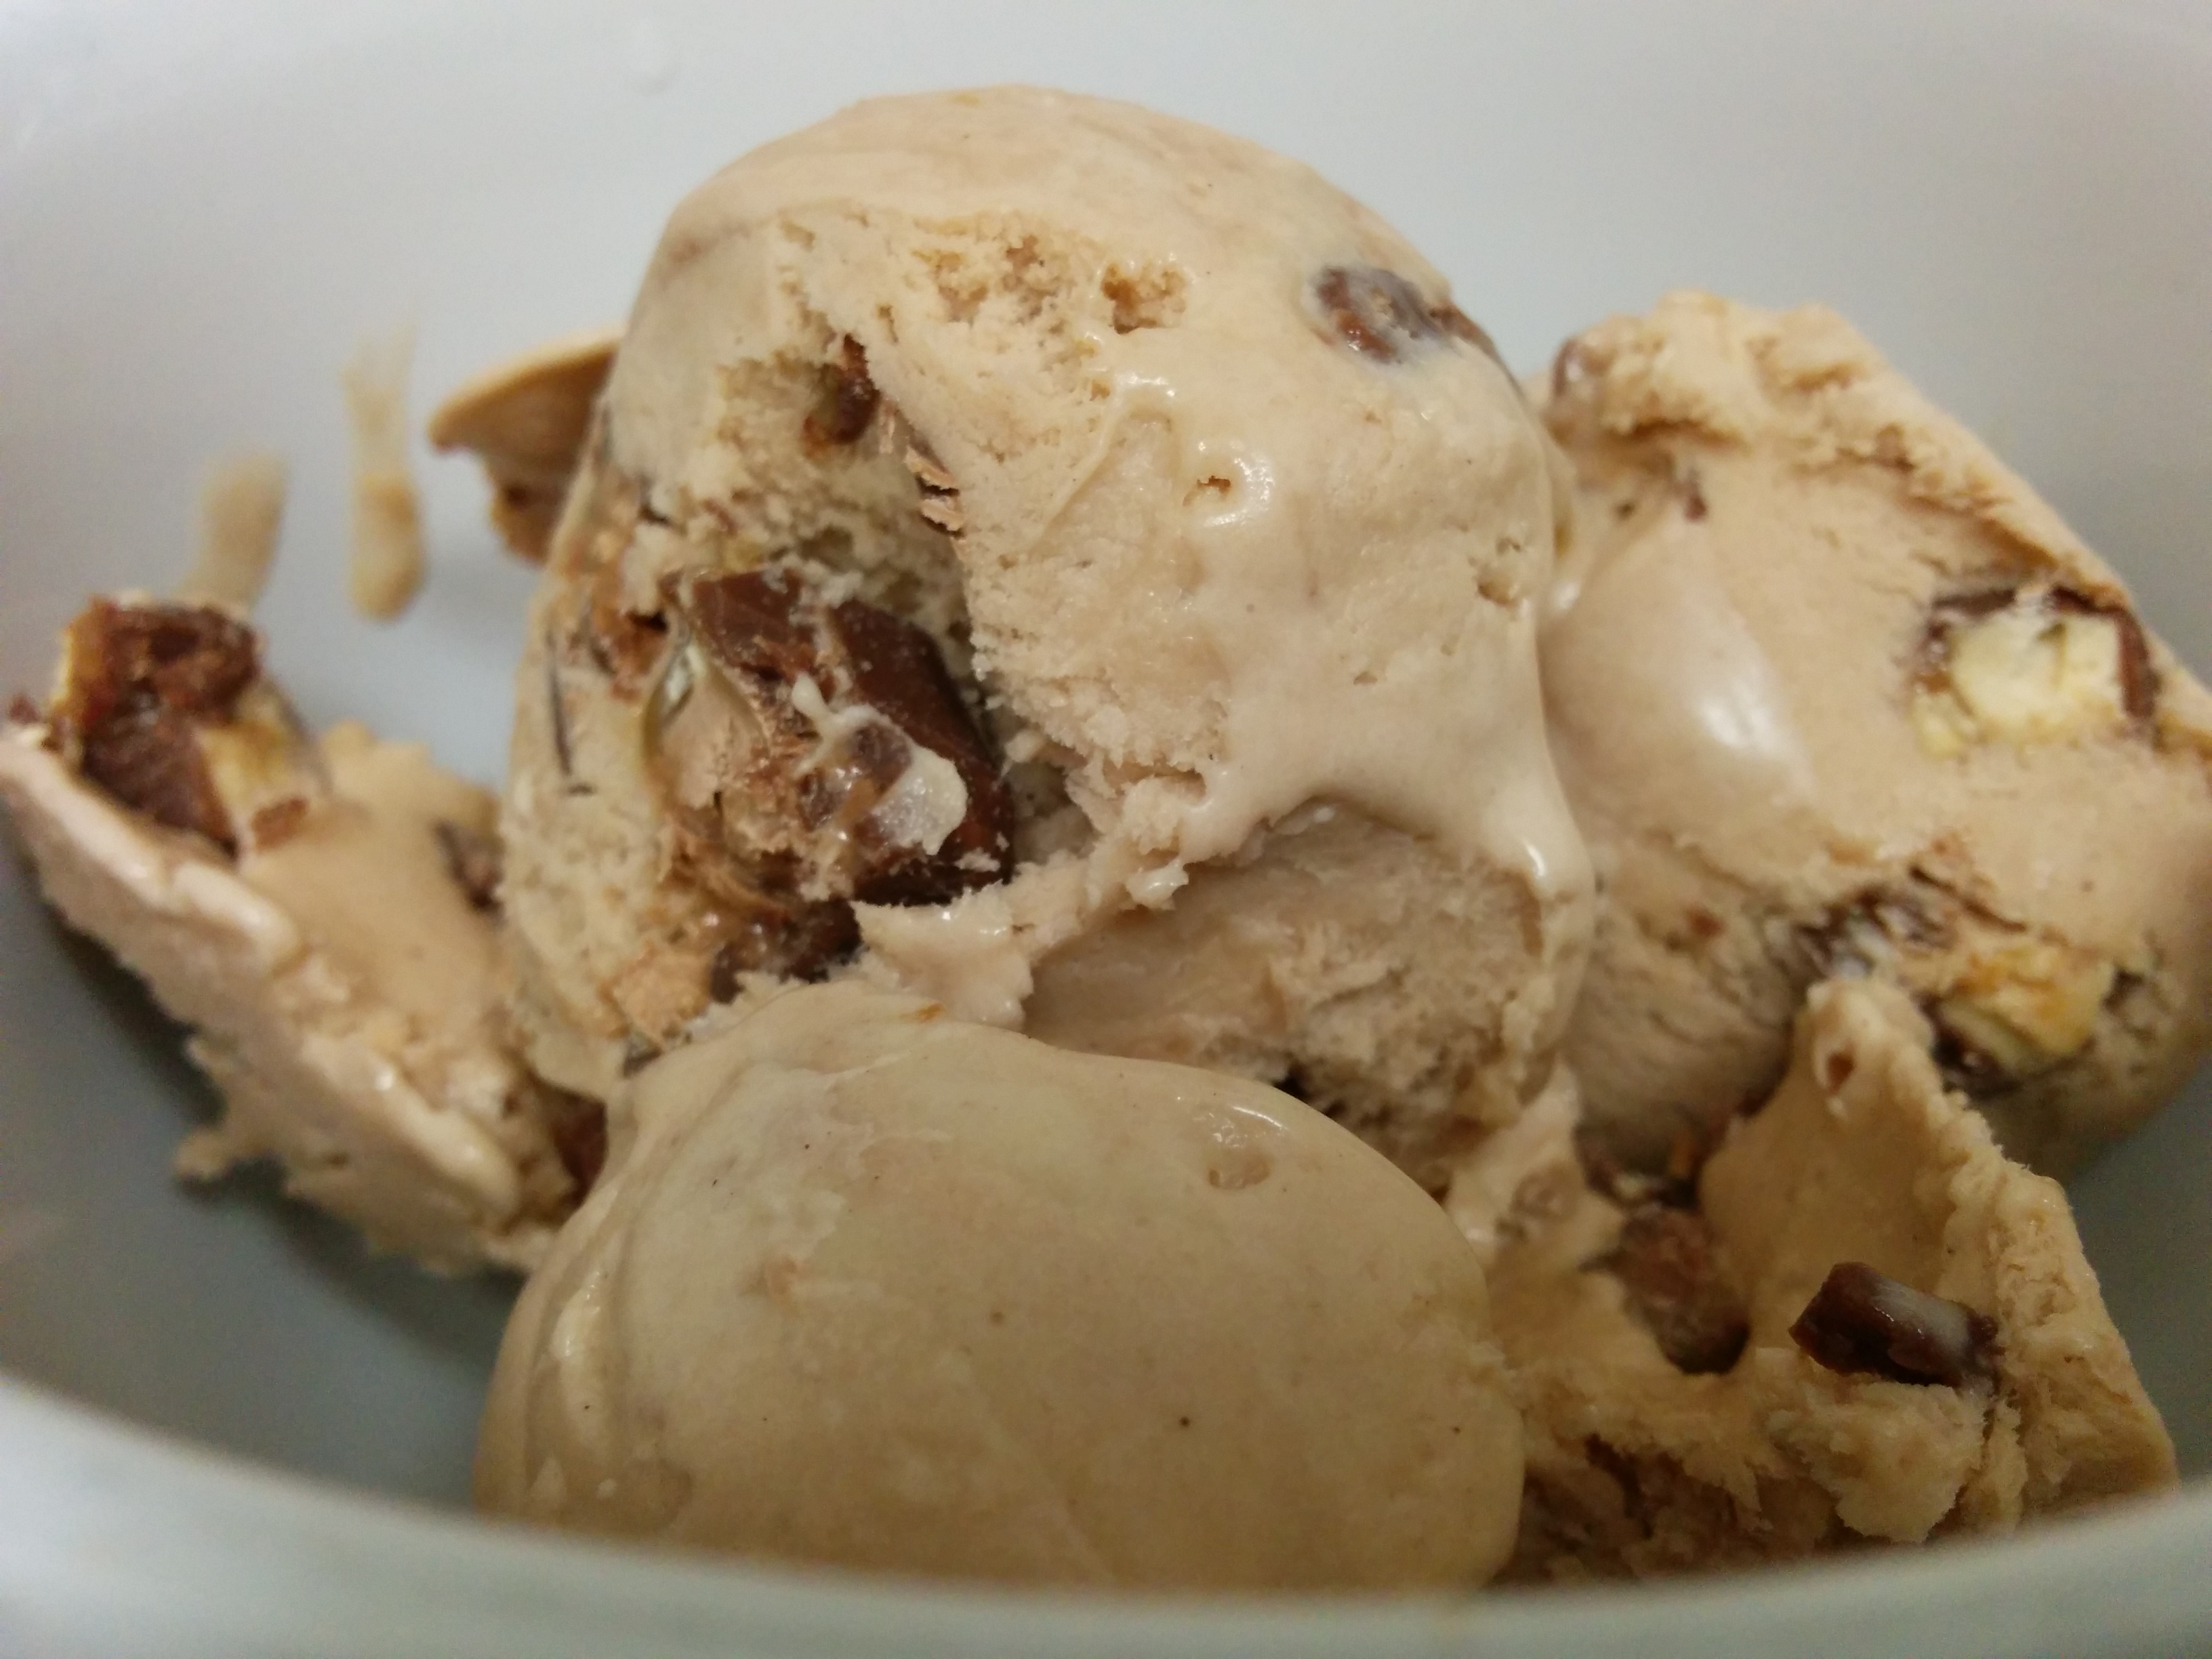
The husband loves this batch despite not being a fan of coffee (and yet still a lover of Coffee Crisps? Uh, ok.) But really, if it’s 1000% sugary and over the top, he will love it regardless of what I make. Sort of. He refuses to try my Basil ice cream, and I’m A-ok with that. All the more for me! 😀

Chicken Penne Fra Diavolo

Fra diavolo is loosely translated as “brother devil,” or devilish brother pasta, and it’s not a traditional Italy manner of serving pasta dishes. It’s something American-Italians made up from what I gather.

( picture placeholder )

All skillet pasta dishes like this one are very easy to assemble and plate using pre-grilled chicken, pre-made sauce, pre-cooked pasta from the fridge *, and prepped veg.

But, if you don’t have time to prep the night before, or the morning of, you can still make this dish on the fly when you get home in under an hour (assuming you’re giving the chicken 30 mins on the counter to come up to temp for more even cooking).

Boil the pasta water while the oven heats up, and start slicing up the vegetables. Roast the pillared or butterflied chicken in the middle of a sheet pan surrounded by vegetables coated in oil and red pepper flakes (this deepens the heat of the flakes and spices up the veg) at 400 degrees for 10-12 mins. Salt the boiling water well, and drop the pasta in. In a small sauce pot, heat up the sauce or med-high heat.

Flip the chicken at the halfway point of roasting. Heat up a big skillet and get it hot enough to add oil to it. Cook the pasta to almost al dente. The pasta finishes it cook in a sauce pan with the veg + sauce over a high heat. Pull the sheet pan out when the chicken reads 165 degrees with a thermometer.

Let the chicken rest off the sheet pan up to ten minutes before slicing. When the sauce and pasta are finished, add 2 tbsp of oil to the heated skillet and add the roasted veg to soften a bit more, followed by the pasta for a minute or two. Add some pasta sauce, and heat the whole dish through. Add a bit of the pasta water to thicken up the sauce in the last minute of cooking.

Plate the pasta into a bowl plate and top with slices of the chicken, some chopped green onions, and a smattering of a grated parm. If too many red pepper flakes were used, use pinch of toasted breadcrumbs can be snowcap the pasta to sop up a bit of the stinging.

Chicken Penne Fra Diavolo:
2C dry Penne noodles
6C heavily Salted boiling water
2 large seasoned Chicken Breasts, butterflied or pillard
1 1/2C Pasta Sauce of choice (I use a jar sauce when pressed for time)
4C large cuts of Red & Orange Peppers + Broccoli florets
Neutral Oil
A pinch Red Pepper Flakes (to taste)
1 -2 Green Onions (finely chop stems only)

This will make enough to serve 4 hungry people comfortably.

Topping Ideas: Can be fresh cracked black pepper (a smidge – you will already have spicy veg and flakes in the dish) and fresh shavings of parmesan or any other cheese of your choosing, and a small sprinkling of breadcrumbs to compliment the sting of the red pepper flakes.

* Often I will cook a pot of pasta the night before as I cook another meal that night, and lay the noodles out across a plate or a sheet pan in a thin layer to rapid cool it all down before storing it in an airtight container in the fridge. That pasta will get dropped in a pot of slightly salted boiling water for up to a minute to heat through before transferring it to another cooking vessel like a skillet or a casserole dish. It really does speed meals up.