Air Fryer Bacon

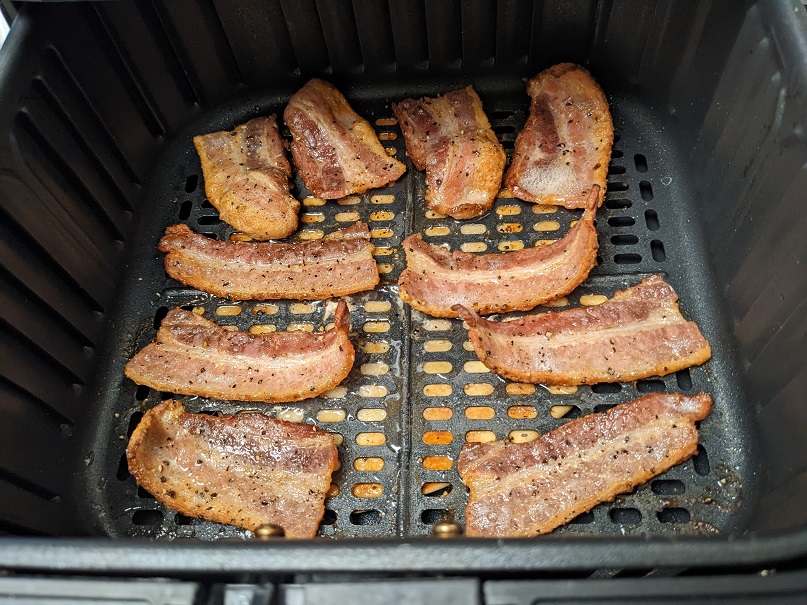
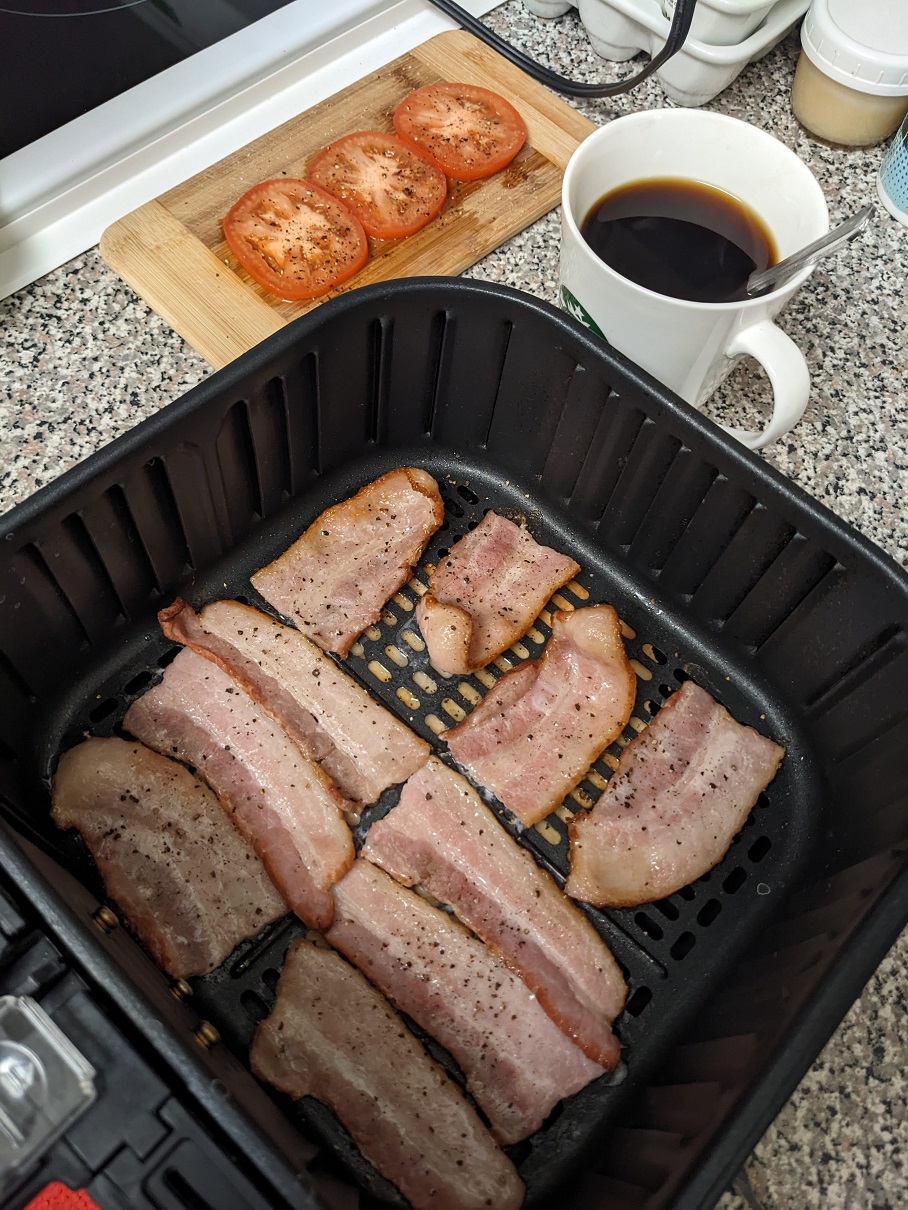
This was a gamble given how expensive thick cut bacon is, and since it’s the only bacon I will buy (snob alert!), I cut two or three in half, and lined the basket with them. I added some cracked pepper and grinds of red chili pepper flakes. I didn’t need to use any spray here. The fat rendering out of the pork did all of the heavy lifting for me.

The first side was cooked at 400* for about 4 mins before being flipped to finish cooking for another 3-4 mins. It cooked up perfectly. With minimal curl, to boot. I hate curly bacon (and hair).

Of course the first batch was immediately consumed in a BLT sanny. Yum!

Home Reno – Pantry Storage

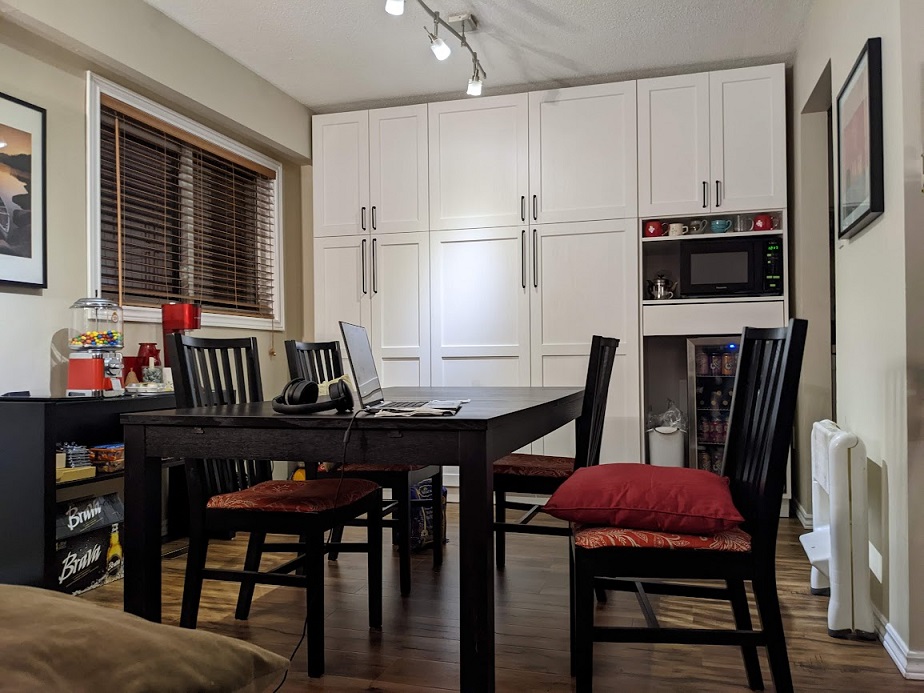
Ok, here we are. This is the big project we did. Big in terms of scale, size, and cost. But worth every penny. This project was inspired in part by the wall of storage you’ve enjoyed since your parents bought that house 30-ish years ago. I’ve been in awe of that much space ever since. It’s been tucked away in my head ever since.

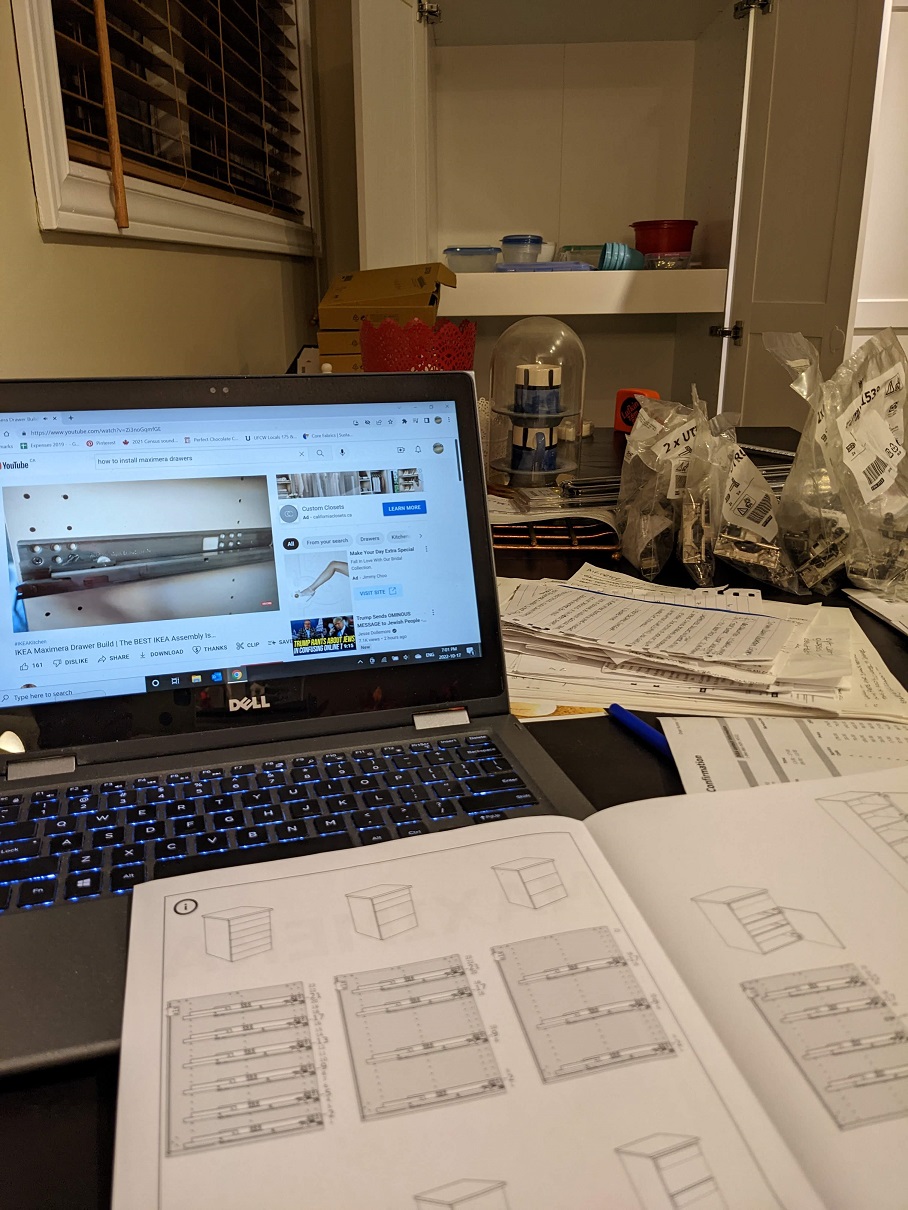
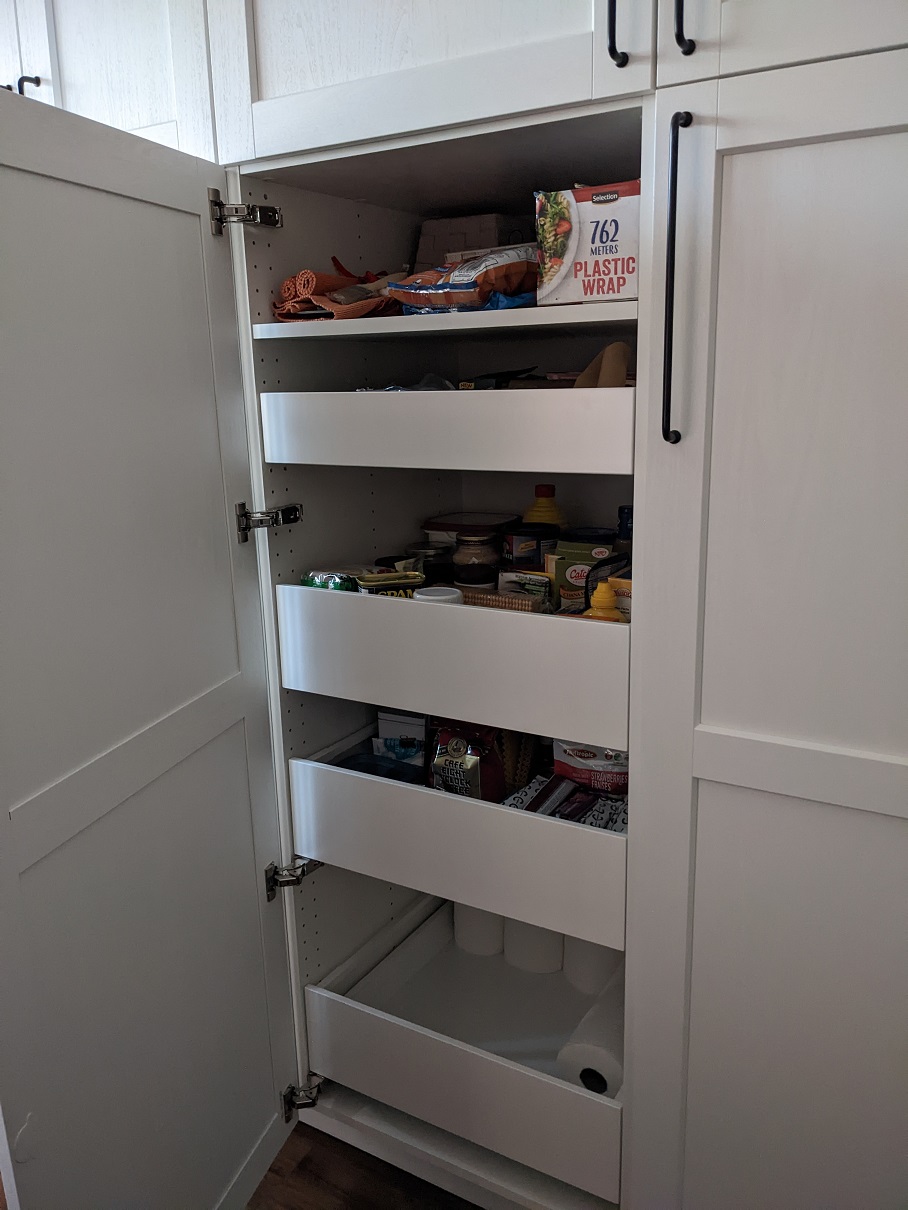
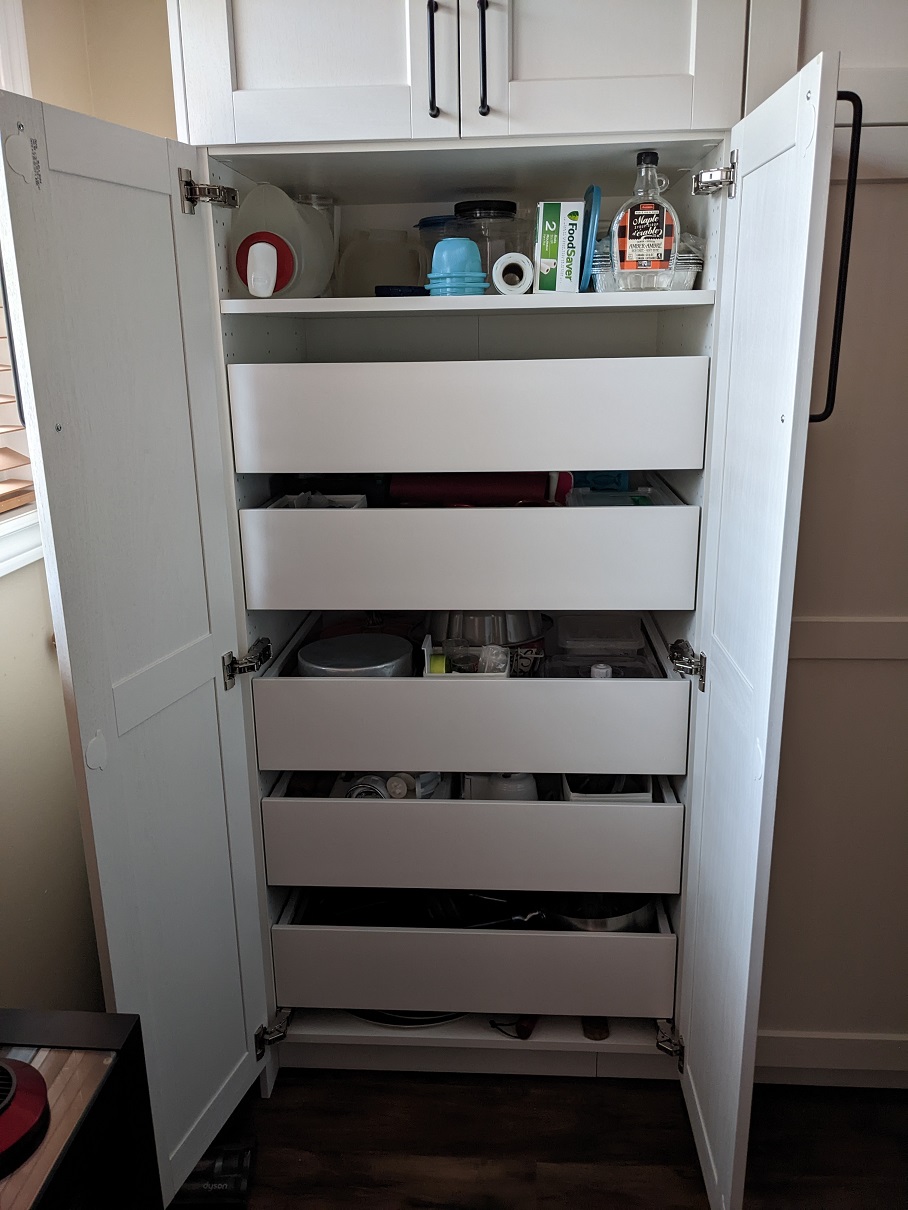
This is my take on it. A full 9′ of storage cabinetry stuffed with pull-out drawers and shelves to spare. We even carved out some space for two appliances: the microwave and the drink fridge. The husband busted his ass planning this all out, buying all of the parts and materials, and assembling it all for me while I was – you guessed it – at work.

My main job was to figure out where the drawers and shelves would reside, and what went in them. After all that, I had to put all of my kitchen crap in these cabinets in a neat, orderly way that is easy to find and not too junky looking. For the most part, things are where they will live forever, but sometimes I will figure out something needs to be moved and just do that on the fly.

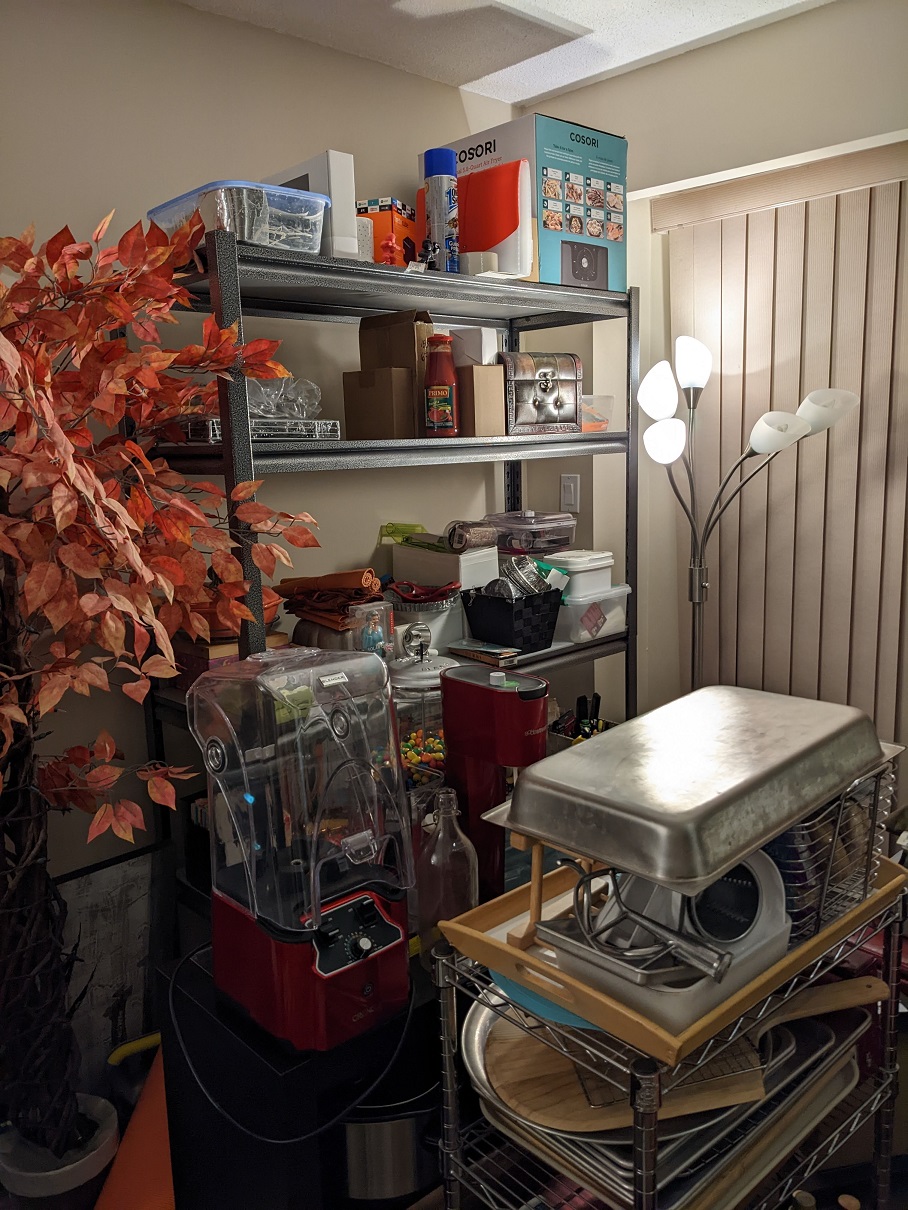
This is a small sampling of the crap I had to find a home for. I got rid of a lot of stuff before this picture was taken, too! 😀 So, as you can see, I needed proper storage in this dinky house. This house couldn’t handle my kitchen needs. I have no idea how my neighbours live with their lack of storage, but this is what we did to solve this very vexing and annoying problem.

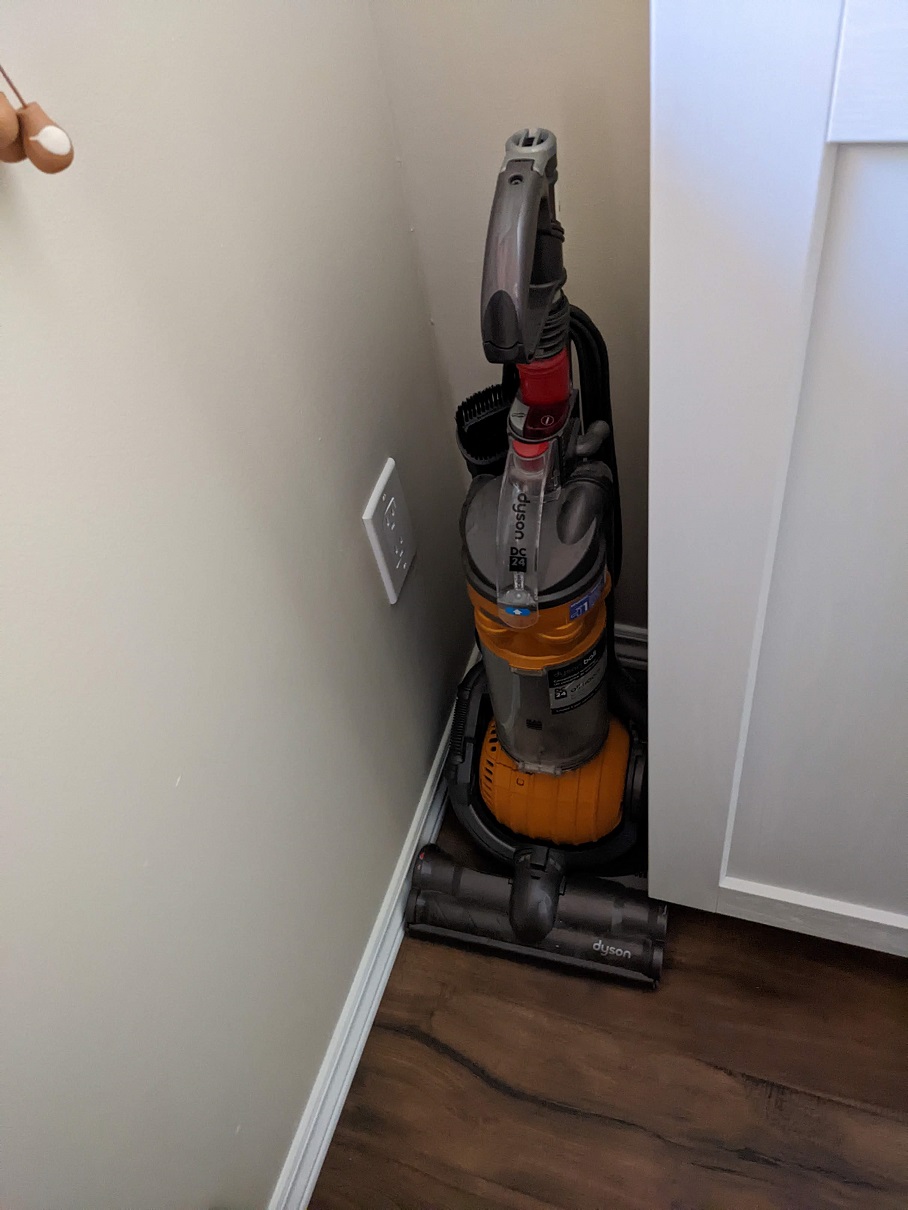
One other issue we’ve always struggled with is, where do we store our brooms and vacuum? The brooms ended up on a wall in the garage, but the vacuum always kicked about. I hated that, but there was next to zero closet storage on the main floor. Thanks to a weird jog in the wall for the hvac stuff, we had a small nook left over that ended up being the perfect size for our baby Dyson. (We have since replaced it with another thin upright vacuum type that also fits in this nook perfectly.)

And finally, I have to talk about how life-changing pull-out drawers have been for me, a woman with tiny T-Rex arms. We paid a LOT for each of these drawers, but I wouldn’t trade them for all the tea in the Boston harbour. They have made this project complete. I can’t imagine trying to live with these cabinets but with just a bunch of shelves. For real, these were invented for people like me. I cannot recommend them highly enough! 🙂

Home Reno – Front Door Glam Up

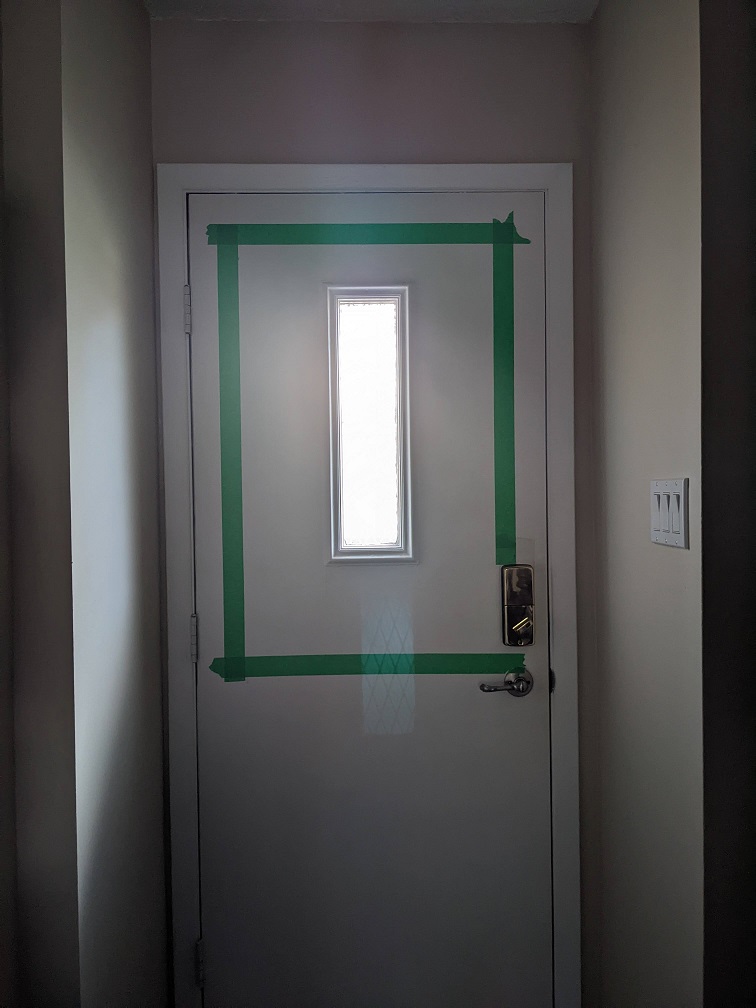
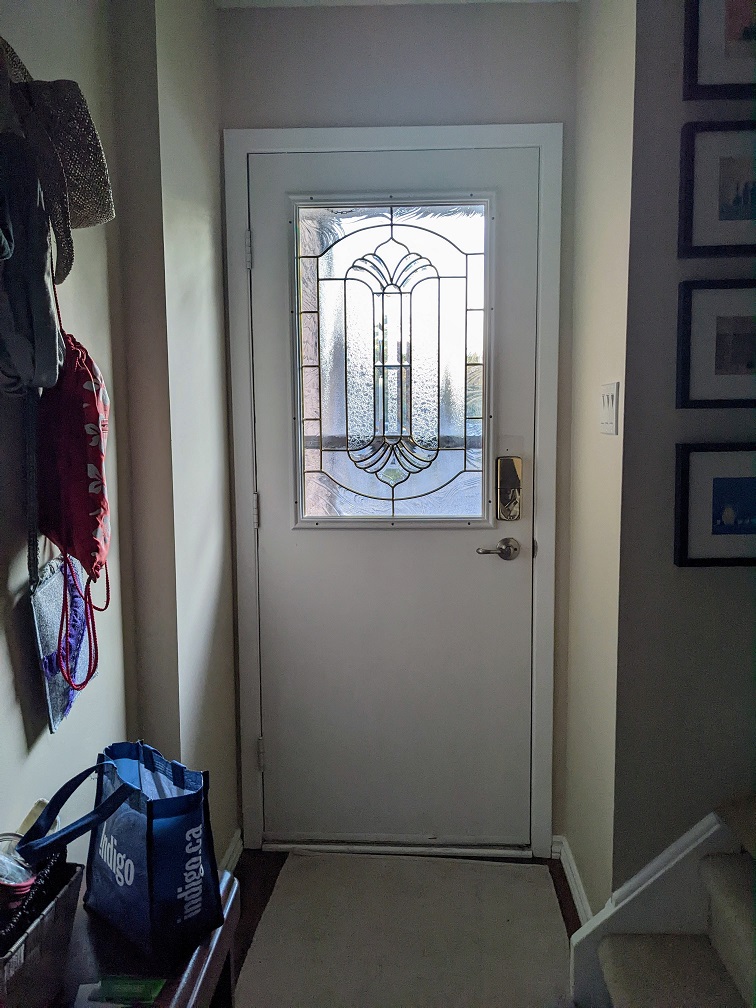
We bought this house over a dozen years ago, and from day one, we’ve both hated our front door. Specifically, the lack of light it let in. It was less than what prison windows let in, I’m sure. But we put off getting a new door, and put it off and off. For some reason, it bugged the husband this year more than normal, and he started learning what could be done about it.

From this:

To this:

He discovered it wasn’t that hard to pick up a secondhand glass panel, and it also wasn’t that hard to install it himself. So, that’s what happened one day when I was at work. I love it. He made the right call. Definitely. 🙂

Home Reno – Flooring

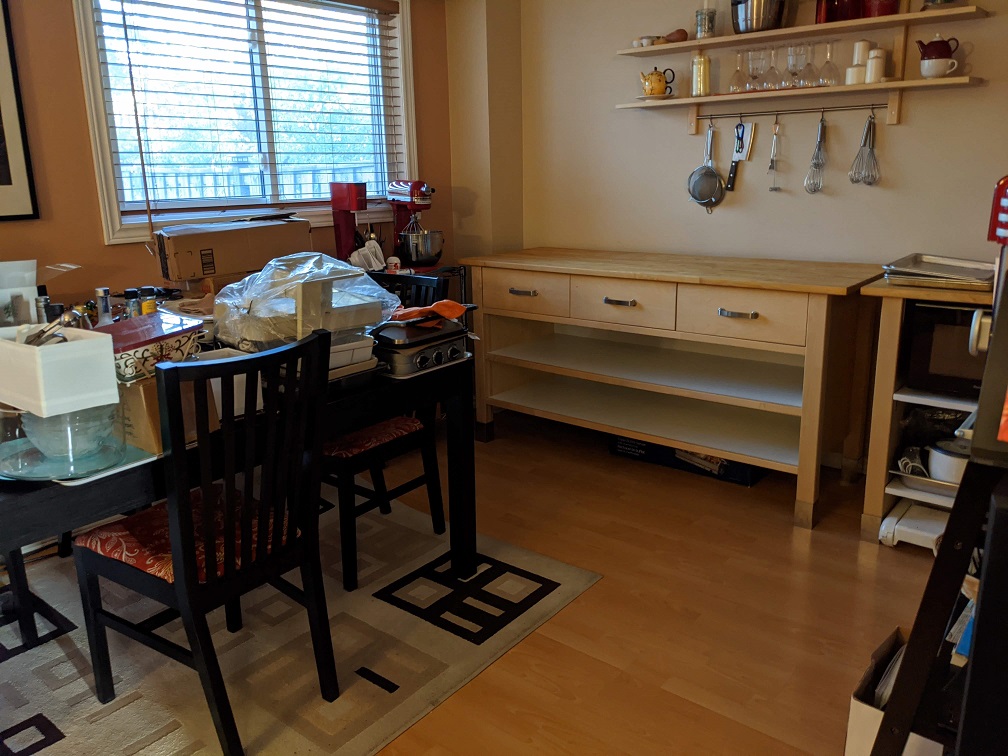
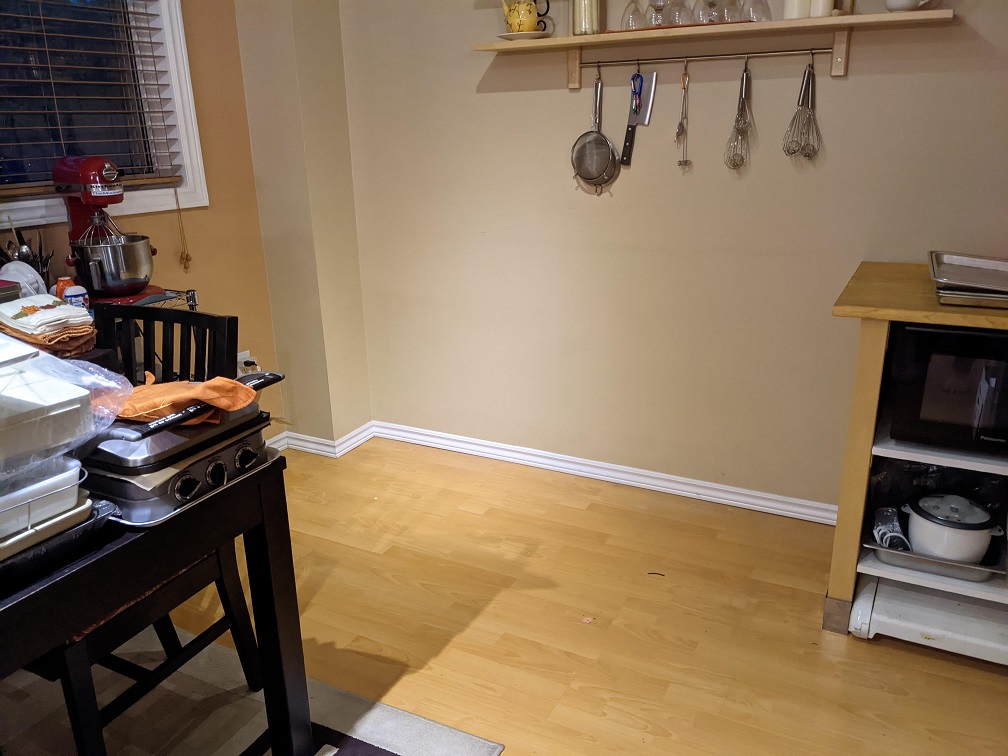
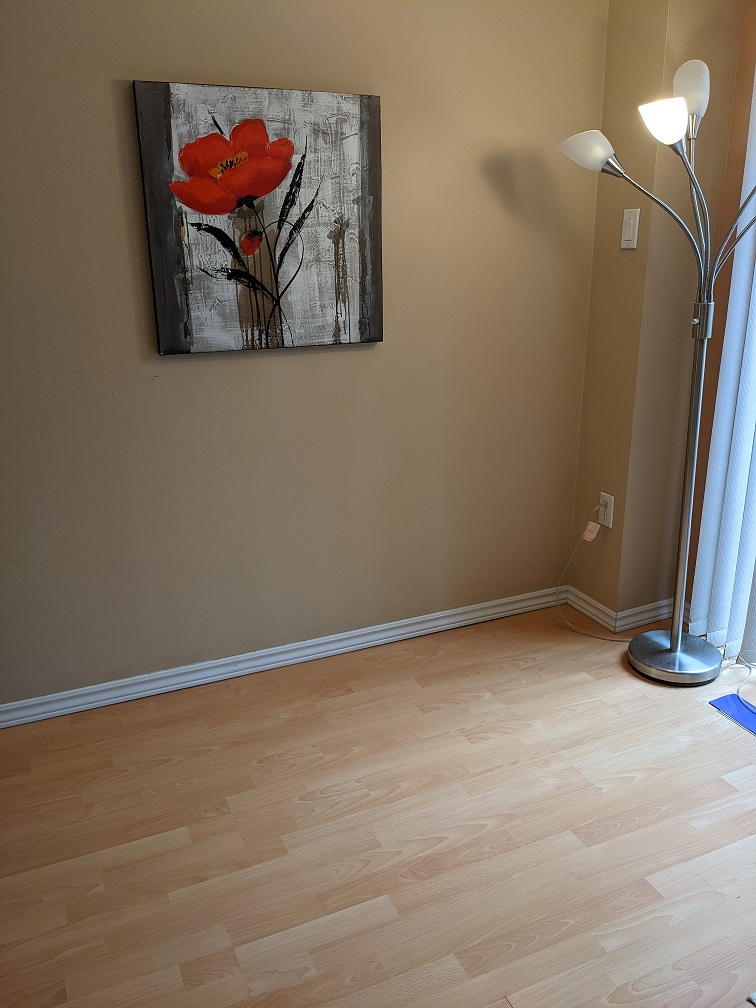
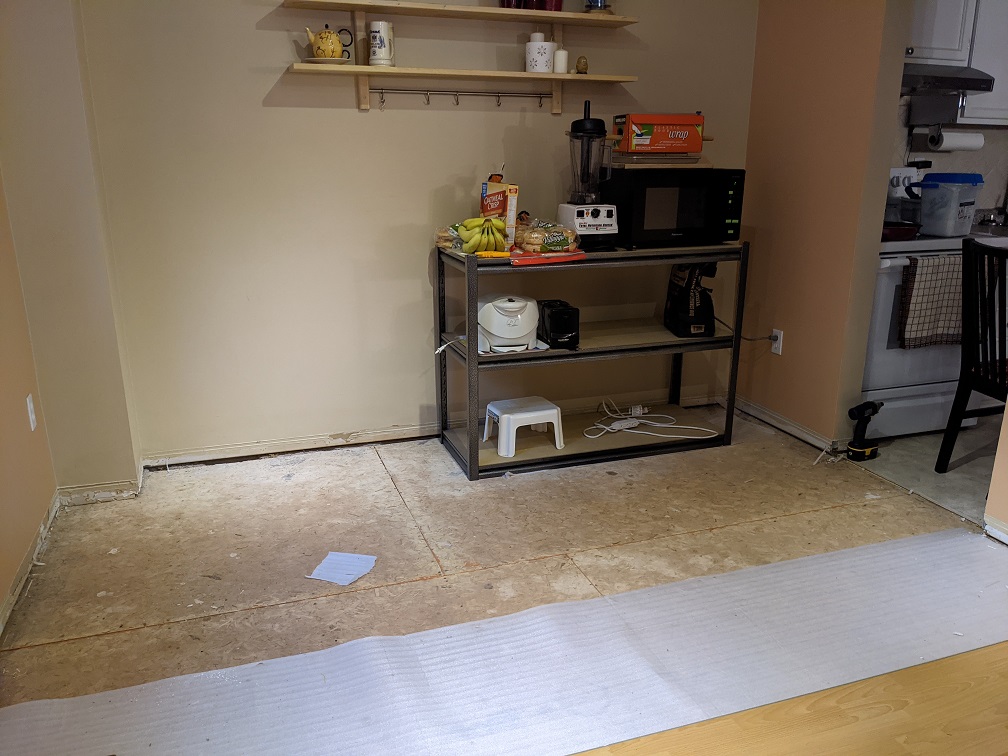
Last year we ripped up the old flooring to lay down something new, something consistent, something I didn’t hate to look at or clean. Viola!

How it started: I had to get rid of some very heavy furnishes, which I loved but they just weren’t cutting it for me anymore. Sad to say because I loved all of that worktop counter space but I needed more storage than counters. So, I cleaned them out and sold them off.

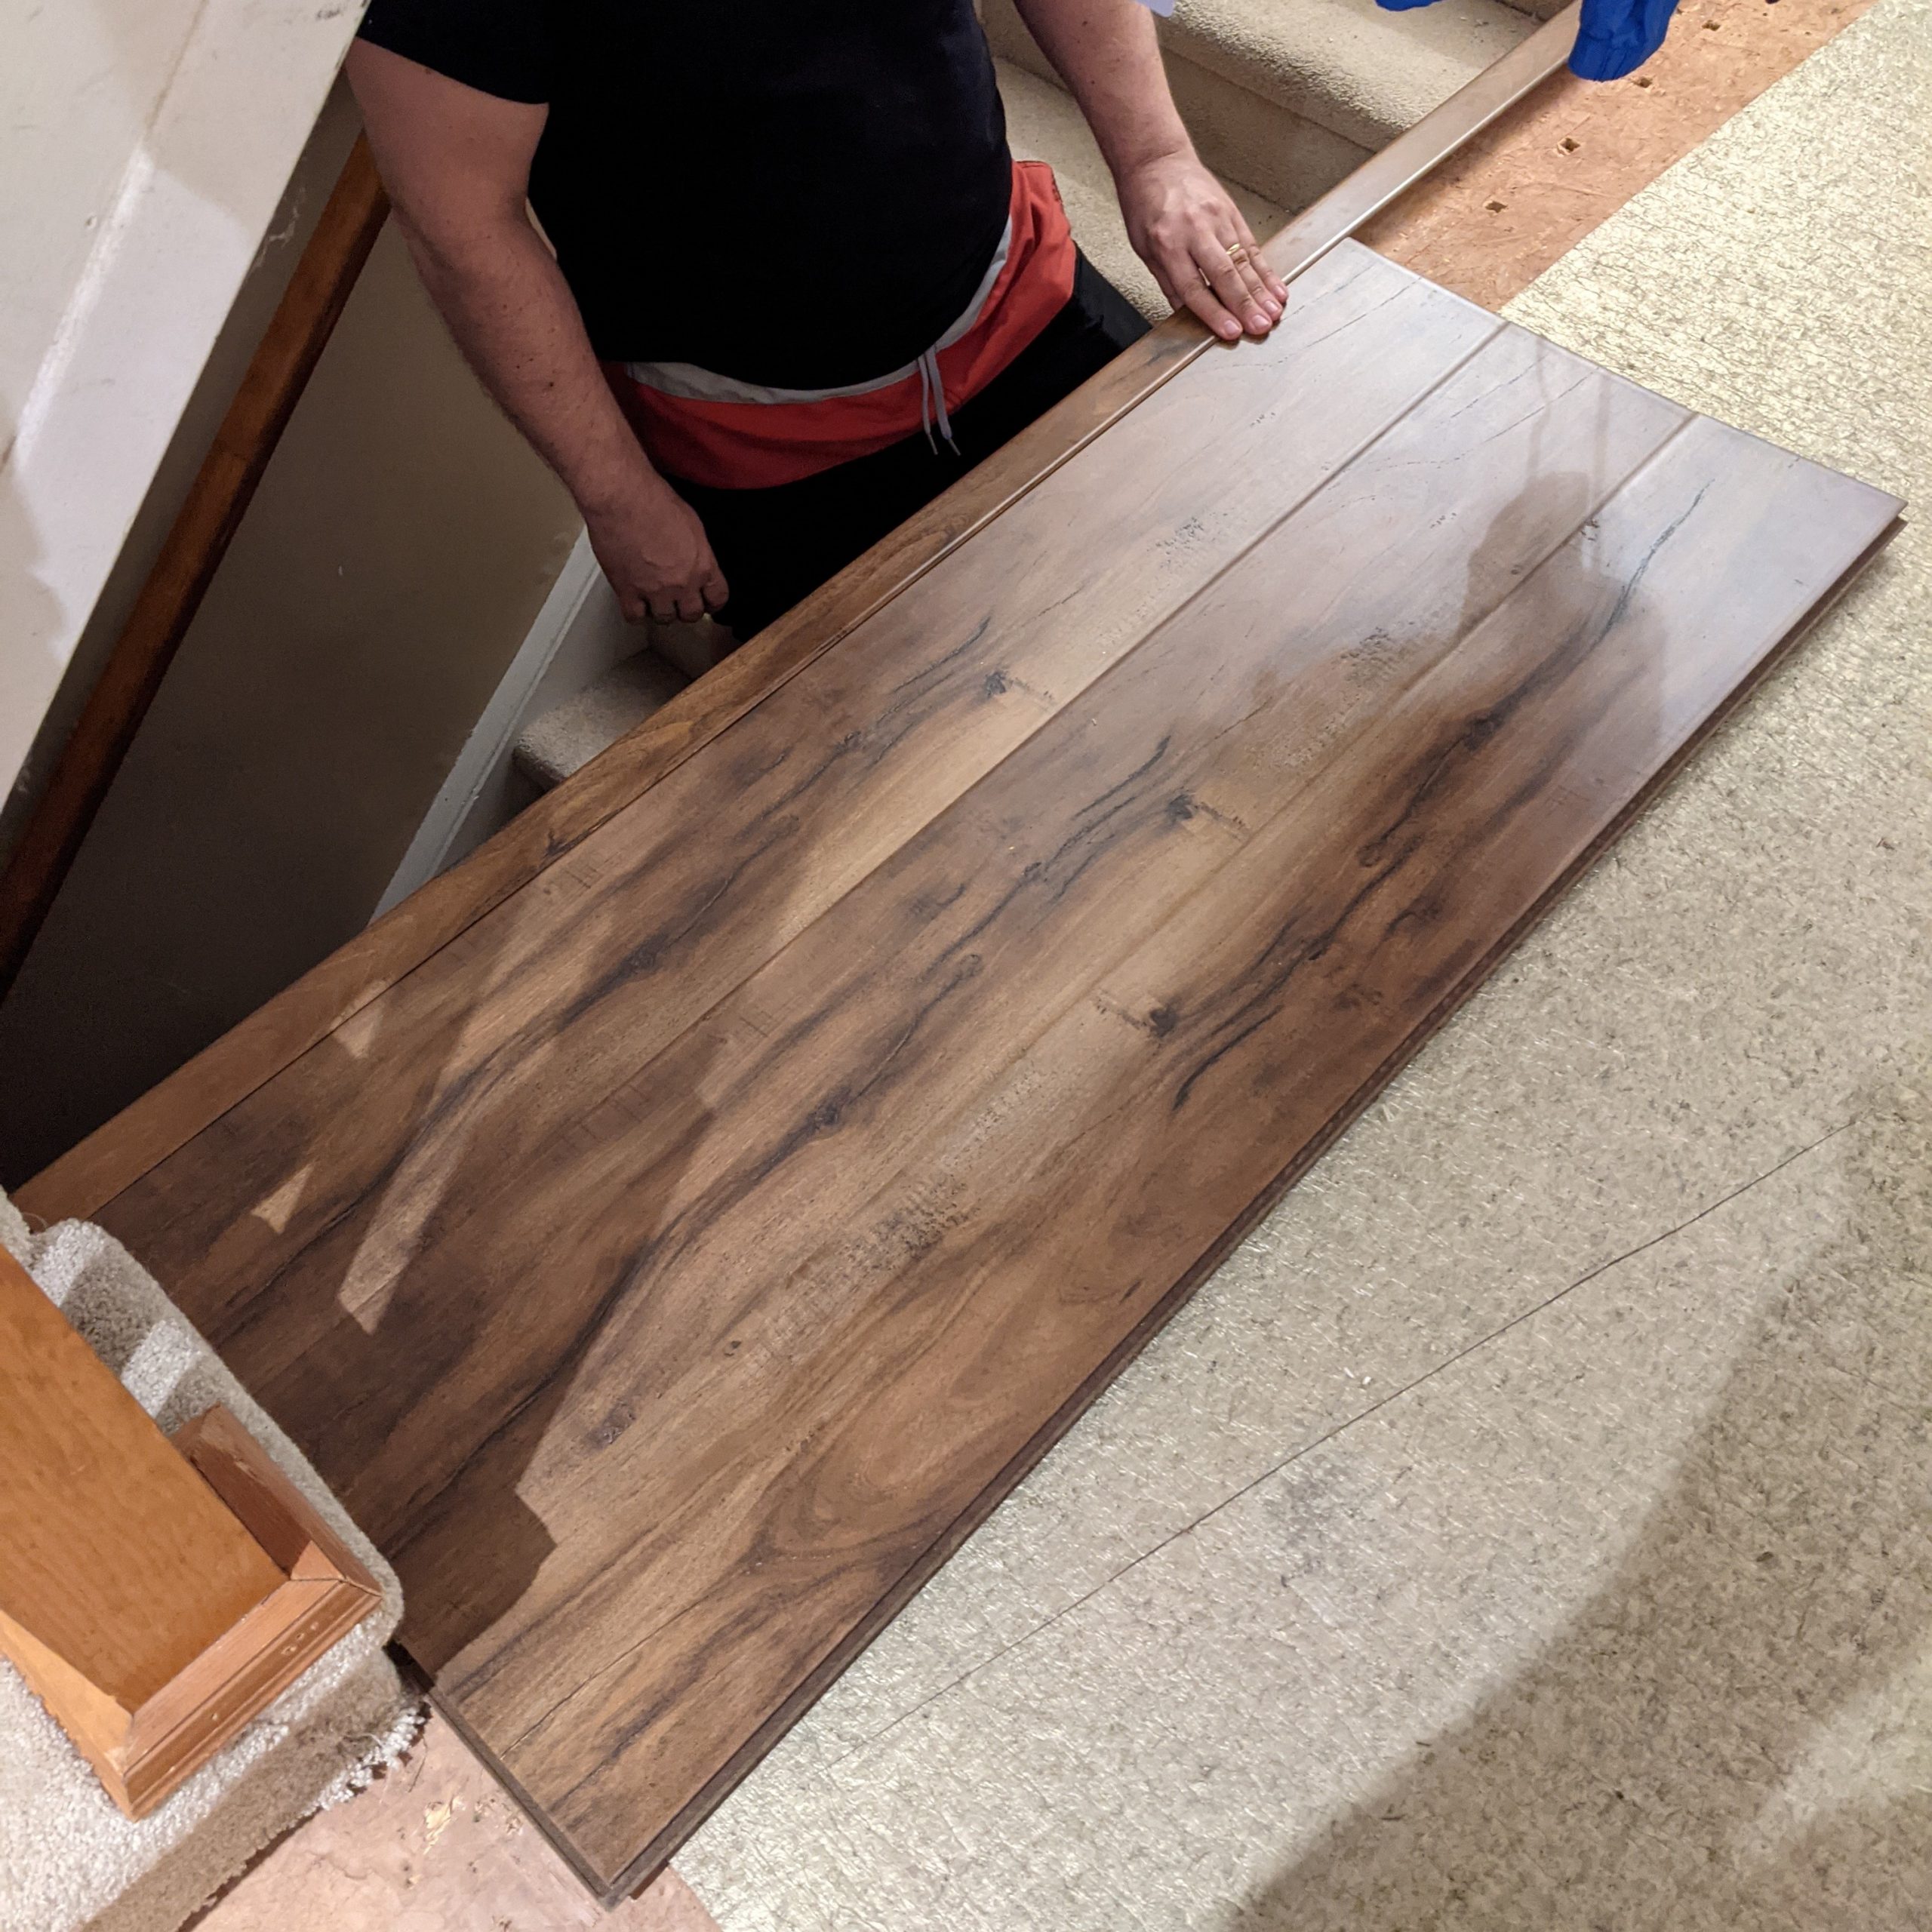
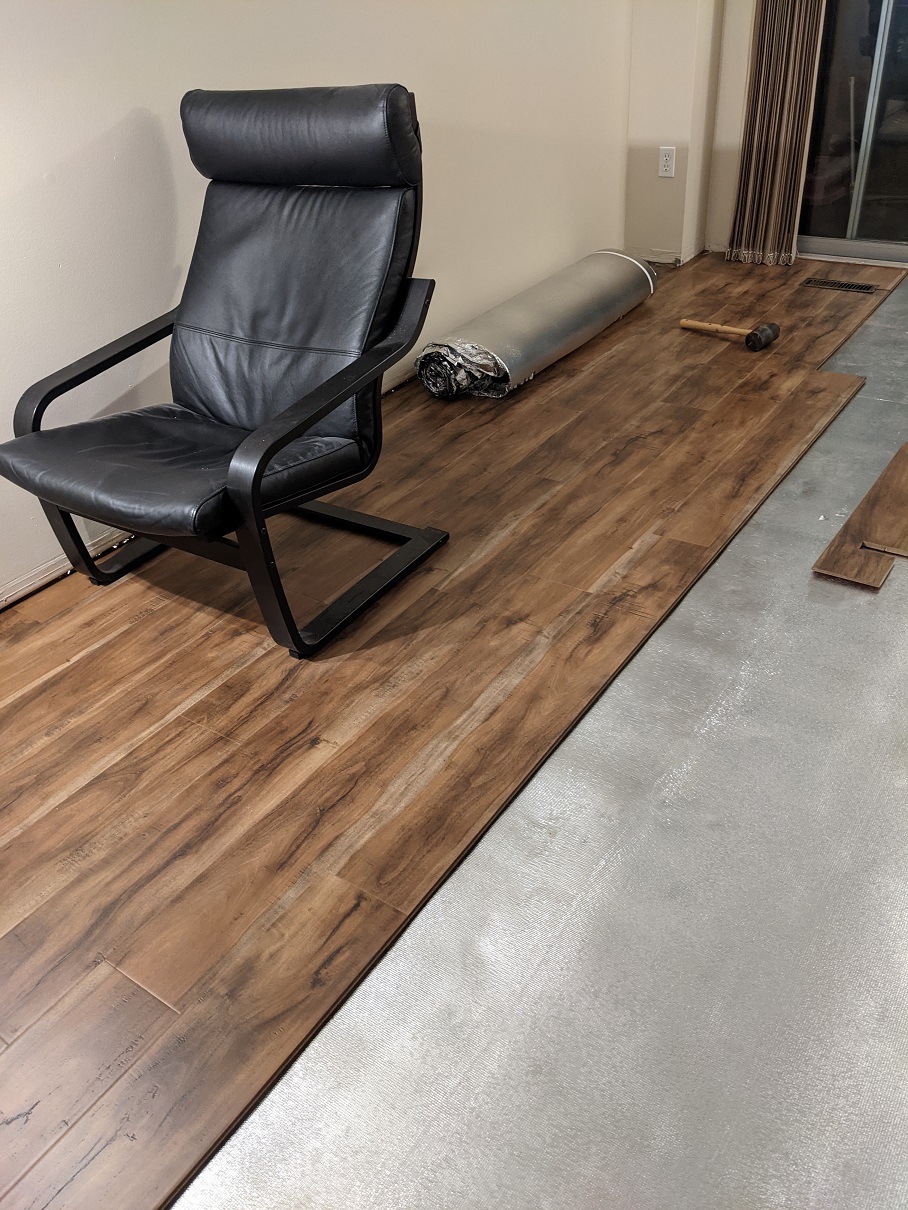
We then had to box up everything we could and shove the furniture around as we worked. Most of our stuff ended up upstairs, downstairs, and in the garage to make the whole process easier. And then we got to work on ripping up the old flooring down to the subfloor, the husband vacuumed and then laid down underpadding, and started figuring out the new flooring we bought in terms of where to start.

From this:

To this…

To this:

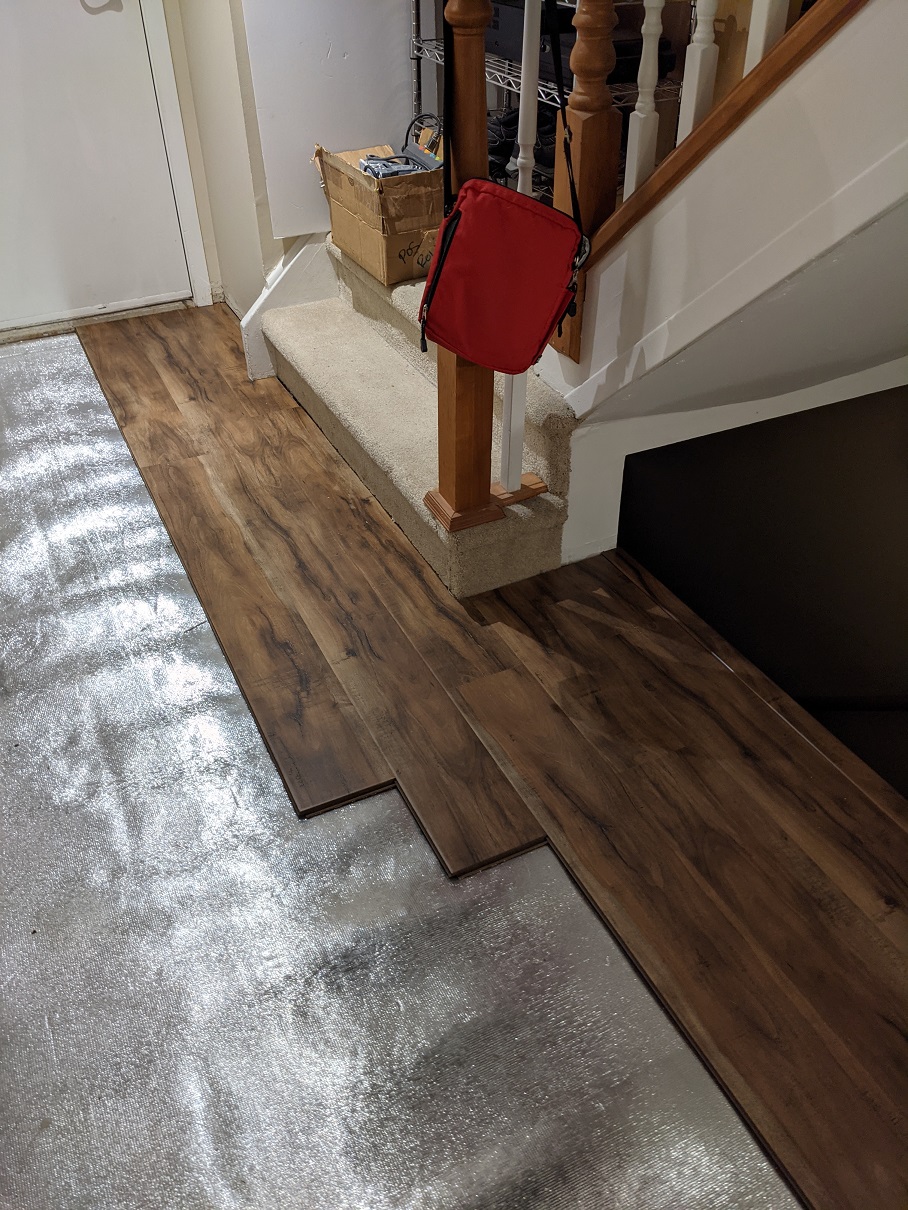
And this:

By the way, before all of this, we repainted the whole main floor using Linen by Benjamin Moore. Zoom into the wall behind the IKEA chair. I know it sounds boring, but it just works so well in this space, with our limited natural light, and with our furnishings.

This above picture was the one where I just knew we picked the right flooring for this house. It looked so good just barely laid in this foyer space with the carpeted stairs and the white staircase spindles (removed so I could paint them a brilliant white) that will be put back in place afterwards.

The husband probably did some damage to his body doing this flooring (he still complains about his knees and back), but we both think the new flooring worked out well. We are happy with it. Can’t say for sure we’d do this particular pattern ever again, but for now we’re content.


Home Renos – Electrical Panel

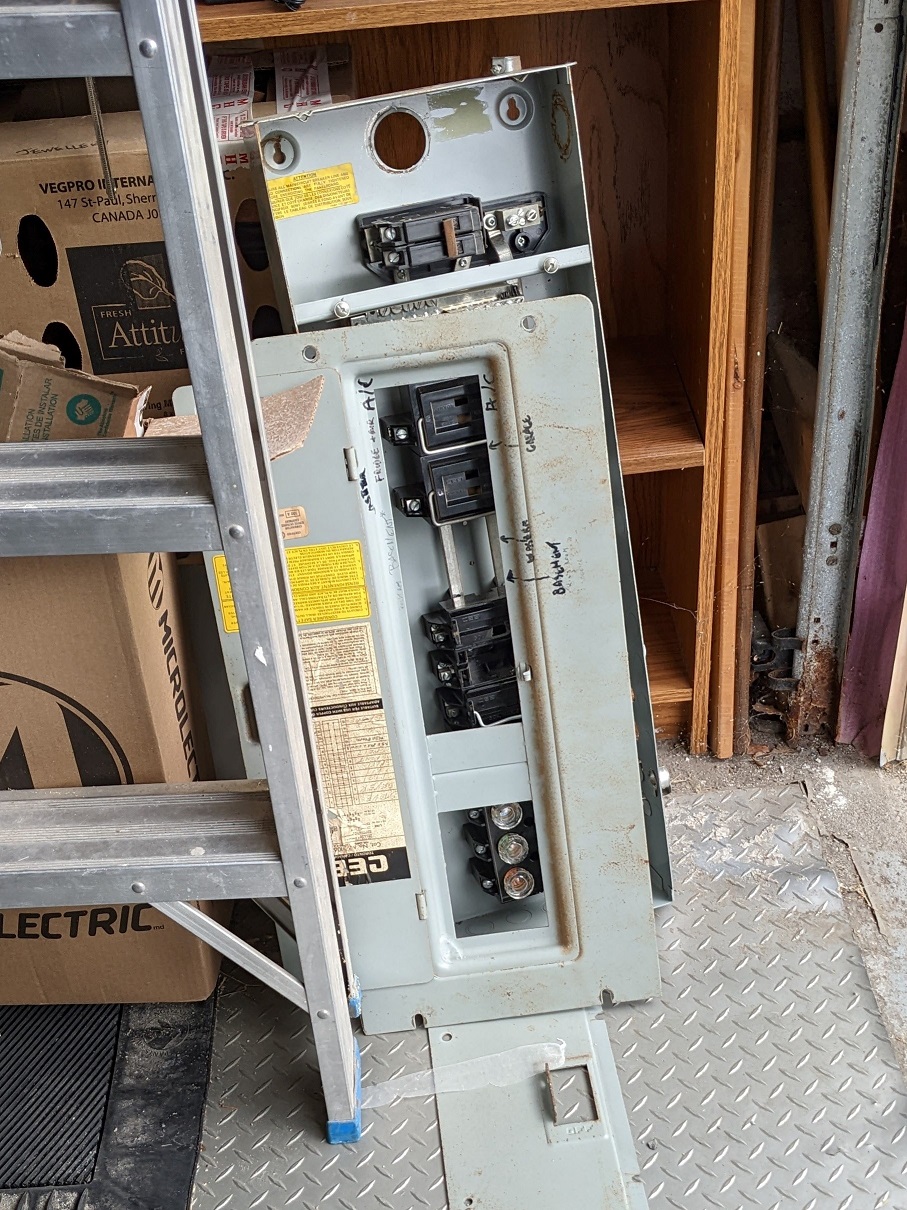
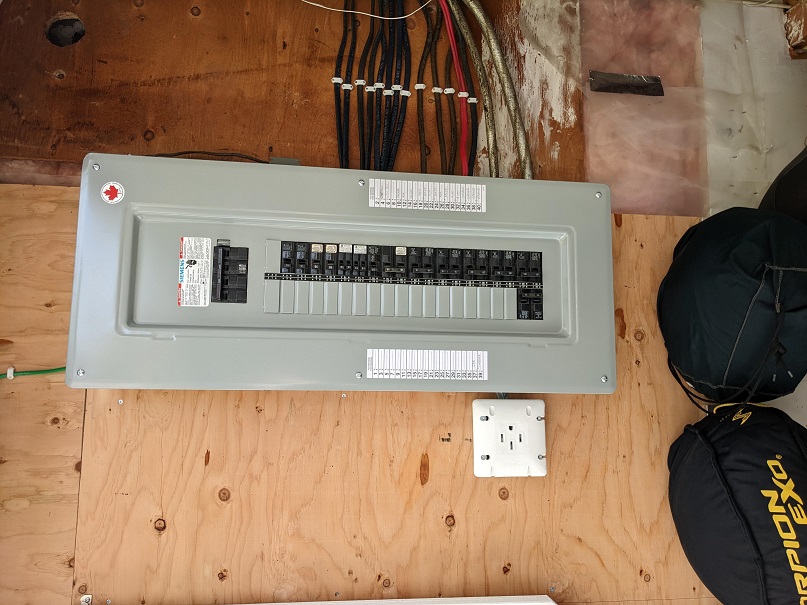
The husband has been looking at electric cars for awhile now, but getting serious about it just this year because of, well, gas prices. And the technology. And the future. Setting up a home charging station for an EV car in the garage dovetails nicely with the swap out of our old fuse based electrical panel in the breaker style panel that we’ve been talking about having done since we bought his house over a dozen years ago.

So, he pulled the trigger on it in September after finding someone who could and would do the work for us. If not for the pandemic, this would have been a swap we did two years ago even though we wouldn’t have thought about the EV component in any serious way. I’m happy he lobbied me for it. Now we are ready for the future of cars!

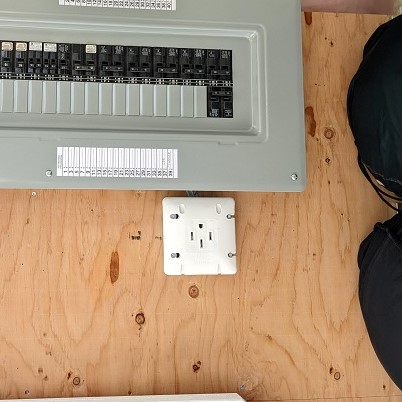
And this is this is the crown jewel of this reno. The item that will help us, or whomever owns this house, when EV cars are finally affordable. The future is closer now. The whole project was worth every penny (SO many pennies).

Home Renos – Bathroom / Kitchen

For the last three months, we have been in home reno mode. We were already talking about doing something in some areas of the house (the dining room space, specifically) when we had an issue with the bidet attachment on our upstairs toilet leaking and cracking a few of the floor tiles from the water damage. There is no way of telling how long it was leaking based on the damage we saw after opening up the bulkhead, but we did see it wasn’t the first leak that toilet had, and ours was just the latest. The new wood planks in the pictures are replacements for any of the moldy, rotted out old planks that suffered from past toilet leaks.
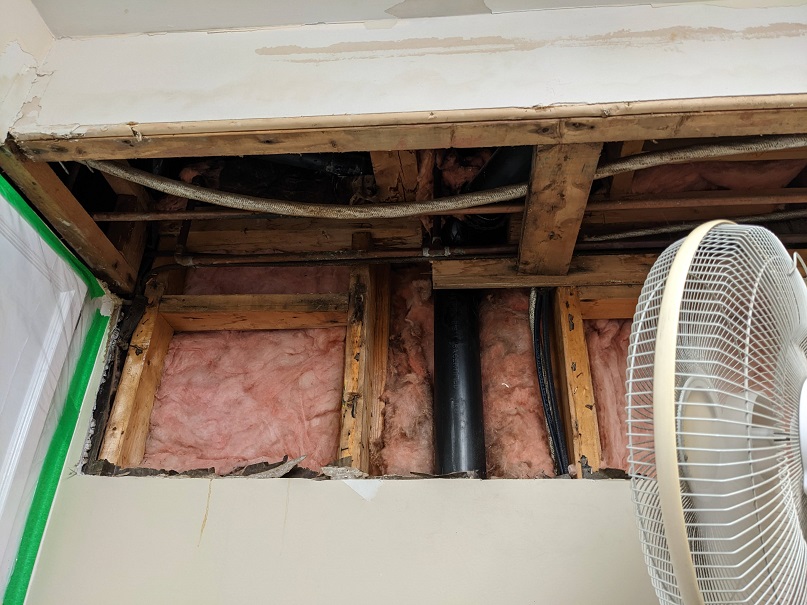
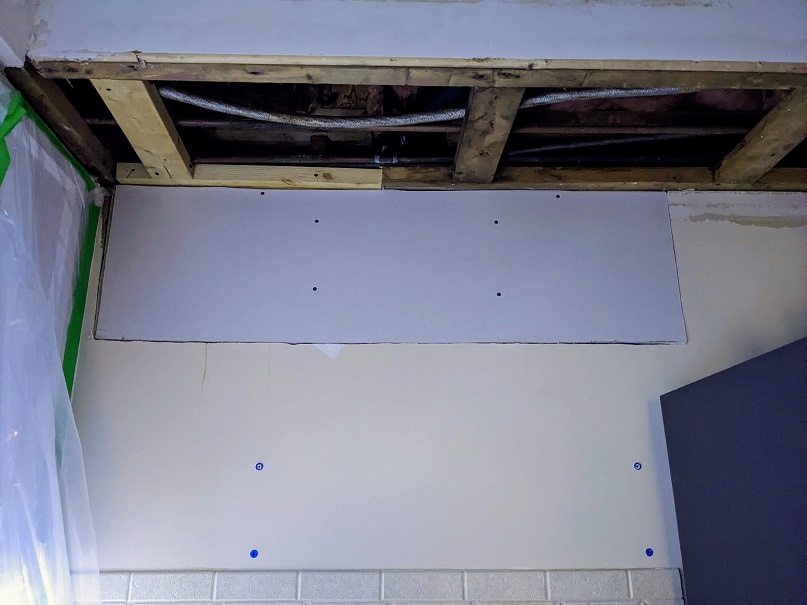
How we discovered this problem was one day there was a gross rust colour water on my kitchen counter that I couldn’t trace at counter height after moving all kinds of stuff out of the way, so I started to look around, and then up. EEK.

I turned on all the kitchen lights, and that’s when I saw a huge wall bubble of water behind the paint where the ceiling/bulkhead/wall meet. The paint I just put on those walls four months earlier. Ugh. I pointed it out to the husband, and he started poking around. While at work the next day, the husband used his staycation time to literally poke the bubble to empty it. All over my barely covered counter and cooking tools/spice racks. *sigh*

But that’s not the only thing he poked open. I came home to this above pic visual. So after a quick text consultation with my contractor brother, we set up a big fan and let it air dry for a few days while we assessed the damages and bought materials to replace and fix up the ceiling, wall, wood, drywall, and paint. Luckily the husband was able to do all of this while I worked that week, so I wasn’t in his way and he had loads of time to get it done properly without feeling like he needed to rush this job. That was the last thing I wanted, but at the same time, being without a full functioning kitchen for almost 1.5 weeks was a bit tiresome. I was glad to have my cooking space back, let me tell you.
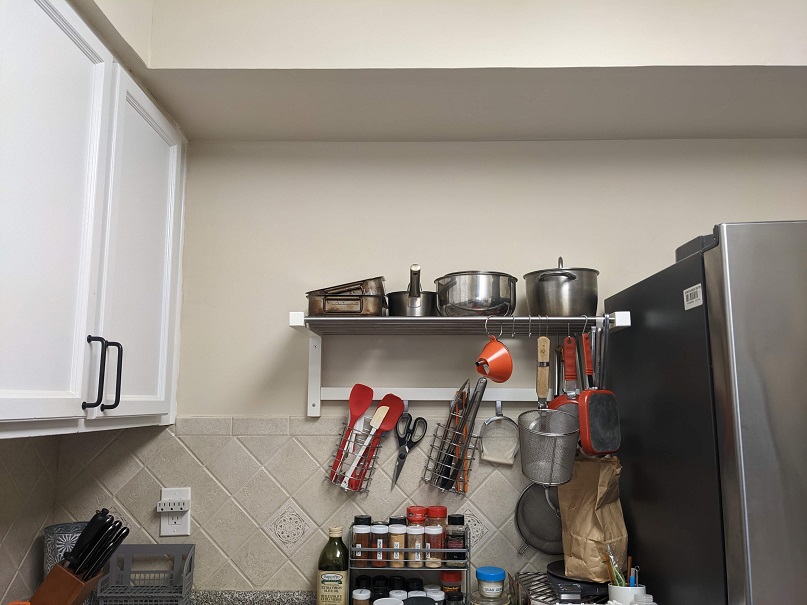
And I couldn’t be happier with the work my husband did in there. I honestly have to look hard to see where this all went down on that wall and along the bulkhead. We stopped the leak for now, but eventually we will need to rip up our bathroom tiles. Issue there is those tiles match the ones on the shower walls, so… It will be a job, for sure.

There are touch-ups that need to be done in the kitchen, but now he’s eyeballing the light fixture as something he wants to replace with pot lights, and well, that just means more painting in the future, so we’ll leave the corners and edges for then.

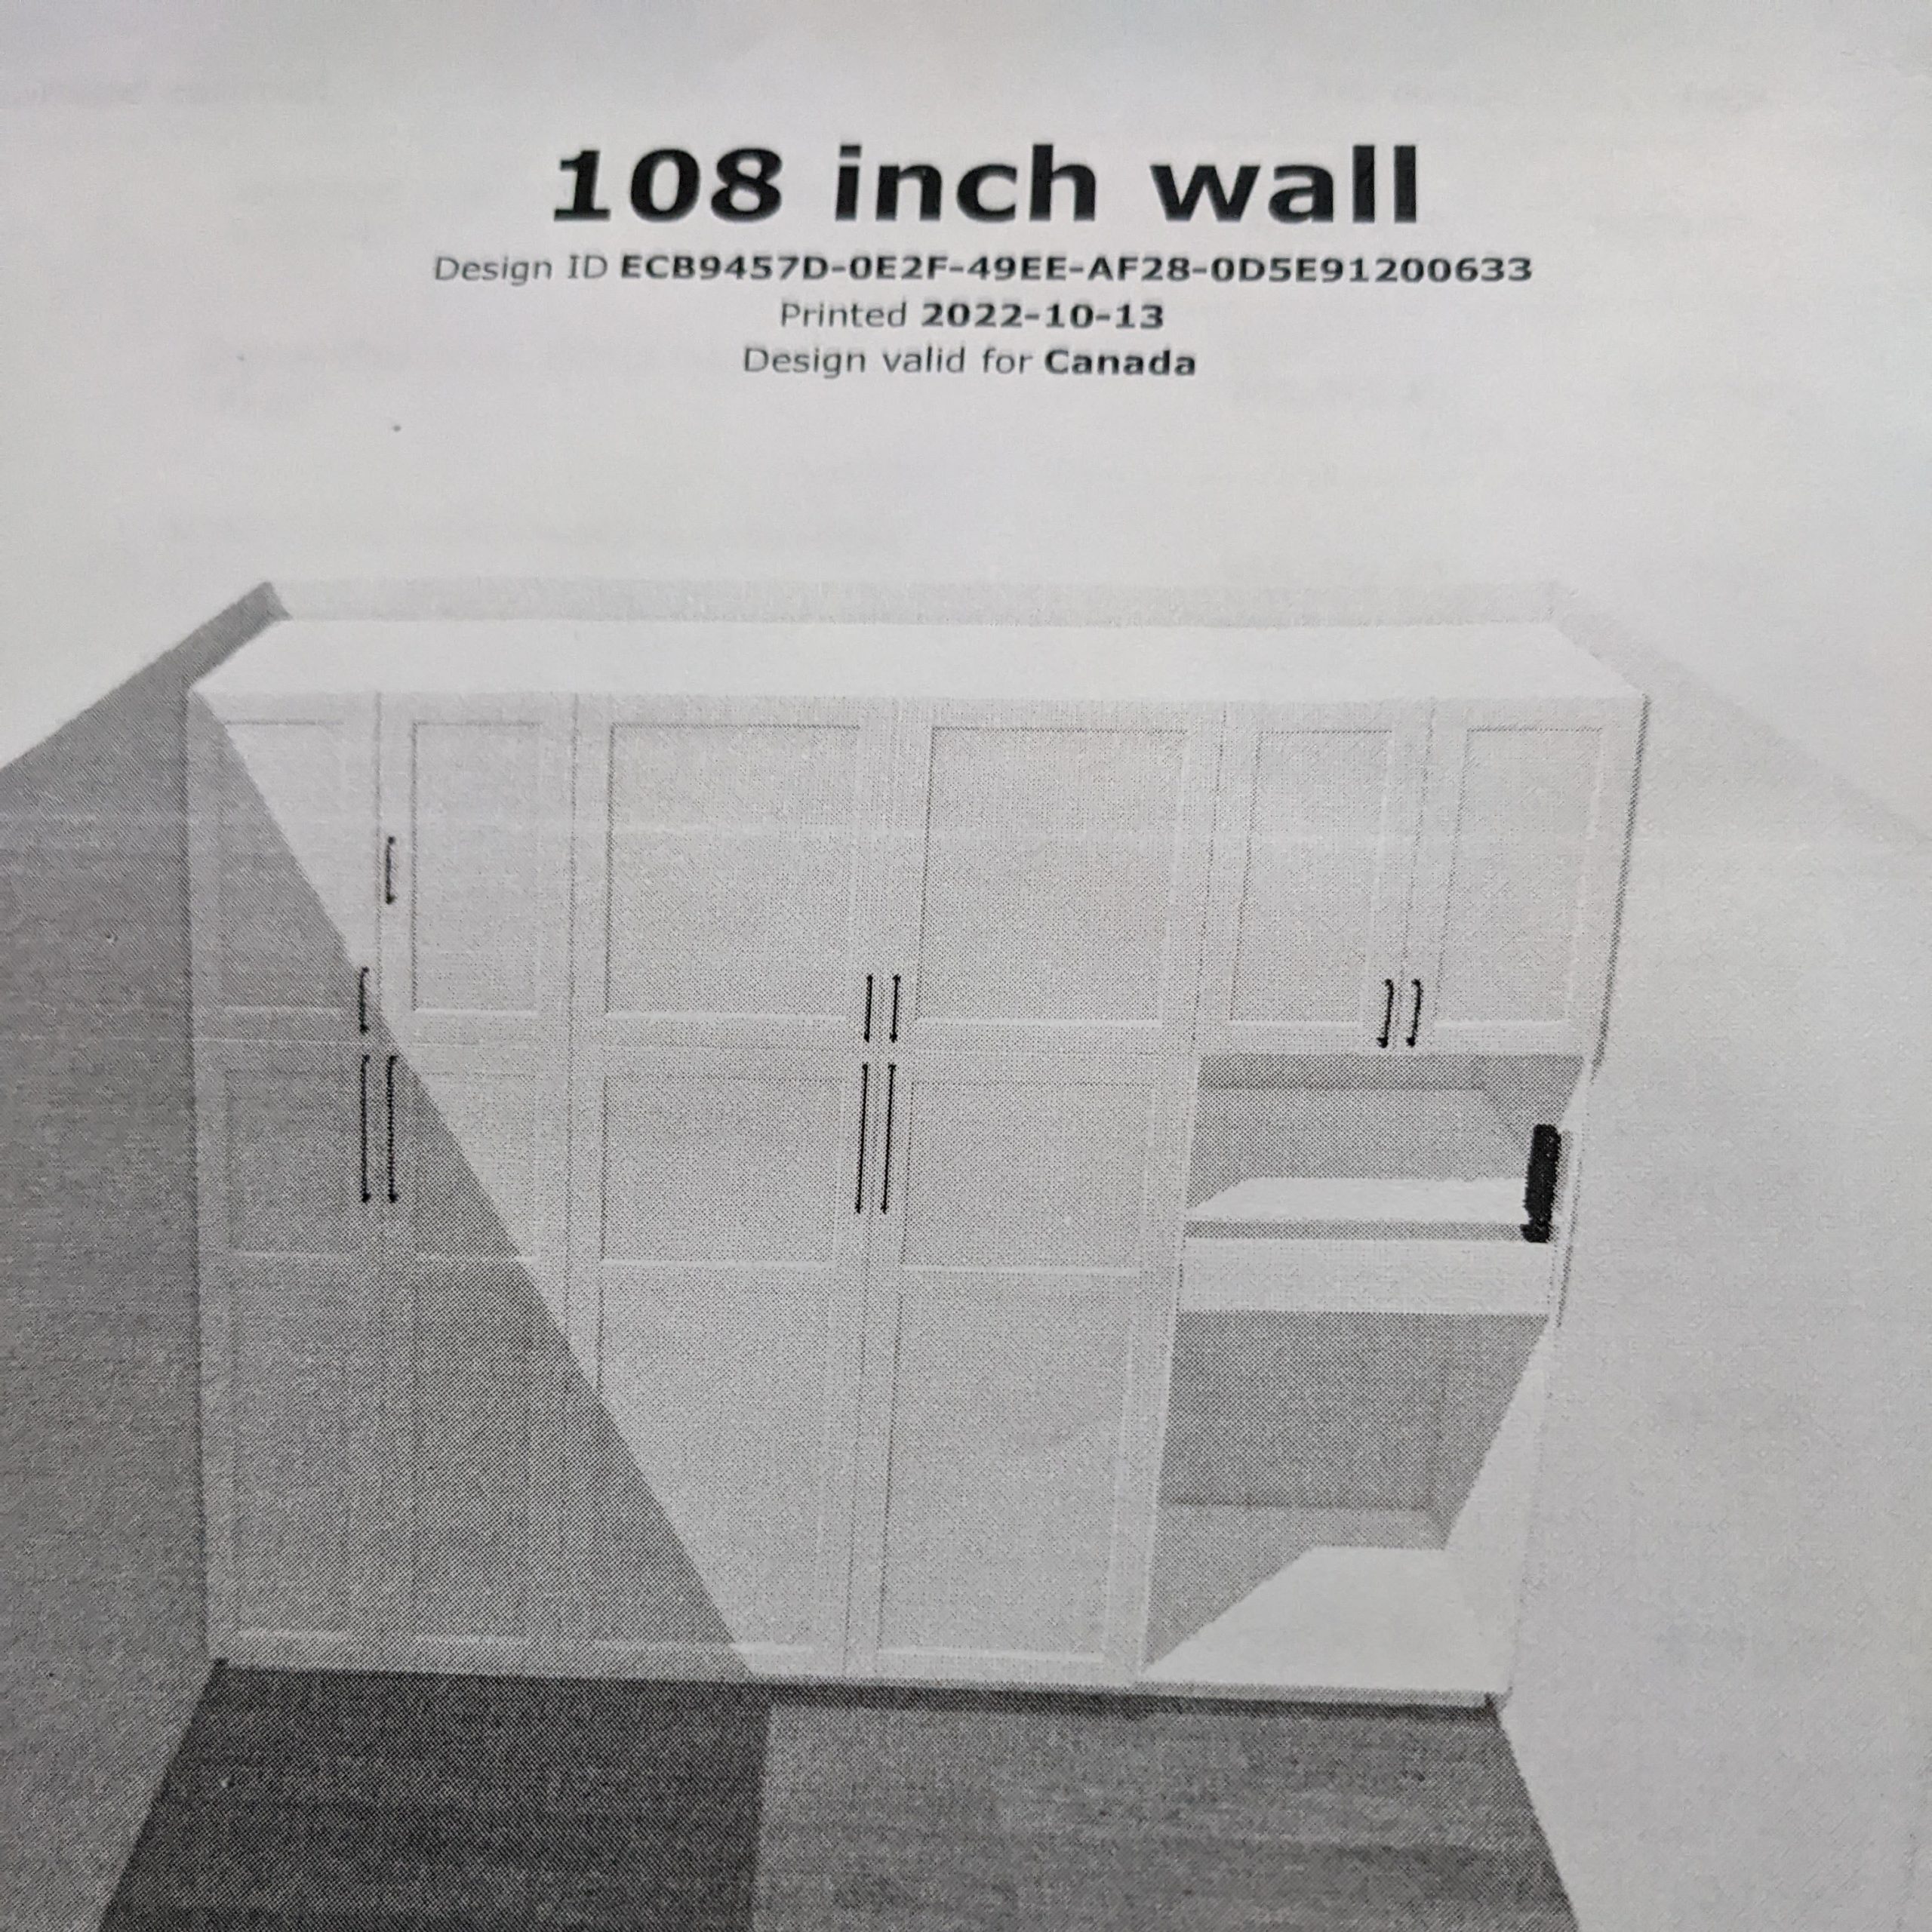
But in the meantime, I was getting continually frustrated with lack of storage space in my kitchen and dining room to fully store all of my ‘kitchen shit.’ So, the husband finally cracked and created something for me in the IKEA building planner, and after I signed off on it, he went shopping. That’s a post for another day very soon. And I took pix. 🙂

And we did a few other projects that I will post about when I have some time this week.

Air Fryer Ciabatta Bread Loaves

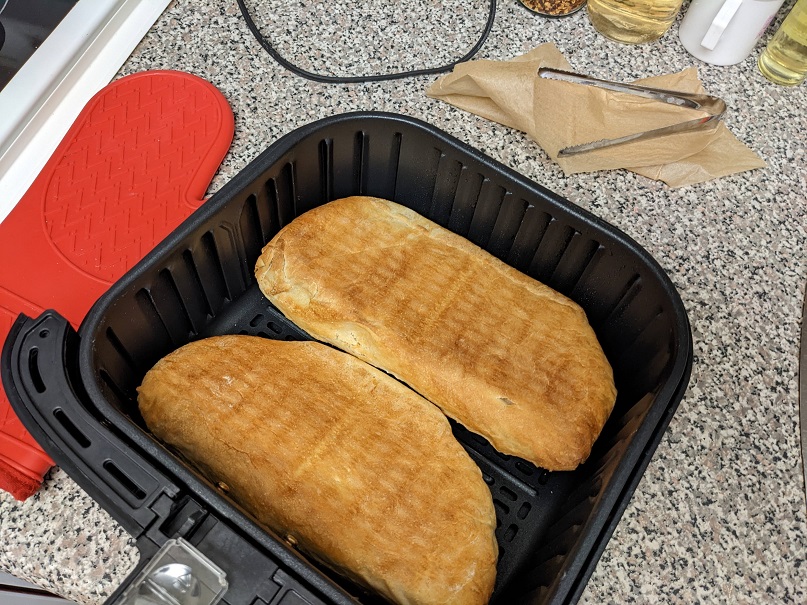
A few nights ago I found a Youtube video showing me how to make ciabatta bread from scratch that can be baked in an air fryer. So, D-UH, I was into it. Here is my first attempt. This picture shows the bottoms after I finished flipping and baking the loaves. The tops look just as beautiful.

I made the mistake of spraying the loaves instead of brushing them with melted butter. I won’t do that again. I didn’t like the finished tops as much, but I did like them. Another thing this recipe calls for is using a bigger than the basket size of parchment so you can pinch up a segregation wall in the middle so the loaves don’t proof and bake together as one square of bread.

Baked at 400* for 8 mins over parchment paper, and then the parchment came off to finish the flipped over loaves in the bare pan another 6-7 mins. When they came out they felt hard or perhaps a tad overbaked, but after a quick rest on a rack, they soften up nicely. I was pleasantly surprised. 🙂

Air Fryer Mac & Cheese

Made this one last night. It took way too long and too much futzing with it to get the elbow noodles to finally finish cooking before adding the toppings and finishing it. BUT, I have ideas on how to speed it up for the next time.

After 25 mins, the cheese sauce was like molten lava. But that was ok; I felt it would help the toppings bake up faster, and I was right. Look at those bubbles along the rim of the baking dish in the video below. Love that visual.

Air Fryer Mac & Cheese:
1 1/2 C: Elbow Pasta / Water
1 tub Black Diamond White Cheddar Sauce (my new fave product!)
2+ tbsp Dry Mustard
1 tea: Onion Powder / Paprika
S&P

Stir it all up and put the baking dish inside the basket. Cook it at 360* for about 20 mins, stirring often to pull the protein skin down into the sauce every 4-5 mins. Till and turn the noodles up from the bottom so it all gets an even cook overall each time.

When you hit the 20+ mark, taste the noodles to see where their doneness is. If you need more liquid to get them softer, add 1/4 cup of water or heavy cream. Continue cooking it another 5 mins. Before adding the toppings, make sure the pasta is el dente. And then, add:

1+ C Marble Cheddar, grated
1/4 C Italian Seasoned Breadcrumbs

Bake the dish with the toppings about 4 more mins. The dish was super hot, so I pulled the drawer out and scooped the mac out with a serving spoon directly. I didn’t even bother trying to get that hot dish out of the basket. It wasn’t necessary to do so.

I will post an update to the time saving changes after I make this again next week.

Air Fryer Grilled Cheese

Made this one a few weeks ago, but I keep going back to it when I’m feeling lazy. This, and that great cheese toasts. Both are the ultimate lazy girl solo dinner.

Anyway, the trick to getting a good toast colour is buttering the bread on both sides of the bread. Sometimes I use mayo since it has a fat component in it already. Either will colour the bread nicely.

I typically cook this at 400* over a small sheet of tin foil for about 6-8 mins for a crispy exterior.

French Onion Soup Mac & Cheese

I saw this video from Sam The Cooking Guy making his version of this same dish, and thought, I can make that faster using canned soup. This was a lovely tasting change up on the classic pasta dish. One I liked enough to want to make again in the future.

French Onion Soup Mac & Cheese:
2 C Small Pasta
Salt

1 1/2 – 2 C Cheddar Cheese, grated
1/2 C Panko Breadcrumbs
1 1/2 tbsp Dry Rub (of choice)

1 can Onion Soup, hot
1/3 C Pasta Water, reserved

Scoop the cooked pasta into a large bowl to mix with everything else, including some reserved starchy water from the pasta pot. Top with some green herbs or green onion chops, as well as some cracks of pepper.