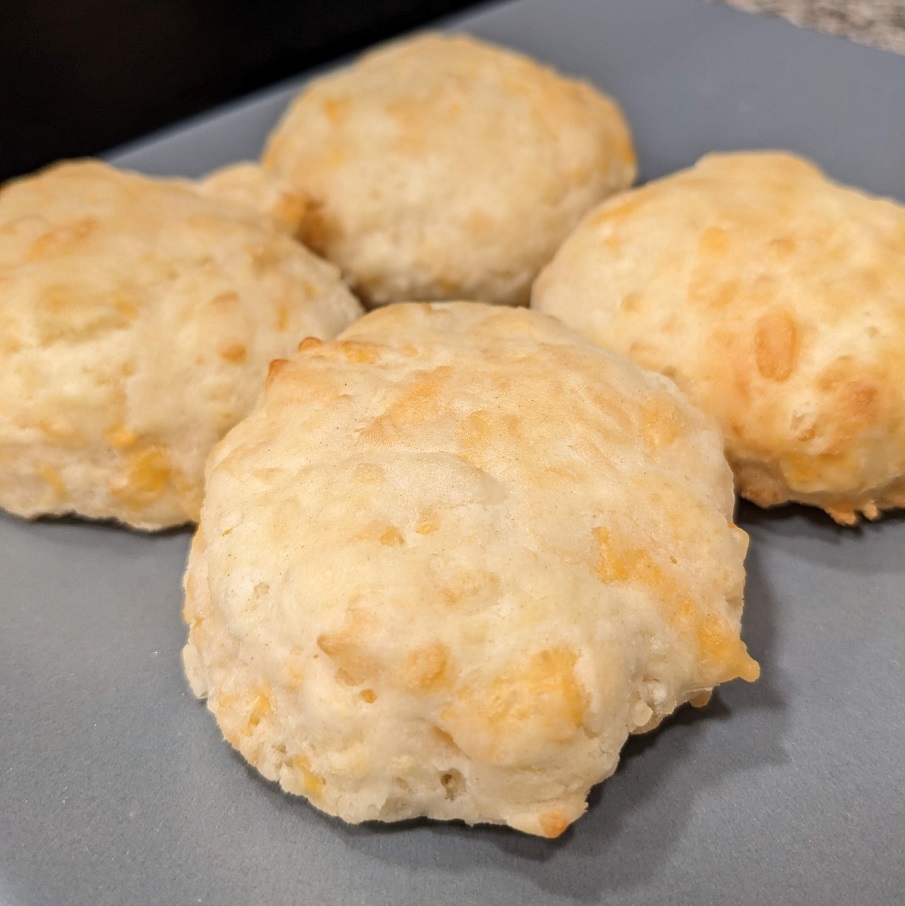
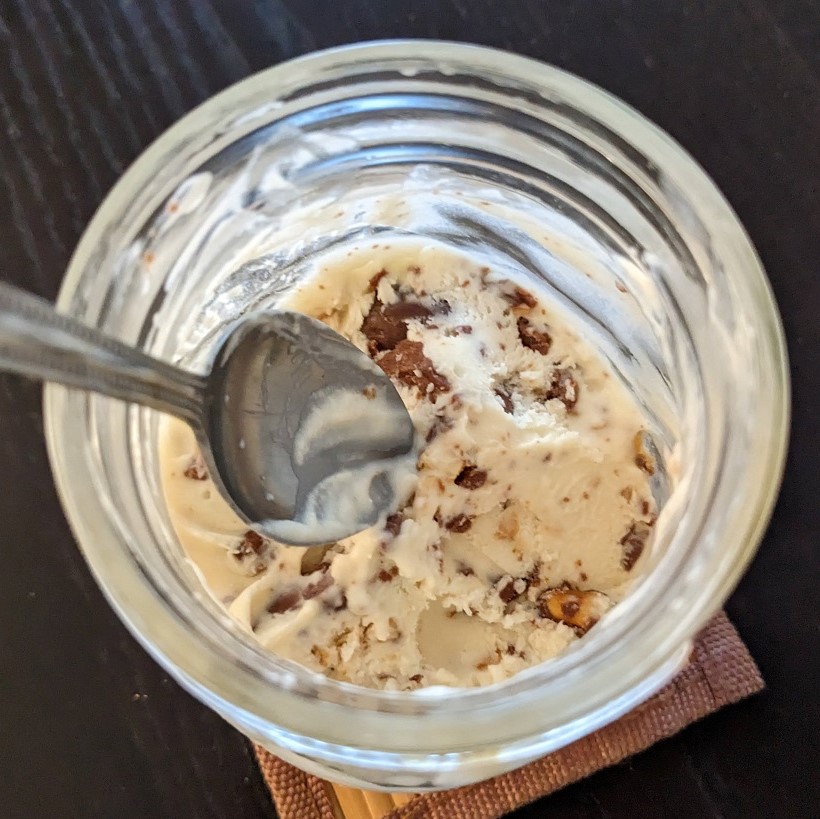
I found this recipe online and thought, this is the perfect Sunday breakfast side. So, here we go:
Air Fryer Biscuits:
25g Butter, grated and chilled
1 C A-P Flour
1 1/2 tea Baking Powder
1/4 tea Sea Salt
25g Parmesan Cheese, grated
75g Cheddar Cheese, grated
1/2 C Milk
Flour for the countertop
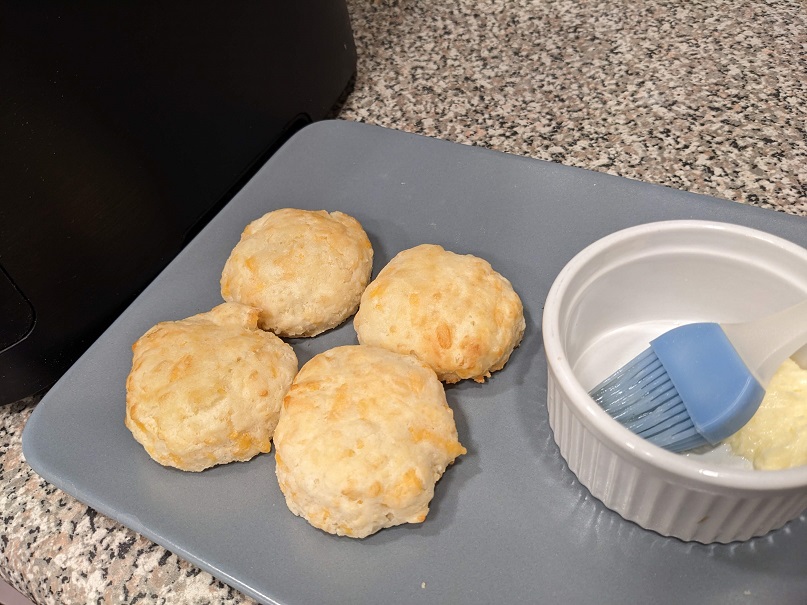
Yield: 12 mini 2-bite biscuits
Grate and chill the butter. Grate the cheeses; set aside. Whisk together all of the dry ingredients in a bowl. Add the butter and massage it by hand into the dry flour mix a bit before folding in the cheeses.
Add the milk last to combine it all. It should be wetter than you think it should be for a biscuit mix because the air fryer tends to dry baked goods out.
Sprinkle the reserve flour out on clean surface and drop the batter out. Flatten it into a smooth disc of around 1 1/4″ to start cutting the biscuits out. Place your circle shape over the dough and push it straight down to make the cuts. (I used my 1/4 C measuring cup since it was the final biscuit size I was after.)
Resist the urge to move your cutter side to side to make sure the dough is fully cut. Also resist.
Pull the leftover dough away before picking up the biscuit to set aside. Gently ball up the leftovers and flatten out until it’s all used up. Do not knead! The dough it too delicate for kneading.
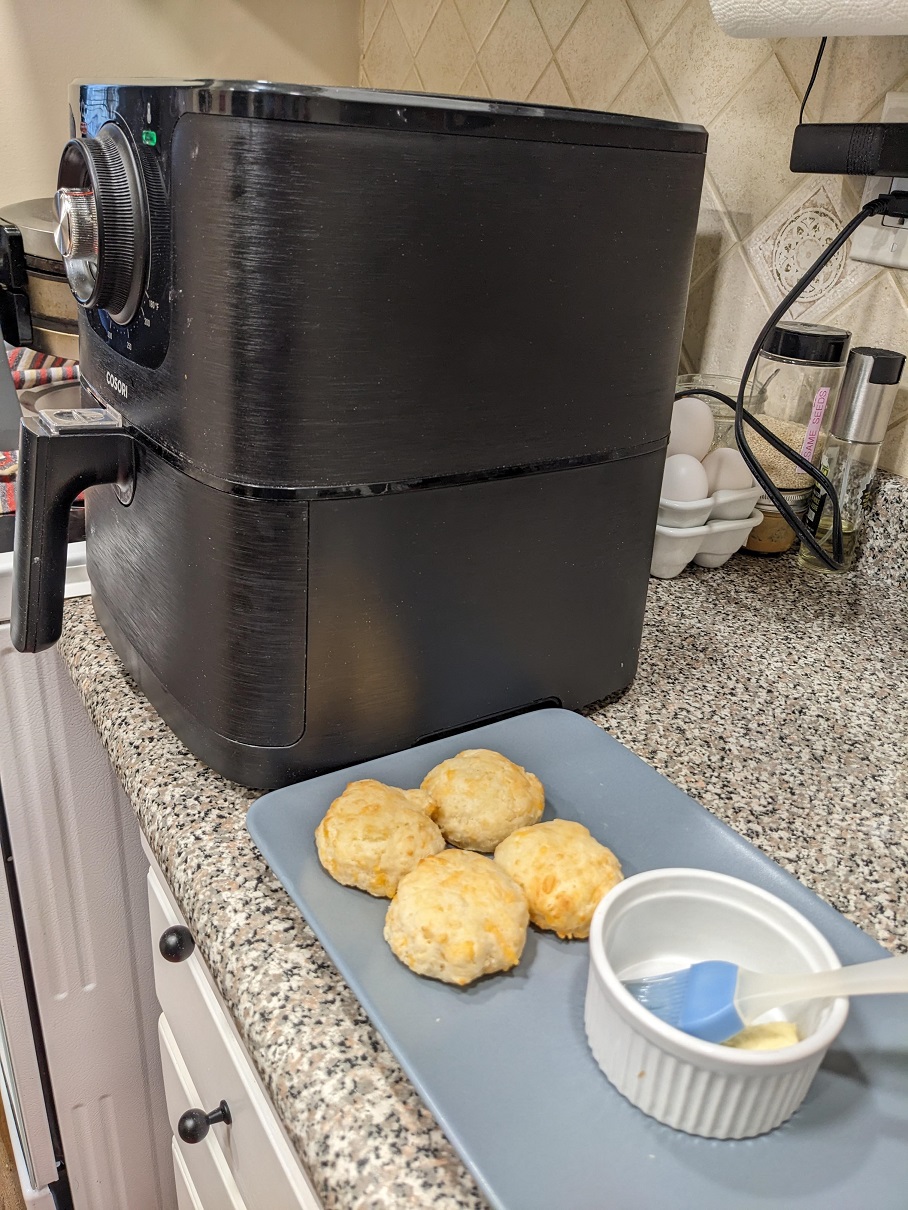
Bake in two batches at 300*F for 10 mins each. Soften a small bit of butter in a dish in the microwave for 15 secs. Brush this butter on the tops of the baked biscuits.
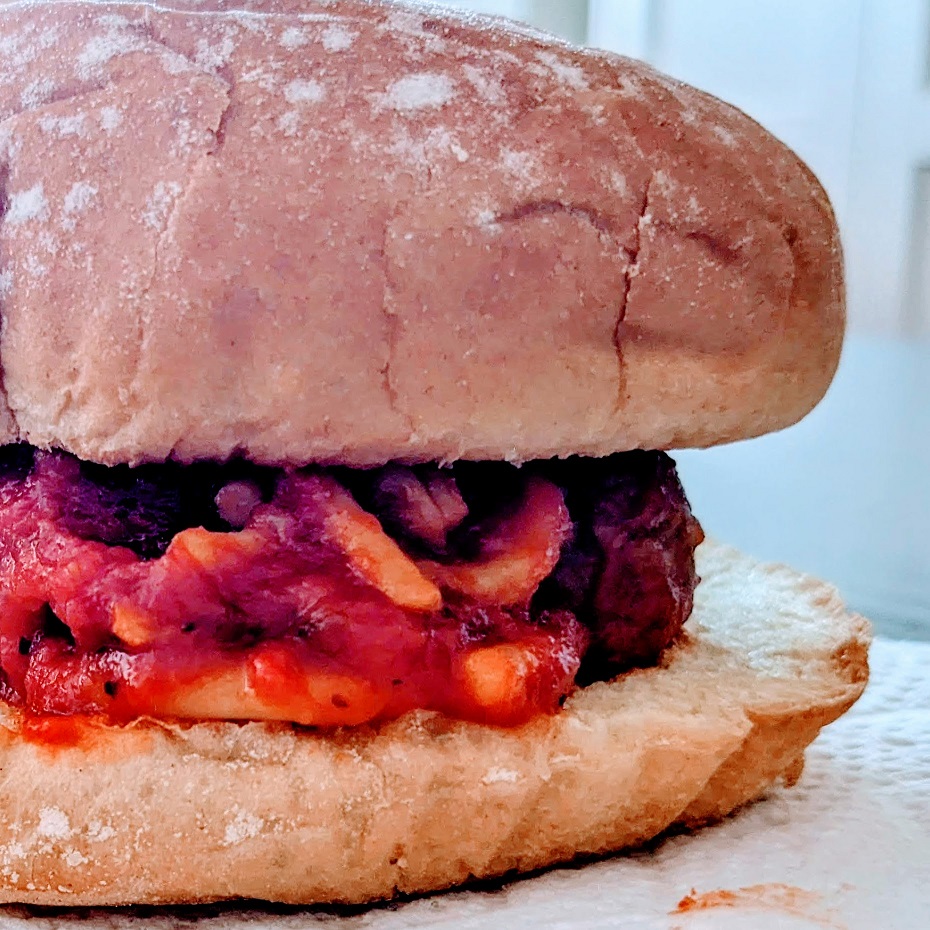
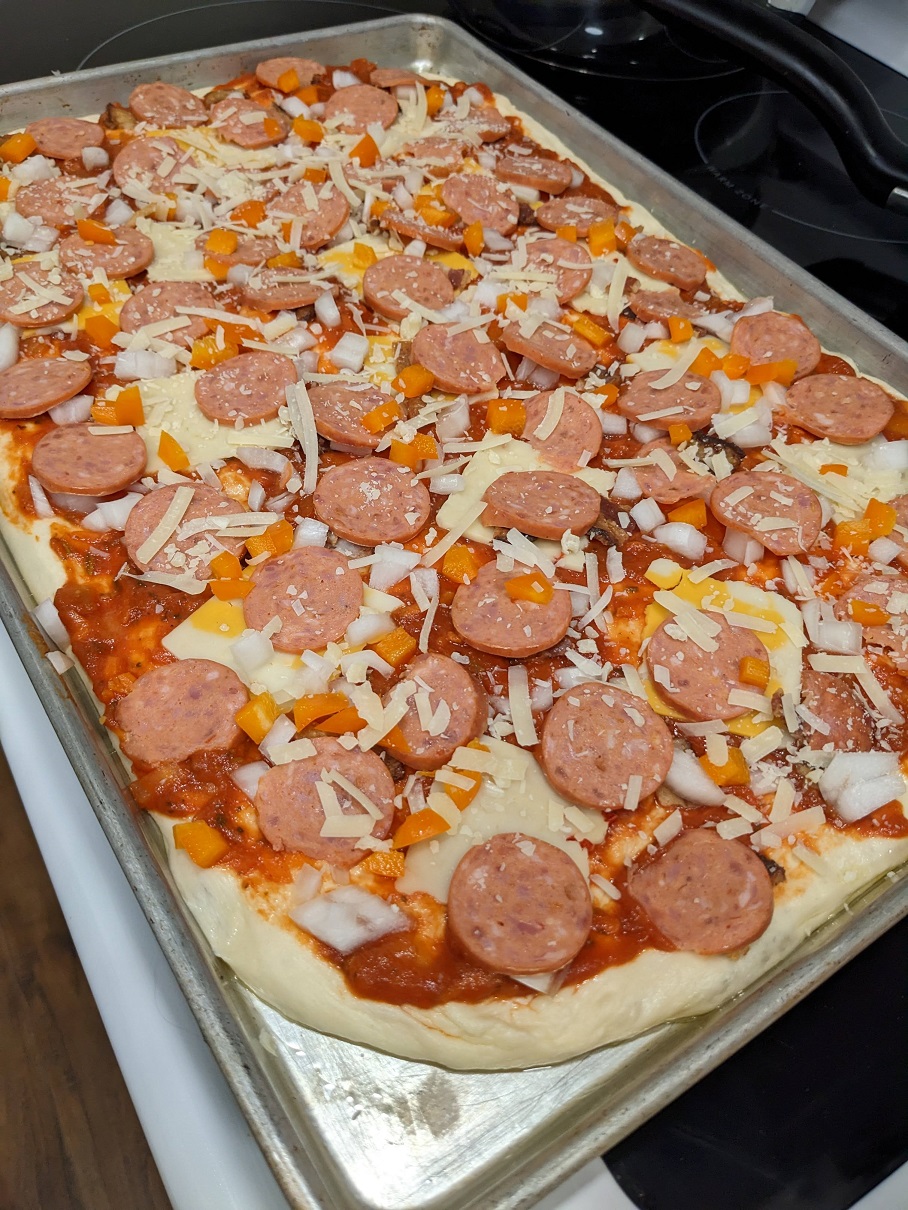
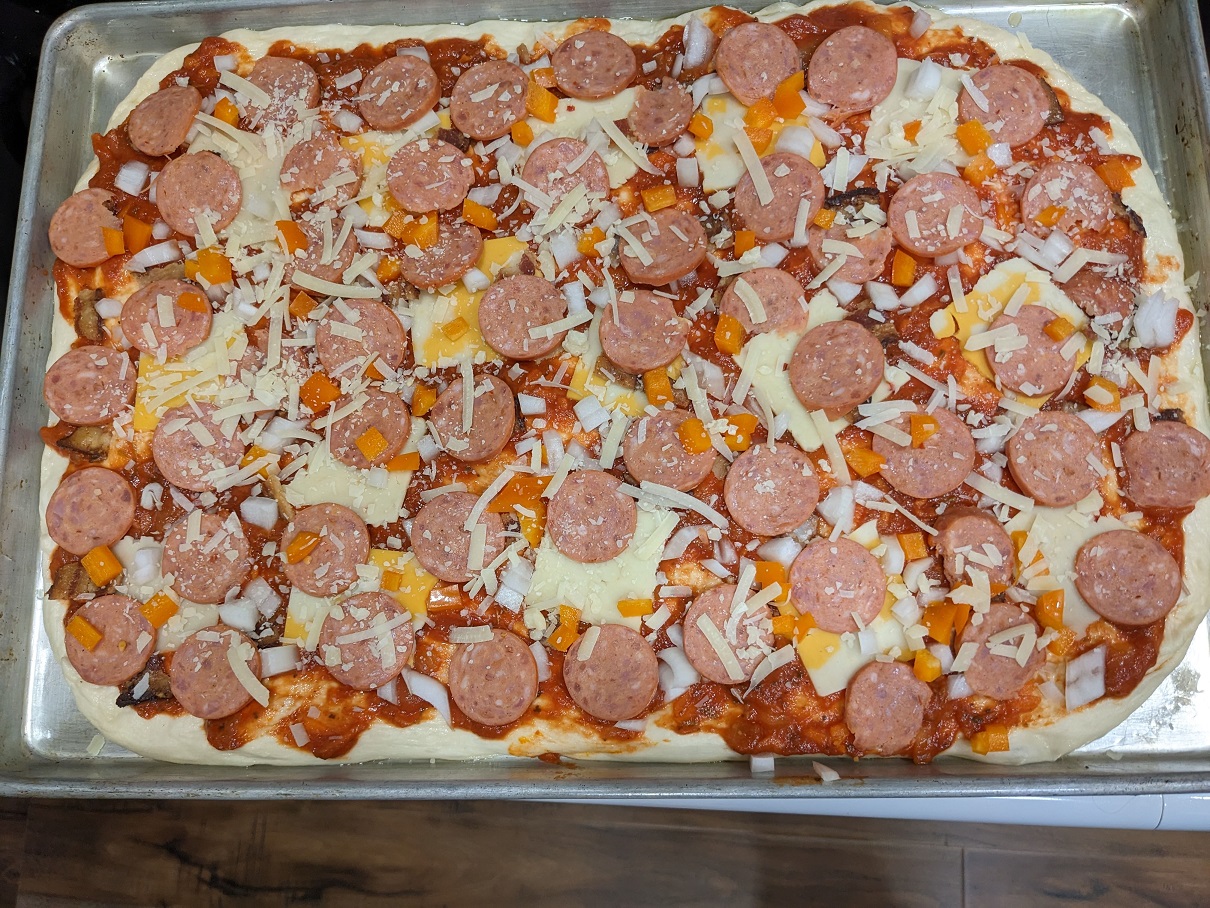
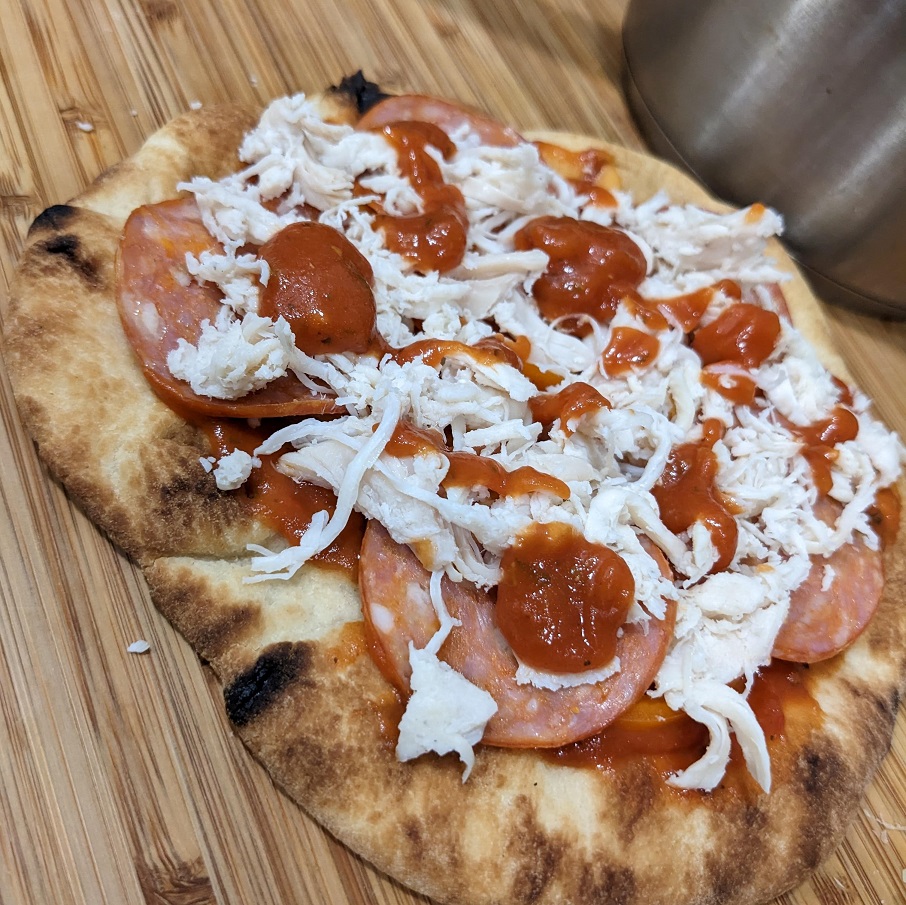
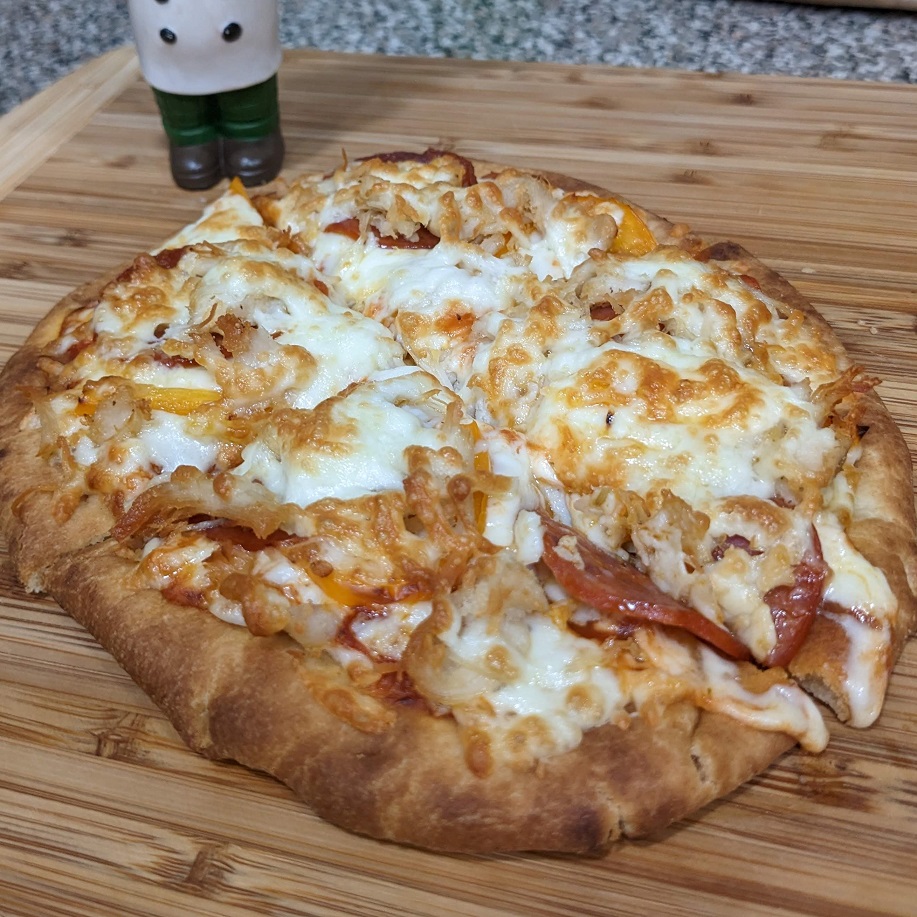
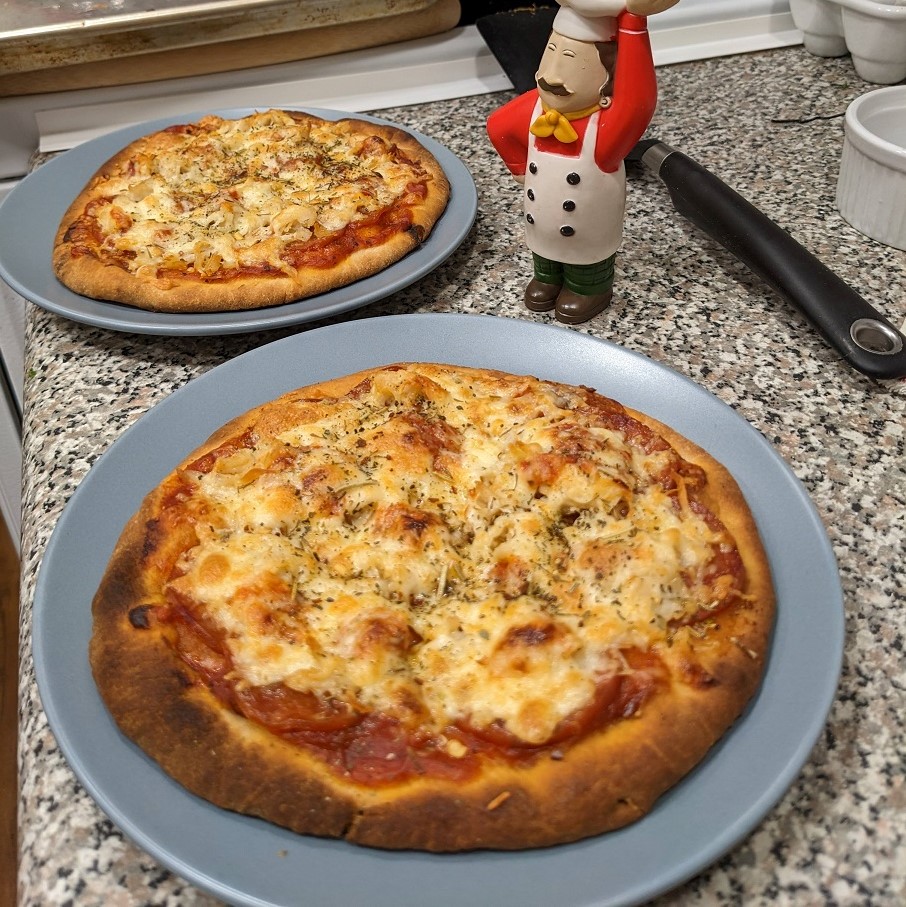 This is a spin on the Subway Pizziola we used to make back in the day. I love the idea of chicken and pepperoni in the same sandwich, so it seems like it would translate nicely to an actual pizza version. And I was right. This might be the husband’s new favourite.