Sorry, been busy at home with some home projects that came up unexpectedly, and work, and… air frying everything that’s not nailed down, of course! LOL
Here are a few things in picture form. I’ll do posts for each item but it’s getting late tonight, so here is round up to look at for now:
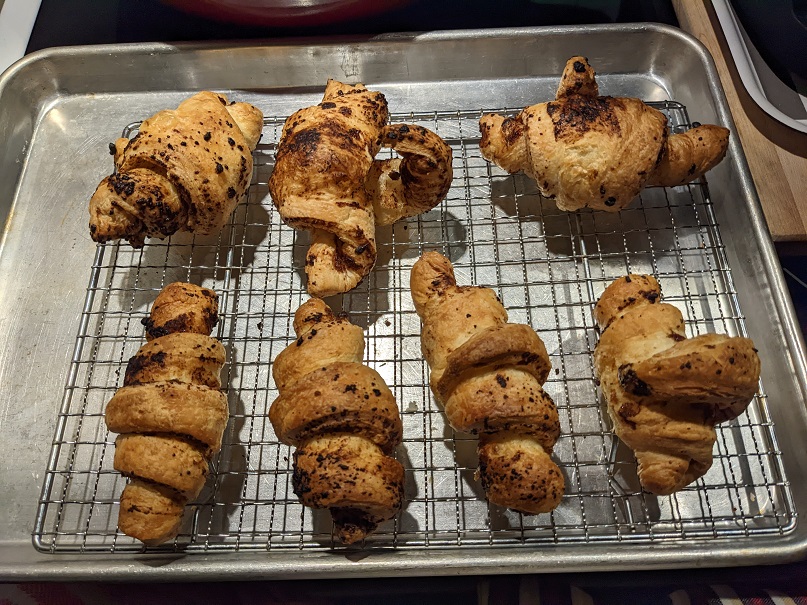
Sausage
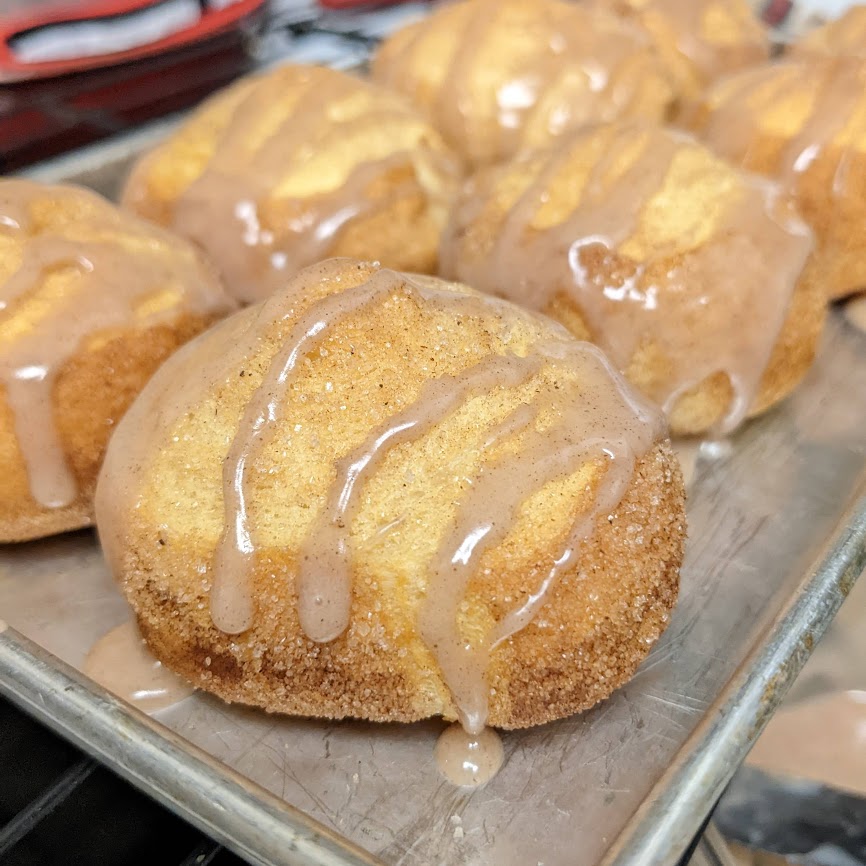
Pumpkin Pie (warmed up only)
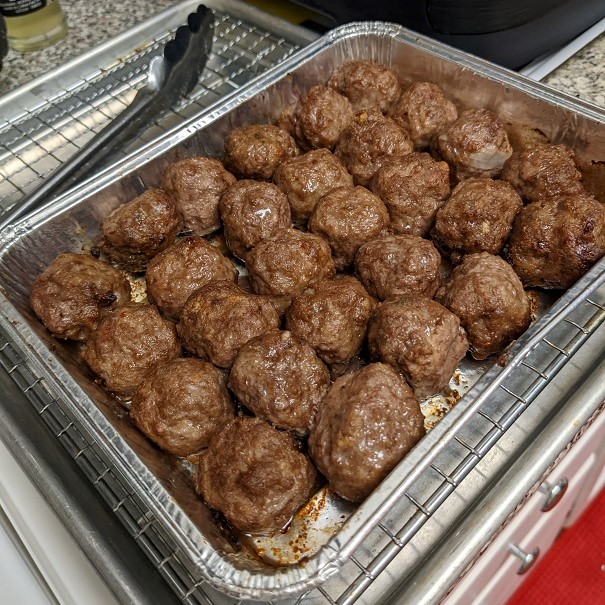
48 Mini Meatballs
Chicken Enchiladas
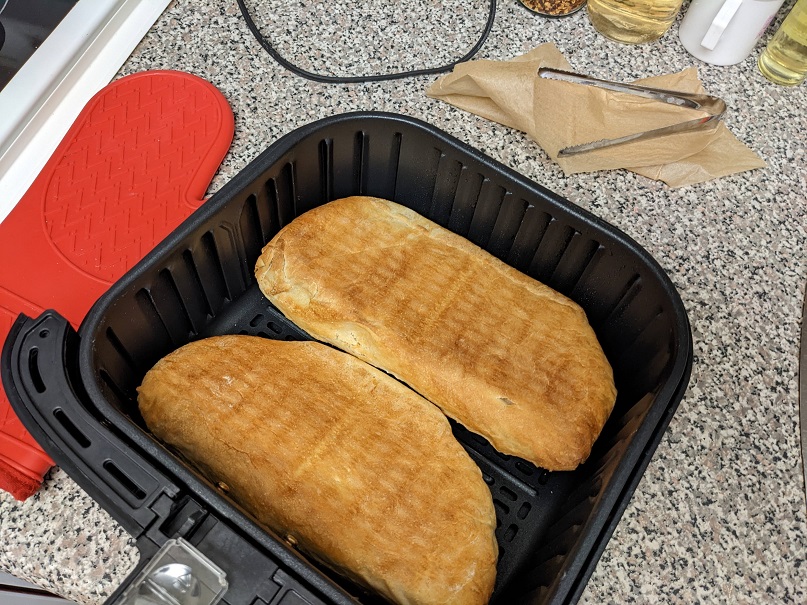
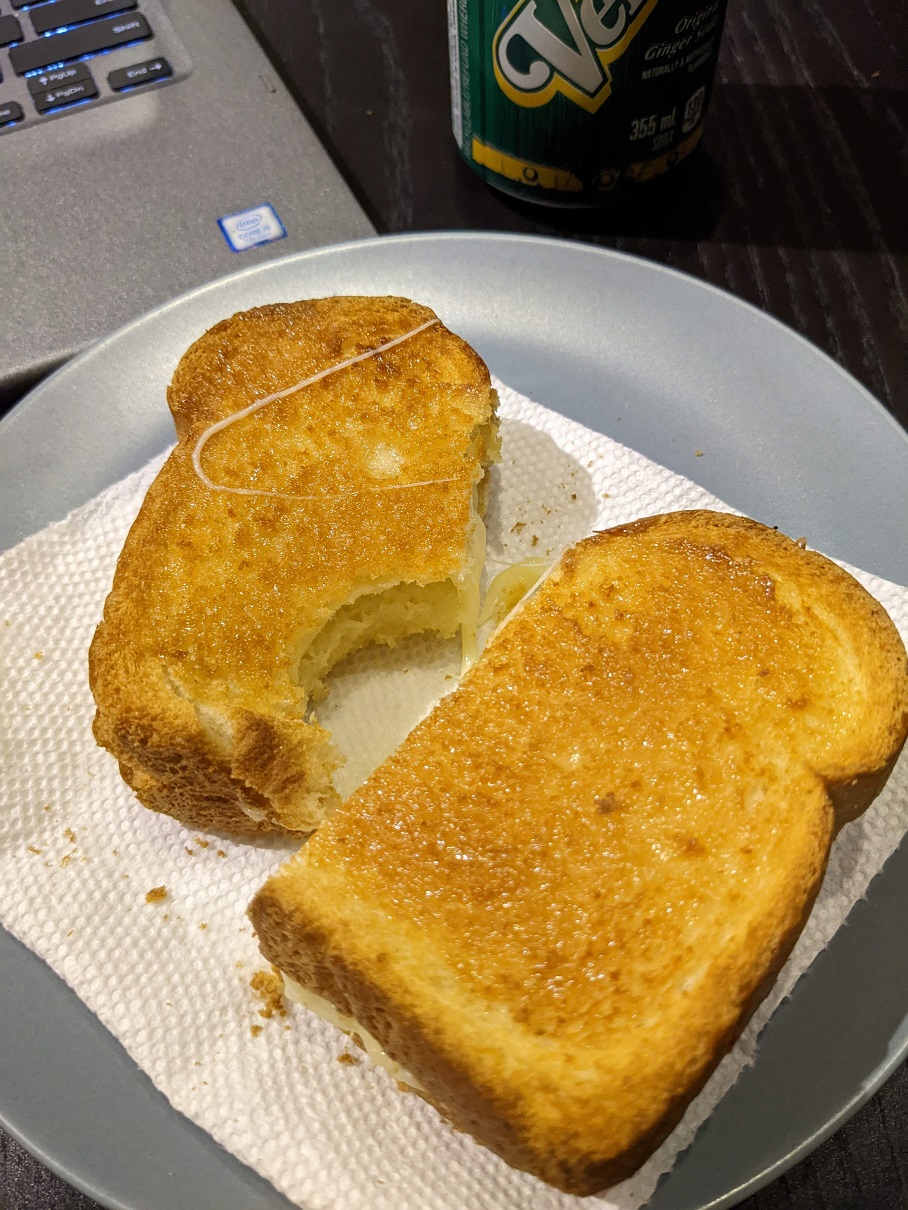
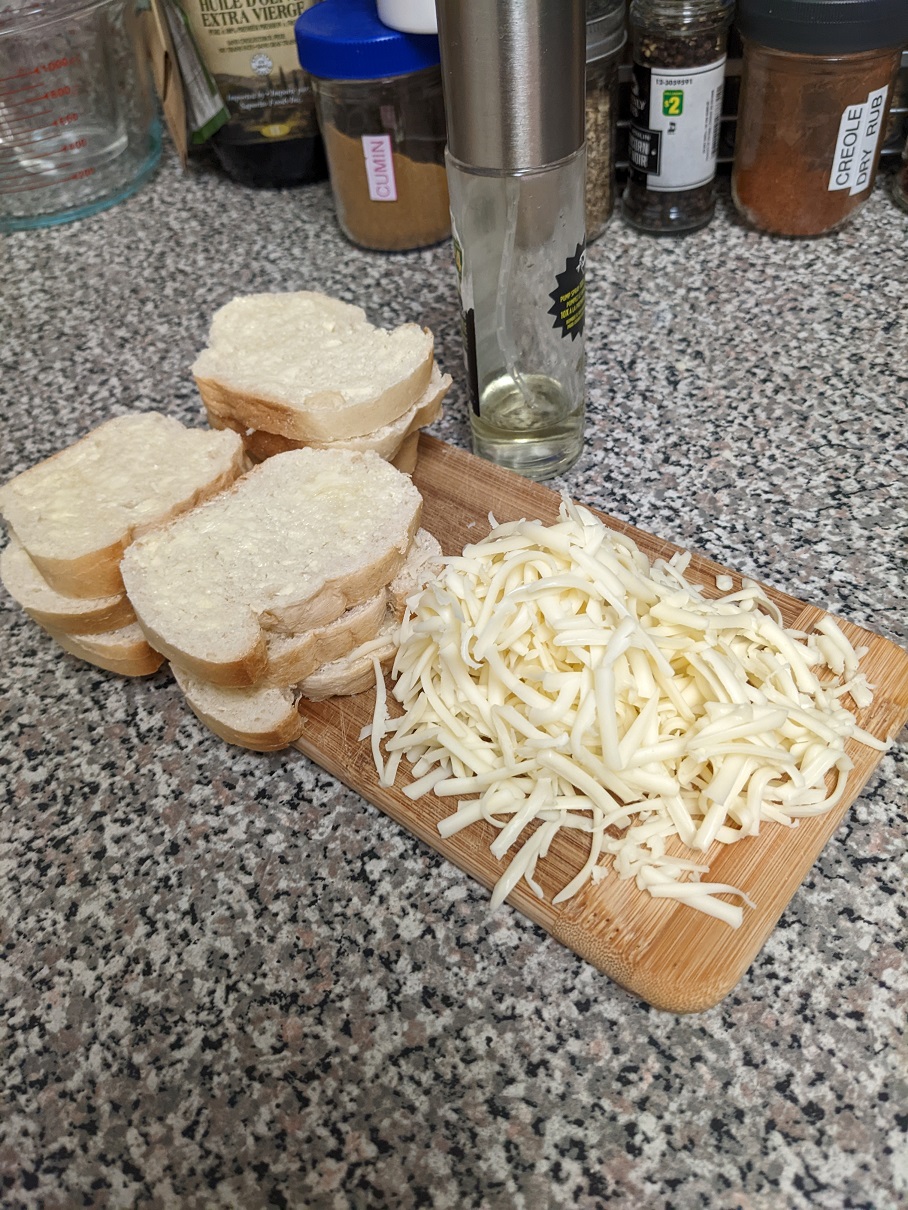
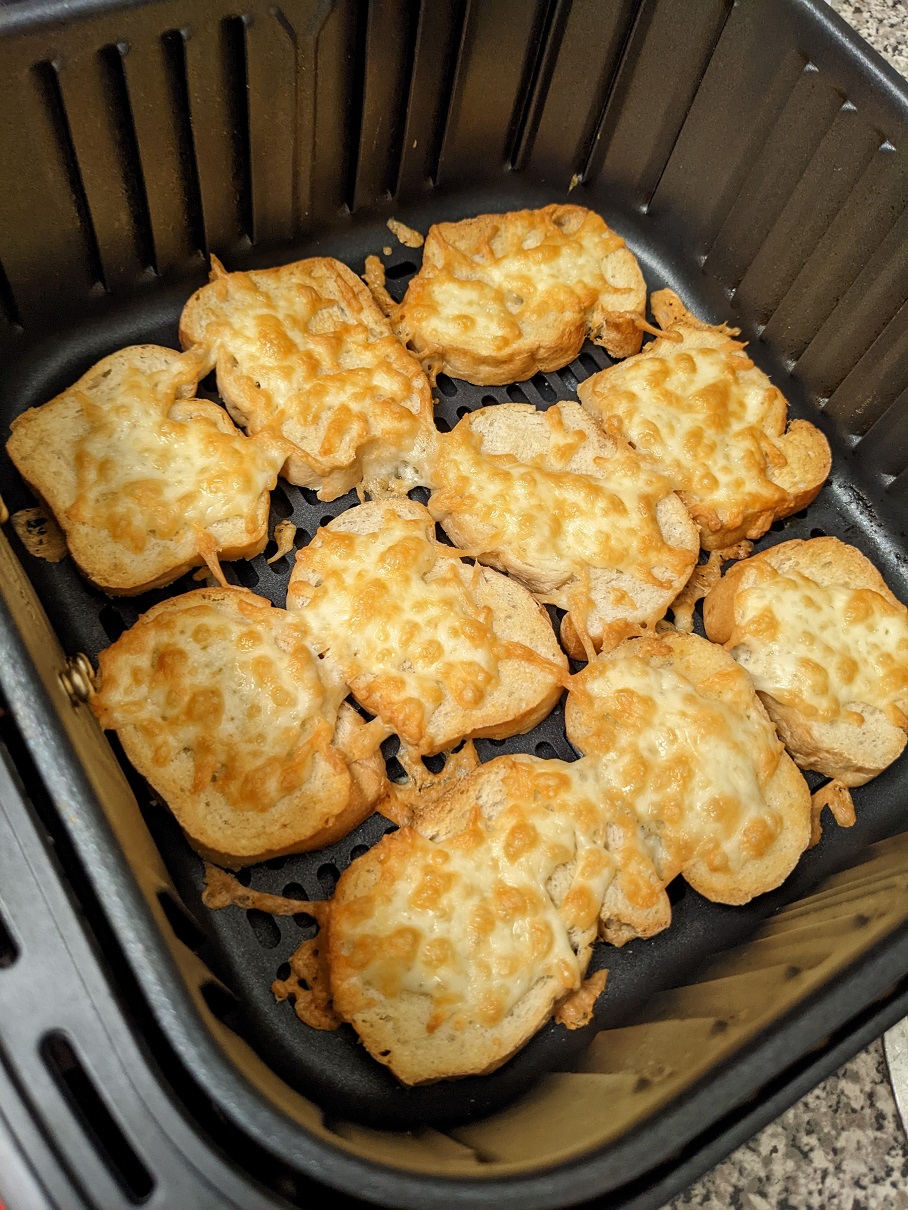
Lasagna Sandwich
Onion Rings
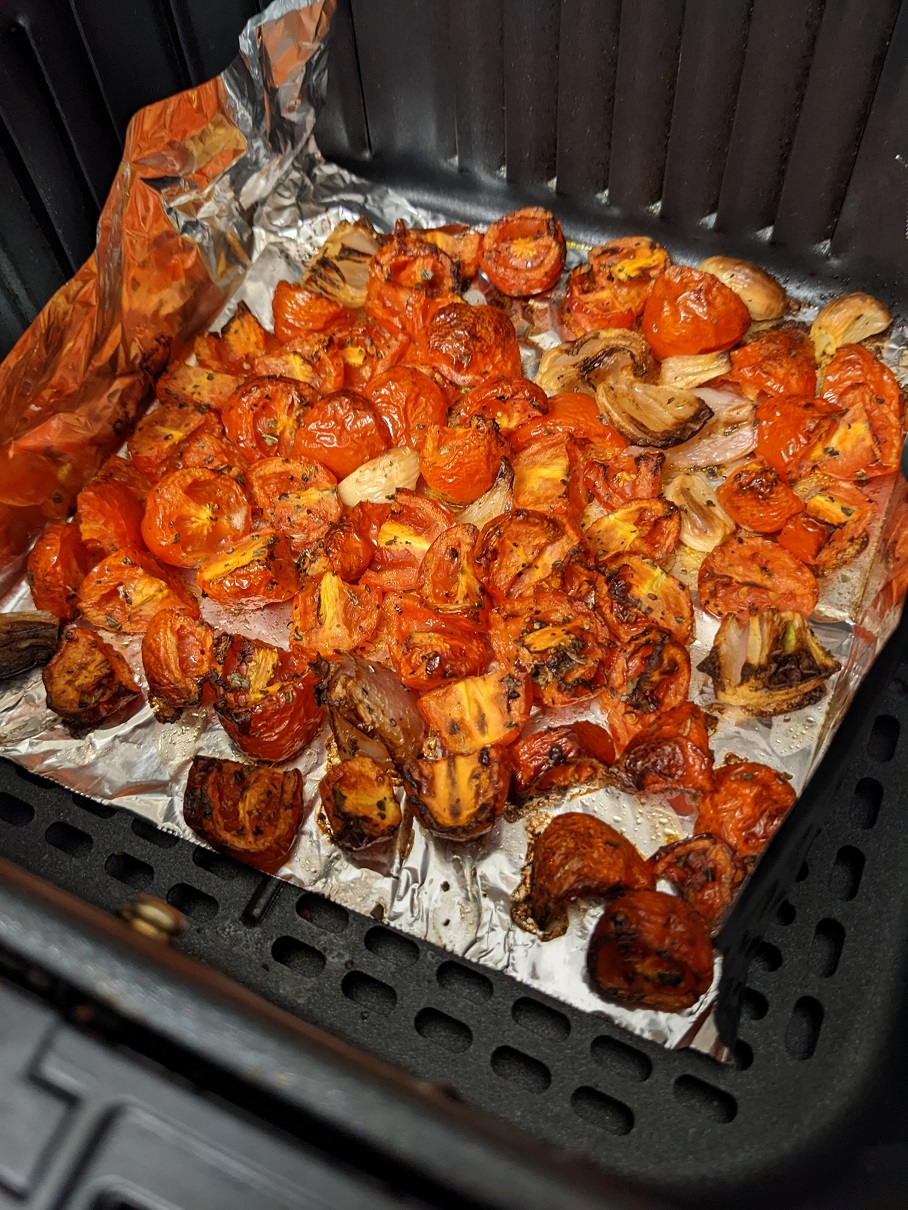
Lasagna
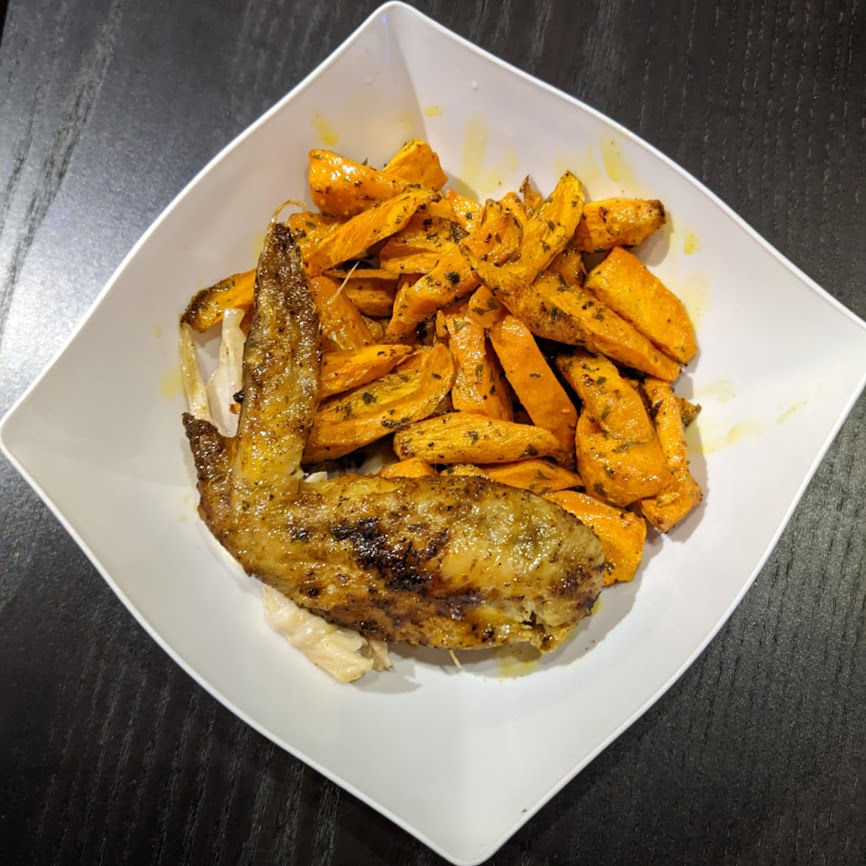
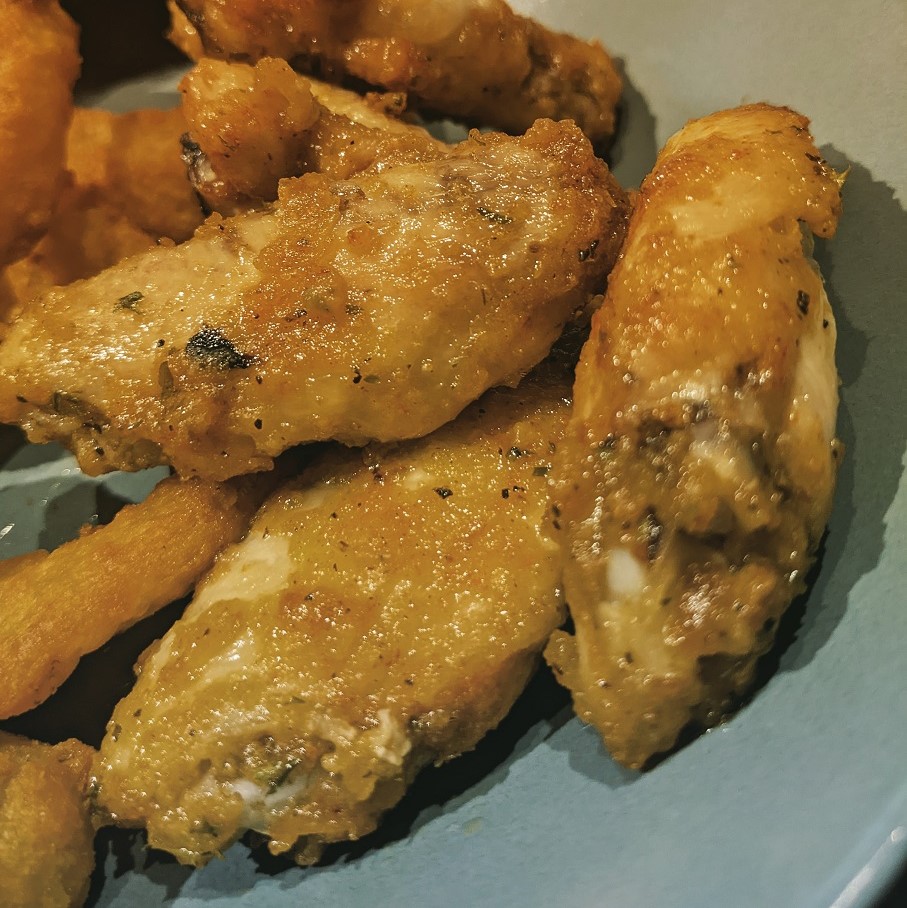
Crispy Chicken Strips
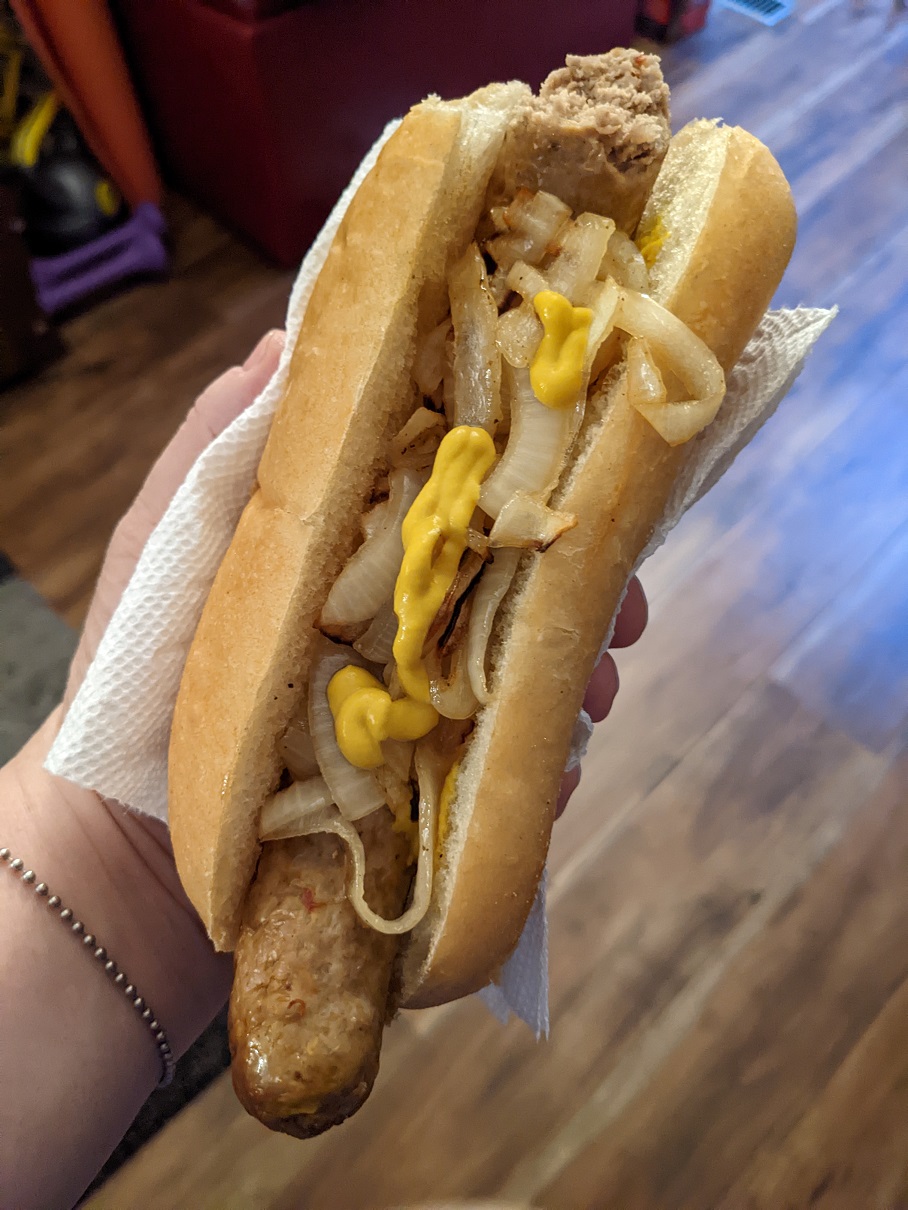
This was a great sausage, cooked perfectly in the air fryer at 350 for about…12 mins.

This store bought pie was cold when we brought it home, so I dropped it in the basket after I made dinner and unplugged it, just to warm up using the residual heat. Lovely.
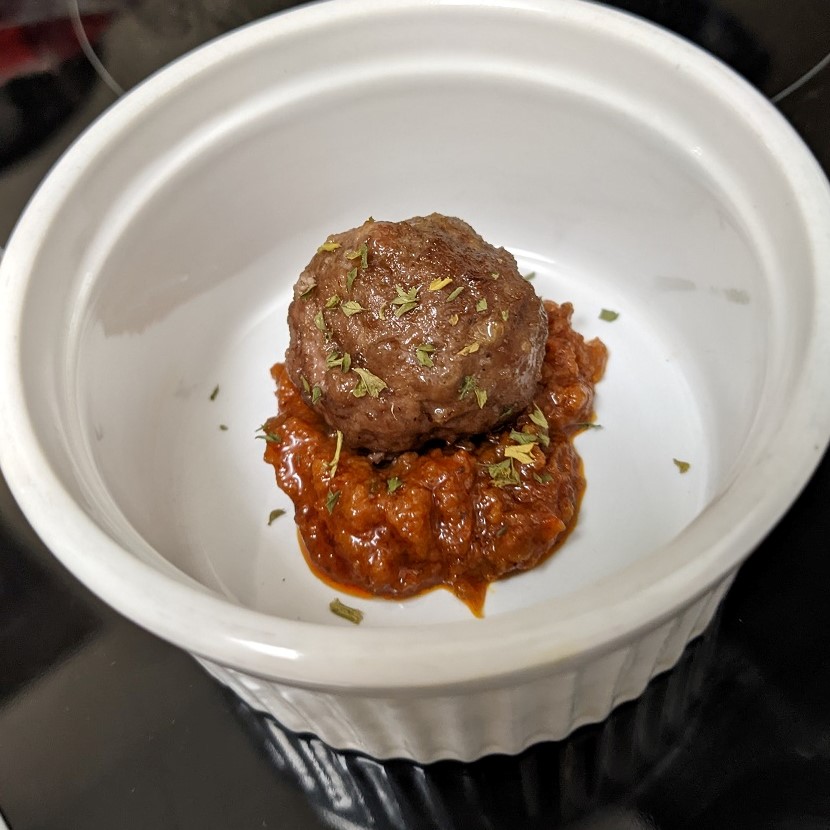
Homemade Italian meatballs, cooked at 320*F for about 10 mins, shaken a bit once, temped at about 158*F before being blasted at 400*F for another five mins to finish them off perfectly giving them the deep colour I was looking for.

These chicken enchiladas were the bomb! I loved how fast these came together, and how tasty they were. I made a lot of them over a few days to use up all of the materials and to get it out of my system before turning to other things I want to try in the air fryer.
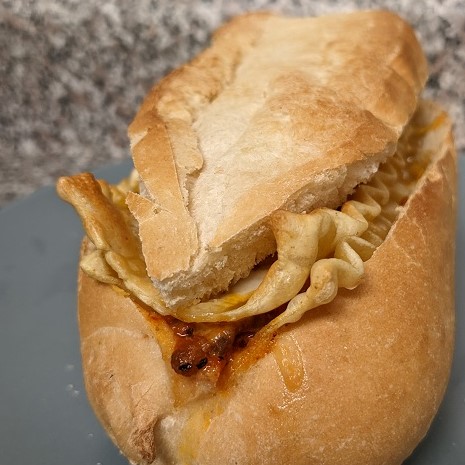
I saw this idea for a lasagna sandwich on Tik-Tok, so of course I had to make them. I regret nothing! 🙂

These store bought frozen onion rings took me two tries to nail. I sprayed them the first time as I dropped them in the basket, and they were soggy after 20 mins at 400*F. The second time, I dropped them frozen in the basket and cooked them for 10 mins at 350*F, and then flipped them and cranked the temp up to 400* for the last 7-ish mins.
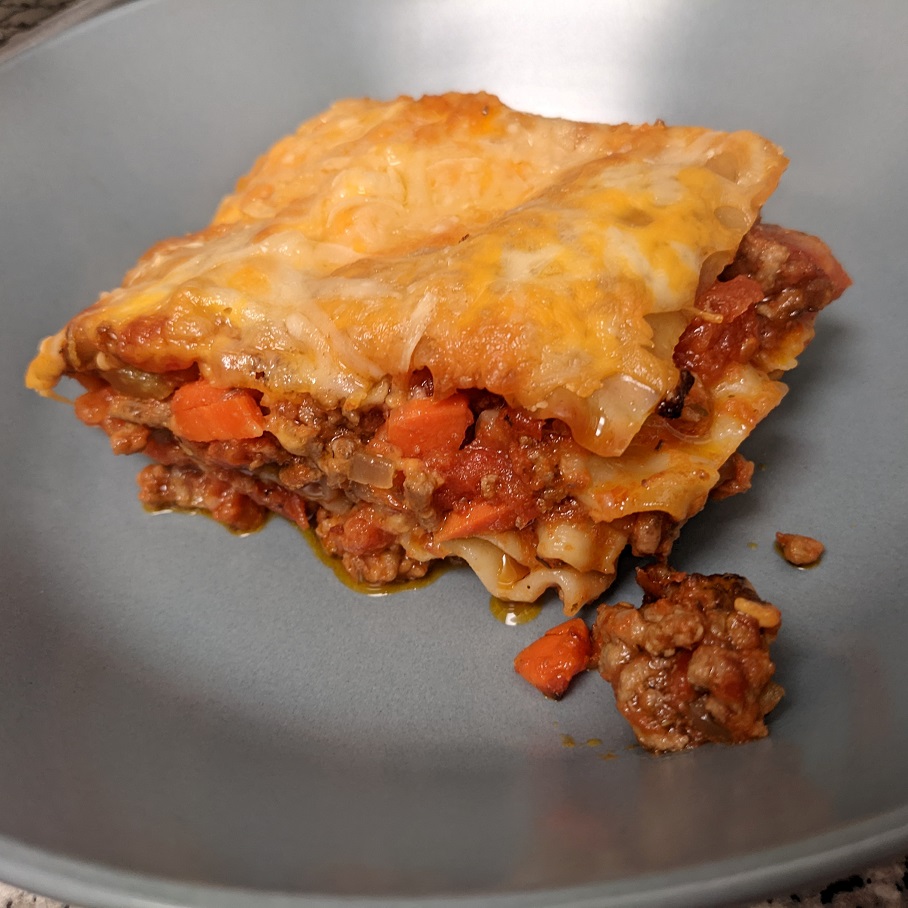
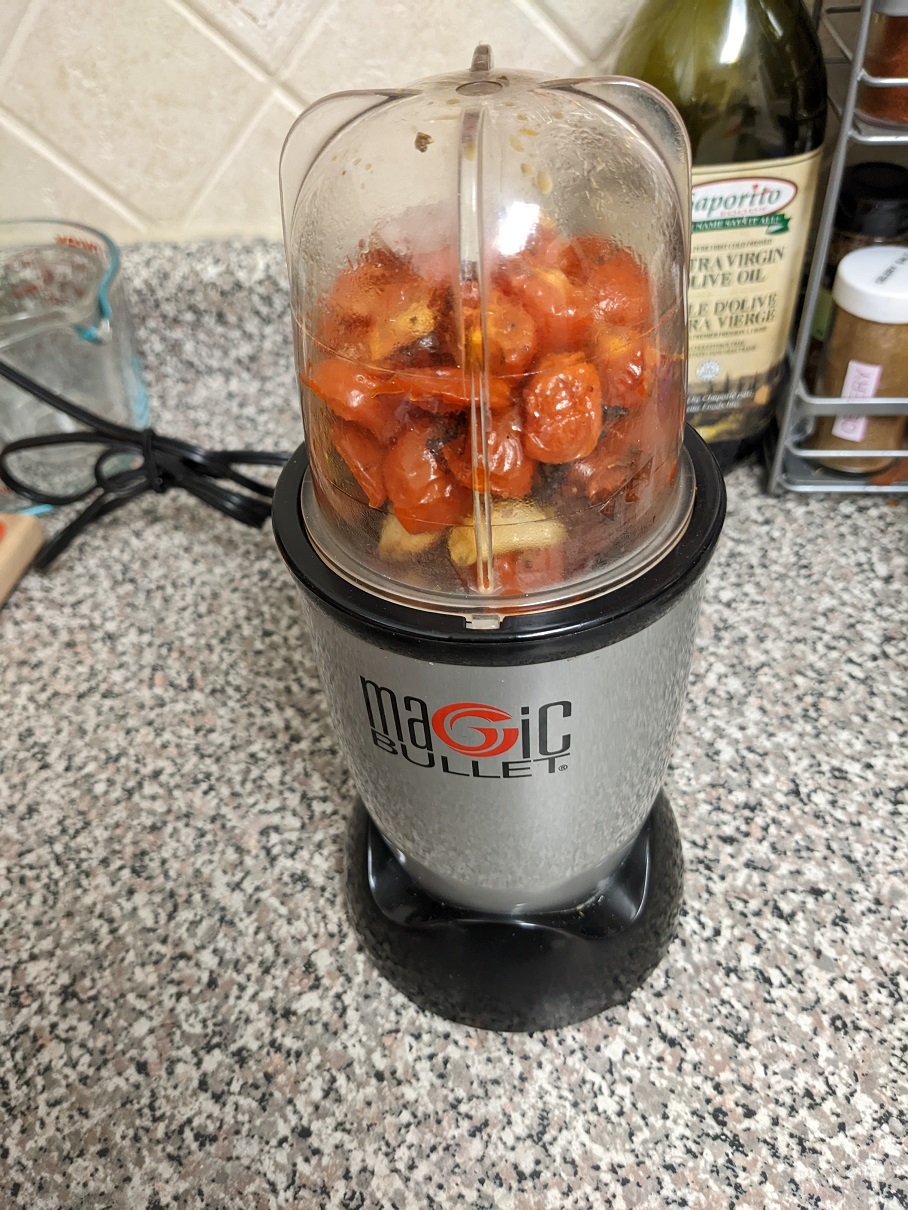
I made a LOT of lasagna sauce for the lasagna sandwiches, so I baked a lasagna in the foil pan to use it all up. The thing I learned was a thick lasagna is NOT the way to go. Two shallow pans of lasagna cooked back-to-back for something like 20 mins at around 350*F would have been a better idea. I will have to test this again in the future.
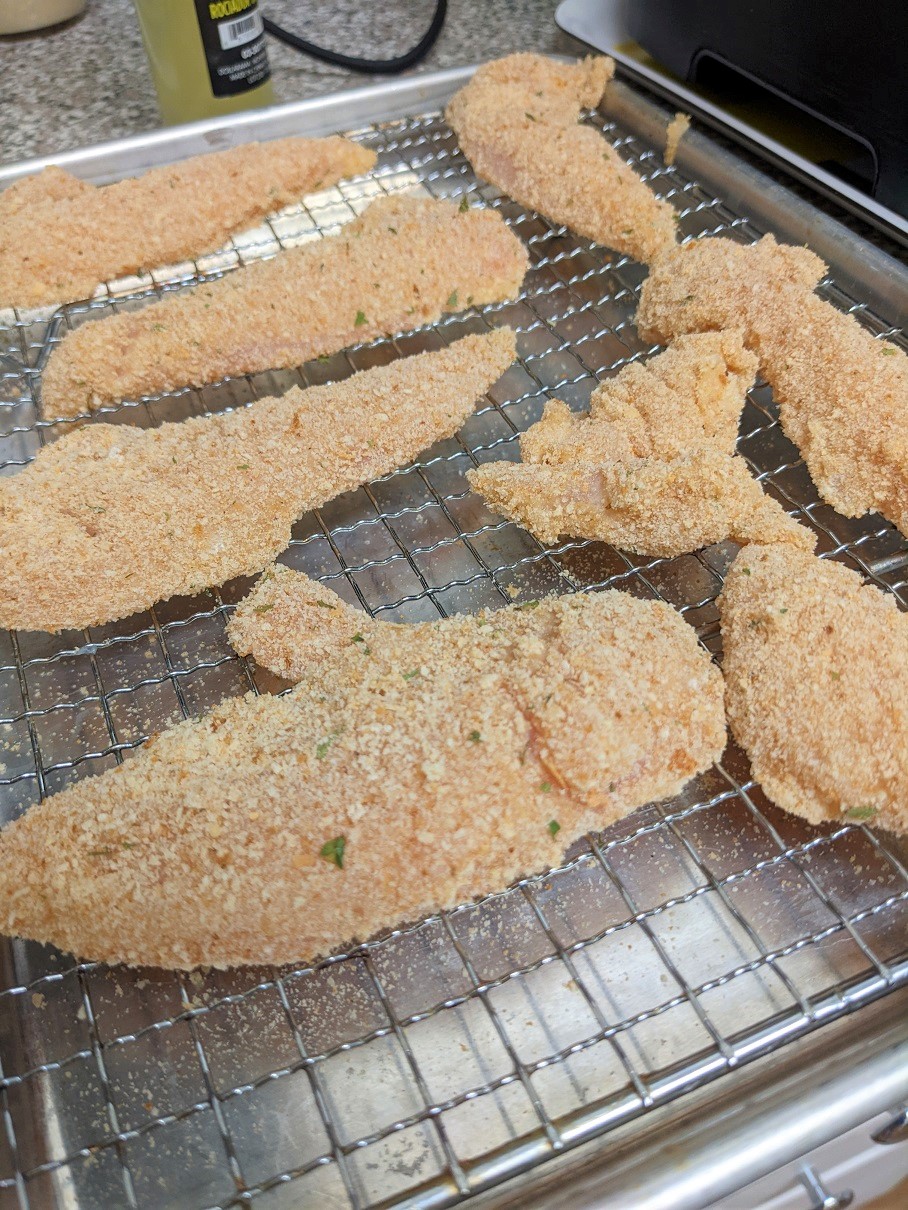
I love my chicken nuggies, so of course I love chicken strips, too. I love them breaded and crispy, on a bun, with lettuce/tomato/sauce. So good. 🙂 These were also really good dipped in fridge door sauce whipped up on the fly.
Like this:
Like Loading...